
Home>Home & Furniture>Doors & Windows>How to Make DIY Solar Screens
Doors & Windows
How to Make DIY Solar Screens
Published: August 24, 2024
Learn how to make DIY solar screens to reduce energy costs and enhance home comfort. Follow our step-by-step guide for an easy, cost-effective solution.
(Many of the links in this article redirect to a specific reviewed product. Your purchase of these products through affiliate links helps to generate commission for Twigandthistle.com, at no extra cost. Learn more)
Tired of your home getting too hot in the summer? Want to save on energy bills? Making DIY solar screens might be just the project for you. Solar screens help block the sun’s heat, keeping your house cooler and reducing air conditioning use. Installing them is easy and affordable, even if you're new to DIY projects. With some basic tools and materials, you can create custom screens for your windows. This guide will explain the steps needed to make and install your own solar screens, making your home more comfortable while saving money at the same time.
Getting Ready for Your Project
Measure Windows: Use a tape measure to get the exact dimensions of each window where you plan to install solar screens. Write down the width and height.
Gather Materials: Collect all necessary materials like solar screen fabric, screen frame kits, spline, spline roller, and utility knife. Ensure you have enough for all windows.
Set Up Workspace: Find a flat, clean area to work. Lay down a large piece of cardboard or a drop cloth to protect surfaces.
Safety Gear: Wear safety glasses and gloves to protect your eyes and hands while cutting and assembling the screens.
Cut Frame Pieces: Use a hacksaw to cut the frame pieces to match the window measurements. Double-check measurements before cutting.
Assemble Frame: Connect the frame pieces using corner connectors. Make sure the frame is square by measuring diagonally from corner to corner.
Cut Screen Fabric: Lay the solar screen fabric over the frame. Cut the fabric, leaving an extra inch around all sides.
Attach Fabric: Use the spline roller to press the spline into the frame groove, securing the fabric. Start at one corner and work your way around.
Trim Excess Fabric: Use a utility knife to trim any excess fabric from the edges of the frame.
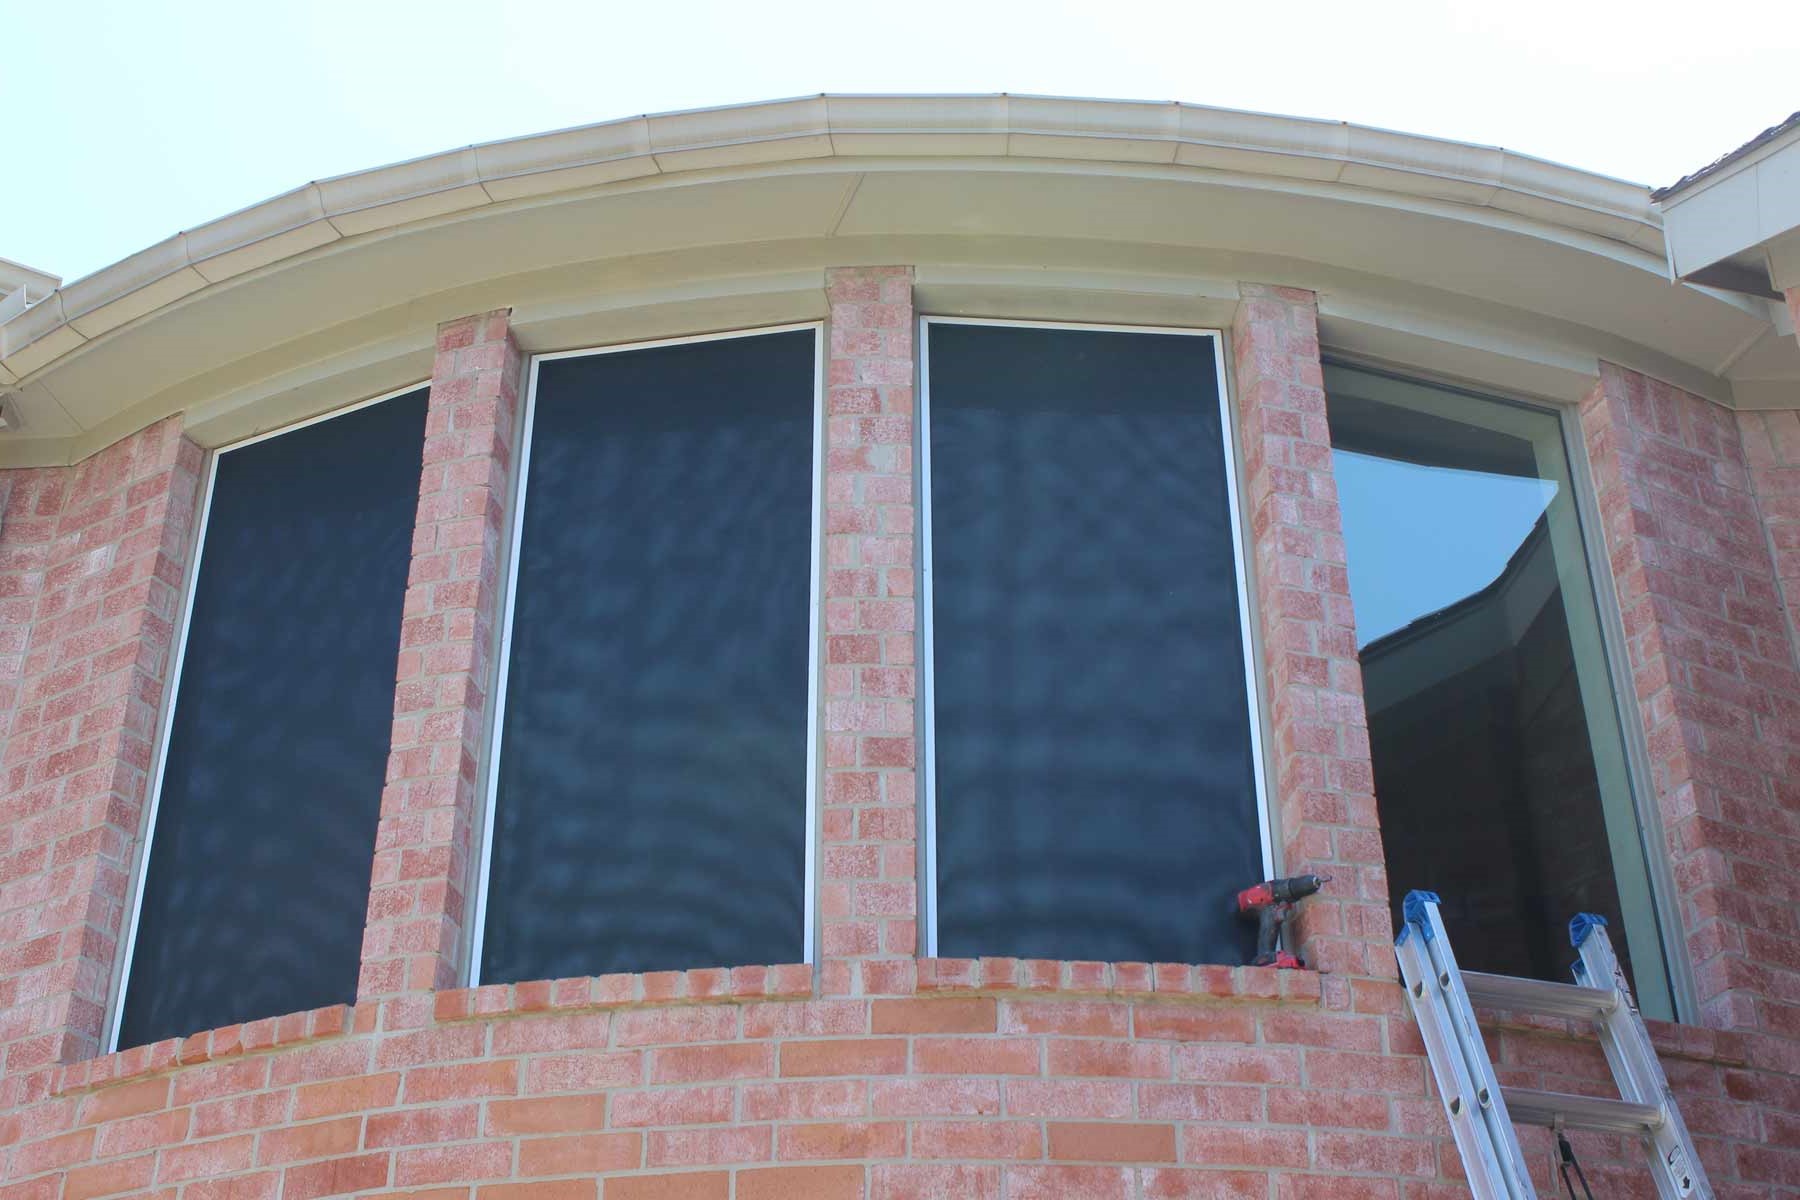
Install Screens: Place the completed solar screens into the window frames. Secure them using clips or screws, depending on your window type.
What You Need to Get Started
Solar Screen Fabric: This special fabric blocks sunlight and reduces heat. Choose the right size for your windows.
Screen Frame Kit: Includes frame pieces that hold the fabric. Usually made of aluminum.
Spline: A rubber cord that secures the fabric in the frame. Comes in different thicknesses.
Spline Roller: A tool used to press the spline into the frame. Makes the job easier.
Utility Knife: For cutting the fabric and trimming excess material.
Measuring Tape: Ensures accurate measurements for cutting the fabric and frame.
Corner Connectors: Plastic or metal pieces that join the frame corners together.
Scissors: Useful for cutting the fabric before securing it with the spline.
Marker or Pencil: Marks measurements on the fabric and frame.
Screwdriver: Needed if your frame kit requires screws for assembly.
Clamps: Hold the frame steady while you work on it.
Safety Glasses: Protect your eyes while cutting and assembling the frame.
Gloves: Protect your hands from sharp edges and splinters.
Step Ladder: Helps reach higher windows safely.
Cleaning Cloth: Wipe down the frame and fabric before assembly to remove dust and debris.
How Much Time and Skill You Need
Skill Level: Intermediate
Time Required: 3-4 hours
Steps:
- Measure Windows: 30 minutes
- Cut Frame Pieces: 30 minutes
- Assemble Frames: 1 hour
- Attach Solar Screen Fabric: 1 hour
- Install Screens: 30 minutes
Follow These Steps
Measure Windows
- Use a tape measure to get the height and width of each window.
- Write down the measurements.
Cut Frame Pieces
- Use a hacksaw to cut aluminum frame pieces to match window measurements.
- Ensure corners are cut at 45-degree angles for a snug fit.
Assemble Frame
- Connect frame pieces using corner connectors.
- Press firmly to ensure a tight fit.
Lay Out Solar Screen Fabric
- Roll out solar screen fabric on a flat surface.
- Place the assembled frame on top of the fabric.
Cut Fabric
- Use scissors to cut the fabric, leaving an extra inch around the frame.
Attach Fabric to Frame
- Use spline (rubber cord) and a spline roller to secure fabric into the frame grooves.
- Start at one corner and work your way around.
Trim Excess Fabric
- Use a utility knife to trim any extra fabric sticking out from the frame.
Install Screen
- Place the completed solar screen into the window frame.
- Secure with screen clips or screws, depending on window type.
Check Fit
- Ensure the screen fits snugly and covers the entire window area.
Helpful Tips and Tricks
Measure your windows accurately. Use a tape measure to get the exact dimensions. Cut the frame pieces to size using a hacksaw. Connect the frame corners with corner connectors. Lay the solar screen fabric over the frame, ensuring it overlaps the edges.
Use a spline roller to press the spline into the groove, securing the fabric. Trim excess fabric with a utility knife. Install the screen using screen clips or brackets.
Common mistakes include measuring inaccurately, cutting the frame pieces too short, and not securing the fabric tightly. Avoid using a dull utility knife, which can lead to jagged edges.
For alternatives, consider using pre-cut frame kits to save time. Instead of a spline roller, a flathead screwdriver can work in a pinch. If solar screen fabric isn't available, shade cloth can be a substitute.
How Much Will It Cost?
Solar screen fabric: $30-$50 for a 25-foot roll.
Screen frame kit: $20-$30 per window.
Spline: $5-$10 for a 25-foot roll.
Spline roller: $5-$10.
Utility knife: $5-$10.
Measuring tape: $5-$10.
Corner connectors: $5-$10 for a pack of 20.
Total cost: $75-$130 per window.
Budget-friendly alternatives:
- Reuse old frames: Save $20-$30 per window.
- Buy in bulk: Larger rolls of fabric and spline can reduce costs.
- Borrow tools: Ask friends or neighbors for tools like a utility knife or measuring tape.
Different Ways to Customize
Frame Materials: Instead of using aluminum frames, try wood for a rustic look or PVC for a lightweight option.
Screen Colors: Choose black for maximum heat reduction, gray for a balanced look, or bronze for a stylish touch.
Screen Types: Use fiberglass for durability, polyester for flexibility, or metal mesh for extra strength.
Mounting Styles: Install screens with hinges for easy access, magnets for quick removal, or Velcro for a simple solution.
Decorative Edges: Add trim or molding around the edges for a polished appearance.
Patterns: Opt for woven designs or decorative patterns to add visual interest.
Additional Features: Integrate UV protection film for extra sunblock or tinted screens for added privacy.
Paint: Paint the frames in bright colors to match your home’s exterior or neutral tones for a classic look.
Size Adjustments: Customize the screen size to fit small windows, large patio doors, or odd-shaped openings.
Accessories: Attach handles for easy removal or clips to secure the screens during windy conditions.
Eco-Friendly Tips
Reusing old window screens can be a great start. If you have any lying around, they can serve as the base for your solar screens.
Recycled aluminum frames are another eco-friendly option. Aluminum is durable and can be easily found at recycling centers or salvage yards.
For the screen material, consider using recycled polyester mesh. This material is strong, UV-resistant, and often made from recycled plastic bottles.
Non-toxic paint or sealant can be used to coat the frames. This ensures that no harmful chemicals are released into the environment.
Solar screen fabric can be attached using reclaimed wood strips. These can be found at construction sites or old furniture pieces.
When cutting materials, use manual tools like hand saws or screwdrivers instead of power tools to save energy.
Natural adhesives like plant-based glues can be used to secure the screen fabric to the frame. These are biodegradable and safer for the environment.
Lastly, ensure that any leftover materials are recycled or repurposed for other DIY projects. This reduces waste and promotes sustainability.
Your Solar Screen Project Awaits
You've got the know-how to make DIY solar screens. Gather your materials, measure your windows, and cut the screen frame to size. Attach the solar mesh with spline, ensuring it's tight and secure. Install your new screens, and enjoy the benefits of reduced heat and glare.
Remember, this project not only saves money but also adds a personal touch to your home. Plus, you'll gain a sense of accomplishment seeing your handiwork in action. If you hit a snag, don't sweat it. Every DIY project has its hiccups. Just take a step back, reassess, and keep going.
Now, grab those tools and get started. Your cooler, more energy-efficient home is just a few steps away. Happy building!
What materials do I need to make DIY solar screens?
You'll need solar screen fabric, screen frame kits, spline, a spline roller, scissors, and a measuring tape.
How do I measure my windows for solar screens?
Measure the width and height of the window frame. Add about 1 inch to each measurement to ensure the screen fits snugly.
Can I install solar screens on any type of window?
Yes, solar screens can be installed on most window types, including sliding, double-hung, and casement windows.
How do solar screens help with energy efficiency?
Solar screens block up to 90% of the sun's heat, reducing the need for air conditioning and lowering energy bills.
Are solar screens easy to clean?
Yes, just use a soft brush or vacuum to remove dust. For deeper cleaning, rinse with water and a mild detergent.
How long do solar screens last?
With proper care, solar screens can last 10-15 years. The fabric and frame are designed to withstand weather conditions.
Can I remove solar screens during winter?
Absolutely! Solar screens are easy to remove and store during colder months when you want more sunlight and heat.