
Home>Home & Furniture>Doors & Windows>How to Make DIY Blackout Windows
Doors & Windows
How to Make DIY Blackout Windows
Published: August 9, 2024
Learn how to make DIY blackout windows with our step-by-step guide. Achieve total darkness for better sleep and privacy with easy, cost-effective solutions.
(Many of the links in this article redirect to a specific reviewed product. Your purchase of these products through affiliate links helps to generate commission for Twigandthistle.com, at no extra cost. Learn more)
Tired of bright streetlights or early morning sun disrupting your sleep? Making your own blackout windows can solve that problem. It's not only easy but also budget-friendly. You don’t need fancy tools or expert skills. With a few materials and some patience, you’ll have a dark, cozy room in no time. This guide will show you step-by-step how to achieve total darkness for a better night's rest. Whether you're a night shift worker or just need a good nap, DIY blackout windows can help you create the perfect sleep environment. Let's get started!
Getting Ready for Your Project
Measure Windows: Use a tape measure to get the exact dimensions of your windows. Write these down.
Gather Materials: You will need blackout fabric, scissors, a ruler, Velcro strips, and a sewing kit or fabric glue.
Safety Gear: Wear safety glasses when cutting fabric to protect your eyes. Use a cutting mat to avoid damaging surfaces.
Clean Workspace: Clear a large, flat area to lay out your fabric. Ensure the space is well-lit.
Cut Fabric: Cut the blackout fabric to match your window measurements, adding an extra inch on each side for seams.
Attach Velcro: Sew or glue Velcro strips to the edges of the fabric. Make sure they align with the window frame.
Test Fit: Before finalizing, test the fit of the fabric on the window. Adjust if necessary.
Secure Fabric: Attach the fabric to the window frame using the Velcro strips. Ensure it’s tight and covers the entire window.
Check Light Blockage: Close curtains and check for any light leaks. Adjust the fabric if needed.
Final Touches: Trim any excess fabric and ensure all edges are secure.
Gathering Supplies and Tools
Blackout Fabric: Thick, dark material blocks out light completely. Choose a color that matches your room.
Measuring Tape: Measures window dimensions accurately. Ensures fabric fits perfectly.
Scissors: Cuts fabric to the right size. Sharp scissors make cleaner cuts.
Fabric Glue or Sewing Kit: Attaches fabric to window frame or curtain rod. Fabric glue is quicker, sewing is more secure.
Velcro Strips: Secures fabric to window frame. Allows easy removal and reattachment.
Curtain Rod (optional): Hangs blackout fabric like curtains. Useful if you prefer a more traditional look.
Pencil: Marks measurements on fabric. Helps with precise cutting and placement.
Straight Pins: Holds fabric in place while cutting or sewing. Prevents shifting and mistakes.
Iron and Ironing Board: Removes wrinkles from fabric. Makes it easier to work with and looks neater.
Ladder or Step Stool: Reaches higher windows safely. Ensures you can install fabric without strain.
Screwdriver or Drill (optional): Installs curtain rod brackets. Necessary if using a curtain rod.
Required Skills and Time Commitment
Skill Level: Intermediate
Time Required: 2-4 hours
- Measure Windows: 15-30 minutes
- Cut Fabric: 30-45 minutes
- Sew Edges: 45-60 minutes
- Attach Velcro or Magnets: 30-45 minutes
- Install Blackout Panels: 30-45 minutes
Detailed Steps to Follow
Measure Your Windows
- Use a tape measure to get the height and width of each window.
- Write down the measurements.
Gather Materials
- Blackout fabric (enough to cover your windows)
- Velcro strips or magnetic tape
- Scissors
- Measuring tape
- Fabric glue or sewing kit
Cut the Fabric
- Lay the blackout fabric flat.
- Measure and mark the dimensions of your windows on the fabric.
- Cut the fabric to size.
Attach Velcro or Magnetic Tape
- If using Velcro, cut strips to fit the edges of the fabric and window frame.
- If using magnetic tape, cut strips to fit the edges of the fabric and window frame.
- Attach one side of the Velcro or magnetic tape to the fabric using fabric glue or by sewing it on.
- Attach the other side to the window frame.
Install the Blackout Fabric
- Press the fabric against the window frame, aligning the Velcro or magnetic tape.
- Ensure the fabric is smooth and covers the entire window.
Check for Light Leaks
- Look for any gaps where light might enter.
- Adjust the fabric or add extra Velcro/magnetic tape if needed.
Secure Edges
- Make sure all edges are firmly attached to prevent light from seeping through.
- Add extra Velcro or magnetic tape if necessary.
Test the Blackout Effect
- Turn off the lights and check if the room is dark enough.
- Make any final adjustments to improve the blackout effect.
Helpful Hints and Tips
Use thick, dark fabric like blackout curtains or heavy-duty garbage bags. Measure your windows accurately before cutting any material. Attach Velcro strips to the window frame and fabric for easy removal. Use double-sided tape for a more permanent solution. Seal edges with weather stripping to block all light.
Common mistakes to avoid: Cutting fabric too small, leaving gaps around edges, using weak adhesives, and not measuring windows properly.
Alternatives: Aluminum foil can work in a pinch. Cardboard covered with dark fabric is another option. For a more polished look, consider using blackout roller shades.
Budgeting for Your DIY Project
Blackout fabric: $20-$40 for a standard window.
Velcro strips: $10 for a pack.
Measuring tape: $5.
Scissors: $10.
Fabric glue or sewing kit: $5-$10.
Optional: Curtain rods: $15-$30.
Total cost: $50-$105.
Budget-friendly alternatives:
Blackout curtains: $15-$25 per window.
Tension rods: $5-$10.
Dark bedsheets: $10-$15.
Total cost with alternatives: $30-$50.
Personalizing Your Blackout Windows
Alternative Materials: Instead of traditional blackout fabric, try using heavy-duty cardboard or foam board. These materials can be cut to fit your window and painted to match your room. Reflective insulation is another option; it blocks light and helps with temperature control.
Colors: Black is the standard, but you can use dark navy, charcoal gray, or even deep burgundy for a different look. If you prefer a lighter color, consider double-layering lighter fabrics to ensure they block out light effectively.
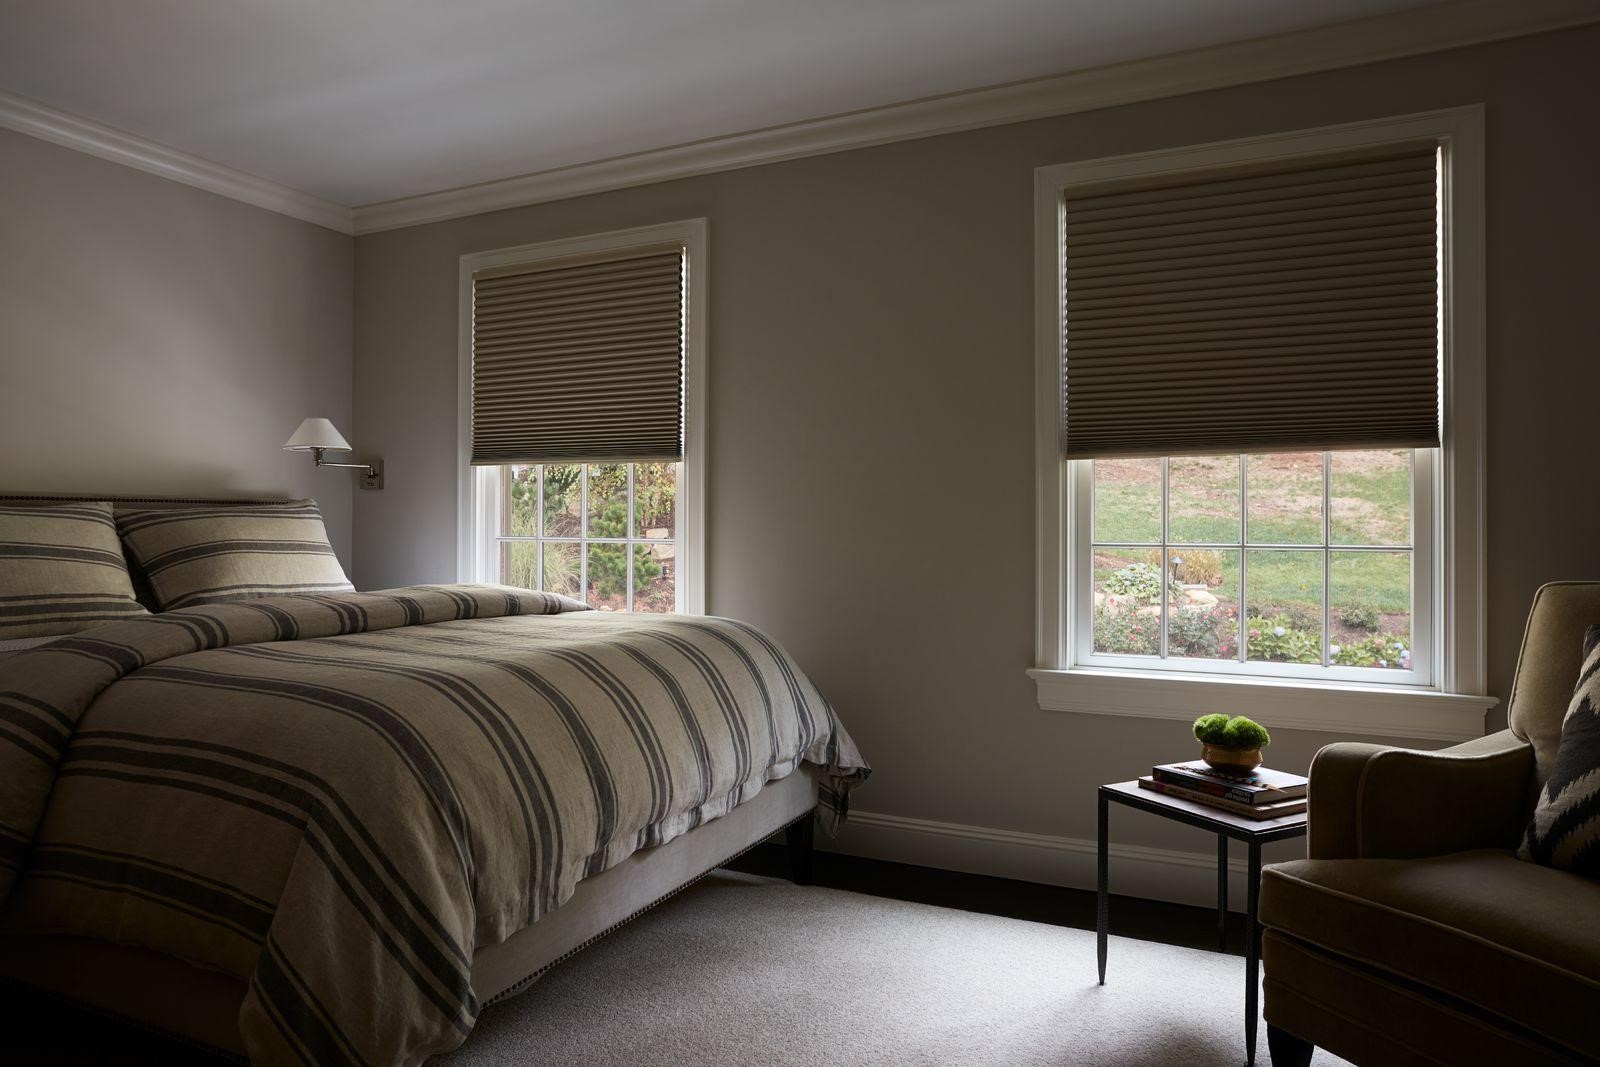
Styles: For a sleek, modern look, use roller shades with blackout material. If you prefer a more traditional style, curtains with a blackout lining can be both functional and decorative. Roman shades with blackout fabric offer a classic, tailored appearance.
Mounting Options: Use Velcro strips for easy removal and reattachment. Magnetic strips can also work well, especially for metal window frames. For a more permanent solution, consider installing a curtain rod or track system.
Additional Features: Add grommets or eyelets to your blackout fabric for a more polished look. Consider sewing in pockets for inserting weights at the bottom to keep the fabric taut. For added insulation, attach a layer of thermal lining to the back of your blackout material.
Eco-Friendly Ideas for Your Project
Eco-friendly materials can help make blackout windows while being kind to the planet. Recycled fabric is a great option. Old curtains, bed sheets, or even large pieces of clothing can be repurposed. Look for organic cotton or hemp fabric if buying new materials. These are more sustainable than synthetic fabrics.
Use natural dyes if you need to color the fabric. They are less harmful to the environment compared to chemical dyes.
For the window frame, consider using reclaimed wood. Old pallets or leftover wood from other projects can be cut to size. This reduces waste and gives the wood a second life.
Velcro strips can be used to attach the blackout fabric to the window frame. Velcro is durable and can be reused multiple times.
Beeswax wraps can help seal any gaps around the edges of the window. They are reusable and biodegradable, unlike plastic wraps.
Old blankets or quilts can also be used as an extra layer for insulation. They can be hung behind the main blackout fabric to keep the room even darker and warmer.
Reusing materials not only saves money but also reduces waste. It’s a win-win for you and the environment.
Your DIY Blackout Windows Are Ready
You've got all the tools and know-how to create DIY blackout windows. With some blackout fabric, Velcro, measuring tape, and a bit of patience, you can block out unwanted light. Remember to measure your windows accurately, cut the fabric to fit, and attach the Velcro securely. This project not only saves money but also gives you control over your space's lighting. Plus, it's a fun way to add a personal touch to your home. So, grab your materials, follow the steps, and enjoy a darker, more peaceful room. Happy DIY-ing!
What materials do I need to make DIY blackout windows?
You'll need blackout fabric, measuring tape, scissors, Velcro strips, and a sewing kit or fabric glue.
How do I measure my windows for blackout fabric?
Measure the width and height of your window frame. Add a couple of inches to each side to ensure full coverage.
Can I use regular fabric instead of blackout fabric?
Regular fabric won't block out light as effectively. Blackout fabric is specially designed to keep light out.
How do I attach the blackout fabric to my windows?
Use Velcro strips to attach the fabric to the window frame. This makes it easy to remove and reattach.
Do I need to sew the edges of the blackout fabric?
Sewing the edges gives a cleaner look, but you can also use fabric glue if you don't want to sew.
Will DIY blackout windows help with insulation?
Yes, they can help keep your room cooler in summer and warmer in winter by blocking out sunlight and drafts.
Can I still open my windows with the blackout fabric installed?
Yes, if you use Velcro strips, you can easily remove the fabric to open your windows.