
Home>Home & Furniture>Doors & Windows>How to Install a Shower Door
Doors & Windows
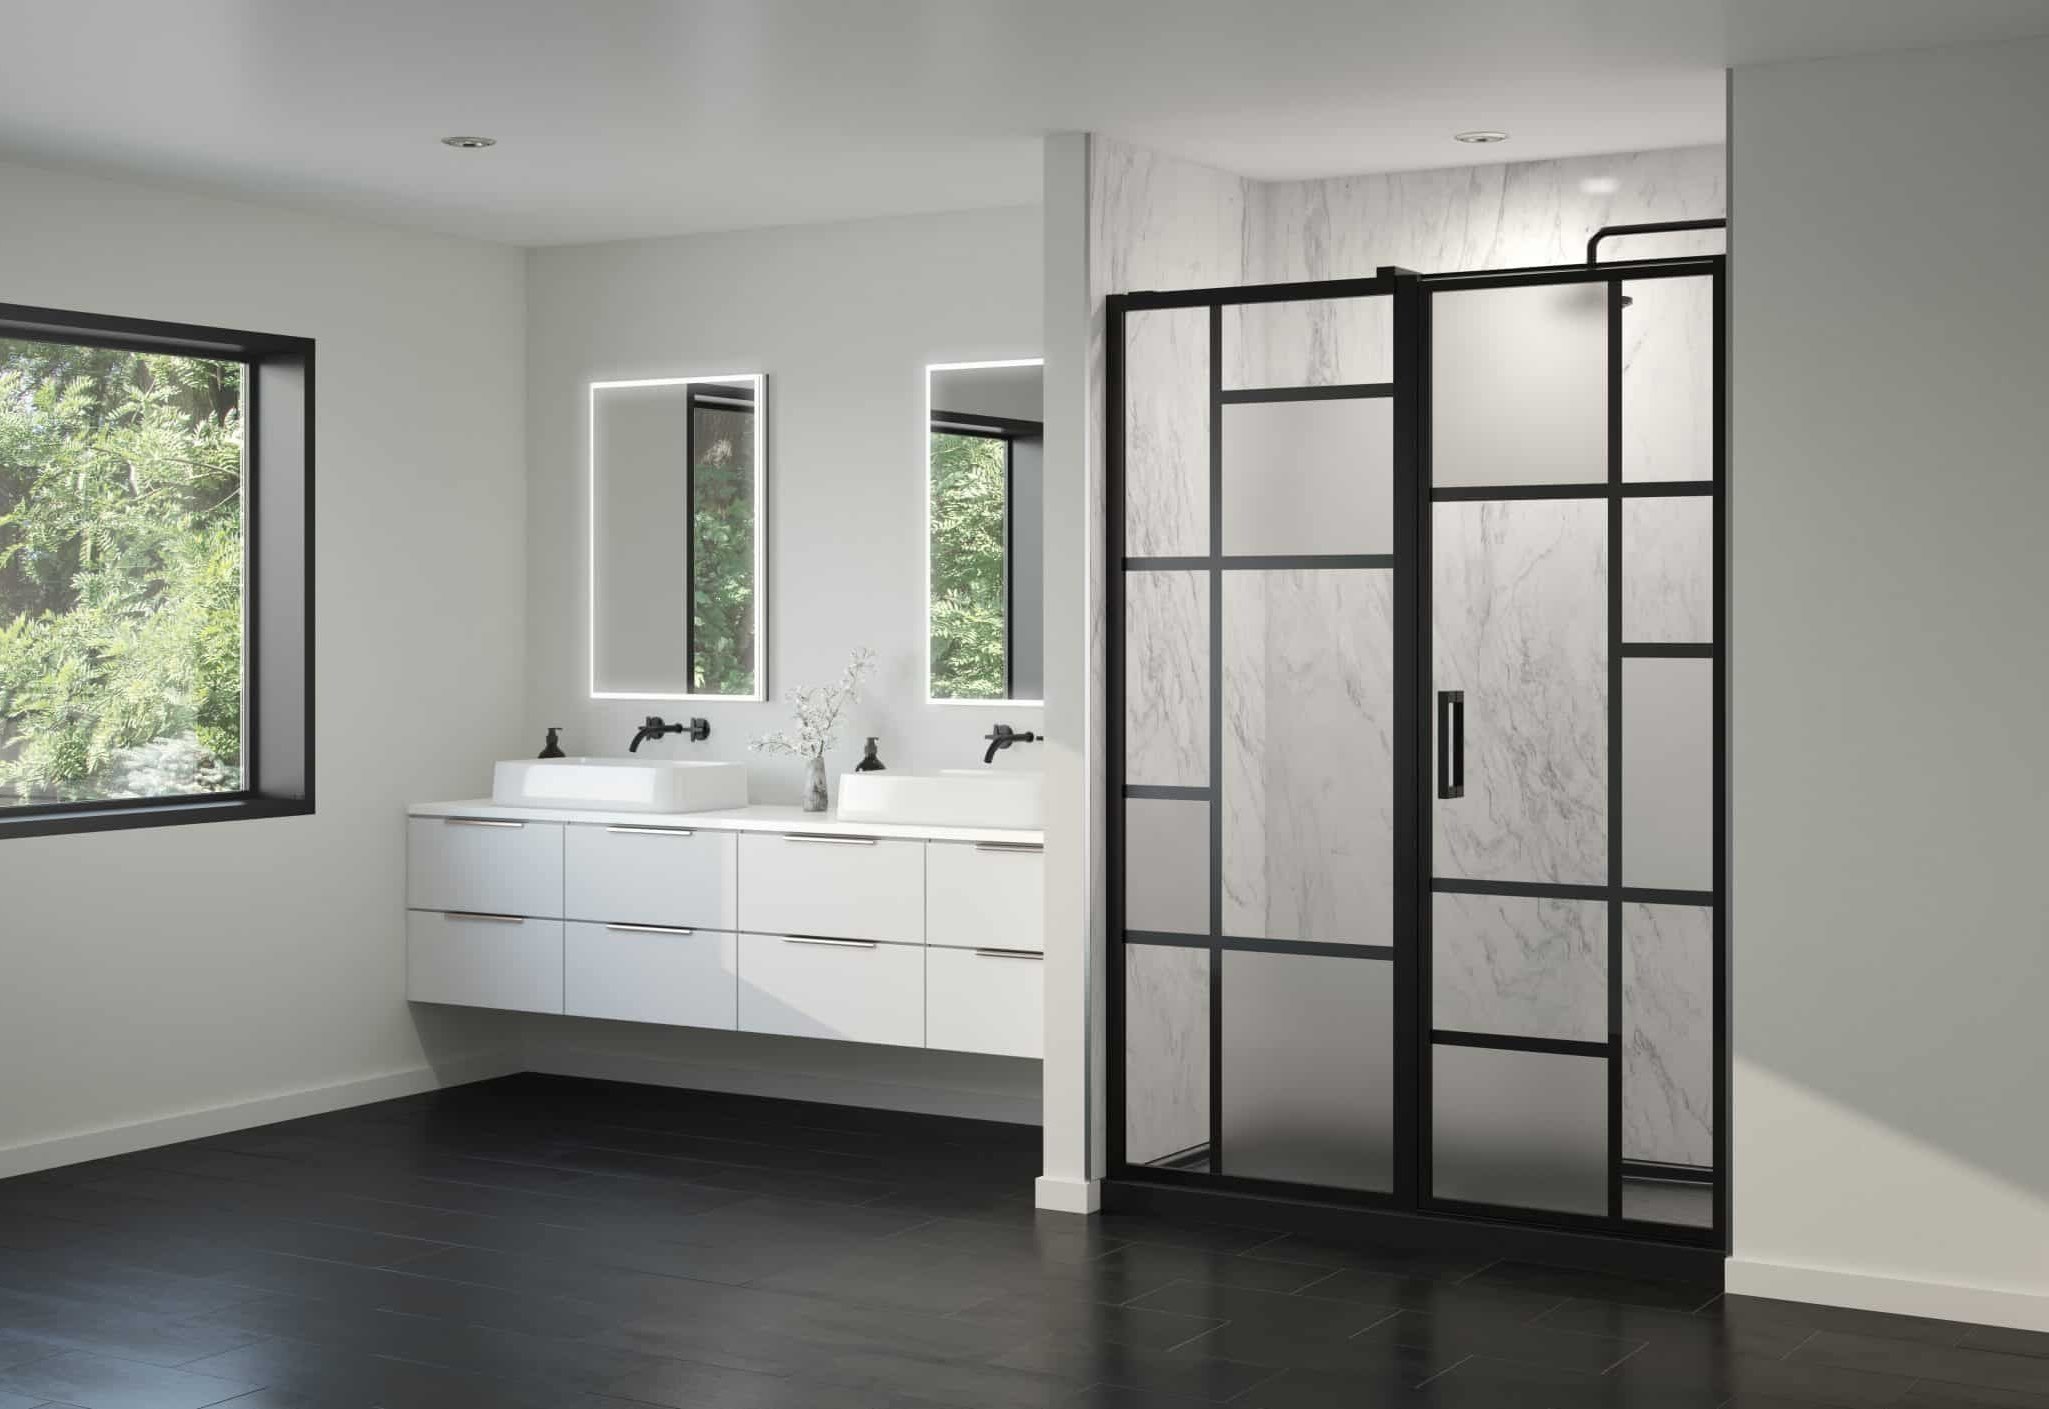
How to Install a Shower Door
Published: September 16, 2024
Learn how to install a shower door with our step-by-step guide. Perfect for DIY enthusiasts, this comprehensive tutorial ensures a secure and stylish bathroom upgrade.
(Many of the links in this article redirect to a specific reviewed product. Your purchase of these products through affiliate links helps to generate commission for Twigandthistle.com, at no extra cost. Learn more)
Installing a shower door might seem challenging, but with a bit of guidance, it becomes manageable. Basic tools and patience will get you through the process. A new shower door can make a bathroom look more modern and keep water from splashing out. Whether you’re replacing an old door or adding one for the first time, this guide will help you tackle the job. Follow these steps, and pretty soon, you’ll have a sleek, functional shower entrance. Ready to get started? Make sure all tools and materials are on hand before diving in.
Getting Ready for the Project
Measure the Space: Use a tape measure to get the exact width and height of the shower opening. Write down these measurements.
Gather Tools and Materials: Collect a drill, level, screwdriver, tape measure, masking tape, safety glasses, and the shower door kit.
Read Instructions: Go through the shower door kit instructions to understand the installation process.
Prepare the Area: Clean the shower area where the door will be installed. Remove any old caulk or debris.
Mark Drill Holes: Use masking tape to mark where the drill holes will go. This helps prevent tiles from cracking.
Check for Level: Use a level to ensure the markings are straight. Adjust if necessary.
Wear Safety Gear: Put on safety glasses to protect your eyes from debris while drilling.
Drill Pilot Holes: Carefully drill pilot holes at the marked spots. Use a tile bit if drilling into tiles.
Install Anchors: Insert wall anchors into the pilot holes to provide a secure base for screws.
Set Up Workspace: Lay out all parts of the shower door kit in an organized manner. Ensure you have enough space to work comfortably.
Double-Check Measurements: Before starting the installation, recheck all measurements to avoid mistakes.
Gather Your Materials and Tools
- Shower Door Kit: Includes the door, frame, and necessary hardware.
- Measuring Tape: Ensures accurate measurements for fitting.
- Level: Keeps everything straight and even.
- Drill: Used for making holes in the wall for mounting.
- Drill Bits: Different sizes for various screws and anchors.
- Screwdriver: Tightens screws; both flathead and Phillips might be needed.
- Silicone Sealant: Seals edges to prevent water leaks.
- Caulking Gun: Applies the silicone sealant smoothly.
- Masking Tape: Holds parts in place temporarily.
- Pencil: Marks measurements and drill points.
- Safety Glasses: Protects eyes from debris.
- Gloves: Protects hands while handling glass and tools.
- Wrench: Tightens nuts and bolts.
- Utility Knife: Cuts excess sealant and tape.
- Cleaning Cloth: Wipes away dust and excess sealant.
Required Skills and Time Commitment
Skill Level: Intermediate
Time Required: 3-4 hours
- Gather Tools and Materials: 15 minutes
- Measure and Mark: 20 minutes
- Install the Track: 30 minutes
- Attach the Door: 1 hour
- Seal and Finish: 1 hour
Important Keywords: Skill Level, Time Required, Gather Tools, Measure, Install, Attach, Seal, Finish
Detailed Installation Steps
Gather Materials and Tools
- Shower door kit
- Drill
- Screws
- Level
- Measuring tape
- Screwdriver
- Caulk and caulk gun
- Safety glasses
Measure the Opening
- Use the measuring tape to measure the width and height of the shower opening.
- Write down these measurements.
Prepare the Area
- Clean the shower area where the door will be installed.
- Ensure the surfaces are dry.
Install the Bottom Track
- Place the bottom track on the shower threshold.
- Use the level to ensure it is straight.
- Mark the drill holes with a pencil.
Drill Holes
- Put on safety glasses.
- Drill holes where you marked.
Attach the Bottom Track
- Secure the bottom track with screws.
- Make sure it is firmly in place.
Install the Side Tracks
- Position the side tracks against the walls.
- Use the level to ensure they are vertical.
- Mark the drill holes.
Drill Holes for Side Tracks
- Drill holes where you marked.
Attach the Side Tracks
- Secure the side tracks with screws.
- Ensure they are firmly attached.
Install the Door
- Lift the door into place.
- Attach it to the side tracks according to the manufacturer's instructions.
Secure the Door
- Tighten all screws and ensure the door is secure.
- Check that the door opens and closes smoothly.
Seal the Edges
- Apply caulk along the edges of the tracks.
- Smooth the caulk with a finger or tool.
Clean Up
- Wipe away any excess caulk.
- Clean the area to remove any debris.
Test the Door
- Open and close the door several times.
- Ensure it operates smoothly and is secure.
Helpful Tips and Tricks
Measure twice, cut once. Double-check measurements before cutting or drilling. This ensures everything fits perfectly.
Use a level. Make sure the door is straight. A crooked door can cause leaks and won't close properly.
Have a helper. Shower doors can be heavy. Having someone to help hold the door makes installation easier and safer.
Seal properly. Use silicone caulk to seal edges. This prevents water from leaking out.
Read instructions. Each door model may have specific steps. Follow the manufacturer's guide closely.
Common mistakes to avoid:
Skipping measurements. Incorrect measurements lead to poor fitting doors.
Ignoring the level. An uneven door causes functional and aesthetic issues.
Not sealing edges. Water leaks can damage your bathroom floor.
Over-tightening screws. This can crack the glass or damage the frame.
Alternatives for materials or methods:
Frameless doors. These offer a sleek look but require precise installation.
Sliding doors. Easier to install in small bathrooms.
Acrylic panels. Lighter than glass, easier to handle.
Magnetic strips. Use these for a better seal instead of traditional latches.
Estimating the Costs
Shower Door: $200 - $600 depending on style and quality.
Drill: $50 - $100 for a basic model.
Drill Bits: $10 - $20 for a set.
Level: $10 - $20.
Measuring Tape: $5 - $15.
Screwdriver: $5 - $15.
Silicone Sealant: $5 - $10.
Caulking Gun: $5 - $15.
Painter's Tape: $3 - $7.
Safety Glasses: $5 - $10.
Gloves: $5 - $10.
Total estimated cost: $303 - $822.
Budget-friendly alternatives:
Shower Door: Look for sales or second-hand options, $100 - $200.
Drill: Borrow from a friend or rent, $0 - $20.
Drill Bits: Borrow or buy only the needed size, $0 - $5.
Level: Use a smartphone app, $0.
Measuring Tape: Borrow or use a ruler, $0 - $5.
Screwdriver: Borrow or use a multi-tool, $0 - $5.
Silicone Sealant: Buy a smaller tube, $3 - $5.
Caulking Gun: Borrow or use a squeezable tube, $0 - $5.
Painter's Tape: Use masking tape, $1 - $3.
Safety Glasses: Borrow or use sunglasses, $0 - $5.
Gloves: Use kitchen gloves, $0.
Total estimated cost with alternatives: $104 - $253.
Different Styles and Custom Options
Materials: Instead of standard glass, consider using frosted glass for more privacy. Acrylic panels can be a lightweight, shatter-resistant alternative. For a rustic look, reclaimed wood with a waterproof finish can be used.
Colors: Choose a black frame for a modern, industrial vibe. Brushed nickel or oil-rubbed bronze frames can add a touch of elegance. For a bold statement, opt for a colored glass door, like blue or green.
Styles: A frameless shower door offers a sleek, contemporary look. Sliding doors save space and are ideal for smaller bathrooms. Bi-fold doors can be a practical choice for tight spaces. Pivot doors provide a classic, timeless appearance.
Handles and Hardware: Swap out standard handles for decorative knobs or bar handles in unique shapes or finishes. Consider magnetic seals for a cleaner look and better water resistance.
Additional Features: Add a towel bar to the door for extra functionality. Install a built-in mirror on the inside of the door. Consider etched designs or patterns on the glass for a custom touch.
Eco-Friendly Installation Tips
Eco-friendly materials can make a big difference. Recycled glass shower doors are a great option. They look stylish and reduce waste. If you prefer a frame, choose aluminum. It’s lightweight and recyclable.
Reusing materials is another smart move. If you have an old shower door, consider refurbishing it. A fresh coat of paint or new hardware can give it a new life.
When installing, use low-VOC (volatile organic compounds) sealants. These are better for indoor air quality. Water-based adhesives are also a good choice. They are less toxic and easier to clean up.
For the frame, consider bamboo. It’s a renewable resource and very durable. Cork is another eco-friendly option. It’s water-resistant and sustainable.
Energy-efficient tools can help too. Use a cordless drill with rechargeable batteries. This reduces energy consumption and waste.
Lastly, recycle any packaging materials. Cardboard, plastic, and metal can all be recycled. This helps reduce landfill waste.
Your Shower Door Awaits
Installing a shower door isn't rocket science. With the right tools and a bit of patience, you can transform your bathroom. Measure twice, cut once. Make sure everything's level. Don't rush the sealing process; let it cure properly. If you hit a snag, take a step back and reassess. Sometimes, a fresh perspective helps. Remember, safety first. Wear those gloves and goggles. Double-check your work before calling it done. A well-installed shower door not only looks great but also functions smoothly. Enjoy the satisfaction of a job well done. Now, go ahead and admire your handiwork. You've earned it.
How do I measure for a new shower door?
Measure the width of the shower opening at the top, middle, and bottom. Use the smallest measurement. Also, measure the height from the base to the top where the door will be installed.
What tools will I need to install a shower door?
You’ll need a tape measure, level, drill, screwdriver, silicone sealant, and a hacksaw. Some kits might include extra hardware.
Can I install a shower door by myself?
Yes, but it’s easier with a helper. Shower doors can be heavy and tricky to align. Having someone to hold parts in place while you secure them can save time and frustration.
How do I ensure the shower door is level?
Use a level to check both the vertical and horizontal alignment. Adjust the door frame or hinges as needed before tightening screws completely.
What type of shower door is easiest to install?
Sliding doors are generally easier for DIY projects. They don’t require precise alignment like hinged doors and often come with simpler installation instructions.
How do I seal the edges to prevent leaks?
Apply a continuous bead of silicone sealant along the edges where the door frame meets the wall and base. Smooth it out with a wet finger or a caulking tool for a clean finish.
How long does it take to install a shower door?
It usually takes about 2-4 hours, depending on your experience and the type of door. Make sure to read the instructions thoroughly before starting.