
Home>Home & Furniture>Doors & Windows>How to Build Sliding Cabinet Doors
Doors & Windows
How to Build Sliding Cabinet Doors
Published: September 21, 2024
Learn how to build sliding cabinet doors with our step-by-step guide. Perfect for DIY enthusiasts, this tutorial covers materials, tools, and techniques for a flawless finish.
(Many of the links in this article redirect to a specific reviewed product. Your purchase of these products through affiliate links helps to generate commission for Twigandthistle.com, at no extra cost. Learn more)
Sliding cabinet doors provide a sleek, modern look to any room. They're practical and save space since they don't swing outward. Building them yourself is simpler than you might think. With some basic tools and materials, you can create custom sliding doors that perfectly fit your cabinets. This guide will walk you through the steps, making the process clear and manageable. Whether you're a seasoned DIY enthusiast or a beginner, these instructions will help you achieve professional results. Ready to get started? Let’s dive into the world of sliding cabinet doors and transform your space!
Getting Ready for the Project
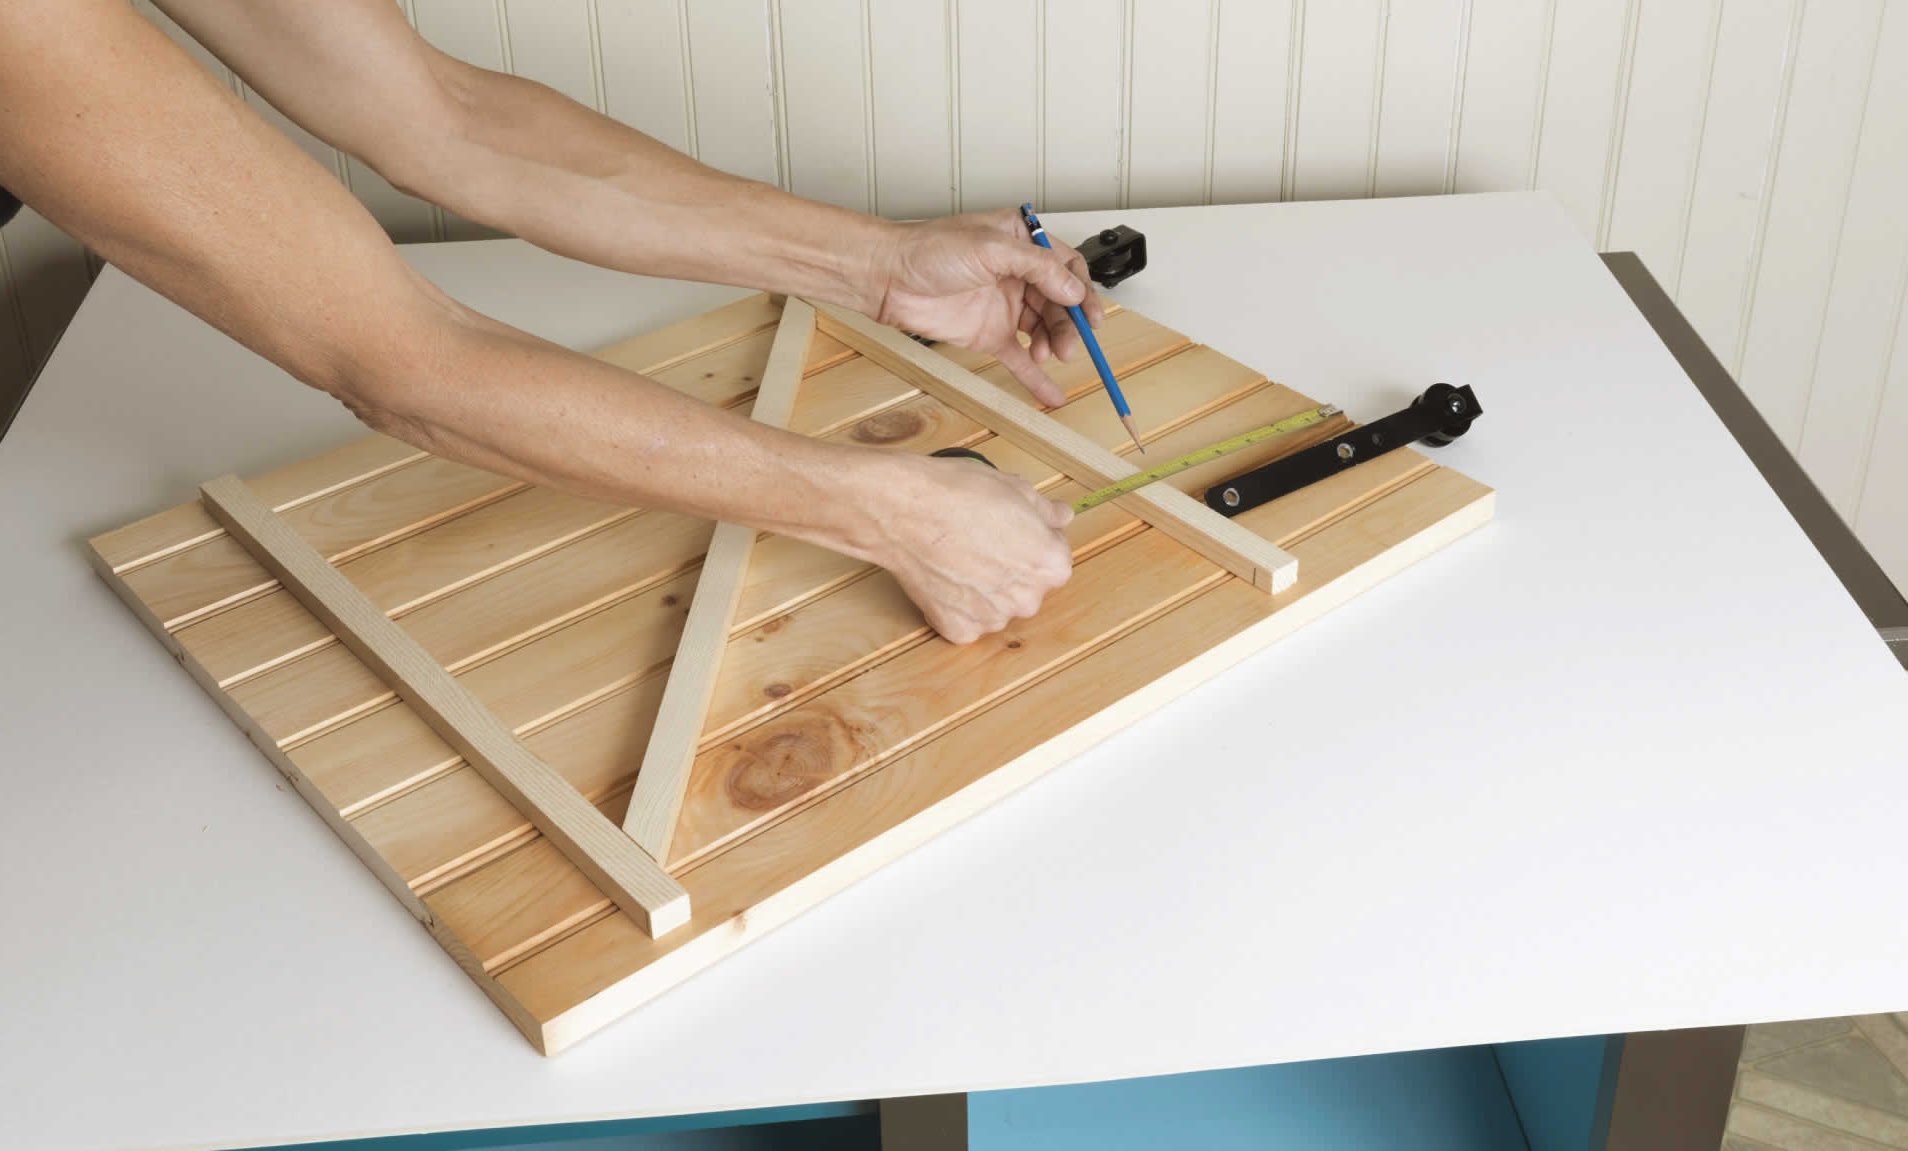
Measure the Space: Use a tape measure to get accurate dimensions of the cabinet opening. Write these down.
Choose Materials: Select sturdy wood or plywood for the doors. Ensure the material is straight and free of defects.
Gather Tools: Collect a saw, drill, screws, sandpaper, wood glue, and a measuring tape. Have everything within reach.
Safety Gear: Wear safety glasses, gloves, and a dust mask to protect yourself from wood dust and debris.
Clear the Workspace: Make sure your work area is clean and spacious. Remove any clutter to avoid accidents.
Cut the Wood: Use a saw to cut the wood to the measured dimensions. Double-check measurements before cutting.
Sand the Edges: Smooth out rough edges with sandpaper to prevent splinters and ensure a clean finish.
Install Tracks: Attach sliding tracks to the top and bottom of the cabinet opening. Follow the manufacturer's instructions.
Pre-drill Holes: Mark and pre-drill holes for handles or knobs. This prevents the wood from splitting.
Assemble the Doors: Use wood glue and screws to assemble the door panels. Let the glue dry completely.
Test Fit: Slide the doors into the tracks to ensure they move smoothly. Make any necessary adjustments.
Finish: Apply paint or stain to the doors for a polished look. Let it dry before final installation.
Gather Your Materials and Tools
Plywood Sheets: Used for the main panels of the sliding doors. Choose a thickness that matches your cabinet design.
Wood Strips: These will frame the plywood panels, adding strength and a finished look.
Sliding Door Tracks: Essential for the doors to slide smoothly. Make sure they fit the width of your cabinet.
Sliding Door Rollers: Attach to the bottom of the doors, allowing them to glide along the tracks.
Screws and Nails: Needed to assemble the frame and attach the tracks and rollers.
Wood Glue: Provides extra strength to the joints and helps keep the frame together.
Sandpaper: Smooths out any rough edges on the wood, ensuring a clean finish.
Paint or Stain: Adds color and protects the wood. Choose based on your desired look.
Measuring Tape: Ensures accurate measurements for cutting wood and installing tracks.
Saw: Used to cut the plywood and wood strips to the correct size.
Drill: Needed for making holes for screws and attaching hardware.
Screwdriver: Tightens screws and helps with assembly.
Clamps: Hold pieces together while the glue dries, ensuring a strong bond.
Level: Ensures the tracks are installed straight, so the doors slide properly.
Pencil: Marks measurements and guides for cutting and drilling.
Safety Gear: Includes gloves, goggles, and a dust mask to protect while working with wood and tools.
Skill Level and Time Commitment
Skill Level: Intermediate
Time Required: 4-6 hours
- Measure and Cut Materials: 1-2 hours
- Assemble the Frame: 1 hour
- Install Sliding Mechanism: 1 hour
- Attach Doors and Finishing Touches: 1-2 hours
Detailed Step-by-Step Guide
Measure the Cabinet Opening
- Measure the height and width of the cabinet opening.
- Subtract 1/4 inch from both measurements to allow room for the sliding mechanism.
Cut the Plywood Panels
- Use a circular saw to cut two plywood panels to the adjusted measurements.
- Sand the edges to smooth any rough spots.
Attach the Rails
- Measure and cut the top and bottom rails to fit the width of the cabinet.
- Screw the bottom rail into place inside the cabinet, ensuring it is level.
- Repeat for the top rail.
Install the Rollers
- Attach rollers to the top edge of each plywood panel.
- Ensure the rollers are evenly spaced and securely fastened.
Fit the Panels
- Lift the first panel and insert the top rollers into the top rail.
- Slide the bottom edge into the bottom rail.
- Repeat for the second panel.
Test the Doors
- Slide both doors back and forth to ensure they move smoothly.
- Adjust the rollers if necessary for better alignment.
Add Handles
- Mark the desired location for handles on each door.
- Drill holes and attach the handles securely.
Finish the Doors
- Paint or stain the doors as desired.
- Allow to dry completely before using.
Helpful Tips and Tricks
Measure twice, cut once. Accurate measurements prevent gaps or misalignment. Use a level to ensure tracks are straight. Lubricate the tracks with silicone spray for smooth sliding. Choose lightweight materials like plywood or MDF to avoid heavy doors. Pre-drill holes to prevent wood from splitting. Sand edges for a smooth finish.
Common mistakes to avoid: Not measuring properly can lead to ill-fitting doors. Using heavy materials can make doors hard to slide. Forgetting to lubricate tracks can cause sticking. Not using a level can result in crooked doors.
Alternatives for materials or methods: Instead of plywood, try MDF for a smoother finish. For a rustic look, consider reclaimed wood. Instead of traditional tracks, use barn door hardware for a unique style.
Estimating the Cost
Plywood: $40-$60 per sheet. You might need 2 sheets.
Wood for frames: $20-$30. Pine is a good budget option.
Sliding door hardware kit: $30-$50. Includes tracks and rollers.
Screws and nails: $5-$10.
Wood glue: $5-$10.
Sandpaper: $5.
Paint or stain: $10-$20.
Paintbrushes or rollers: $5-$10.
Tools: If you don't have them, a circular saw costs about $50-$100, a drill around $30-$60, and a screwdriver set about $10-$20.
Total cost: $160-$375, depending on the materials and tools you already have.
Budget-friendly alternatives: Use MDF instead of plywood, which is cheaper at $20-$30 per sheet. Borrow tools from friends or rent them from a local hardware store.
Different Variations and Customizations
Materials: Instead of using wood, try metal or glass for a modern look. Plywood can be a budget-friendly option, while reclaimed wood adds a rustic touch.
Colors: Paint the doors in bold colors like red or navy for a statement piece. For a more subtle look, use neutral tones like beige or gray. Staining the wood can highlight its natural grain.
Styles: Add decorative molding for a classic style. Use shiplap panels for a farmhouse feel. For a sleek, contemporary look, opt for flat panels without any embellishments.
Handles: Install bar handles for a modern vibe. Recessed handles keep the surface smooth and clean. Vintage knobs can add character.
Tracks: Use exposed tracks for an industrial look. Concealed tracks offer a cleaner appearance. Soft-close tracks prevent slamming.
Glass Inserts: Replace part of the wood with frosted glass for privacy. Clear glass can display items inside. Textured glass adds an artistic element.
Patterns: Create a chevron pattern with wood strips. Use geometric shapes for a contemporary design. Herringbone patterns add a touch of elegance.
Finishes: Choose a matte finish for a modern look. Glossy finishes reflect light and make the space feel larger. Distressed finishes give a vintage appearance.
Additional Features: Add mirrors to the doors for functionality. Install chalkboard paint for a writable surface. Attach corkboard for pinning notes and photos.
Eco-Friendly Tips
Reclaimed Wood: Use old barn wood or pallets. Sand them down for a smooth finish. This reduces waste and gives a rustic look.
Bamboo: A fast-growing plant, bamboo is strong and eco-friendly. It’s a great alternative to traditional wood.
Recycled Glass: For a modern touch, consider recycled glass panels. They add color and are sustainable.
Low-VOC Paints: Use paints with low volatile organic compounds. They’re better for indoor air quality and the environment.
Salvaged Hardware: Reuse old handles, tracks, and hinges. Check thrift stores or salvage yards for unique pieces.
Natural Finishes: Opt for natural oils or waxes instead of chemical-based finishes. They protect the wood and are safer for the planet.
Energy-Efficient Tools: Use hand tools or energy-efficient power tools. This reduces electricity consumption.
Local Materials: Source materials locally to cut down on transportation emissions. Local wood or recycled items are great choices.
Insulation: If your cabinet doors need insulation, use eco-friendly options like wool or recycled denim. They’re effective and sustainable.
Minimal Waste: Plan your cuts carefully to minimize scrap. Use leftover pieces for smaller projects or donate them.
DIY Kits: Some companies offer eco-friendly sliding door kits. These often include sustainable materials and instructions for easy assembly.
Your DIY Masterpiece Awaits
Building sliding cabinet doors isn't just about saving money; it's about creating something unique. You've learned how to measure, cut, and assemble your materials. You've seen how patience and precision can turn a simple project into a stunning piece of furniture. Now, it's time to put those skills to the test. Gather your tools, pick out your favorite wood, and start crafting. Remember, every mistake is a lesson, and every success is a step closer to mastering DIY. Don't rush the process. Enjoy each moment, and soon enough, you'll have a set of sliding doors that not only look great but also function perfectly. So, roll up your sleeves, get your hands dirty, and let your creativity shine. Your new cabinet doors are just a few steps away. Happy building!
How do I measure for sliding cabinet doors?
Measure the height and width of the cabinet opening. Subtract about 1/4 inch from each measurement to ensure the doors slide smoothly.
What materials do I need?
You’ll need wood panels, track hardware, screws, a saw, drill, measuring tape, and sandpaper.
How do I install the tracks?
Attach the top and bottom tracks inside the cabinet frame. Make sure they’re level and aligned properly.
Can I use any type of wood?
Most types of plywood or MDF work well. Choose a material that matches your cabinet style.
How do I make the doors slide smoothly?
Sand the edges of the doors and apply a bit of wax or lubricant to the tracks.
Do I need special tools?
Basic tools like a saw, drill, and screwdriver should be enough. A level helps ensure everything is straight.
How do I finish the doors?
Paint or stain the doors to match your decor. Apply a sealant to protect the wood.