
Home>Home & Furniture>Doors & Windows>How to Build DIY Bifold Closet Doors
Doors & Windows
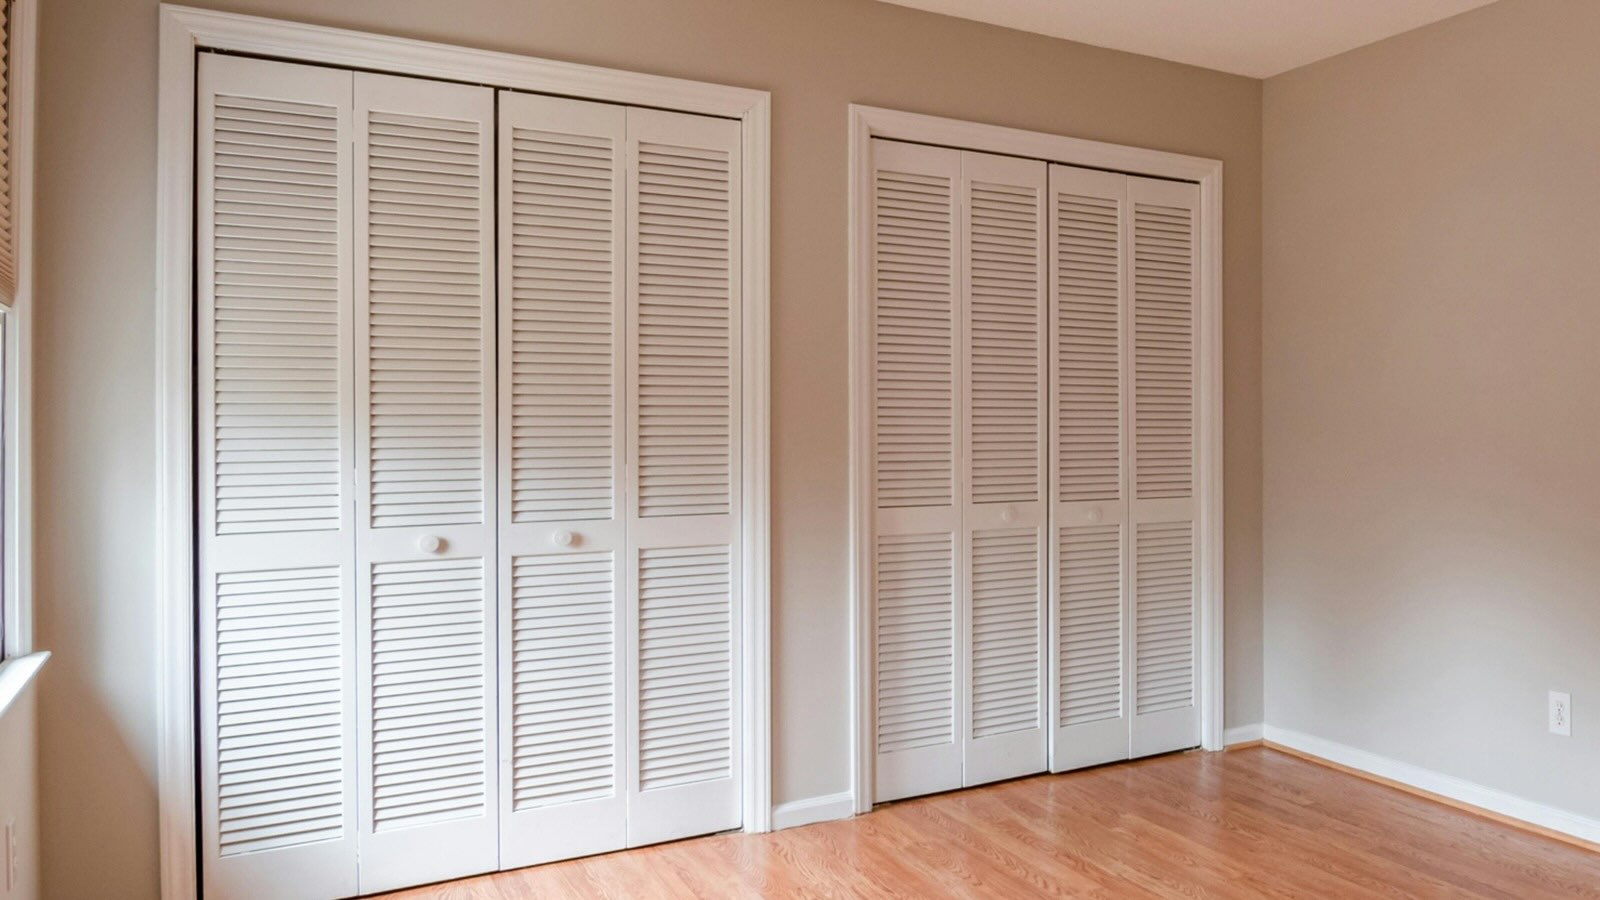
How to Build DIY Bifold Closet Doors
Published: September 7, 2024
Learn how to build DIY bifold closet doors with our step-by-step guide. Perfect for beginners, this project will enhance your home's functionality and style.
(Many of the links in this article redirect to a specific reviewed product. Your purchase of these products through affiliate links helps to generate commission for Twigandthistle.com, at no extra cost. Learn more)
Making your own bifold closet doors can be easier than you think. With the right tools and a bit of patience, you can create custom doors that fit your style and space perfectly. Whether you're looking to save money or just enjoy the satisfaction of a DIY project, this guide will walk you through the basic steps. You'll learn how to measure your space, choose the right materials, and assemble your doors with confidence. Ready to get started? Let's dive into the world of DIY and transform your closet!
Getting Ready for the Project
Measure the Closet Opening: Use a tape measure to get the height and width of the closet opening. Write down these measurements.
Gather Materials and Tools: Collect wood panels, hinges, screws, a drill, a saw, sandpaper, paint or stain, and a measuring tape.
Safety Gear: Wear safety goggles, gloves, and a dust mask to protect yourself from wood dust and debris.
Prepare the Workspace: Clear a large, flat area to work. Lay down a drop cloth to catch sawdust and paint drips.
Cut the Wood Panels: Use the saw to cut the wood panels to the size of the closet opening. Sand the edges to smooth them out.
Attach Hinges: Mark where the hinges will go on the panels. Drill pilot holes and attach the hinges with screws.
Paint or Stain: Apply paint or stain to the panels. Let them dry completely before moving on.
Install the Track: Follow the manufacturer’s instructions to install the track at the top of the closet opening.
Hang the Doors: Attach the bifold doors to the track. Make sure they slide smoothly.
Test and Adjust: Open and close the doors several times. Adjust the hinges or track if needed for smooth operation.
Materials and Tools Checklist
Materials:
- Plywood Sheets: Used for the main panels of the doors.
- Wood Strips: For framing and adding support to the plywood.
- Hinges: Connect the door panels and allow them to fold.
- Bifold Door Hardware Kit: Includes tracks, pivot brackets, and other necessary components.
- Wood Screws: Secure the wood strips and hinges.
- Wood Glue: Provides additional bonding strength.
- Sandpaper: Smooths the wood surfaces.
- Paint or Stain: Finishes the doors to match your decor.
- Handles or Knobs: For opening and closing the doors.
Tools:
- Tape Measure: Ensures accurate measurements.
- Circular Saw: Cuts the plywood and wood strips to size.
- Drill: Makes holes for screws and hardware.
- Screwdriver: Tightens screws.
- Clamps: Holds pieces together while the glue dries.
- Paintbrush or Roller: Applies paint or stain.
- Level: Ensures the doors are hung straight.
- Pencil: Marks measurements and cutting lines.
- Safety Gear: Includes gloves, goggles, and a dust mask for protection.
Using these materials and tools, you can build sturdy and attractive bifold closet doors.
Required Skills and Time Commitment
Skill Level: Intermediate
Time Required: 6-8 hours
- Measure and Cut Panels: 1-2 hours
- Assemble Door Frames: 1-2 hours
- Attach Hinges and Hardware: 1 hour
- Install Tracks and Guides: 1 hour
- Paint or Stain: 1-2 hours
Detailed Step-by-Step Guide
Measure the Closet Opening
- Use a tape measure to find the width and height of the closet opening.
- Write down these measurements.
Cut the Plywood Panels
- Purchase plywood sheets based on your measurements.
- Use a circular saw to cut the plywood into four equal panels.
Sand the Panels
- Smooth the edges and surfaces with sandpaper.
- Wipe away dust with a damp cloth.
Attach Hinges
- Lay two panels side by side.
- Place three hinges evenly spaced along the long edge.
- Screw the hinges into place.
Install the Track
- Follow the manufacturer's instructions to attach the track to the top of the closet opening.
- Ensure it is level.
Attach the Pivot Brackets
- Screw the pivot brackets to the top and bottom corners of the outer edges of the panels.
- Make sure they align with the track.
Hang the Doors
- Lift the doors and insert the pivots into the track.
- Adjust the height and alignment as needed.
Install the Knobs
- Drill holes for the knobs on the outer panels.
- Screw the knobs into place.
Paint or Stain
- Apply paint or stain to the doors for a finished look.
- Allow them to dry completely.
Test the Doors
- Open and close the doors to ensure they move smoothly.
- Make any final adjustments.
Helpful Tips and Tricks
Measure twice, cut once. Accurate measurements ensure doors fit perfectly. Use a level to make sure everything is straight. Pre-drill holes to prevent wood from splitting. Sand edges for a smooth finish. Paint or stain before assembly to avoid mess.
Common mistakes include not measuring properly, leading to doors that don’t fit. Using the wrong hinges can cause doors to sag. Forgetting to sand can result in rough edges. Over-tightening screws can strip the wood.
For materials, consider using plywood instead of solid wood for a lighter option. Pocket hole screws can be an alternative to traditional wood screws for a cleaner look. Instead of paint, use wood veneer for a natural finish.
Budgeting for Your DIY Bifold Closet Doors
Materials:
- Plywood (4x8 sheet): $50
- Wood trim: $20
- Hinges (4-pack): $15
- Bifold door track kit: $25
- Wood screws: $5
- Wood glue: $5
- Paint or stain: $20
Tools:
- Circular saw: $60 (or borrow)
- Drill: $50 (or borrow)
- Measuring tape: $10
- Sandpaper: $5
- Paintbrushes: $10
Total Cost: $275
Budget-Friendly Alternatives:
- Use reclaimed wood instead of plywood: Free or low cost
- Borrow tools from friends or family: Free
- Buy hinges and track kit from a discount store: $20 total
- Use leftover paint or stain from previous projects: Free
Adjusted Total Cost: $140
Creative Variations and Customizations
Materials: Instead of traditional wood, consider using MDF (medium-density fiberboard) for a smoother finish. For a more rustic look, reclaimed wood adds character. Plywood can be a budget-friendly alternative.
Colors: Paint the doors in bold colors like navy blue or forest green for a modern touch. For a classic look, white or cream works well. Stain the wood to highlight its natural grain.
Styles: Add trim or molding to create a paneled effect. Install mirrored panels for a functional, space-enhancing option. Use louvered slats for a breezy, coastal vibe.
Hardware: Swap standard knobs for decorative handles or pulls in brass, chrome, or matte black. Use soft-close hinges for a quieter operation.
Patterns: Create a chevron or herringbone pattern with wood strips for a unique design. Apply wallpaper or fabric panels for added texture and color.
Glass Inserts: Incorporate frosted glass for privacy while allowing light to pass through. Use clear glass with a decorative film for a custom look.
Height and Width: Customize the door dimensions to fit non-standard openings. Use bi-fold tracks that can be cut to size for a perfect fit.
Finishing Touches: Add a crown molding at the top for an elegant finish. Install a bottom guide to keep the doors aligned and stable.
Eco-Friendly Building Tips
Reclaimed Wood: Use old wood from pallets, barns, or other sources. It adds character and reduces waste.
Bamboo: A fast-growing, renewable resource. Strong and lightweight, perfect for closet doors.
Recycled Metal: For hinges and handles, consider using recycled metal. It’s durable and eco-friendly.
Low-VOC Paint: Choose paints with low volatile organic compounds. They’re better for indoor air quality.
Natural Finishes: Use oils or waxes made from natural ingredients. They protect wood without harmful chemicals.
Insulation: Add a layer of cork or recycled denim inside the doors. It improves insulation and soundproofing.
Energy-Efficient Tools: Use hand tools or energy-efficient power tools. They consume less electricity.
Local Materials: Source materials locally to reduce transportation emissions. It supports local businesses too.
Upcycled Hardware: Repurpose old door knobs, hinges, or tracks. It gives a unique look and reduces waste.
Sustainable Fasteners: Use screws and nails made from recycled materials. They’re just as strong and eco-friendly.
Your DIY Bifold Closet Doors Are Ready!
You've got your bifold closet doors installed and looking sharp. All that hard work paid off. Now, your closet not only functions better but also adds a touch of style to your room. Remember, the key steps were measuring accurately, cutting precisely, and assembling carefully. Don't forget to give yourself a pat on the back for tackling this project.
If you ever need to adjust the doors, just tweak the hinges or track. Maintenance is minimal, just keep them clean and check for any loose screws now and then. Enjoy the satisfaction of knowing you did it yourself.
Got another project in mind? With the skills you've honed here, you're ready to take on more DIY challenges. Keep that toolbox handy and your creativity flowing. Happy building!
What materials do I need to build bifold closet doors?
You'll need wood panels, hinges, screws, a drill, measuring tape, sandpaper, paint or stain, and a track kit.
How do I measure my closet for bifold doors?
Measure the height and width of the closet opening. Subtract about 1/2 inch from both measurements to ensure the doors fit properly.
Can I use any type of wood?
Yes, but plywood or MDF are popular choices because they're easy to work with and relatively inexpensive.
How do I install the track for the doors?
Follow the instructions that come with the track kit. Usually, you'll need to screw the track into the top of the closet frame and ensure it's level.
Do I need special tools?
Basic tools like a drill, screwdriver, saw, and measuring tape should suffice. A level and sander can also be handy.
How do I attach the hinges?
Attach the hinges to the edges of the door panels. Make sure they're evenly spaced and aligned properly for smooth operation.
Can I paint or stain the doors?
Absolutely! Sand the doors first to smooth out any rough spots, then apply your chosen paint or stain. Let them dry completely before installation.