
Home>Home & Furniture>Doors & Windows>How to Build an Arch Door Frame
Doors & Windows
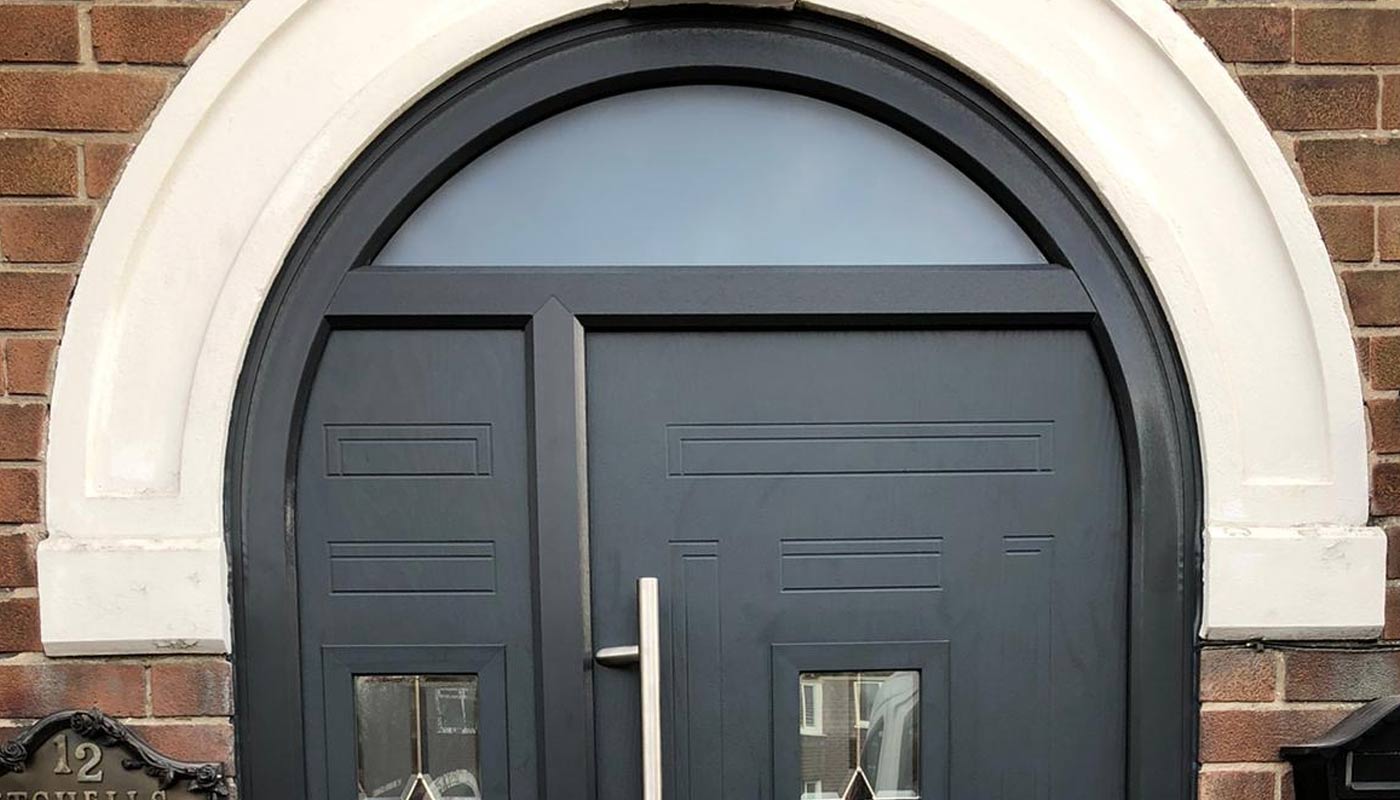
How to Build an Arch Door Frame
Published: September 6, 2024
Learn how to build an arch door frame with our step-by-step guide. Discover tips, tools, and techniques to create a stunning architectural feature for your home.
(Many of the links in this article redirect to a specific reviewed product. Your purchase of these products through affiliate links helps to generate commission for Twigandthistle.com, at no extra cost. Learn more)
Building an arch door frame can add elegance and a unique touch to your home. Crafting one might seem tricky, but with the right tools and steps, you can create a stunning archway. This guide will walk you through the essential materials, measurements, and techniques needed to complete the project. Whether you're renovating or constructing from scratch, making an arched door frame will become a rewarding DIY project. Grab your tools, and get ready to learn how to build an arch door frame that adds style and character to any room in your house.
Getting Ready for the Project
Measure the Doorway: Use a tape measure to get the width and height of the doorway. Write these measurements down.
Gather Materials: You will need plywood, a jigsaw, screws, a drill, a level, and sandpaper. Make sure everything is within reach.
Create a Template: Draw the arch shape on a piece of plywood. Use a string and pencil to get a perfect curve. Cut out the template with a jigsaw.
Safety Gear: Wear safety glasses, gloves, and a dust mask. These protect your eyes, hands, and lungs from debris.
Prepare the Workspace: Clear the area of any clutter. Lay down a drop cloth to catch sawdust and wood shavings.
Cut the Arch: Place the template on the plywood. Trace the shape and cut it out with a jigsaw. Sand the edges to make them smooth.
Install Support: Attach wooden blocks inside the doorway where the arch will go. Use a level to ensure they are straight.
Attach the Arch: Secure the arch piece to the wooden blocks with screws. Double-check that everything is level and sturdy.
Finish Up: Fill any gaps with wood filler. Sand the entire frame to prepare it for painting or staining.
Materials and Tools Needed
- Measuring Tape: Essential for accurate measurements of the door frame and arch.
- Pencil: Used to mark measurements and cutting lines on wood.
- Circular Saw: Cuts the wood pieces to the required lengths and shapes.
- Jigsaw: Ideal for cutting the curved sections of the arch.
- Wooden Planks: Forms the main structure of the door frame and arch.
- Plywood: Used for creating the curved arch section.
- Wood Glue: Bonds the wooden pieces together securely.
- Nails and Screws: Fasten the wooden pieces together.
- Hammer: Drives nails into the wood.
- Drill: Makes holes for screws and helps in fastening.
- Sandpaper: Smooths rough edges and surfaces.
- Level: Ensures the frame and arch are straight and even.
- Clamps: Holds pieces together while the glue dries.
- Safety Gear: Includes gloves, goggles, and ear protection for safety during construction.
Skill Level and Time Required
Skill Level: Intermediate
Time Required: 6-8 hours
- Measure and Cut: 1-2 hours
- Assemble Frame: 1-2 hours
- Install Arch: 2-3 hours
- Finishing Touches: 1 hour
Step-by-Step Instructions
Measure the Doorway:
- Measure the width and height of the doorway.
- Note these measurements.
Create the Arch Template:
- Use a large piece of cardboard.
- Draw half of the arch shape using a pencil and string.
- Cut out the template.
Cut the Arch Frame:
- Place the template on a piece of plywood.
- Trace the arch shape.
- Cut out the arch using a jigsaw.
Prepare the Studs:
- Cut two vertical studs to the height of the doorway.
- Attach these studs to the sides of the doorway.
Install the Arch Frame:
- Position the arch frame at the top of the doorway.
- Secure it with screws to the vertical studs.
Add Support Blocks:
- Cut small blocks of wood.
- Place them between the arch frame and the top of the doorway.
- Secure with screws.
Install Drywall:
- Cut drywall to fit the arch shape.
- Attach drywall to the arch frame and support blocks.
- Use drywall screws.
Apply Joint Compound:
- Spread joint compound over the seams.
- Smooth it out with a putty knife.
- Let it dry.
Sand the Surface:
- Sand the dried joint compound.
- Make it smooth and even.
Prime and Paint:
- Apply primer to the arch.
- Let it dry.
- Paint the arch with your chosen color.
Tips and Tricks for Success
Measure accurately before cutting any wood. Use a flexible curve ruler to draw the arch shape on plywood. Cut slowly with a jigsaw to avoid splintering. Sand edges smooth for a clean finish. Use wood glue and clamps to secure pieces together. Pre-drill holes for screws to prevent splitting.
Common mistakes include incorrect measurements, which lead to poor fit. Avoid rushing the cutting process; take your time. Skipping sanding can result in rough edges that look unprofessional.
For materials, plywood is a good choice for the arch, but MDF can work too. Instead of a jigsaw, a router with a template can provide cleaner cuts.
Estimating the Cost
Materials:
- Wood (for frame): $50-$100
- Plywood (for arch): $20-$40
- Drywall (if needed): $10-$20
- Wood screws: $5-$10
- Wood glue: $5-$10
- Sandpaper: $5-$10
- Paint or stain: $10-$30
Tools:
- Jigsaw: $30-$60
- Drill: $40-$80
- Measuring tape: $5-$10
- Level: $10-$20
- Hammer: $10-$20
- Screwdriver set: $10-$20
- Paintbrushes: $5-$15
Total Cost: $215-$445
Budget-Friendly Alternatives:
- Borrow tools from friends or family.
- Buy used tools from thrift stores or online marketplaces.
- Use scrap wood if available.
- Opt for cheaper paint or stain brands.
Different Ways to Customize
Materials: Instead of traditional wood, consider using plywood for a lighter option or MDF for a smoother finish. For a rustic look, reclaimed wood adds character.
Colors: Paint the frame in bold colors like navy blue or forest green for a modern touch. For a classic look, use neutral tones such as white or beige. Staining the wood in dark walnut or cherry can give a rich, elegant appearance.
Styles: Opt for a Gothic arch with a pointed top for a dramatic effect. A Tudor arch with a flatter curve offers a more subtle look. For a whimsical feel, try a horseshoe arch.
Trim and Molding: Add decorative molding around the arch for extra detail. Use crown molding at the top for a grander appearance. Beadboard paneling can add texture to the sides.
Hardware: Choose antique brass or oil-rubbed bronze hinges and handles for a vintage vibe. For a sleek, modern look, go with stainless steel or matte black hardware.
Lighting: Install recessed lighting above the arch to highlight its shape. String fairy lights around the frame for a cozy, inviting atmosphere.
Decorative Elements: Incorporate stained glass panels for a colorful, artistic touch. Hang a curtain rod and drape sheer curtains for added privacy and elegance.
Eco-Friendly Building Tips
Reclaimed Wood: Use old wood from barns or pallets. It adds character and reduces waste.
Bamboo: This fast-growing plant is strong and eco-friendly. It’s a great alternative to traditional wood.
Recycled Metal: For the frame, consider using recycled steel or aluminum. These materials are durable and sustainable.
Natural Finishes: Opt for non-toxic, water-based stains or paints. They are safer for you and the environment.
Insulation: Use eco-friendly insulation like sheep’s wool or recycled denim. These materials help with energy efficiency.
Local Materials: Source materials from local suppliers. This reduces transportation emissions and supports local businesses.
Energy-Efficient Tools: Use hand tools or energy-efficient power tools. This reduces energy consumption during construction.
Recycled Glass: For any glass elements, choose recycled glass. It’s sustainable and adds a unique look.
Natural Adhesives: Use adhesives made from natural ingredients. They are less harmful to the environment.
Salvaged Hardware: Reuse door handles, hinges, and other hardware from old doors. This reduces waste and adds a vintage touch.
Your Arch Door Frame Awaits
Building an arch door frame might seem tricky, but with patience and the right tools, it's totally doable. Measure carefully, cut your wood precisely, and take your time assembling the frame. Sanding and finishing add that professional touch, making your project look polished. Remember, the key is in the details. Double-check your measurements and ensure everything fits snugly. If you hit a snag, don't stress. Take a step back, reassess, and try again. Mistakes are part of the process and often lead to better results. Once your arch door frame is complete, you'll have a unique, custom piece that adds character to your home. Plus, you'll have the satisfaction of knowing you built it yourself. So grab your tools, roll up your sleeves, and get started. Your arch door frame is just a few steps away.
What materials do I need to build an arch door frame?
You'll need plywood, 2x4 lumber, drywall, screws, nails, joint compound, sandpaper, and paint.
How do I create the arch shape?
Cut the plywood into the desired arch shape using a jigsaw. You can use a string and pencil to draw a perfect arch.
How do I attach the arch to the door frame?
Secure the plywood arch to the top of the door frame with screws. Then, use 2x4 lumber to create the frame's sides, attaching them to the arch.
How do I make the arch smooth?
Apply joint compound over the seams and edges. Once dry, sand it smooth. Repeat until the surface is even.
Can I install a door in the arch frame?
Yes, but you'll need a custom door that fits the arch shape. Regular rectangular doors won't work.
How long does it take to build an arch door frame?
It usually takes a weekend if you have all the materials and tools ready. Drying time for the joint compound can add a day or two.
Do I need any special tools?
A jigsaw, screwdriver, sander, and level are essential. A tape measure and pencil are also handy for precise measurements.