
Home>Home & Furniture>Doors & Windows>How to Build a DIY Safe Door
Doors & Windows
How to Build a DIY Safe Door
Published: September 20, 2024
Learn how to build a DIY safe door with our step-by-step guide. Ensure security and peace of mind with expert tips, materials list, and detailed instructions.
(Many of the links in this article redirect to a specific reviewed product. Your purchase of these products through affiliate links helps to generate commission for Twigandthistle.com, at no extra cost. Learn more)
Building a DIY safe door can be both practical and rewarding. Whether you're looking to secure valuables or add an extra layer of protection to a room, creating your own safe door blends creativity with security. This project doesn’t require you to be a master carpenter, only some basic tools and materials commonly found around the house or at your local hardware store. With a little time and effort, you can construct a durable, functional door that suits your needs. In this guide, you'll learn the steps and tips to make a sturdy, reliable safe door.
Preparation Steps
Gather Materials: Collect all necessary items like wood, screws, hinges, a lock mechanism, and tools such as a saw, drill, and screwdriver.
Measure the Door Frame: Accurately measure the dimensions of the door frame to ensure the new door fits perfectly.
Safety Gear: Wear safety goggles, gloves, and a dust mask to protect yourself from wood splinters and dust.
Clear Workspace: Ensure the workspace is clean and free of clutter. This helps prevent accidents and makes it easier to find tools.
Cut the Wood: Use a saw to cut the wood to the required dimensions. Double-check measurements before cutting.
Sand the Edges: Smooth the edges of the cut wood with sandpaper to avoid splinters.
Pre-Drill Holes: Pre-drill holes for screws to prevent the wood from splitting when you assemble the door.
Assemble the Door: Attach the hinges and lock mechanism to the door. Make sure everything is aligned properly.
Test Fit: Place the door in the frame to ensure it fits correctly. Make any necessary adjustments.
Secure the Door: Once satisfied with the fit, securely attach the door to the frame using screws.
Final Check: Test the door to ensure it opens and closes smoothly and that the lock works properly.
Materials and Tools Needed
- Plywood: Strong and durable, plywood forms the main structure of the door.
- Steel Sheets: Adds extra security by reinforcing the plywood.
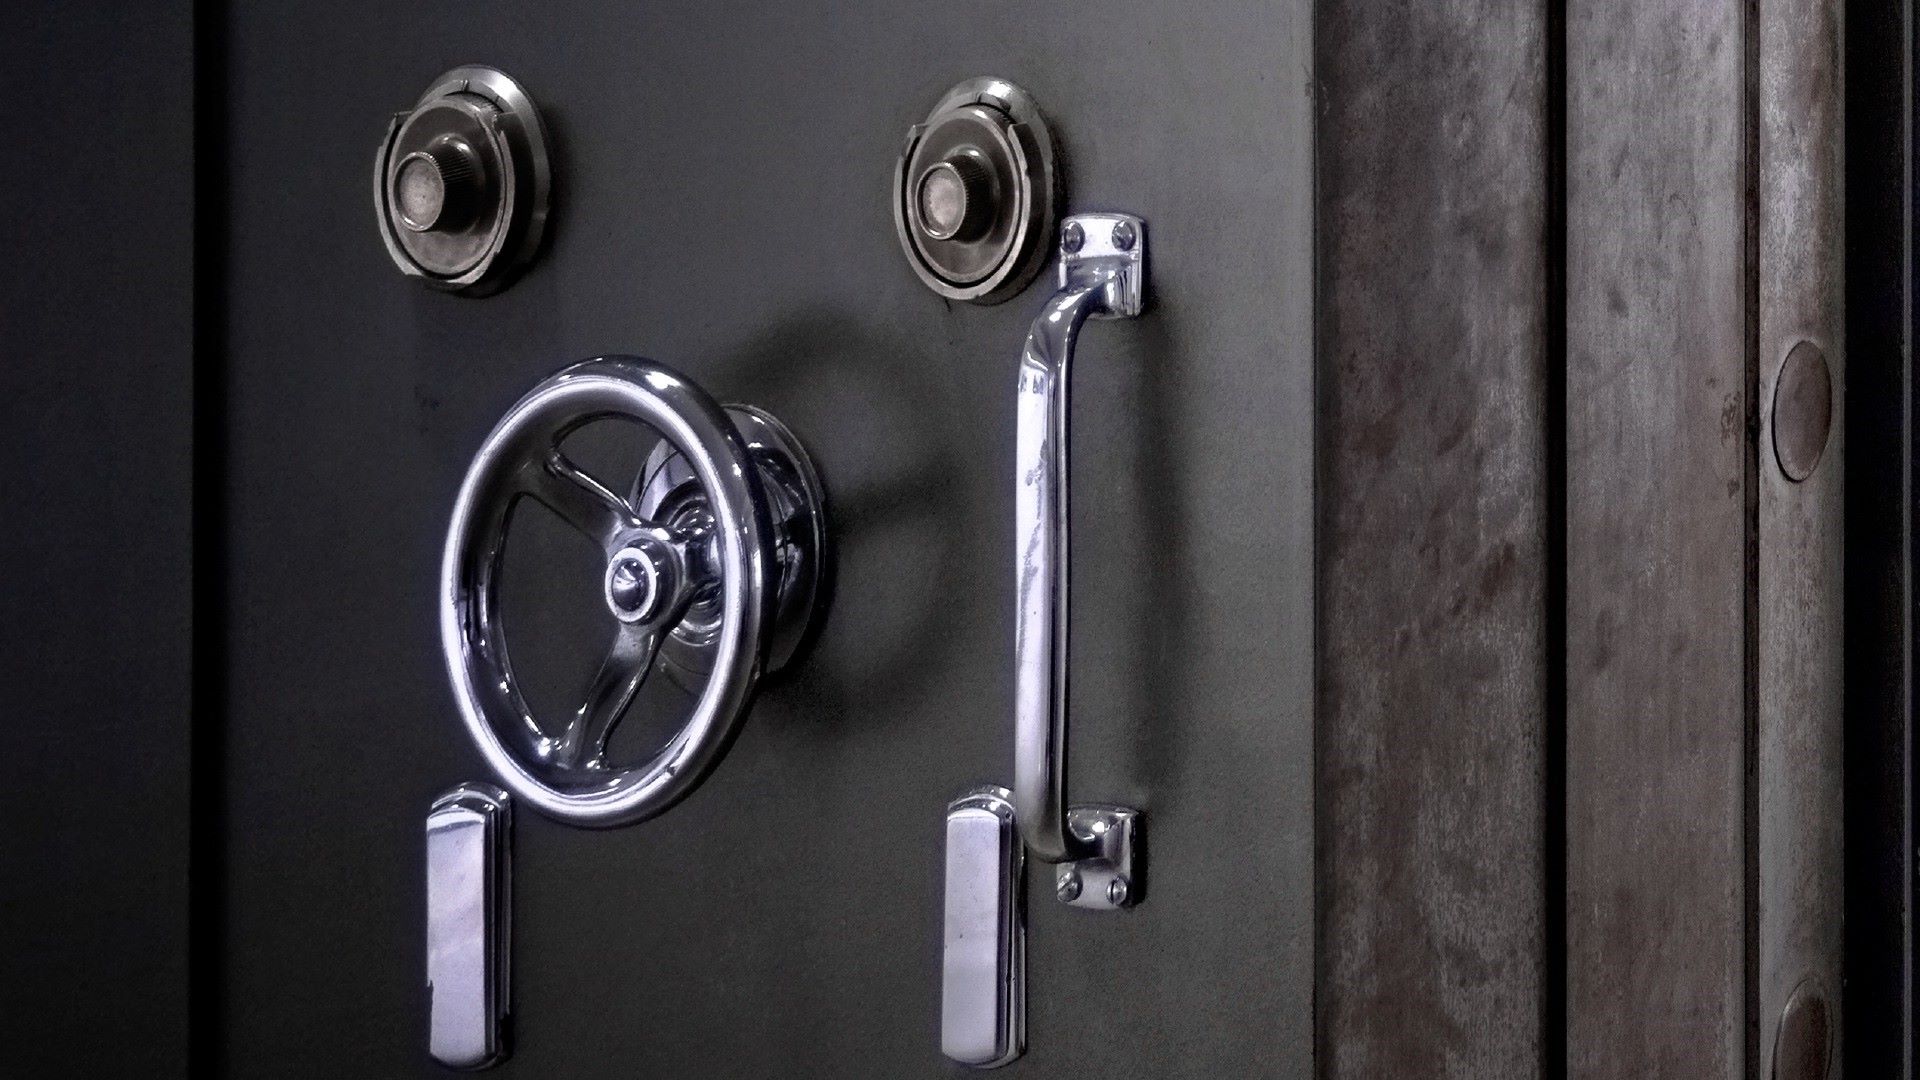
- Hinges: Heavy-duty hinges support the weight of the door and allow it to swing open and closed.
- Locks: A high-quality deadbolt lock ensures the door stays securely shut.
- Drill: Essential for making holes for screws and bolts.
- Screws and Bolts: Fasten the plywood, steel sheets, and hinges together.
- Measuring Tape: Ensures accurate measurements for cutting and fitting materials.
- Saw: Cuts the plywood and steel sheets to the required size.
- Screwdriver: Tightens screws and bolts.
- Level: Ensures the door is installed straight.
- Safety Gear: Includes gloves, safety glasses, and ear protection to keep you safe while working.
- Paint or Finish: Protects the door from wear and tear and gives it a polished look.
Skill Level and Time Required
Skill Level: Advanced
Time Required: 2-3 days
- Planning and Measuring: 3-4 hours
- Gathering Materials: 2-3 hours
- Cutting and Preparing Wood/Metal: 4-6 hours
- Assembling Frame and Door: 6-8 hours
- Installing Lock Mechanism: 3-4 hours
- Finishing Touches and Testing: 2-3 hours
Step-by-Step Instructions
Gather Materials:
- Steel sheet (for the door)
- Steel bars (for reinforcement)
- Hinges
- Locking mechanism (deadbolt or electronic lock)
- Drill
- Welding machine
- Measuring tape
- Marker
- Safety gear (gloves, goggles)
Measure the Door Frame:
- Use the measuring tape to get the dimensions of the door frame.
- Mark these dimensions on the steel sheet.
Cut the Steel Sheet:
- Cut the steel sheet to match the door frame dimensions.
- Ensure edges are smooth to avoid injuries.
Reinforce the Door:
- Weld steel bars horizontally and vertically on the back of the steel sheet.
- This adds strength and prevents bending.
Attach Hinges:
- Weld or screw the hinges onto one side of the steel sheet.
- Ensure they are evenly spaced and aligned.
Install the Locking Mechanism:
- Drill holes for the locking mechanism on the door.
- Follow the lock's instructions for proper installation.
- Ensure the lock is secure and functions correctly.
Mount the Door:
- Position the door within the frame.
- Attach the hinges to the frame using screws or welding.
- Check that the door swings open and closes smoothly.
Test the Door:
- Lock and unlock the door multiple times.
- Ensure the door is secure and the lock works without issues.
Finish Up:
- Paint or coat the door to prevent rust.
- Add any additional security features if desired.
Helpful Tips and Tricks
Measure twice, cut once. Double-check all measurements before cutting materials to avoid mistakes. Use quality hinges and a sturdy lock to ensure the door is secure. Reinforce the frame with metal brackets for added strength. Seal gaps around the door with weatherstripping to prevent drafts and improve security.
Common mistakes to avoid: Using cheap materials can compromise safety. Skipping the primer before painting can lead to a poor finish. Not aligning the door properly can cause it to stick or not close correctly. Ignoring safety gear like gloves and goggles can result in injuries.
Alternatives: Instead of traditional wood, consider steel or metal for added security. Electronic locks can replace standard key locks for more convenience. Pre-hung doors can save time and ensure proper alignment.
Cost Estimation
Steel Sheet: $50-$100, depending on thickness and size.
Hinges: $10-$20 for heavy-duty ones.
Locks: $20-$50 for a high-quality deadbolt.
Drill: $30-$100, if you don't already have one.
Drill Bits: $10-$20 for metal-specific bits.
Welding Machine: $200-$500, if welding is required.
Safety Gear: $20-$50 for gloves, goggles, and a mask.
Paint: $10-$30 for rust-proof paint.
Screws and Bolts: $5-$10 for a pack.
Total Cost: $355-$880, depending on the quality of materials and tools.
Budget-Friendly Alternatives:
Recycled Steel: Check scrapyards for cheaper options.
Used Tools: Look for second-hand drills and welding machines online.
Basic Lock: Opt for a simpler lock if high security isn't needed.
Borrow Tools: Ask friends or family if they have tools you can borrow.
Creative Variations and Customizations
Materials: Instead of using standard steel, consider reinforced wood for a more traditional look. Fiberglass can also be an option for a lightweight yet strong door.
Colors: Paint the door in bold colors like red or blue for a standout feature. For a more subtle look, use earth tones such as beige or brown. Metallic finishes like silver or bronze can give a modern touch.
Styles: Add decorative panels or carvings to the door for a unique design. Use stained glass inserts for an artistic flair. Consider a barn door style with sliding mechanisms for a rustic appearance.
Locks: Upgrade to a biometric lock for added security. Use a combination lock for a classic feel. Smart locks that connect to your phone can offer convenience and high-tech security.
Handles: Choose antique brass handles for a vintage look. Stainless steel handles can provide a sleek, modern appearance. Leather-wrapped handles add a touch of luxury.
Hinges: Use hidden hinges for a clean, seamless look. Decorative hinges can add character to the door. Heavy-duty hinges ensure the door remains secure and functional.
Insulation: Add foam insulation inside the door for soundproofing. Use fire-resistant materials to enhance safety. Weather stripping around the edges can help with energy efficiency.
Additional Features: Install a peephole for added security. Add a door knocker for a classic touch. Consider a built-in alarm system for extra protection.
Eco-Friendly Tips
Reclaimed Wood: Use old barn wood or pallets. They add character and reduce waste.
Recycled Metal: Look for scrap metal at salvage yards. It can be used for hinges, locks, and reinforcements.
Eco-Friendly Insulation: Choose natural materials like wool or cotton. These keep the door energy-efficient.
Non-Toxic Paints: Opt for low-VOC or zero-VOC paints. They are better for health and the environment.
Solar-Powered Locks: Install solar-powered electronic locks. They save energy and are sustainable.
Reused Hardware: Salvage handles, knobs, and other hardware from old doors. This reduces the need for new materials.
Natural Finishes: Use beeswax or linseed oil to finish the door. These are eco-friendly and provide a durable finish.
Efficient Design: Make sure the door fits well to prevent drafts. This improves energy efficiency.
Local Materials: Source materials locally to reduce transportation emissions. This supports local businesses and reduces your carbon footprint.
Your Safe Door Awaits
Building a DIY safe door isn't just about security; it's about craftsmanship and personal satisfaction. You've learned to measure, cut, and assemble materials, ensuring each step is precise. With the right tools and a bit of patience, you've created something both functional and impressive. Remember, the key to a successful project lies in planning and attention to detail. Don't rush the process; take your time to get each part right. Now, you have a sturdy, reliable safe door that you can be proud of. Enjoy the peace of mind knowing your valuables are well-protected. Keep those skills sharp, and who knows what you'll build next? Happy DIY-ing!
What materials do I need to build a DIY safe door?
You'll need steel sheets, hinges, a lock mechanism, welding equipment, and bolts. Some folks also use concrete for added security.
How thick should the steel sheets be?
For a sturdy safe door, use 1/4-inch thick steel sheets. Thicker sheets offer more security but are harder to work with.
Can I use a regular door lock?
Regular door locks aren't secure enough. Use a high-security lock like a deadbolt or a combination lock.
Do I need special tools for welding?
Yes, you'll need a welding machine, protective gear, and welding rods. If you're not experienced, consider getting help from someone who is.
How do I attach the hinges securely?
Weld the hinges directly to the steel frame. Make sure they're heavy-duty hinges to support the door's weight.
Is it necessary to reinforce the door frame?
Absolutely. A weak frame defeats the purpose. Use steel bars or concrete to reinforce it.
How can I make the door fireproof?
Use fire-resistant materials like gypsum board or fireproof insulation inside the door. Seal any gaps to prevent smoke from entering.