
Home>Home & Furniture>Doors & Windows>How to Build a DIY Headboard in Front of Window
Doors & Windows
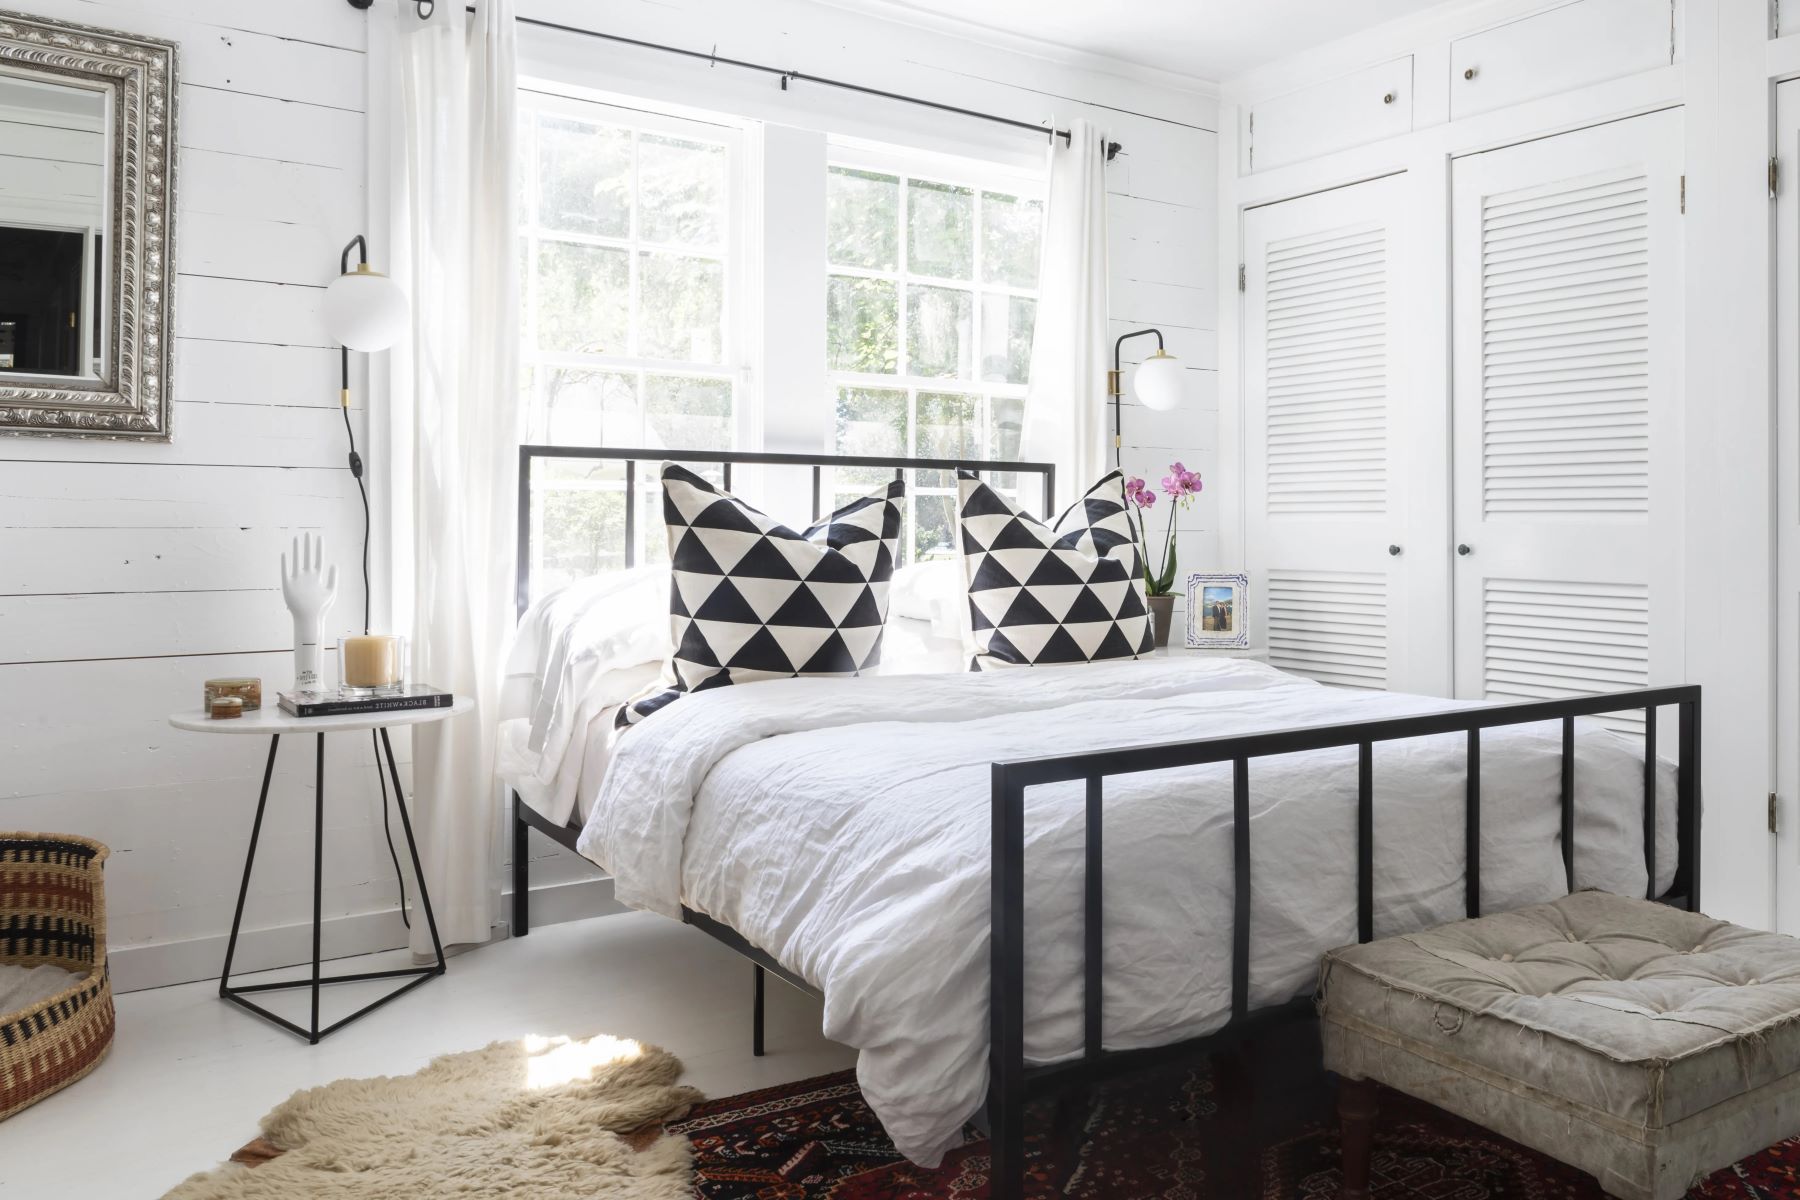
How to Build a DIY Headboard in Front of Window
Published: August 14, 2024
Learn how to build a stylish DIY headboard in front of a window with our step-by-step guide. Maximize space and add a unique touch to your bedroom decor effortlessly!
(Many of the links in this article redirect to a specific reviewed product. Your purchase of these products through affiliate links helps to generate commission for Twigandthistle.com, at no extra cost. Learn more)
Building a headboard in front of a window might seem tricky, but it can add a unique charm to your bedroom. With a bit of planning, creativity, and basic tools, you can create a stylish and functional headboard without blocking natural light. This project is perfect for DIY enthusiasts looking to maximize space and add a personal touch to their room. Ready to get started? All you need are some materials, a free afternoon, and a little patience. Let's dive in and transform that window space into something both beautiful and practical.
Getting Ready for Your DIY Headboard Project
Measure the Space: Use a tape measure to get the exact width of your bed and the height you want for the headboard. Make sure to account for the window's position.
Gather Materials: Collect all necessary materials like wood, screws, brackets, and paint. Ensure you have the right tools like a saw, drill, and sandpaper.
Safety Gear: Wear safety goggles, gloves, and a dust mask to protect yourself from wood dust and debris.
Clear the Area: Move furniture away from the window. Lay down a drop cloth to catch any sawdust or paint drips.
Cut the Wood: Measure and cut the wood pieces according to your design. Sand the edges to smooth out any rough spots.
Pre-Drill Holes: Pre-drill holes in the wood to make it easier to screw pieces together. This helps prevent the wood from splitting.
Assemble the Frame: Use screws and brackets to put together the frame of the headboard. Make sure it’s sturdy and level.
Paint or Stain: Apply paint or stain to the wood. Let it dry completely before moving on to the next step.
Attach to Wall: Use wall anchors and screws to secure the headboard to the wall, making sure it’s aligned with the window.
Final Check: Ensure everything is secure and the headboard is level. Make any necessary adjustments.
Essential Materials and Tools
Plywood: Forms the main structure of the headboard. Choose a sturdy piece, typically ¾ inch thick.
Foam Padding: Adds comfort and cushioning. Usually 2-3 inches thick.
Batting: Covers the foam, providing a smooth surface. Helps in attaching fabric.
Fabric: The outer layer of the headboard. Pick a durable, attractive material.
Staple Gun: Secures the fabric and batting to the plywood. Essential for a tight fit.
Staples: Used with the staple gun. Ensure they are long enough to penetrate the fabric, batting, and plywood.
Measuring Tape: Ensures accurate dimensions. Crucial for cutting materials to size.
Scissors: Cuts fabric and batting. Sharp scissors make the job easier.
Utility Knife: Cuts foam padding. A sharp blade ensures clean cuts.
Drill: Creates holes for mounting the headboard. A cordless drill is convenient.
Screws: Attaches the headboard to the wall or bed frame. Choose screws appropriate for your wall type.
Sandpaper: Smooths the edges of the plywood. Prevents splinters and rough spots.
Painter's Tape: Marks measurements on the wall. Helps in aligning the headboard.
Level: Ensures the headboard is straight. A must-have for a professional look.
Pencil: Marks measurements on materials. Easy to erase if needed.
Saw: Cuts the plywood to size. A circular saw or jigsaw works well.
Safety Gear: Includes gloves, goggles, and a dust mask. Protects you during cutting and drilling.
Required Skills and Time Commitment
Skill Level: Intermediate
Time Required: 4-6 hours
- Measure and Cut Wood: 1 hour
- Assemble Frame: 1.5 hours
- Attach Upholstery: 1 hour
- Install Headboard: 1.5-2 hours
Detailed Step-by-Step Guide
Measure the Space:
- Use a tape measure to find the width of your bed.
- Measure the height from the floor to the desired top of the headboard.
Gather Materials:
- Plywood: Cut to the measured width and height.
- Foam Padding: Same size as plywood.
- Fabric: Enough to cover the foam and plywood with some extra for stapling.
- Batting: Optional, for extra softness.
- Staple Gun and Staples.
- Mounting Hardware: Brackets or French cleats.
Cut the Plywood:
- Use a saw to cut the plywood to the measured dimensions.
Attach Foam Padding:
- Lay the foam padding on top of the plywood.
- Trim any excess foam.
Cover with Batting (Optional):
- Place batting over the foam.
- Pull it tight and staple it to the back of the plywood.
Upholster with Fabric:
- Lay the fabric face down on a flat surface.
- Place the plywood, foam side down, on top of the fabric.
- Pull the fabric tight and staple it to the back of the plywood, starting from the center and working outwards.
- Fold the corners neatly and staple.
Attach Mounting Hardware:
- Secure brackets or French cleats to the back of the headboard.
- Ensure they are level and evenly spaced.
Mount the Headboard:
- Mark the wall where the headboard will be mounted.
- Attach the corresponding hardware to the wall.
- Hang the headboard, ensuring it is secure and level.
Final Adjustments:
- Check for any loose fabric or staples.
- Make sure the headboard is firmly attached and not wobbly.
Helpful Tips and Tricks
Measure Twice, Cut Once: Always double-check measurements before cutting any material. This saves time and prevents mistakes.
Use Lightweight Materials: Opt for plywood or MDF instead of heavy wood. These materials are easier to handle and install.
Secure Properly: Use L-brackets to attach the headboard to the bed frame. This ensures stability without damaging the window.
Paint or Stain Before Assembly: Painting or staining the pieces before putting them together makes the process cleaner and easier.
Add Padding: For a cushioned headboard, use foam and fabric. Attach the foam to the wood with spray adhesive, then staple the fabric over it.
Leave Space for Curtains: Ensure the headboard doesn’t block the window completely. Leave enough room for curtains or blinds to function properly.
Common Mistakes to Avoid:
Blocking Natural Light: Don’t make the headboard too tall. It should complement the window, not cover it entirely.
Ignoring Window Functionality: Make sure the window can still open and close easily.
Using Heavy Materials: Heavy wood can be difficult to secure and may damage the window frame.
Alternatives for Materials or Methods:
Reclaimed Wood: Gives a rustic look and is eco-friendly.
Fabric Headboard: Use a large piece of fabric stretched over a frame for a soft, elegant look.
Wall Decals: For a non-permanent option, use wall decals to create the illusion of a headboard.
Estimating the Cost
Wood: $50-$100, depending on type and size. Plywood is cheaper than solid wood.
Screws and Nails: $10. Basic hardware store items.
Wood Glue: $5. Helps secure joints.
Sandpaper: $5. Smooths rough edges.
Paint or Stain: $15-$30. Choose based on desired finish.
Paintbrushes or Rollers: $10. Needed for applying paint or stain.
Foam Padding: $20-$40. Adds comfort if upholstering.
Fabric: $20-$50. Choose a durable, attractive material.
Staple Gun and Staples: $15. Essential for attaching fabric.
Measuring Tape: $5. Ensures accurate cuts.
Saw: $30-$100. A basic hand saw is cheaper than a power saw.
Drill: $40-$100. Necessary for making holes and driving screws.
Total Cost: $225-$465. Prices vary based on material quality and tool availability.
Budget-Friendly Alternatives:
- Use reclaimed wood or pallets: Free or very cheap.
- Borrow or rent tools from friends or a local hardware store.
- Opt for basic fabric instead of designer options.
- Skip foam padding if comfort isn't a priority.
Creative Variations and Customizations
Materials: Instead of traditional wood, consider using reclaimed wood for a rustic look. Upholstered fabric can add a soft touch, while metal offers an industrial vibe. Bamboo provides an eco-friendly option.
Colors: Paint the headboard in bold colors like navy blue or emerald green for a statement piece. For a more subtle look, use neutral tones such as beige, gray, or white. Staining the wood can highlight its natural grain and add warmth.
Styles: Create a shiplap headboard for a farmhouse feel. A tufted headboard adds elegance and comfort. Geometric patterns can give a modern twist, while carved designs offer a touch of artistry.
Height: Adjust the height to suit your window. A low headboard keeps the window more visible, while a tall headboard can create a dramatic backdrop.
Lighting: Integrate built-in lights or LED strips for a cozy ambiance. Sconce lights on either side can provide reading light without taking up space.
Storage: Add shelves or cubbies to the headboard for extra storage. Hidden compartments can keep clutter out of sight.
Texture: Mix materials like wood and fabric for a layered look. Use woven panels or rattan for added texture.
Decor: Attach hooks for hanging plants or artwork. Mirrors can reflect light and make the room feel larger. Cushions or pillows can be added for extra comfort and style.
Eco-Friendly Tips for Your Headboard
Reclaimed Wood: Use old wooden pallets or barn wood. Sand them down and give them a fresh coat of eco-friendly paint or stain.
Bamboo: This fast-growing plant makes a sturdy, sustainable material. Bamboo panels can be cut to size and attached to a simple frame.
Recycled Fabric: Cover the headboard with fabric from old curtains, tablecloths, or even clothes. Staple the fabric tightly over a wooden frame.
Natural Fillings: If padding is needed, use natural materials like wool, cotton, or even old pillows. These can be sewn into a cover and attached to the headboard.
Low-VOC Paint: Choose paints with low volatile organic compounds (VOCs) to reduce harmful emissions. These are better for indoor air quality.
Eco-Friendly Adhesives: Use water-based or plant-based glues. These are less toxic and better for the environment.
Upcycled Furniture: Repurpose parts from old furniture. An old door or window shutter can make a unique headboard.
Sustainable Fasteners: Opt for screws and nails made from recycled metal. These are just as strong and help reduce waste.
Solar-Powered Tools: If using power tools, consider solar-powered options. These reduce reliance on non-renewable energy sources.
Local Sourcing: Get materials from local suppliers to cut down on transportation emissions. Local wood, fabric, and hardware can often be found at community markets or second-hand stores.
Your New Headboard Awaits
Building a DIY headboard in front of a window might seem tricky, but it's totally doable. Just gather your materials, measure twice, cut once, and follow the steps. Remember to secure everything properly so it stays sturdy. Adding personal touches like paint or fabric can make it uniquely yours. This project not only saves money but also gives you a sense of accomplishment. Plus, it can transform your bedroom into a cozy retreat. So, grab your tools, get creative, and enjoy the process. Before you know it, you'll have a stunning headboard that you made with your own hands. Happy building!
Can I build a headboard in front of a window?
Yes, you can! Just make sure to leave enough space for natural light to come through. Use a lightweight material and avoid blocking the entire window.
What materials do I need?
You'll need wood, screws, a saw, sandpaper, paint or stain, and a drill. You might also want some fabric and foam if you plan to upholster it.
How do I secure the headboard?
Attach it to the bed frame or wall using brackets or L-brackets. Make sure it's sturdy and won't tip over.
Will it affect the room's ventilation?
It shouldn't if you leave enough space around the window. Ensure the window can still open and close easily.
Can I still use curtains or blinds?
Absolutely! Just install them above the headboard or use tiebacks to keep them out of the way.
How do I measure for the headboard?
Measure the width of your bed and the height you want the headboard to be. Add a few inches on each side for a balanced look.
What style should I choose?
Pick a style that matches your room's decor. You can go for a rustic, modern, or upholstered look, depending on your taste.