
Home>Home & Furniture>Doors & Windows>How to Build a DIY Door Sweep
Doors & Windows
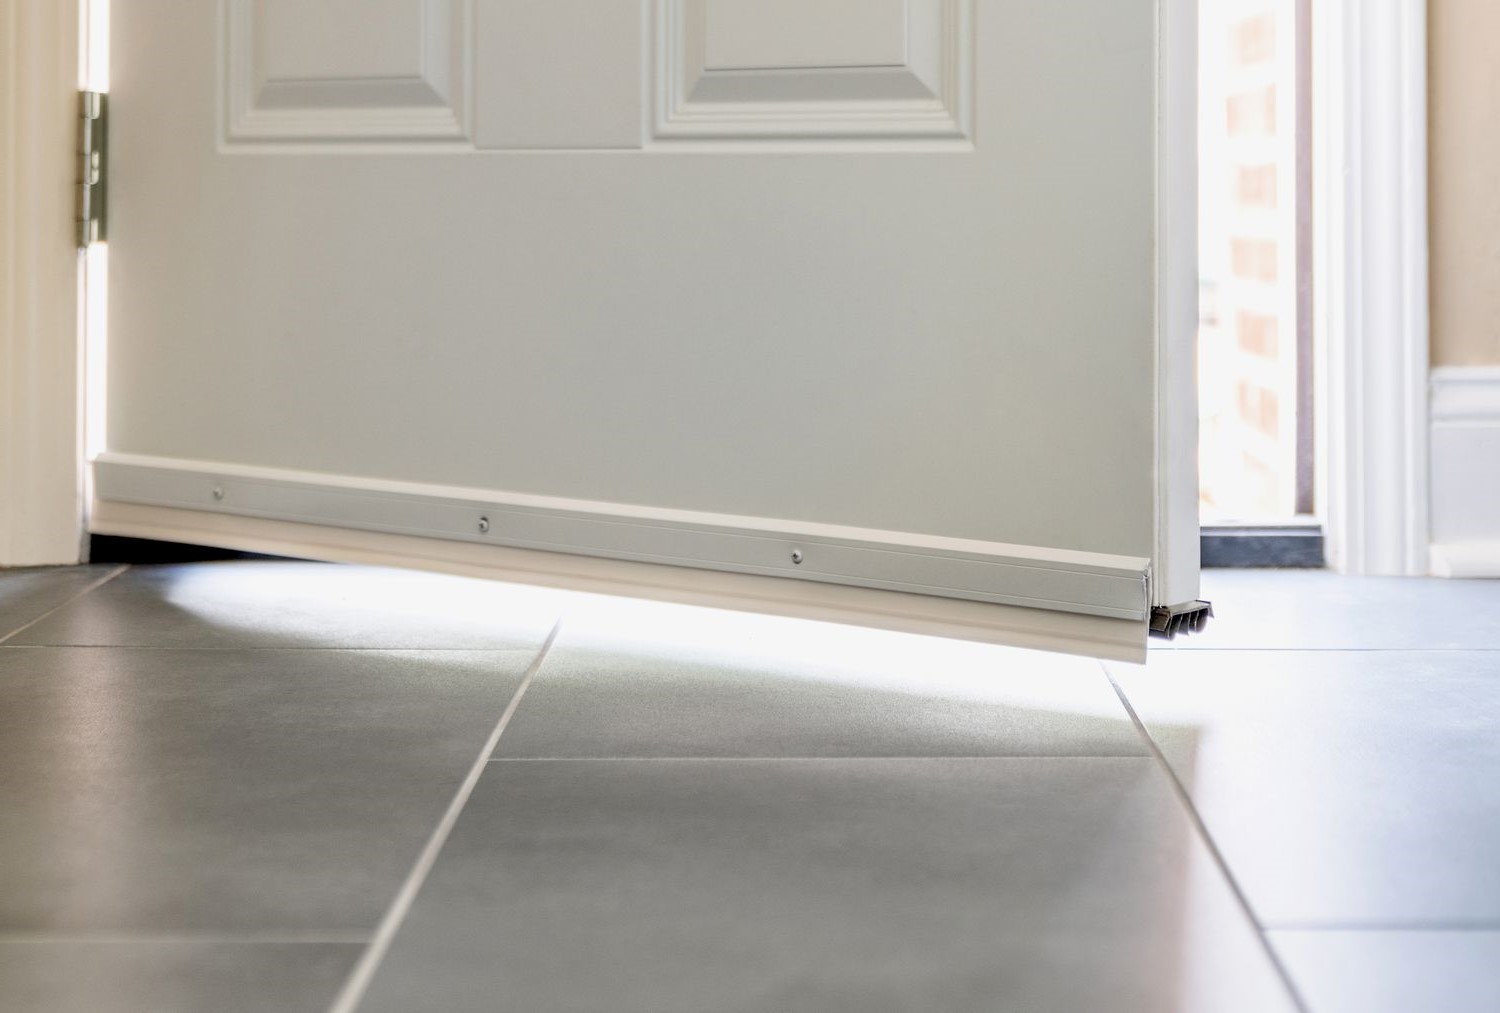
How to Build a DIY Door Sweep
Published: September 12, 2024
Learn how to build a DIY door sweep with our step-by-step guide. Improve your home's energy efficiency and keep out drafts, dust, and pests with this simple project.
(Many of the links in this article redirect to a specific reviewed product. Your purchase of these products through affiliate links helps to generate commission for Twigandthistle.com, at no extra cost. Learn more)
Tired of drafts sneaking under your door? Building a DIY door sweep is a simple, cost-effective solution. A door sweep blocks unwanted air, bugs, and noise from entering your home. With basic materials and tools, you can complete this project in no time. Not only will you save money, but you'll also gain the satisfaction of fixing a common household issue yourself. Perfect for beginners and seasoned DIYers alike, this guide will lead you through each step to create a functional door sweep. Get ready to tackle drafts and make your home more comfortable.
Getting Ready for Your DIY Door Sweep
Gather Materials: Collect a door sweep, screws, a screwdriver, a measuring tape, a pencil, and a saw.
Measure the Door: Use the measuring tape to measure the width of the door. Mark this measurement on the door sweep with a pencil.
Cut the Door Sweep: If the door sweep is too long, use a saw to cut it to the correct length.
Prepare the Workspace: Clear the area around the door. Ensure you have enough space to move freely and place your tools within reach.
Safety Gear: Wear safety goggles and gloves to protect your eyes and hands while cutting and installing the door sweep.
Mark Screw Holes: Hold the door sweep against the bottom of the door. Use the pencil to mark where the screws will go.
Pre-drill Holes: Use a drill to make small pilot holes where you marked the screw locations. This makes it easier to insert the screws.
Attach the Door Sweep: Align the door sweep with the pre-drilled holes. Use the screwdriver to secure the screws into place.
Test the Fit: Open and close the door to ensure the sweep fits snugly and moves smoothly. Adjust if necessary.
Clean Up: Gather any leftover materials and tools. Dispose of any debris or sawdust.
Materials and Tools Checklist
- Measuring Tape: Used to measure the width of the door accurately.
- Pencil: For marking measurements on the door and materials.
- Screwdriver: Needed to attach the sweep to the door.
- Drill: Makes holes for screws if necessary.
- Screws: Secure the sweep to the door.
- Door Sweep Kit: Includes the actual sweep, usually made of rubber or bristle, and sometimes comes with screws.
- Utility Knife: Cuts the sweep to the correct length.
- Level: Ensures the sweep is straight when installed.
- Safety Glasses: Protects eyes while drilling or cutting.
- Work Gloves: Keeps hands safe from sharp edges and tools.
Required Skills and Time Commitment
Skill Level: Beginner
Time Required: 1-2 hours
Steps:
- Measure the Door: Use a tape measure to find the width of the door.
- Cut the Sweep: Cut the door sweep to match the door's width.
- Attach the Sweep: Use screws or adhesive to attach the sweep to the bottom of the door.
- Test the Fit: Open and close the door to ensure the sweep fits snugly and blocks drafts.
Materials Needed:
- Door sweep
- Tape measure
- Saw or scissors (for cutting)
- Screws or adhesive
- Screwdriver or drill
Detailed Steps to Build a Door Sweep
Gather Materials:
- Door sweep kit
- Measuring tape
- Pencil
- Hacksaw or utility knife
- Screwdriver or drill
- Screws (if not included in the kit)
Measure the Door:
- Use the measuring tape to find the width of the door.
- Mark this measurement on the door sweep.
Cut the Door Sweep:
- Use a hacksaw or utility knife to cut the door sweep to the measured width.
- Ensure the cut is straight for a proper fit.
Position the Door Sweep:
- Place the door sweep at the bottom of the door.
- Align it so that it covers the gap between the door and the floor.
Mark Screw Holes:
- Use a pencil to mark where the screws will go through the door sweep and into the door.
- Ensure the marks are evenly spaced.
Drill Pilot Holes:
- Use a drill to make small pilot holes where you marked the screw positions.
- This will make it easier to insert the screws.
Attach the Door Sweep:
- Hold the door sweep in place.
- Use a screwdriver or drill to insert the screws through the sweep and into the door.
Check the Fit:
- Open and close the door to ensure the sweep moves smoothly.
- Adjust if necessary to ensure a snug fit against the floor.
Tighten Screws:
- Make sure all screws are tight.
- This ensures the door sweep stays securely in place.
Test for Gaps:
- Check for any remaining gaps between the door and the floor.
- Adjust the sweep if needed to eliminate drafts.
Helpful Tips and Tricks
Measure the Door: Use a tape measure to get the exact width of your door. This ensures the door sweep fits perfectly.
Choose the Right Material: Door sweeps come in various materials like rubber, vinyl, and metal. Rubber is flexible and good for uneven floors. Vinyl is durable and works well for most doors. Metal sweeps, often with a rubber or vinyl insert, are sturdy and long-lasting.
Cut to Size: If the sweep is too long, use a hacksaw for metal or a utility knife for rubber and vinyl to trim it to the correct width.
Pre-Drill Holes: Mark where the screws will go and pre-drill holes. This makes it easier to attach the sweep and prevents the door from splitting.
Attach the Sweep: Align the sweep with the bottom of the door. Use screws to secure it in place. Make sure it’s snug but not too tight, allowing the door to open and close smoothly.
Check for Gaps: After installation, check for any gaps. Adjust the sweep if necessary to ensure it seals properly against the floor.
Common Mistakes to Avoid:
- Incorrect Measurements: Always double-check measurements to avoid a sweep that’s too short or too long.
- Wrong Material: Choose the material best suited for your door and floor type.
- Skipping Pre-Drilling: Not pre-drilling can cause the door to crack or split.
Alternatives:
- Adhesive Sweeps: If you don’t want to drill holes, adhesive sweeps are available. They stick to the bottom of the door but may not be as durable.
- Draft Stoppers: These are placed on the floor against the door and can be removed easily. They’re less permanent but effective for temporary solutions.
Estimating the Cost
Materials:
- Rubber strip: $10
- Metal or wooden strip: $5
- Screws: $3
- Weatherstripping adhesive: $4
Tools:
- Screwdriver: $8
- Measuring tape: $5
- Utility knife: $6
- Drill: $20
Total cost: $61
Budget-friendly alternatives:
- Use a recycled rubber strip: Free (if available)
- Repurpose an old metal or wooden strip: Free (if available)
- Borrow tools from a friend or neighbor: Free
Potential reduced cost: $21
Different Variations and Customizations
Materials: Instead of using rubber or vinyl, try felt or brush strips. Felt offers a softer touch, while brush strips provide a more flexible seal.
Colors: Paint the sweep to match your door. Use metallic paints for a modern look or wood stains for a rustic feel. Bright colors can add a fun touch to kids' rooms.
Styles: For a sleek design, use a metal strip with a rubber edge. For a more traditional look, opt for a wooden strip with felt. You can also add decorative trim or molding to the sweep for added flair.
Mounting Options: Attach the sweep with screws for a sturdy hold or use adhesive strips for an easier, no-drill option. Magnetic strips can also be used for metal doors.
Additional Features: Add a draft stopper or weatherstripping for extra insulation. Incorporate a kick plate to protect the bottom of the door from scuffs and scratches.
Eco-Friendly Choices: Use recycled materials like old rubber mats or repurpose fabric scraps for the sweep. Bamboo strips can also be a sustainable option.
Eco-Friendly Tips
Materials Needed:
- Old Denim Jeans: Use old jeans for the sweep. Denim is durable and can be easily cut to size.
- Recycled Rubber: Find an old bike tire or rubber mat. Rubber provides a good seal.
- Wood Scraps: Use leftover wood pieces from other projects. Ensure they are straight and smooth.
- Eco-friendly Glue: Choose a non-toxic, biodegradable adhesive.
- Screws or Nails: Reuse screws or nails from old furniture or other projects.
Steps:
- Measure the Door: Measure the width of the door. Cut the wood scrap to match this width.
- Prepare the Denim: Cut a strip of denim from the old jeans. Make it slightly wider than the gap under the door.
- Attach the Denim: Glue the denim strip to one side of the wood. Ensure it hangs down enough to cover the gap.
- Add the Rubber: Cut a piece of recycled rubber to the same width as the wood. Glue it on top of the denim for extra sealing.
- Secure the Sweep: Attach the wood piece to the bottom of the door using screws or nails. Make sure it’s snug but allows the door to open and close easily.
Tips:
- Reuse Materials: Look around for materials you already have. This reduces waste and saves money.
- Check Thrift Stores: Sometimes, thrift stores have old jeans or rubber mats for cheap.
- Eco-friendly Products: Always opt for non-toxic, biodegradable products when possible.
Using these methods and materials helps reduce waste and promotes sustainability.
Your Door's New Best Friend
Building a DIY door sweep isn't just a fun project; it's a smart move. You've learned how to measure, cut, and install your sweep, saving money and boosting your home's energy efficiency. No more drafts sneaking in under your door, and fewer bugs too. Plus, you get the satisfaction of knowing you did it yourself. If you ever need to replace it, you'll have the know-how to do it again. Remember, the key is in the details—accurate measurements, proper materials, and a steady hand. Now, your home is cozier, your wallet's happier, and you've got a new skill under your belt. Keep tackling those DIY projects, and who knows what you'll achieve next? Happy building!
What materials do I need to build a DIY door sweep?
You'll need rubber or vinyl, metal strip, screws, measuring tape, saw, drill, and screwdriver.
How do I measure my door for a door sweep?
Measure the width of your door and the gap between the door and the floor. This ensures the sweep fits snugly.
Can I use any type of rubber or vinyl?
It's best to use weather-resistant rubber or vinyl. This type lasts longer and provides better insulation.
How do I attach the door sweep to the door?
First, cut the metal strip to the door's width. Then, attach the rubber or vinyl to the strip. Finally, screw the strip to the bottom edge of the door.
Will a door sweep help with energy efficiency?
Absolutely! A door sweep blocks drafts, keeping your home warmer in winter and cooler in summer, which can lower energy bills.
How often should I replace my door sweep?
Check it annually. Replace it if you see wear and tear or if it no longer seals properly.
Can I paint the metal strip to match my door?
Yes, you can paint the metal strip. Just use paint suitable for metal to ensure it adheres well and lasts.