
Home>Home & Furniture>Doors & Windows>How to Build a DIY Door Overhang
Doors & Windows
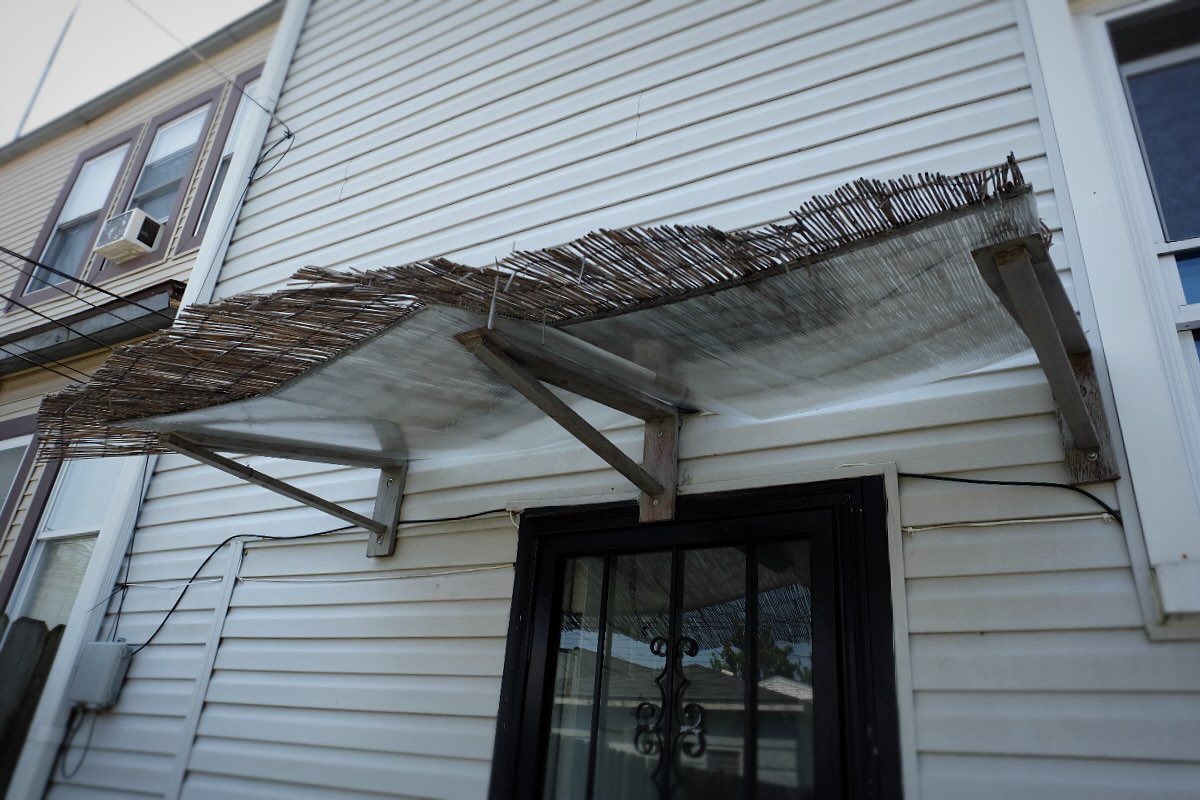
How to Build a DIY Door Overhang
Published: September 11, 2024
Learn how to build a DIY door overhang with our step-by-step guide. Enhance your home's curb appeal and protect your entryway from the elements. Perfect for any DIY enthusiast!
(Many of the links in this article redirect to a specific reviewed product. Your purchase of these products through affiliate links helps to generate commission for Twigandthistle.com, at no extra cost. Learn more)
Building a DIY door overhang can protect your entryway from the elements and add a touch of charm to your home's exterior. This project is perfect for anyone who loves hands-on activities and wants to enhance their home's curb appeal. With a few basic tools and materials, you can create a functional and stylish overhang that will shield your door from rain and snow. Whether you're an experienced DIYer or just starting out, this guide will walk you through each step, making the process straightforward and enjoyable. Let's get started on creating a practical addition to your home!
Getting Ready for Your Project
Measure the Area: Use a tape measure to get the width and height of the door. This helps determine the size of the overhang.
Gather Materials: Collect wood, screws, brackets, shingles, and waterproof sealant. Make sure everything is within reach.
Safety Gear: Wear safety goggles, gloves, and a dust mask. This protects eyes, hands, and lungs from debris.
Clear the Workspace: Remove any obstacles around the door. This ensures you have enough room to work safely.
Check for Power Lines: Look above the door for any electrical wires. Avoid these areas to prevent accidents.
Mark the Wall: Use a pencil to mark where the overhang will attach. This ensures accurate placement.
Cut the Wood: Use a saw to cut the wood pieces to the required size. Double-check measurements before cutting.
Pre-drill Holes: Drill holes in the wood where screws will go. This makes assembly easier and prevents wood from splitting.
Assemble the Frame: Put together the wooden frame on the ground. Use screws and brackets for stability.
Attach the Frame: Lift the frame and attach it to the wall using heavy-duty screws. Make sure it’s level.
Add Shingles: Nail shingles onto the frame to protect from rain. Start from the bottom and work upwards.
Seal the Edges: Apply waterproof sealant around the edges. This prevents water from seeping in.
Clean Up: Remove any leftover materials and tools. This keeps the area safe and tidy.
Gathering Materials and Tools
- Lumber: You'll need pressure-treated wood for the frame and support beams. Common sizes include 2x4s and 4x4s.
- Plywood: Use this for the roof decking. It provides a solid base for the roofing material.
- Roofing Material: Asphalt shingles or metal roofing work well. Choose based on your preference and budget.
- Screws and Nails: Galvanized screws and nails resist rust and are essential for securing the structure.
- Brackets and Joist Hangers: These metal pieces provide extra support and stability for the frame.
- Concrete Mix: Needed for securing the support posts in the ground.
- Paint or Stain: Protects the wood from weather damage and adds a finished look.
- Caulk and Sealant: Ensures the overhang is watertight, preventing leaks.
Tools:
- Measuring Tape: Essential for accurate measurements.
- Circular Saw: Cuts lumber and plywood to the required sizes.
- Drill: Used for making pilot holes and driving screws.
- Hammer: Drives nails into the wood.
- Level: Ensures the structure is even and straight.
- Shovel: Digs holes for the support posts.
- Ladder: Needed for reaching higher areas during construction.
- Safety Gear: Includes gloves, safety glasses, and ear protection to keep you safe while working.
Skill Level and Time Commitment
Skill Level: Intermediate
Time Required: 6-8 hours
- Planning and Measuring: 1 hour
- Cutting Materials: 1-2 hours
- Assembling Frame: 2 hours
- Attaching to House: 1 hour
- Finishing Touches: 1-2 hours
Building Your Door Overhang: Step-by-Step
Gather Materials
- Wooden beams
- Plywood sheets
- Screws and nails
- Metal brackets
- Waterproof roofing material
- Paint or stain
- Measuring tape
- Saw
- Drill
- Hammer
Measure the Area
- Measure the width of the door.
- Decide how far out you want the overhang to extend.
Cut the Wood
- Cut two beams to the width of the door.
- Cut two more beams to the desired depth of the overhang.
- Cut plywood to fit the top of the frame.
Assemble the Frame
- Attach the beams together using screws and metal brackets to form a rectangular frame.
- Ensure the frame is sturdy and square.
Attach Plywood
- Secure the plywood sheet to the top of the frame using screws.
- Make sure it covers the entire frame.
Install Support Brackets
- Attach metal brackets to the wall above the door.
- Ensure they are level and spaced to match the frame.
Mount the Frame
- Lift the frame and secure it to the brackets using screws.
- Double-check that it is level and securely attached.
Add Roofing Material
- Cut the waterproof roofing material to fit the top of the plywood.
- Attach it using nails or adhesive, ensuring it covers all edges.
Finish the Overhang
- Paint or stain the wood to protect it from the elements.
- Allow it to dry completely before use.
Inspect and Adjust
- Check all connections and make any necessary adjustments.
- Ensure the overhang is stable and secure.
Helpful Tips and Tricks
Measure twice, cut once. Always double-check measurements before cutting materials. This saves time and reduces waste.
Use treated wood for outdoor projects. Treated wood resists rot and insects, making your overhang last longer.
Pre-drill holes before screwing. This prevents wood from splitting and ensures a cleaner finish.
Level and square your frame. Use a level and a carpenter's square to ensure your frame is straight and even.
Seal all edges. Apply a good sealant to all wood edges to protect against moisture.
Common mistakes to avoid:
- Skipping the primer. Always prime wood before painting to ensure better adhesion and durability.
- Ignoring local building codes. Check local regulations to ensure your overhang meets safety standards.
- Using the wrong fasteners. Use galvanized or stainless steel screws to prevent rusting.
- Not accounting for roof pitch. Ensure your overhang has a slight slope to allow water runoff.
Alternatives for materials or methods:
- Polycarbonate panels instead of shingles. These panels are lightweight, durable, and allow light through.
- Metal brackets for added support. Metal brackets can provide extra stability and are easy to install.
- Corrugated metal roofing. This option is durable, easy to install, and gives a modern look.
- Reclaimed wood. Using reclaimed wood can add character and is an eco-friendly option.
Estimating the Cost
Lumber: $50-$100. You'll need 2x4s and plywood. Prices vary by size and quality.
Roofing Material: $30-$70. Options include shingles or metal sheets.
Brackets and Screws: $20-$40. These secure the overhang to the wall.
Paint or Stain: $15-$30. Protects wood from weather.
Sealant: $10-$20. Keeps water out.
Tools: If you don't have them, consider borrowing or renting.
- Drill: $30-$100.
- Saw: $50-$150.
- Measuring Tape: $5-$15.
- Level: $10-$30.
Total Cost: $170-$555, depending on materials and tools you already own.
Budget-Friendly Alternatives:
- Use recycled wood or pallets for lumber.
- Opt for corrugated plastic instead of metal sheets.
- Borrow tools from friends or rent from a local hardware store.
Different Styles and Customizations
Materials: Instead of using traditional wood, consider metal or PVC for a modern look. Reclaimed wood adds a rustic charm, while polycarbonate sheets offer durability and a sleek appearance.
Colors: Paint the overhang in bold colors like red or blue for a striking effect. For a more subtle look, use neutral tones such as beige or gray. Staining the wood can highlight its natural grain.
Styles: For a classic style, use shingled roofing. A contemporary design might feature a flat roof with clean lines. Add decorative brackets for a Victorian touch or minimalist supports for a modern aesthetic.
Roofing: Use corrugated metal for an industrial feel or clear acrylic to let in more light. Green roofing with plants can provide insulation and a unique look.
Lighting: Integrate LED strip lights under the overhang for a modern touch. Vintage lanterns or solar-powered lights can add both functionality and style.
Trim: Add decorative molding or trim to enhance the overall look. Use contrasting colors for the trim to make it stand out.
Accessories: Hang potted plants or wind chimes from the overhang for added charm. Install a small shelf for seasonal decorations or practical items like umbrellas.
Shape: Experiment with different shapes such as arched, gabled, or flat designs to suit your home's architecture.
Eco-Friendly Building Tips
Reclaimed wood can be a great choice for building a door overhang. It adds character and reduces the demand for new lumber. Bamboo is another eco-friendly option. It grows quickly and is very strong.
Use recycled metal for brackets and supports. This reduces waste and often costs less than new metal. Natural stains and finishes, like linseed oil or beeswax, protect wood without harmful chemicals.
Solar-powered lights can illuminate the area without using electricity. They charge during the day and light up at night.
Consider a green roof with plants. It helps insulate the overhang and provides a small habitat for insects.
Collect rainwater from the overhang to water your garden. Install a rain barrel at the base of the downspout.
When possible, reuse screws, nails, and other hardware from old projects. This saves money and reduces waste.
Your Overhang Awaits
Building a DIY door overhang isn't just about shelter; it's about adding a personal touch to your home. You've got the tools, the materials, and the know-how. Now, it's time to put it all together. Measure twice, cut once, and don't rush. Pay attention to the details like sealing and painting to ensure longevity. If you hit a snag, don't sweat it. Take a step back, reassess, and keep going. Remember, every project has its challenges, but the satisfaction of completing it yourself is worth the effort. So grab your hammer, get those nails, and start building. Your new overhang will not only protect your door but also give your home a unique look. Happy building!
What materials do I need to build a door overhang?
You’ll need wood, screws, brackets, shingles, paint, and sealant. Don’t forget a saw, drill, and measuring tape.
How long will it take to build?
It usually takes a weekend. Plan for about 8-10 hours of work, depending on your skill level.
Do I need any special skills?
Basic carpentry skills are helpful. If you can measure, cut, and drill, you’re good to go!
Can I customize the design?
Absolutely! You can choose different shapes, colors, and materials to match your home’s style.
How do I ensure it’s sturdy?
Use strong brackets and secure screws. Make sure everything is level and well-anchored to the wall.
What’s the cost estimate?
Expect to spend around $100-$200 on materials. Prices vary based on the quality and type of materials you choose.
Do I need a permit?
Check with your local building authority. Some areas require a permit for exterior modifications.