
Home>Home & Furniture>Doors & Windows>How to Build a Barn Door Kit for Your Dining Room
Doors & Windows
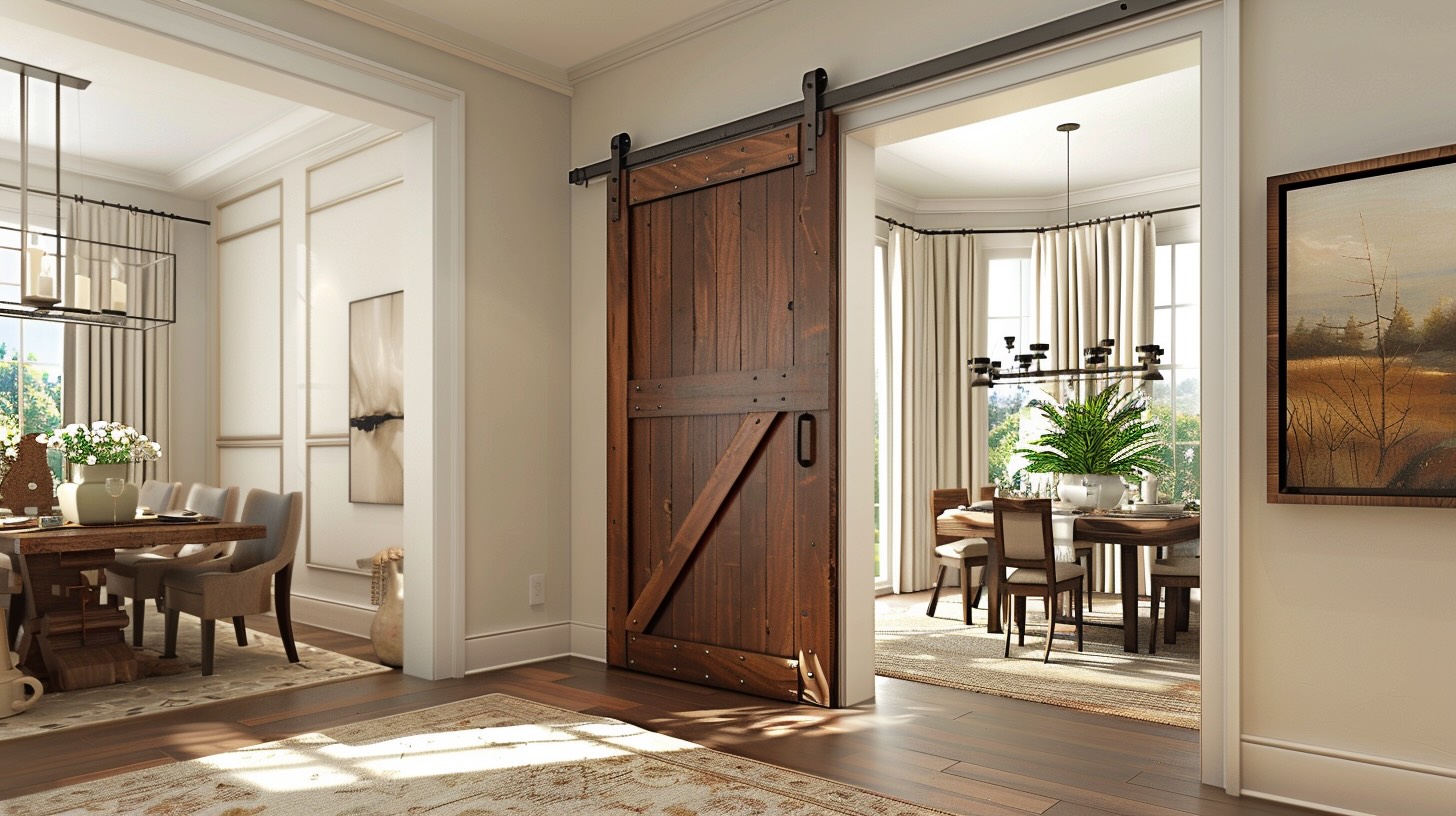
How to Build a Barn Door Kit for Your Dining Room
Published: September 6, 2024
Learn how to build a stylish barn door kit for your dining room with our step-by-step guide. Transform your space with this DIY project. Easy, affordable, and chic!
(Many of the links in this article redirect to a specific reviewed product. Your purchase of these products through affiliate links helps to generate commission for Twigandthistle.com, at no extra cost. Learn more)
Transform your dining room with a stylish barn door! Building an eye-catching barn door kit might seem challenging, but it’s simpler than you think. Using basic materials and tools, you can craft a rustic yet modern touch to your home. Not only does a barn door save space, but it also adds a unique design element that can match various decor styles. This guide will walk through each step, offering tips to ensure your project goes smoothly. Whether you're a seasoned DIYer or a beginner, this project will be a rewarding addition to your home. Let's get started!
Getting Ready for Your Project
Measure the Doorway: Use a tape measure to get the exact height and width of the doorway. Add a few inches to each side for overlap.
Choose the Door Material: Decide on the type of wood or material for the door. Make sure it’s sturdy and matches your dining room decor.
Gather Tools and Materials: Collect all necessary tools like a saw, drill, screws, and sandpaper. Don’t forget the barn door hardware kit, which includes tracks, rollers, and handles.
Prepare the Workspace: Clear a large area to work in. Lay down a drop cloth to protect the floor from sawdust and debris.
Safety Gear: Wear safety goggles, gloves, and a dust mask to protect yourself while cutting and sanding.
Cut the Wood: Use a saw to cut the wood to the measured dimensions. Sand the edges to smooth them out.
Stain or Paint: Apply stain or paint to the wood. Let it dry completely before moving on to the next step.
Install the Hardware: Follow the instructions in the barn door hardware kit to attach the tracks and rollers to the door and wall.
Test the Door: Slide the door back and forth to ensure it moves smoothly. Make any necessary adjustments to the hardware.
Final Touches: Attach handles or any additional decorative elements to complete the look.
Materials and Tools Checklist
- Barn Door Slab: The main door itself. Choose a style that matches your dining room decor.
- Barn Door Hardware Kit: Includes the track, rollers, and mounting hardware. This allows the door to slide smoothly.
- Measuring Tape: Ensures accurate measurements for cutting and installing.
- Level: Keeps everything straight and aligned during installation.
- Drill: Needed for making holes in the wall and door for mounting hardware.
- Screws and Anchors: Secure the track and other hardware to the wall.
- Stud Finder: Locates wall studs to ensure secure mounting.
- Pencil: Marks measurements and drill points.
- Wrench or Socket Set: Tightens bolts and screws.
- Screwdriver: Useful for various parts of the installation.
- Saw: Cuts the door to size if necessary.
- Sandpaper: Smooths any rough edges on the door.
- Paint or Stain: Finishes the door to match your room's aesthetic.
- Safety Gear: Includes gloves, goggles, and ear protection for safe working conditions.
Required Skills and Time Commitment
Skill Level: Intermediate
Time Required: 4-6 hours
- Gather Materials: 30 minutes
- Measure and Cut Wood: 1 hour
- Assemble Door Frame: 1 hour
- Attach Hardware: 1 hour
- Install Door: 1-2 hours
Detailed Step-by-Step Guide
Gather Materials and Tools
- Barn door kit (track, rollers, door stops)
- Wooden door slab
- Measuring tape
- Level
- Drill
- Screws
- Screwdriver
- Pencil
- Stud finder
- Wrench
Measure and Mark
- Measure the door opening.
- Mark the height and width on the door slab.
- Use a level to ensure straight lines.
Install the Track
- Locate wall studs using a stud finder.
- Mark stud locations above the door opening.
- Align the track with these marks.
- Drill pilot holes into the studs.
- Attach the track to the wall using screws.
Attach Rollers to the Door
- Position the rollers on top of the door slab.
- Mark the screw holes.
- Drill pilot holes.
- Secure the rollers with screws.
Hang the Door
- Lift the door and align rollers with the track.
- Slide the rollers onto the track.
- Ensure the door moves smoothly.
Install Door Stops
- Position door stops at each end of the track.
- Mark screw holes.
- Drill pilot holes.
- Attach door stops with screws.
Check Alignment
- Ensure the door is level.
- Adjust as needed using a wrench.
Final Touches
- Tighten all screws.
- Test the door for smooth operation.
- Make any necessary adjustments.
Helpful Tips and Tricks
Measure twice, cut once. Always double-check measurements before cutting wood. This saves time and materials.
Use a level. Ensure the door hangs straight. A crooked door looks bad and may not slide properly.
Pre-drill holes. Prevent wood from splitting by pre-drilling holes for screws.
Sand edges. Smooth edges prevent splinters and give a professional finish.
Choose the right hardware. Heavy-duty hardware supports the door's weight and ensures smooth sliding.
Paint or stain before assembly. Easier to cover all surfaces evenly.
Common mistakes to avoid:
- Incorrect measurements. Leads to gaps or a door that doesn’t fit.
- Skipping the level. Results in a door that doesn’t hang straight.
- Using weak hardware. Causes the door to sag or fall.
- Not sanding. Leaves rough edges and splinters.
- Painting after assembly. Harder to reach all areas evenly.
Alternatives:
- Materials: Use reclaimed wood for a rustic look or plywood for a budget-friendly option.
- Methods: Instead of traditional barn door hardware, use sliding closet door tracks for a modern twist.
Budgeting for Your Barn Door Kit
Wood: For a standard barn door, you need about 20 square feet of wood. Pine is budget-friendly at around $2 per square foot, totaling $40. Oak costs more, about $5 per square foot, totaling $100.
Hardware: A barn door hardware kit, including tracks, rollers, and handles, costs between $50 and $150. Budget kits are around $50, while high-end kits can reach $150.
Paint or Stain: One quart of paint or stain should be enough. Paint costs about $15, while stain is around $10.
Screws and Nails: A box of screws and nails costs about $5.
Tools: If you don't have tools, you might need a drill ($30), a saw ($50), and a measuring tape ($5). Borrowing tools from friends or renting them can save money.
Total Cost: Using budget-friendly materials, the total cost is around $115. Using higher-end materials, the cost can reach $320.
Budget-Friendly Alternatives:
- Use pine instead of oak to save $60.
- Opt for a budget hardware kit to save $100.
- Borrow or rent tools instead of buying them to save $85.
Creative Variations and Customizations
Materials: Instead of traditional wood, try reclaimed wood for a rustic look. Metal or glass panels can give a modern touch. Plywood offers a budget-friendly option.
Colors: Paint the door in bold colors like navy blue or forest green for a statement piece. Stain the wood to highlight its natural grain. Use chalk paint for a vintage feel.
Styles: Choose a classic X-pattern for a traditional barn door. A Z-pattern adds a unique twist. For a sleek look, go with horizontal planks.
Hardware: Opt for black iron hardware for a classic look. Brushed nickel or brass can add a modern touch. Rustic handles and hinges can enhance a farmhouse style.
Decorative Elements: Add decorative trim or molding for extra detail. Carved designs or stenciled patterns can personalize the door. Attach a mirror to one side for functionality.
Sliding Mechanism: Use a top-mounted track for a clean look. A bottom track can provide extra stability. Soft-close mechanisms prevent slamming.
Size: Customize the door size to fit your space. A double barn door can make a grand entrance. A mini barn door works well for smaller openings.
Finishes: Use a matte finish for a subtle look. A glossy finish can make the door stand out. Distressed finishes add character and charm.
Eco-Friendly Building Tips
Reclaimed Wood: Use old wood from barns, pallets, or fences. It adds character and reduces waste.
Eco-friendly Paint: Choose low-VOC or zero-VOC paint. These paints are better for indoor air quality.
Recycled Hardware: Look for second-hand door handles, hinges, and tracks. Thrift stores or online marketplaces often have these items.
Natural Finishes: Use beeswax or linseed oil instead of chemical sealants. They are safer for you and the environment.
Insulation: Add a layer of cork or recycled denim insulation behind the door. This helps with temperature control and soundproofing.
Energy-efficient Tools: Use hand tools or energy-efficient power tools. This reduces electricity consumption.
Local Materials: Source materials from local suppliers. This cuts down on transportation emissions.
Minimalist Design: Keep the design simple. Fewer materials mean less waste and a cleaner look.
Recycled Glass: If your barn door has windows, use recycled glass. It’s sustainable and stylish.
Sustainable Sourcing: Ensure any new wood is FSC-certified. This guarantees it comes from responsibly managed forests.
Your DIY Barn Door Awaits
Building a barn door kit for your dining room isn't just about saving money, it's about adding a personal touch to your home. You've got the materials, the tools, and the know-how. Measure twice, cut once, and don't rush the process. Sanding and staining might seem tedious, but they make all the difference. When you finally hang that door, you'll feel a sense of accomplishment that's hard to beat. Plus, you'll have a unique piece that reflects your style. So, roll up your sleeves, get to work, and enjoy the fruits of your labor. Your dining room will thank you for it.
How much does it cost to build a barn door kit?
The cost can vary, but typically, you might spend around $100 to $300 on materials. This includes wood, hardware, and paint or stain.
What tools do I need for this project?
You’ll need a tape measure, saw, drill, screwdriver, level, and sandpaper. A stud finder and clamps can also be helpful.
How long will it take to build a barn door?
It usually takes a weekend. Cutting, assembling, and finishing the door might take 4-6 hours, but drying time for paint or stain can add extra hours.
Can I customize the size of the barn door?
Absolutely! Measure your doorway and adjust the wood cuts accordingly. Just make sure the hardware can support the door’s weight.
What type of wood should I use?
Pine, oak, or cedar are great choices. Pine is affordable and easy to work with, while oak and cedar are more durable and have a nicer finish.
How do I install the barn door hardware?
Follow the manufacturer’s instructions. Typically, you’ll mount a track above the doorway, attach rollers to the door, and then hang the door on the track.
Do I need to finish the wood?
Yes, finishing the wood with paint, stain, or sealant protects it from moisture and wear. It also enhances the door’s appearance.