
Home>Home & Furniture>Doors & Windows>DIY Window Seat Cushions: Step-by-step Guide
Doors & Windows
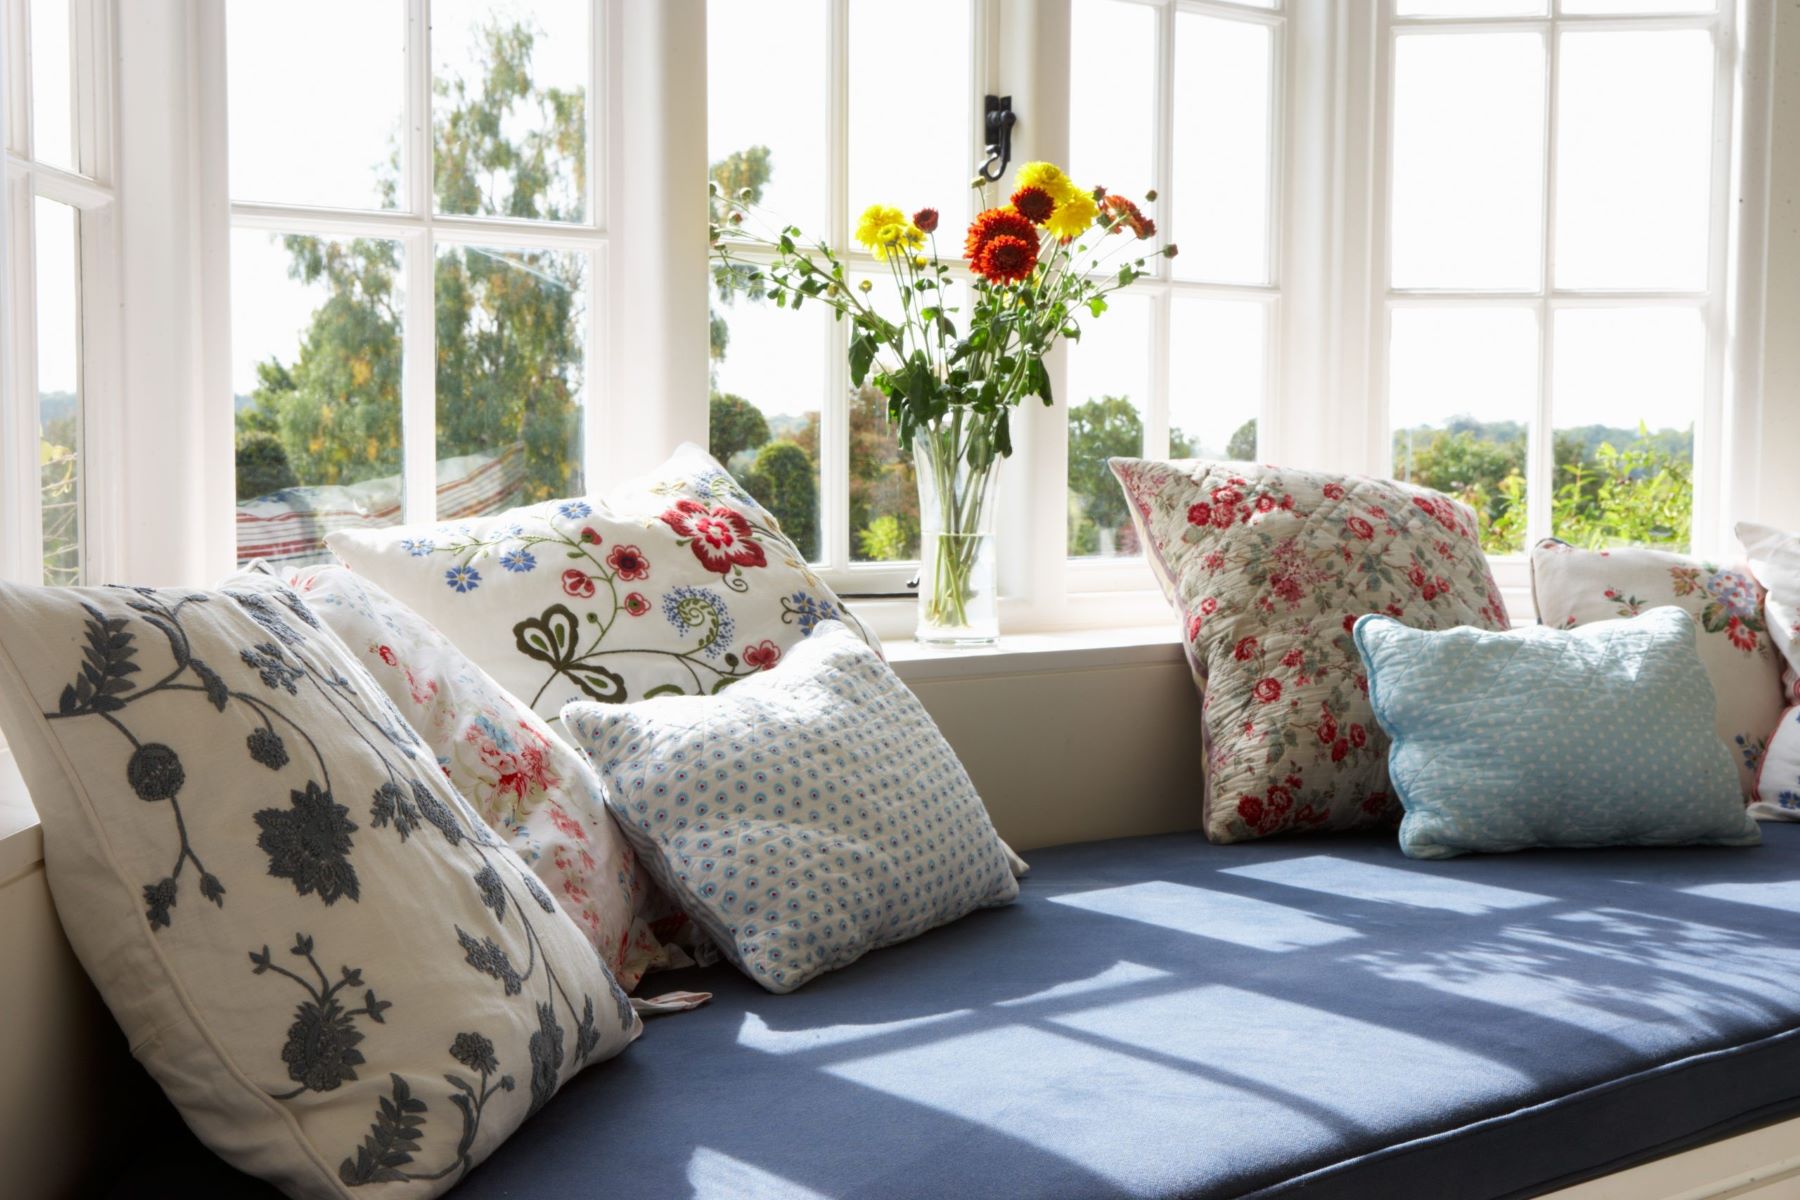
DIY Window Seat Cushions: Step-by-step Guide
Published: August 27, 2024
Learn how to create cozy DIY window seat cushions with our step-by-step guide. Perfect for adding comfort and style to your home. Easy, affordable, and fun!
(Many of the links in this article redirect to a specific reviewed product. Your purchase of these products through affiliate links helps to generate commission for Twigandthistle.com, at no extra cost. Learn more)
Creating your own window seat cushion can add comfort and a touch of personal style to any room. Whether you’re a seasoned DIY enthusiast or just starting, this project can be both fun and rewarding. With the right materials and a bit of patience, you can transform a simple window seat into a cozy nook for reading or relaxing. Plus, making your cushion allows you to choose fabrics and patterns that perfectly match your decor. Get ready to dive into a straightforward process that will have you enjoying your custom cushion in no time.
Preparation
Measure the Space: Use a tape measure to get the length, width, and depth of the window seat. Write down these measurements.
Choose Materials: Pick a durable fabric, foam padding, and a plywood base. Make sure the fabric matches your room's decor.
Safety Gear: Wear safety goggles and gloves when cutting materials. Keep a first aid kit nearby.
Set Up Workspace: Clear a large, flat area. Lay down a drop cloth to protect surfaces. Ensure good lighting.
Cut Foam and Plywood: Use a utility knife for foam and a saw for plywood. Cut both to match your measurements.
Attach Foam to Plywood: Use spray adhesive to stick the foam to the plywood. Press firmly to ensure it stays in place.
Cut Fabric: Lay the fabric flat. Cut it, leaving extra inches on all sides to wrap around the foam and plywood.
Staple Fabric: Wrap the fabric tightly around the foam and plywood. Use a staple gun to secure it underneath.
Check Fit: Place the cushion on the window seat. Make adjustments if needed.
Clean Up: Dispose of scraps and clean your tools. Store leftover materials for future projects.
Materials and Tools Needed
Fabric: Choose a durable, washable fabric that matches your decor. Cotton, canvas, or upholstery fabric works well.
Foam: High-density foam provides comfort and support. Measure your window seat to get the right size.
Batting: Adds extra softness and smooths out the foam. Polyester batting is a good choice.
Thread: Strong, matching thread for sewing the fabric together. Polyester thread is durable and versatile.
Zipper: A long zipper makes it easy to remove the cover for washing. Choose a zipper length that matches one side of the cushion.
Scissors: Sharp fabric scissors for cutting fabric and batting. Regular scissors can be used for other materials.
Measuring Tape: Essential for measuring fabric, foam, and batting accurately.
Sewing Machine: Speeds up the sewing process and ensures strong seams. A basic machine with straight and zigzag stitches will suffice.
Pins: Hold fabric pieces together while sewing. Straight pins or quilting pins work well.
Marker or Chalk: Fabric marker or tailor’s chalk for marking measurements on fabric. These marks can be easily removed or washed out.
Straight Edge or Ruler: Helps in making straight cuts and accurate measurements.
Needle and Thread: For hand-sewing any final touches or repairs. A basic sewing needle and matching thread will do.
Iron and Ironing Board: Pressing fabric before sewing ensures smooth, professional-looking seams.
Skill Level and Time Required
Skill Level: Intermediate
Time Required: 3-5 hours
- Measure and Cut Fabric: 30 minutes
- Sew Fabric Pieces Together: 1-2 hours
- Insert Cushion Foam: 20 minutes
- Hand-Stitch Opening: 30 minutes
- Add Decorative Elements (optional): 30 minutes to 1 hour
Step-by-Step Instructions
Measure the Window Seat
- Use a tape measure to get the length and width of the window seat.
- Write down the measurements.
Choose Your Fabric
- Pick a durable, comfortable fabric.
- Make sure it matches your room's decor.
Cut the Foam
- Buy foam padding from a craft store.
- Cut the foam to match the window seat measurements using a sharp knife or electric carving knife.
Cut the Fabric
- Lay the fabric flat on a clean surface.
- Place the foam on top.
- Add 2-3 inches to each side of the foam measurements for seam allowance.
- Cut the fabric accordingly.
Sew the Cushion Cover
- Place the fabric pieces together, with the patterned sides facing each other.
- Sew three sides together, leaving one side open.
- Use a sewing machine for a strong seam.
Insert the Foam
- Turn the fabric cover right side out.
- Insert the foam into the cover.
Close the Cushion
- Fold the edges of the open side inward.
- Sew the open side closed by hand or with a sewing machine.
Add Finishing Touches
- Add buttons or tufting if desired.
- Place the cushion on the window seat.
Enjoy your new, cozy window seat cushion!
Tips and Tricks
Measure accurately: Use a tape measure to get the exact dimensions of your window seat. Add an extra inch to each side for seam allowance.
Choose durable fabric: Opt for sturdy materials like canvas or upholstery fabric. These will last longer and withstand daily use.
Use high-density foam: High-density foam provides better support and comfort. Cut it to fit your measurements using an electric knife or a serrated bread knife.
Sew with strong thread: Use heavy-duty thread to ensure your seams hold up over time. Double-stitch the seams for extra strength.
Add a zipper: Installing a zipper makes it easy to remove and wash the cushion cover. Place the zipper along the back edge for a cleaner look.
Common mistakes to avoid:
- Incorrect measurements: Double-check your measurements before cutting fabric or foam.
- Using low-quality fabric: Cheap fabric wears out quickly, leading to frequent replacements.
- Skipping the zipper: Without a zipper, cleaning becomes a hassle.
Alternatives for materials or methods:
- Foam alternatives: Use batting or multiple layers of quilt padding if foam is too expensive.
- No-sew options: Use fabric glue or iron-on adhesive tape for a no-sew cushion cover.
- Velcro closures: Instead of a zipper, use Velcro strips for easy removal and washing.
Cost Estimation
Fabric: $30-$50 for 2-3 yards, depending on quality and pattern.
Foam: $40-$60 for a 2-inch thick, 24x72 inch piece.
Batting: $10-$15 for a roll to add extra softness.
Thread: $3-$5 for a spool matching the fabric.
Zippers or Velcro: $5-$10 for a 24-inch zipper or a pack of Velcro strips.
Scissors: $10-$20 if you don't already have a good pair.
Sewing Machine: $100-$200 for a basic model, though borrowing one can save money.
Measuring Tape: $5-$10 if not already owned.
Pins: $3-$5 for a pack.
Total Cost: $206-$375, depending on choices and what you already own.
Budget-Friendly Alternatives:
- Fabric: Use old curtains or bed sheets.
- Foam: Repurpose old couch cushions.
- Batting: Skip if foam is thick enough.
- Sewing Machine: Hand-sew or borrow from a friend.
- Scissors: Use any sharp pair you have at home.
Variations and Customizations
Fabric Choices: Use cotton for a casual look, velvet for a luxurious feel, or outdoor fabric for durability. Patterns like stripes, florals, or geometric designs can add personality.
Foam Options: Choose high-density foam for firm support or memory foam for extra comfort. Layered foam can combine different densities for a custom feel.
Colors: Match the cushion color to your room's palette. Neutral tones blend well, while bold colors make a statement. Pastels offer a soft, calming effect.
Trims and Details: Add piping around the edges for a polished look. Buttons or tufting can create a classic style. Zippers make covers removable for easy cleaning.
Shape and Size: Customize the cushion shape to fit your window seat perfectly. Rectangular, square, or custom shapes ensure a snug fit. Thicker cushions provide more comfort.
Alternative Materials: Use recycled materials like old blankets or quilts for a unique, eco-friendly cushion. Batting can replace foam for a softer feel.
Styles: Create a modern look with sleek lines and minimal patterns. Vintage styles can use floral prints and lace trims. Bohemian designs might include bright colors and mixed patterns.
Attachment Methods: Secure cushions with Velcro strips or ties to keep them in place. Non-slip fabric on the bottom can prevent sliding.
Additional Features: Incorporate storage pockets on the sides for books or remotes. Reversible cushions offer two looks in one. Waterproof liners protect against spills.
Personal Touches: Embroider initials or designs for a personal touch. Patchwork can use fabric scraps for a unique look. Stenciling adds custom patterns or quotes.
Sustainability Tips
Materials Needed:
- Old Cushions or Foam: Reuse old cushions or foam from discarded furniture.
- Recycled Fabric: Use fabric from old curtains, tablecloths, or bed sheets.
- Natural Fiber Batting: Choose cotton, wool, or bamboo batting.
- Thread: Opt for organic cotton or recycled polyester thread.
- Non-toxic Glue: Use eco-friendly glue if needed.
Step-by-Step Guide:
Measure the Window Seat: Measure the length, width, and depth of the window seat to determine the size of the cushion.
Cut the Foam: Use a sharp knife to cut the old foam to the measured dimensions. Ensure the foam fits snugly on the window seat.
Prepare the Fabric: Lay out the recycled fabric. Cut it to size, leaving an extra 2-3 inches on all sides for seams and wrapping around the foam.
Sew the Cover: Place the fabric pieces with the right sides facing each other. Sew along three sides, leaving one side open for inserting the foam.
Insert the Foam: Turn the fabric cover right side out. Insert the foam into the cover, ensuring it fits well.
Close the Cover: Fold the edges of the open side inward. Sew it closed by hand or with a sewing machine.
Add Batting: If desired, wrap the cushion in natural fiber batting for extra comfort. Secure the batting with non-toxic glue or by stitching it in place.
Finish the Cushion: Place the finished cushion on the window seat. Adjust as needed for a perfect fit.
Reusing materials reduces waste and saves money. Enjoy your eco-friendly window seat cushion!
Your Cozy Nook Awaits
You've got all the tools and know-how to make a comfy window seat cushion. Just remember, measure twice, cut once. Use quality fabric and stuffing for durability. Take your time with the sewing; neat stitches make a big difference. If you hit a snag, don't stress. DIY projects can be tricky, but they're also super rewarding. Once your cushion's done, you'll have a cozy spot to read, relax, or just enjoy the view. Plus, you'll have the satisfaction of knowing you made it yourself. So go ahead, gather your materials, and get started. Your cozy nook is just a few steps away. Happy crafting!
How do I measure for my window seat cushions?
Measure the length and width of the window seat. For the thickness, decide how comfy you want it. Most cushions are around 2-4 inches thick.
What materials do I need?
You'll need fabric, foam, batting, scissors, measuring tape, thread, and a sewing machine. Optional: Velcro or zippers for removable covers.
How do I cut the foam to size?
Use a sharp knife or electric carving knife. Mark the dimensions on the foam, then cut slowly to get a clean edge.
Can I make the cushion cover removable?
Yes! Sew a zipper or Velcro along one edge of the cover. This makes it easy to remove and wash.
How do I attach the fabric to the foam?
Wrap the foam with batting first for extra softness. Then, place the fabric over the foam and batting, and sew the edges together. If you’re using a removable cover, just slip it over the foam.
What type of fabric should I use?
Choose a durable fabric like canvas, denim, or upholstery fabric. These materials hold up well to daily use and are easy to clean.
How do I keep the cushion from sliding around?
Use non-slip fabric on the bottom or add Velcro strips to the cushion and seat. This keeps everything in place.