
Home>Home & Furniture>Doors & Windows>DIY Playhouse Door Ideas
Doors & Windows
DIY Playhouse Door Ideas
Published: September 19, 2024
Discover creative and easy DIY playhouse door ideas to transform your child's play space. From whimsical designs to functional features, get inspired to build the perfect door!
(Many of the links in this article redirect to a specific reviewed product. Your purchase of these products through affiliate links helps to generate commission for Twigandthistle.com, at no extra cost. Learn more)
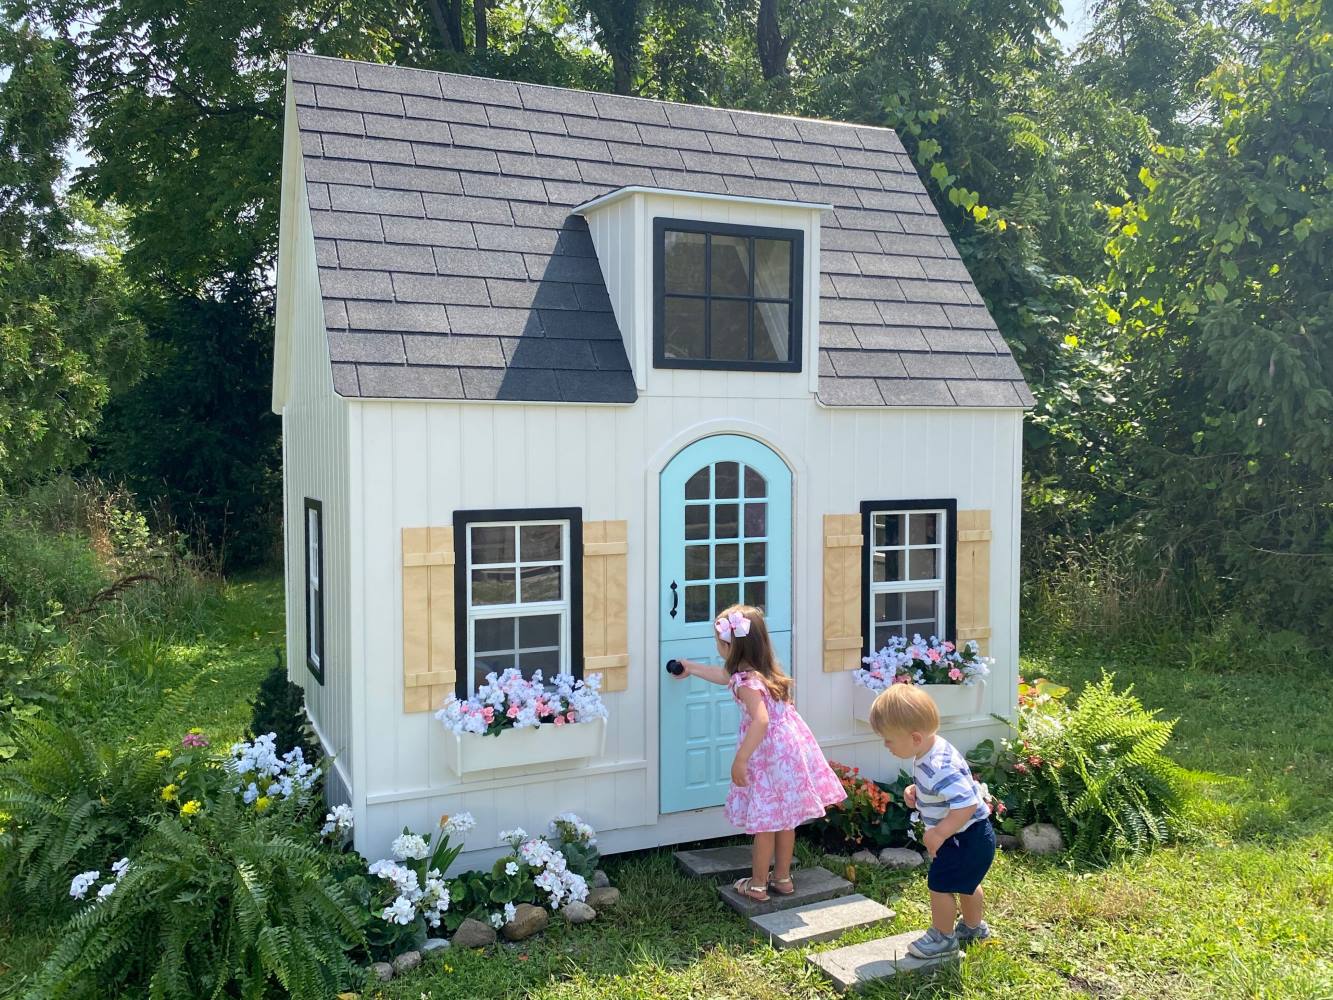
Creating a playhouse for children is a fun project that sparks creativity and brings joy. One key element of a playhouse is its door, as it serves both functional and aesthetic purposes. Whether you want a whimsical touch, a rustic feel, or something practical, various DIY playhouse door ideas can suit your needs. Building your door allows you to customize it to fit the theme and size of the playhouse. Plus, it can be an enjoyable activity to share with your kids. Let's explore some creative and easy-to-build playhouse door ideas.
Getting Ready for Your Project
Gather Materials: Collect wood, screws, hinges, a handle, paint, and a saw. Make sure everything is within reach.
Measure and Cut: Measure the door frame. Cut the wood to fit. Double-check measurements to avoid mistakes.
Safety Gear: Wear safety goggles and gloves. Keep a first aid kit nearby.
Workspace Setup: Clear a flat area. Ensure good lighting. Lay down a tarp to catch sawdust.
Pre-drill Holes: Mark where hinges and handle will go. Pre-drill holes to make assembly easier.
Sand Edges: Smooth out rough edges with sandpaper. This prevents splinters.
Paint or Stain: Apply paint or stain to the wood. Let it dry completely before assembling.
Attach Hinges: Secure hinges to the door. Then, attach the door to the frame.
Install Handle: Screw the handle onto the door. Make sure it’s secure.
Test Door: Open and close the door to ensure it works smoothly. Adjust if needed.
Gather Your Supplies and Tools
- Plywood: Strong and durable, plywood forms the main structure of the door.
- Hinges: Metal pieces that allow the door to swing open and shut.
- Screws: Used to attach hinges and other components securely.
- Screwdriver: Tool for driving screws into place.
- Measuring Tape: Ensures accurate measurements for cutting and fitting.
- Saw: Cuts plywood to the desired size and shape.
- Sandpaper: Smooths rough edges and surfaces.
- Paint: Adds color and protects the wood from weather.
- Paintbrushes: Used to apply paint evenly.
- Door Handle: Provides a way to open and close the door easily.
- Drill: Makes holes for screws and handles.
- Level: Ensures the door is hung straight.
- Pencil: Marks measurements and cutting lines.
- Safety Goggles: Protects eyes while cutting and drilling.
- Gloves: Protects hands from splinters and sharp edges.
Skill Level and Time Commitment
Skill Level: Intermediate
Time Required: 4-6 hours
- Measure and Cut Wood: 1 hour
- Assemble Frame: 1 hour
- Attach Hinges: 30 minutes
- Install Door: 1 hour
- Paint and Finish: 1-2 hours
How to Build Your Playhouse Door
Gather Materials
- Plywood sheet
- Hinges
- Screws
- Door handle
- Paint or stain
- Sandpaper
- Measuring tape
- Saw
- Drill
Measure Door Opening
- Use measuring tape to find the height and width of the door opening.
- Add 1/4 inch to both measurements for clearance.
Cut Plywood
- Mark the measurements on the plywood.
- Use a saw to cut the plywood to size.
Sand Edges
- Sand all edges of the cut plywood to smooth any rough spots.
Paint or Stain
- Apply paint or stain to the plywood.
- Let it dry completely.
Attach Hinges
- Place hinges on one side of the door.
- Mark screw holes with a pencil.
- Drill pilot holes for screws.
- Screw hinges onto the door.
Install Door Handle
- Mark the spot for the door handle.
- Drill holes as needed.
- Attach the handle with screws.
Mount Door
- Hold the door in place within the opening.
- Mark hinge placement on the playhouse frame.
- Drill pilot holes in the frame.
- Screw hinges into the frame.
Test Door
- Open and close the door to ensure it swings freely.
- Make any necessary adjustments.
Final Touches
- Add any decorative elements like a window or nameplate.
- Ensure all screws are tight and secure.
Helpful Hints for Success
Measure twice, cut once. Always double-check measurements before cutting wood or other materials.
Use lightweight materials like plywood or MDF for the door to make it easier for kids to open and close.
Pre-drill holes for screws to prevent wood from splitting.
Add a window to the door for extra charm and to let light in. You can use plexiglass instead of real glass for safety.
Paint or stain the door before attaching it to the playhouse. This makes it easier to get a smooth finish.
Install a simple latch or magnetic catch to keep the door closed without making it hard for kids to open.
Common mistakes to avoid:
- Skipping the primer: Always prime wood before painting to ensure the paint adheres well and lasts longer.
- Using heavy materials: Heavy doors can be hard for kids to handle and may cause the playhouse to tip over.
- Ignoring safety: Avoid sharp edges and ensure all screws are flush with the surface to prevent injuries.
Alternatives for materials or methods:
- Instead of wood, consider using PVC panels for a lightweight, weather-resistant door.
- For a rustic look, use reclaimed wood or old barn wood.
- Instead of a traditional door, use a fabric curtain or beaded doorway for a whimsical touch.
Budgeting for Your DIY Playhouse Door
Materials:
- Plywood: $20-$30 per sheet (you'll need one or two)
- Hinges: $5-$10 for a set of two
- Door Handle: $5-$15
- Paint: $10-$20 per quart
- Screws/Nails: $5-$10 per pack
- Weatherstripping (optional): $5-$10
Tools:
- Saw: $30-$50 (or borrow one)
- Drill: $40-$60 (or borrow one)
- Paintbrushes/Rollers: $5-$10
- Measuring Tape: $5-$10
- Screwdriver: $5-$10
Total Cost: $135-$245
Budget-Friendly Alternatives:
- Use recycled wood or old doors: Free or cheap from salvage yards
- Borrow tools from friends or neighbors
- Look for discount paint at hardware stores
- Use basic handles or hinges from old furniture
Personalize Your Playhouse Door
Materials: Use wood for a classic look, or try PVC for a lightweight option. Plywood works well for a budget-friendly choice. For a more rustic feel, consider reclaimed wood.
Colors: Paint the door in bright colors like red, blue, or yellow to make it stand out. For a more natural look, use stains to highlight the wood grain. Chalkboard paint can turn the door into a drawing surface.
Styles: Add a window to the door for a cottage feel. Use decorative trim to create a more detailed look. For a modern touch, consider a sliding barn door style.
Handles and Knobs: Install fun-shaped handles like stars or animals. Use vintage knobs for a classic touch. For a whimsical look, try colorful ceramic knobs.
Decorations: Attach a wreath or hanging sign to the door. Add stickers or decals for extra flair. Consider a mail slot for pretend play.
Hinges and Locks: Use decorative hinges for added charm. Install a simple latch for easy opening and closing. For more security, consider a small padlock.
Windows: Add a small window with a curtain for a cozy feel. Use plexiglass for safety. For a unique touch, try a stained glass effect with colored film.
Lighting: Attach a solar-powered light above the door. Use fairy lights around the frame for a magical look. Consider a motion sensor light for added functionality.
Weatherproofing: Apply weatherstripping to keep out drafts. Use outdoor paint to protect against the elements. Consider a door sweep to keep bugs out.
Personalization: Add a nameplate with the child's name. Use stencils to paint custom designs. Consider a growth chart on the inside of the door.
Eco-Friendly Building Tips
Reclaimed Wood: Use old pallets or barn wood for a rustic look. Sand and paint them for a fresh finish.
Old Cabinet Doors: Repurpose doors from discarded cabinets. They are sturdy and often come with hinges.
Recycled Plastic: Use plastic panels made from recycled materials. They are durable and weather-resistant.
Fabric Curtains: Create a soft door using old sheets or curtains. Easy to open and close, perfect for younger kids.
Salvaged Windows: Turn old windows into doors. Add a latch for safety.
Cardboard Panels: Use large cardboard pieces from old boxes. Decorate with paint or stickers.
Bamboo: Use bamboo poles for a natural, eco-friendly door. Lightweight and easy to install.
Old Doors: Cut down an old interior door to fit the playhouse. Paint it with fun colors.
Cork Panels: Use cork boards for a unique, soft door. Easy to pin decorations on.
Recycled Metal: Use metal sheets from old appliances. Durable and gives an industrial look.
Time to Get Building
Building a DIY playhouse door can be a fun, rewarding project. You've got the tools, the materials, and the know-how. Now, it's all about putting those pieces together. Whether you go for a rustic barn door, a classic panel door, or something totally unique, your kids will love it. Remember to measure twice, cut once, and always sand those edges for safety. Don't forget to paint or stain to protect the wood and add some flair. Most importantly, have fun with it. This isn't just about creating a door; it's about making memories and giving your kids a special place to call their own. So, roll up your sleeves, grab your tools, and get building. Your playhouse door awaits!
How can I make a simple playhouse door?
Use a piece of plywood cut to size. Attach it with hinges to the playhouse frame. Add a handle and a latch for easy opening and closing.
What materials are best for a sturdy door?
Plywood or solid wood works great. You can also use reclaimed wood for a rustic look. Make sure to use weather-resistant materials if the playhouse is outdoors.
How do I add a window to the door?
Cut a square or rectangle in the door. Use plexiglass or acrylic for the window. Secure it with screws or adhesive. Add trim around the window for a finished look.
Can I paint the door?
Absolutely! Use outdoor paint if the playhouse is outside. Let the kids choose bright colors or even add fun designs like flowers or stars.
How do I make the door safe for kids?
Sand down any rough edges. Use soft-close hinges to prevent pinched fingers. Make sure the latch is easy for kids to operate but still secure.
What kind of handle should I use?
A simple knob or pull handle works well. For a more whimsical touch, use a themed handle like a star or heart. Make sure it’s easy for little hands to grip.
How can I make the door look more realistic?
Add trim around the edges and a small window. Paint it to look like a miniature house door. You can even add a tiny mailbox or door knocker for extra charm.