
Home>Home & Furniture>Doors & Windows>DIY Pipe Barn Door Hardware Guide
Doors & Windows
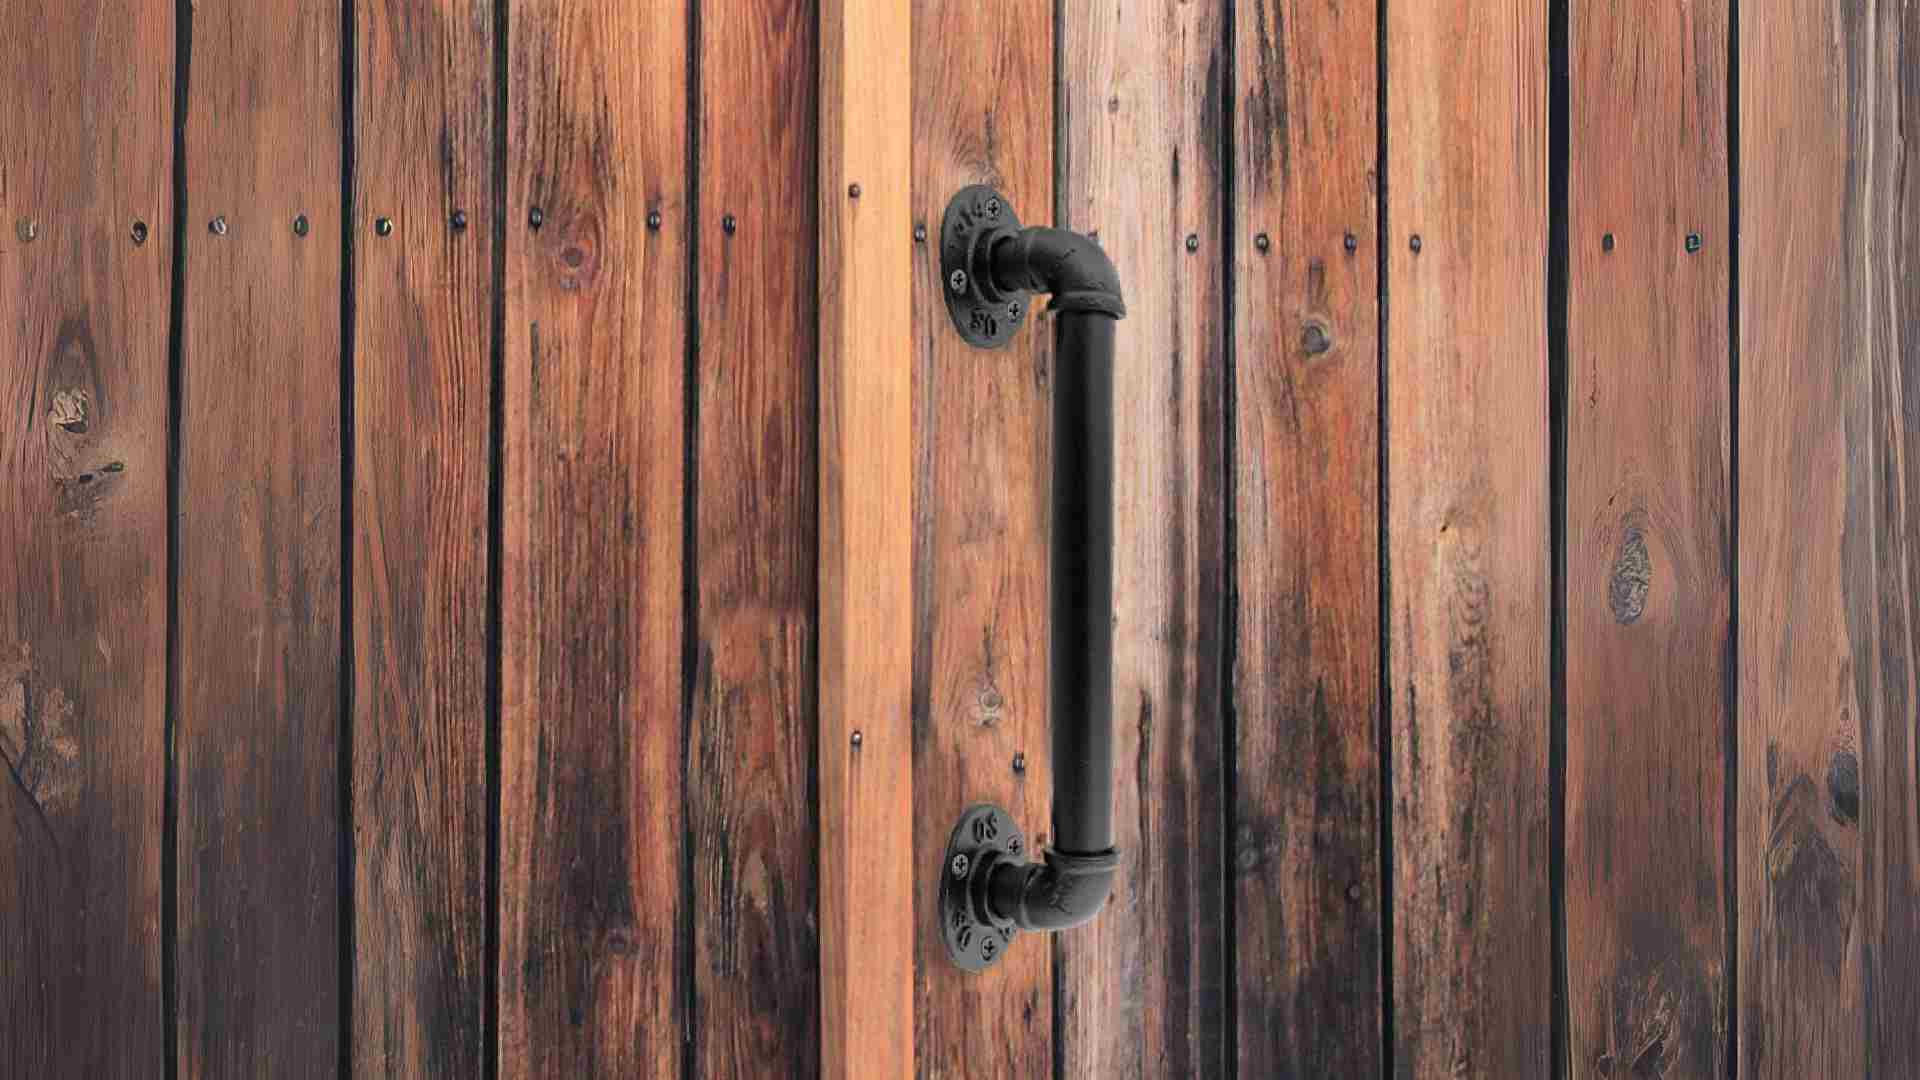
DIY Pipe Barn Door Hardware Guide
Published: September 19, 2024
Learn how to create your own stylish and functional pipe barn door hardware with our step-by-step DIY guide. Perfect for adding a rustic touch to any space!
(Many of the links in this article redirect to a specific reviewed product. Your purchase of these products through affiliate links helps to generate commission for Twigandthistle.com, at no extra cost. Learn more)
Building a barn door with pipe hardware is a fantastic way to add rustic charm to your home. Imagine transforming that plain doorway into something unique and stylish. This guide will show you how to create your own barn door hardware using pipes. It’s easier than you might think, and you don’t need to spend a fortune. With a few tools and some basic materials, you'll have your own custom sliding door in no time. Whether you’re new to DIY projects or a seasoned pro, this project is a fun way to upgrade your space. Ready to get started?
Getting Ready for the Project
Gather Materials: Collect all necessary tools and materials. This includes pipes, flanges, elbows, screws, a door, a drill, a level, a tape measure, and safety gear.
Safety First: Wear safety goggles and gloves to protect your eyes and hands. Ensure the workspace is well-ventilated if cutting or sanding wood.
Clear the Workspace: Remove any obstacles. Ensure you have enough room to move around freely and lay out all materials.
Measure Twice: Use a tape measure to determine the door's dimensions and the space where it will hang. Mark the spots where the hardware will be installed.
Pre-drill Holes: Pre-drill holes for the screws to prevent the wood from splitting. Make sure the holes are aligned properly.
Check for Studs: Use a stud finder to locate wall studs. This ensures the door hardware will be securely attached to the wall.
Level Everything: Use a level to ensure the pipes and door will hang straight. Adjust as needed before final installation.
Assemble Hardware: Put together the pipe hardware according to your design. Double-check that all connections are tight and secure.
Test Fit: Before final installation, do a test fit to ensure everything aligns correctly and the door slides smoothly.
Secure Hardware: Once satisfied with the fit, securely attach the hardware to the wall and door. Double-check all screws and bolts are tight.
What You Need: Materials and Tools
Steel Pipes: These will form the track for the barn door. Choose pipes with a diameter of 1 inch for durability.
Pipe Flanges: Used to attach the pipes to the wall. You’ll need at least four flanges for a standard door.
Elbow Joints: Connect the pipes at the corners. Two elbow joints are typically required.
Tee Joints: These will help in creating a stable structure. You’ll need two tee joints.
Sliding Door Rollers: These allow the door to slide smoothly along the track. Make sure they fit the pipe diameter.
Lag Screws: Heavy-duty screws for securing the flanges to the wall. Use at least 3-inch screws for a firm hold.
Wall Anchors: Provide extra support for the lag screws, especially if attaching to drywall.
Door Stops: Prevent the door from sliding off the track. Usually, two are needed.
Handle: A sturdy handle for opening and closing the door. Choose one that matches your door’s style.
Drill: For making holes in the wall and door. A power drill with various bits is ideal.
Level: Ensures the track is straight. A 4-foot level works best for this project.
Measuring Tape: For accurate measurements. A 25-foot tape measure is usually sufficient.
Wrench: Tightens the pipe connections. An adjustable wrench is versatile for different sizes.
Screwdriver: For securing screws. A multi-bit screwdriver can handle various screw types.
Pencil: Marks measurements on the wall and door. A carpenter’s pencil is easy to see.
Safety Gear: Includes gloves, safety glasses, and ear protection. Always prioritize safety when working with tools.
How Much Skill and Time Are Needed?
Skill Level: Intermediate
Time Required: 4-6 hours
- Gather Materials: 30 minutes
- Measure and Cut Pipes: 1 hour
- Assemble Hardware: 1 hour
- Install Track: 1 hour
- Hang Door: 1-2 hours
Follow These Steps
Gather Materials:
- Steel pipes (1-inch diameter)
- Pipe flanges
- Elbow joints
- T-connector
- Screws
- Door rollers
- Wooden door
- Measuring tape
- Drill
- Level
Measure Door and Wall:
- Measure the width of the door.
- Measure the height from the floor to where the pipe will be mounted.
Cut Pipes:
- Cut two pipes to the width of the door plus 6 inches.
- Cut two shorter pipes (about 6 inches each) for the wall mounts.
Assemble Pipe Track:
- Attach a flange to one end of each short pipe.
- Screw an elbow joint to the other end.
- Connect the short pipes to the long pipes using the elbow joints.
- Attach a T-connector in the middle of the long pipes for extra support.
Mount Pipe Track:
- Use a level to ensure the track is straight.
- Drill holes into the wall where the flanges will be mounted.
- Secure the flanges to the wall with screws.
Install Door Rollers:
- Attach door rollers to the top of the wooden door.
- Ensure they are evenly spaced and aligned.
Hang the Door:
- Lift the door and place the rollers onto the pipe track.
- Check that the door slides smoothly.
Secure Stops:
- Install stoppers at both ends of the pipe track to prevent the door from sliding off.
Test the Door:
- Slide the door back and forth to ensure everything is secure and functioning properly.
Finishing Touches:
- Paint or stain the door and pipes if desired.
- Add handles or other hardware to the door for easy use.
Helpful Tips and Tricks
Measure Twice, Cut Once: Always double-check measurements before cutting pipes. Mistakes can be costly.
Use a Level: Ensure the track is perfectly level. An uneven track will cause the door to slide improperly.
Pre-drill Holes: Pre-drill holes in the wall and door to make screwing easier and prevent wood splitting.
Secure Anchors: Use wall anchors if mounting on drywall. This ensures the hardware supports the door's weight.
Lubricate the Track: Apply a bit of lubricant to the track for smoother sliding.
Common Mistakes to Avoid:
Skipping Instructions: Always follow the hardware kit instructions. Skipping steps can lead to improper installation.
Incorrect Measurements: Incorrectly measuring the door or track can result in a poor fit.
Ignoring Wall Type: Not considering the wall type can lead to insecure mounting. Use appropriate anchors for drywall, brick, or concrete.
Alternatives for Materials or Methods:
Galvanized Pipes: Instead of black iron pipes, use galvanized pipes for a rust-resistant option.
Sliding Door Kits: If DIY isn't your thing, consider pre-made sliding door kits. They come with all necessary parts and instructions.
Wooden Track: For a rustic look, use a wooden track instead of metal. Ensure it's sturdy enough to hold the door's weight.
How Much Will This Cost?
Materials:
- Steel Pipes: $30-$50
- Flanges: $20-$30
- Elbows and Tees: $10-$20
- Sliding Door Track: $40-$60
- Door Stops: $10-$15
- Screws and Anchors: $5-$10
- Wood for Door: $50-$100
Tools:
- Drill: $40-$60
- Screwdriver Set: $10-$20
- Measuring Tape: $5-$10
- Level: $10-$15
- Pipe Wrench: $15-$25
Total Cost: $245-$415
Budget-Friendly Alternatives:
- PVC Pipes instead of steel: $10-$20
- Repurposed Wood for the door: $0-$20
- Basic Hand Tools instead of power tools: $20-$30
Total Cost with Alternatives: $90-$165
Different Ways to Customize
Materials: Instead of standard steel pipes, use copper or black iron pipes for a different look. Copper gives a rustic, warm feel, while black iron offers an industrial vibe.
Colors: Paint the pipes with metallic spray paint in colors like bronze, gold, or silver. For a more playful touch, use bright colors like red, blue, or green.
Styles: Add decorative end caps or finials to the pipes for a more polished appearance. Use vintage-style brackets or flanges for mounting the guide to the wall.
Handles: Swap out the standard handle for a leather strap or a wooden handle. Leather adds a touch of elegance, while wood can be stained or painted to match the door.
Wheels: Use rubber wheels for a quieter operation or metal wheels for a more industrial look.
Door Types: Instead of a traditional barn door, use a reclaimed wood door, a glass door, or even a chalkboard door for added functionality.
Mounting Options: Install the guide on the floor for a more traditional look or on the ceiling for a unique, space-saving solution.
Eco-Friendly Tips
Reclaimed wood can be used for the door itself. This reduces waste and gives the door a rustic look. For the pipe hardware, consider using recycled metal pipes. These can often be found at salvage yards or recycling centers. Natural finishes like beeswax or linseed oil can protect the wood without harmful chemicals. Use LED lights if you want to add lighting around the door. They are energy-efficient and last longer. Upcycled materials like old handles or brackets can add character and reduce the need for new items. When painting, choose low-VOC paints to minimize indoor air pollution.
Your DIY Project Awaits
You've got all the tools and know-how to tackle this DIY pipe barn door hardware project. With some pipes, flanges, and a bit of elbow grease, you can create a stunning and functional piece for your home. Remember to measure twice, cut once, and always double-check your alignments. This project not only saves you money but also gives you a sense of accomplishment. Plus, you get to show off your handiwork to friends and family. So, gather your materials, clear your workspace, and get started. The satisfaction of building something with your own hands is unmatched. Happy building!
How do I measure for a barn door?
Measure the doorway width and add 2 inches on each side. For the height, measure from the floor to the top of the doorway and add 1 inch.
What materials do I need?
You’ll need pipes, flanges, elbows, tees, screws, and a barn door. Don’t forget a drill, level, and measuring tape.
How do I assemble the pipe hardware?
Start by attaching the flanges to the wall. Then, connect the pipes using elbows and tees to form a track. Make sure everything is level.
How do I attach the door to the hardware?
Use door hangers that fit over the pipe track. Attach the hangers to the top of the door, then lift the door onto the track.
Can I use any type of pipe?
Black iron or galvanized pipes work best. They’re sturdy and have a cool, industrial look.
How do I ensure the door slides smoothly?
Make sure the track is level and secure. Lubricate the pipe with a bit of silicone spray if needed.
What if my door is too heavy?
Use stronger pipes and extra supports. Check the weight limit of your hardware to ensure it can handle the door.