
Home>Home & Furniture>Doors & Windows>DIY Door Trim Ideas
Doors & Windows
DIY Door Trim Ideas
Published: September 12, 2024
Discover creative DIY door trim ideas to enhance your home's aesthetic. Learn step-by-step techniques and tips to transform your doors with stylish, budget-friendly trims.
(Many of the links in this article redirect to a specific reviewed product. Your purchase of these products through affiliate links helps to generate commission for Twigandthistle.com, at no extra cost. Learn more)
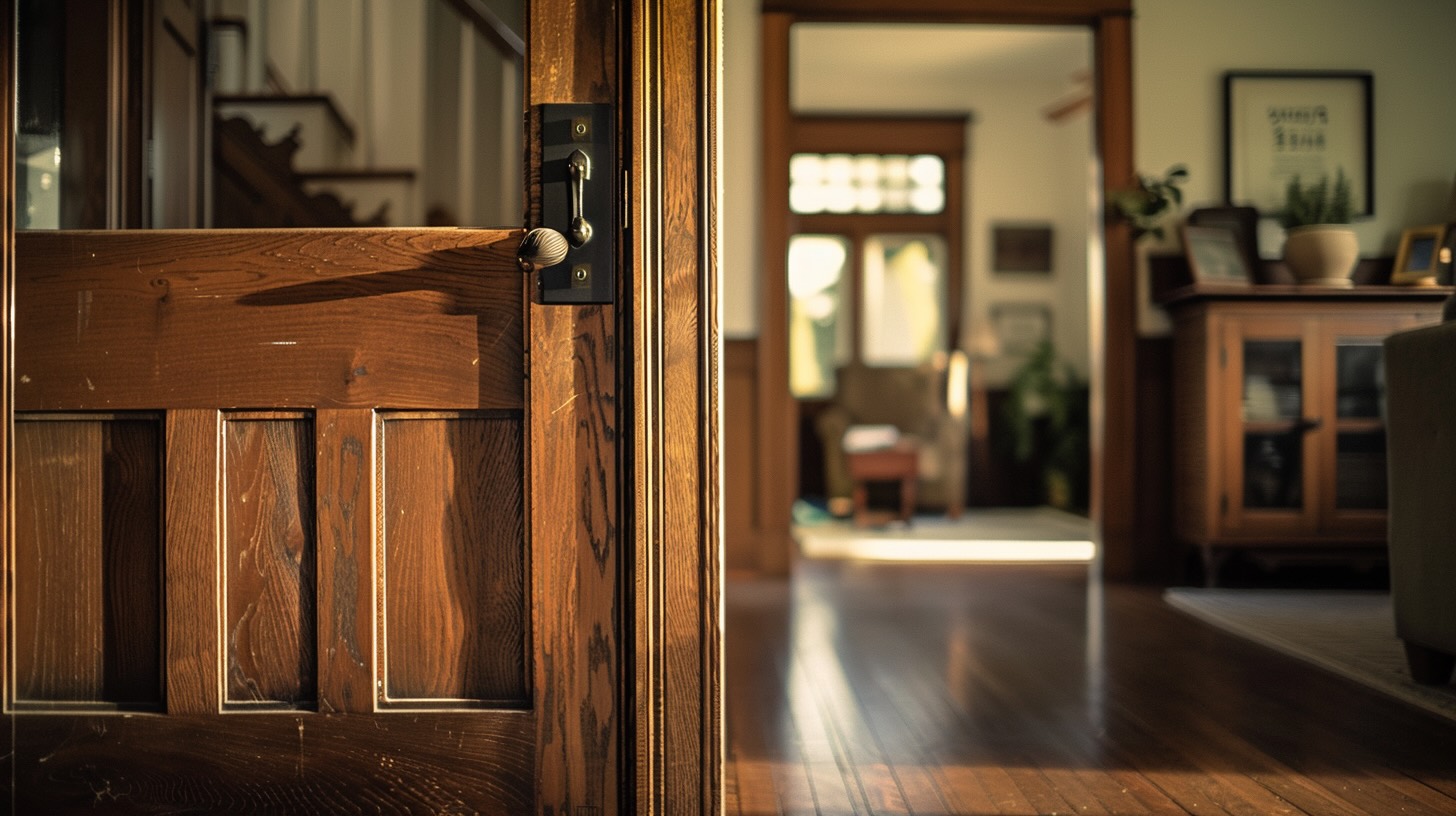
Adding trim to doors can significantly change a room's look without breaking the bank. Whether you're sprucing up an old door or giving a new one some character, DIY door trim projects are both fun and rewarding. You don't need to be a carpenter to achieve impressive results; just a bit of patience and creativity will do. From classic designs to modern touches, there's a style for everyone. With the right tools and materials, you can create trim that enhances your home's aesthetic. Ready to get started? Let’s dive into some inspiring DIY door trim ideas!
Getting Ready for Your Project
Gather Materials: Collect all necessary tools and materials like a tape measure, miter saw, nails, hammer, wood filler, sandpaper, paint, and trim pieces.
Measure the Door Frame: Use a tape measure to get accurate measurements of the door frame. Write these down to ensure you cut the trim pieces correctly.
Choose Trim Style: Decide on the style of trim you want. Options include simple flat trim, colonial style, or more intricate designs.
Cut Trim Pieces: Using a miter saw, cut the trim pieces to the correct lengths. Make sure to cut the corners at 45-degree angles for a clean fit.
Prepare the Workspace: Set up a clean, flat workspace. Lay down a drop cloth to protect the floor from paint or wood shavings.
Safety First: Wear safety goggles and gloves when cutting and nailing the trim. Ensure the workspace is well-ventilated if using paint or wood filler.
Dry Fit the Trim: Before nailing, place the trim pieces around the door frame to ensure they fit properly. Adjust as needed.
Nail the Trim: Use a hammer and nails to secure the trim pieces to the wall. Start with the top piece, then attach the sides.
Fill Gaps and Holes: Use wood filler to fill any gaps or nail holes. Let it dry completely before sanding.
Sand and Paint: Sand the wood filler until smooth. Paint or stain the trim to match your decor. Allow it to dry before using the door.
Gather Your Materials and Tools
- Measuring Tape: Used to measure the length and width of the door frame accurately.
- Pencil: For marking measurements on the trim pieces.
- Miter Saw: Cuts the trim pieces at precise angles, usually 45 degrees, for clean corners.
- Trim Pieces: The wood or composite material that will frame the door. Choose a style that matches your home decor.
- Nail Gun: Secures the trim pieces to the wall quickly and efficiently.
- Finishing Nails: Used with the nail gun to attach the trim securely.
- Wood Filler: Fills any gaps or nail holes in the trim for a smooth finish.
- Sandpaper: Smooths out any rough edges or filled areas on the trim.
- Primer: Prepares the trim for painting by creating a smooth, even surface.
- Paint: Adds color and protection to the trim. Choose a paint that complements your room.
- Paintbrushes: Used to apply primer and paint to the trim.
- Level: Ensures the trim pieces are straight and even.
- Caulk: Seals any gaps between the trim and the wall for a seamless look.
- Caulk Gun: Dispenses the caulk smoothly and evenly.
- Safety Glasses: Protects your eyes while cutting and nailing the trim.
- Work Gloves: Keeps your hands safe from splinters and sharp edges.
Skill Level and Time Needed
Skill Level: Intermediate
Time Required: 4-6 hours
- Measure and Cut Trim: 1 hour
- Sand and Prime: 1 hour
- Paint Trim: 1-2 hours
- Install Trim: 1-2 hours
Follow These Steps
Gather Materials
- Trim pieces (casing, baseboard, crown molding)
- Measuring tape
- Miter saw
- Nails or screws
- Wood glue
- Caulk
- Paint or stain
- Sandpaper
Measure the Door Frame
- Measure the height and width of the door frame.
- Add a few inches to each measurement for cutting errors.
Cut the Trim Pieces
- Use a miter saw to cut the trim pieces at a 45-degree angle.
- Cut two vertical pieces for the sides and one horizontal piece for the top.
Attach the Side Pieces
- Apply wood glue to the back of the side trim pieces.
- Position the trim on the door frame and secure with nails or screws.
- Ensure the trim is level and flush with the wall.
Attach the Top Piece
- Apply wood glue to the back of the top trim piece.
- Position it on the door frame, aligning it with the top of the side pieces.
- Secure with nails or screws.
Add Decorative Elements (Optional)
- If using crown molding or other decorative trim, measure and cut these pieces.
- Attach them to the top of the door frame using wood glue and nails.
Fill Gaps and Holes
- Use caulk to fill any gaps between the trim and the wall.
- Fill nail or screw holes with wood filler.
Sand the Trim
- Sand the trim pieces to smooth out any rough edges or excess filler.
Paint or Stain
- Apply paint or stain to the trim.
- Allow it to dry completely before using the door.
Final Touches
- Inspect the trim for any missed spots or imperfections.
- Touch up as needed.
Helpful Tips and Tricks
Measure twice, cut once. Always double-check measurements before cutting your trim pieces. This saves time and materials.
Use a miter saw for precise angles. A miter saw ensures clean, accurate cuts, especially for corners.
Sand edges after cutting. Smooth edges make painting easier and give a professional look.
Prime before painting. Priming the trim helps paint adhere better and last longer.
Caulk gaps. Use caulk to fill gaps between the trim and wall for a seamless finish.
Paint trim before installation. Painting before attaching to the wall saves time and avoids mess.
Use finishing nails. Finishing nails secure trim without leaving large holes, making touch-ups easier.
Common mistakes to avoid:
Skipping primer. Unprimed wood absorbs paint unevenly, leading to a blotchy finish.
Incorrect measurements. Misjudging lengths or angles can waste materials and time.
Not sanding. Rough edges make the trim look unprofessional and can cause paint issues.
Alternatives for materials or methods:
MDF trim. Medium-density fiberboard is cheaper than wood and easier to work with.
Adhesive strips. For lightweight trim, adhesive strips can replace nails, reducing wall damage.
Pre-finished trim. Pre-painted or stained trim saves time and ensures a uniform look.
Estimating the Cost
Materials:
- Wood trim: $1-$3 per foot. For an average door, you need about 20 feet, costing $20-$60.
- Paint or stain: $10-$20 per quart.
- Wood filler: $5-$10.
- Sandpaper: $5-$10.
- Caulk: $3-$5.
Tools:
- Miter saw: $100-$200 (or rent for $20-$30/day).
- Hammer and nails: $10-$15.
- Paintbrushes: $5-$10.
- Tape measure: $5-$10.
- Caulking gun: $5-$10.
Total Cost: $163-$350 if buying tools, $83-$140 if renting.
Budget-Friendly Alternatives:
- Pre-cut trim kits: $30-$50.
- Borrow tools from friends or family.
- Use a handsaw instead of a miter saw: $10-$20.
- Buy second-hand tools from thrift stores or online marketplaces.
Different Ways to Customize
Materials: Use wood, MDF, or PVC for different looks and durability. Wood offers a classic feel, MDF is budget-friendly, and PVC resists moisture.
Colors: Paint trim white for a clean, timeless look. Choose bold colors like navy or black for a modern touch. Stain wood trim to highlight natural grain.
Styles: Go for simple, straight lines for a minimalist vibe. Add crown molding for an elegant, traditional style. Use shiplap or beadboard for a rustic, farmhouse feel.
Textures: Create texture with carved designs or embossed patterns. Use reclaimed wood for a weathered, vintage appearance.
Accents: Add corner blocks or rosettes for extra detail. Incorporate metallic accents like brass or chrome for a contemporary twist.
Mix and Match: Combine different materials and styles. Pair wood trim with metal accents or mix painted trim with stained wood for a unique look.
Eco-Friendly Tips
Reclaimed Wood: Use old barn wood or pallets. Sand and stain them for a rustic look.
Bamboo: A fast-growing plant, bamboo is a sustainable choice. It’s durable and stylish.
Recycled Plastic: Trim made from recycled plastic can mimic wood. It’s weather-resistant and low-maintenance.
Cork: Cork is renewable and provides a unique texture. It’s also easy to work with.
Salvaged Materials: Visit salvage yards for old trim pieces. Clean and repaint them for a fresh look.
Natural Finishes: Use eco-friendly paints or stains. Look for low-VOC or water-based options.
DIY Upcycling: Repurpose old furniture or doors. Cut them into trim pieces for a custom design.
Plant-Based Adhesives: Choose adhesives made from natural materials. They’re better for the environment and your health.
Insulation: Add insulation behind the trim. It helps with energy efficiency and reduces heating costs.
Minimalist Design: Use fewer materials by opting for a simple design. Less material means less waste.
Your Doorway to Creativity
Adding DIY door trim can transform any room. It’s a simple, cost-effective way to boost your home's charm. Whether you prefer a classic look or something more modern, there’s a style for everyone. Don’t be afraid to mix and match materials or colors to create something unique. Remember, the key is in the details. Measure twice, cut once, and take your time. Mistakes happen, but they’re part of the learning process. With a bit of patience and creativity, your doors will look like a million bucks. So grab your tools, roll up your sleeves, and get started. Your home will thank you for the extra touch of personality. Happy crafting!
How do I choose the right material for door trim?
Consider the style of your home and budget. Wood is classic but can be pricey. MDF is cheaper and easy to paint. PVC is great for moisture-prone areas.
What tools do I need for installing door trim?
You'll need a miter saw, nail gun, measuring tape, level, wood glue, and caulk. A paintbrush or roller if you plan to paint.
How do I measure for door trim?
Measure the height and width of the door frame. Add a few extra inches for miter cuts. Always measure twice to avoid mistakes.
Can I install door trim by myself?
Absolutely! With the right tools and a bit of patience, you can do it. Watch a few tutorials online to get the hang of it.
Should I paint or stain my door trim?
Depends on your preference. Paint gives a clean, modern look. Stain shows off the natural wood grain and adds warmth.
How do I make sure my cuts are accurate?
Use a miter saw and a measuring tape. Double-check your angles and measurements before cutting. Practice on scrap wood if you're unsure.
What's the best way to attach door trim?
Use a nail gun for quick and secure attachment. Apply a bit of wood glue for extra hold. Fill any gaps with caulk for a seamless look.