
Home>Home & Furniture>Doors & Windows>DIY Christmas Tree Door Ideas
Doors & Windows
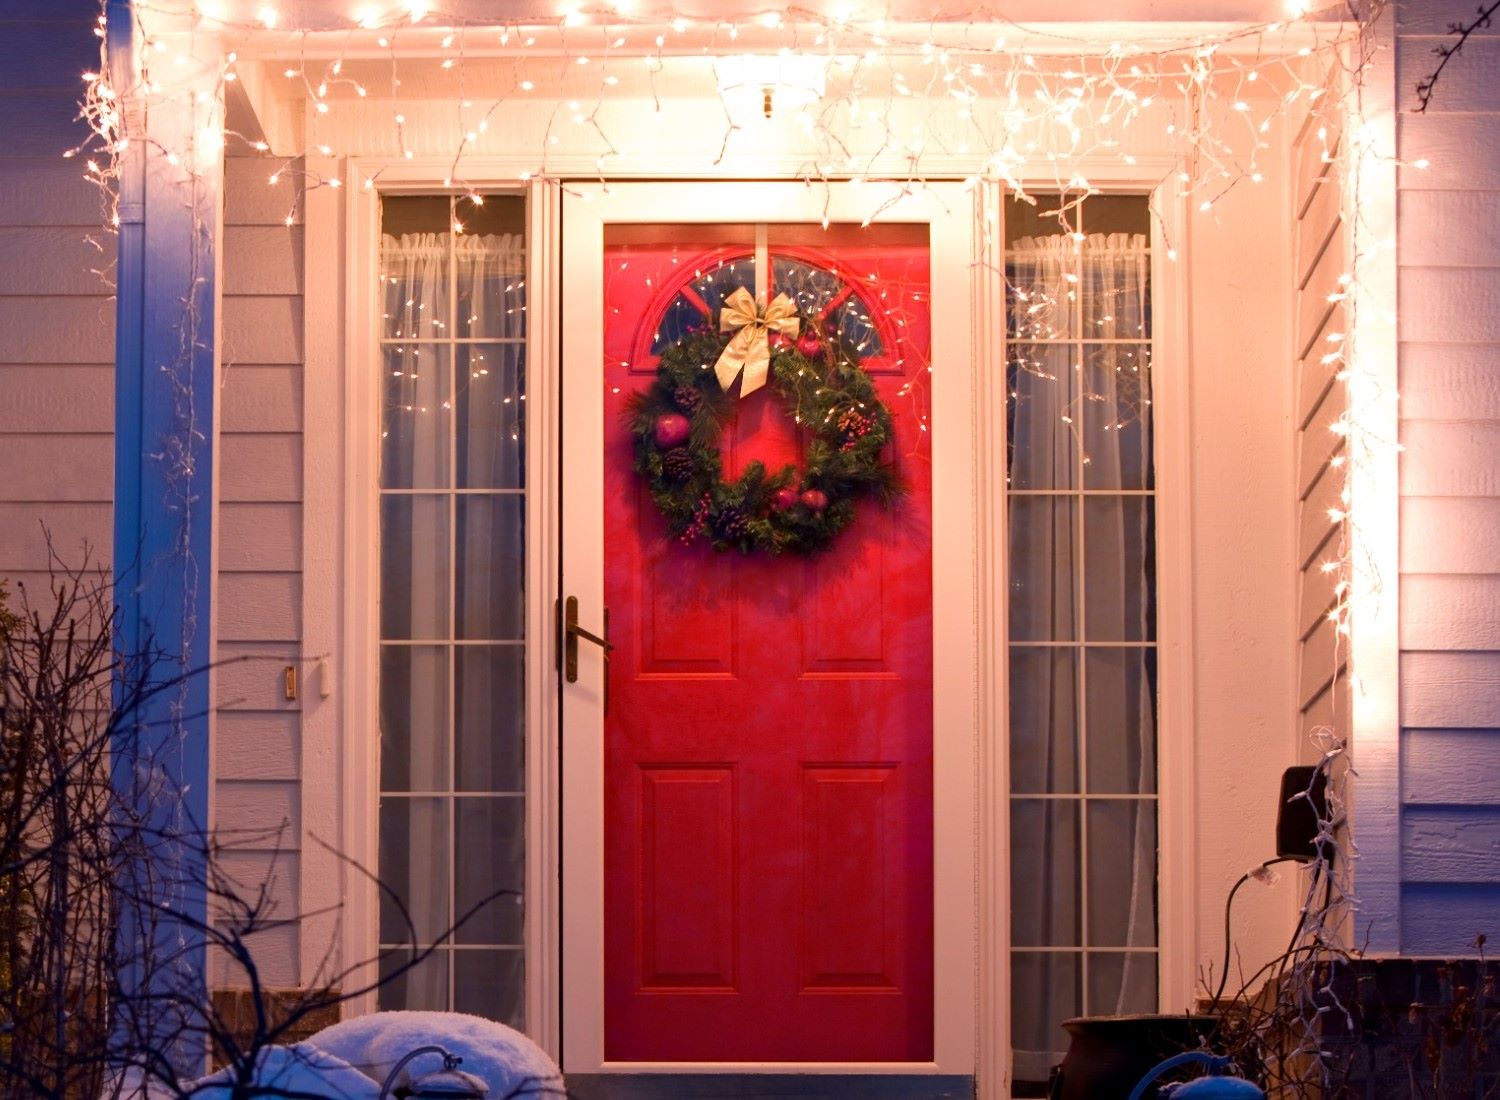
DIY Christmas Tree Door Ideas
Published: September 8, 2024
Discover creative and easy DIY Christmas tree door ideas to transform your entryway into a festive wonderland. Perfect for adding holiday cheer to your home!
(Many of the links in this article redirect to a specific reviewed product. Your purchase of these products through affiliate links helps to generate commission for Twigandthistle.com, at no extra cost. Learn more)
Transform your front door into a festive greeting with DIY Christmas tree door decorations. These ideas are perfect for adding holiday cheer without breaking the bank. Whether you're crafty or a beginner, creating a unique, welcoming entrance is easier than you think. With simple materials like felt, ribbon, and ornaments, you can craft a decoration that suits your style. This project is also a fun activity for the whole family. Get ready to impress neighbors and guests with your creativity this holiday season. Ready to dive into some easy, budget-friendly ideas? Let's get started!
Getting Ready for Your Project
Gather Materials: Collect all necessary items like green construction paper, scissors, tape, ornaments, and lights.
Safety First: Use scissors carefully. Keep them away from children. Make sure lights are in good condition to avoid electrical hazards.
Clear Workspace: Find a clean, flat surface to work on. This helps keep everything organized and easy to find.
Measure Door: Measure the height and width of your door. This ensures your tree fits perfectly.
Cut Paper: Cut the green construction paper into the shape of a Christmas tree. Make sure it’s proportional to your door size.
Plan Layout: Lay out your decorations on the tree before attaching them. This helps you visualize the final look.
Attach Tree: Use tape to stick the tree to the door. Make sure it’s secure but easy to remove later.
Decorate: Add ornaments, lights, and any other decorations. Make sure everything is evenly spaced.
Test Lights: Plug in the lights to ensure they work properly. Avoid overloading electrical outlets.
Final Check: Step back and look at your creation. Make any adjustments needed to perfect your Christmas tree door.
Gather Your Supplies
- Cardboard: Used as the base for the tree. It's sturdy and easy to cut into the desired shape.
- Green Paint: Gives the cardboard tree a festive, evergreen look.
- Paintbrushes: Needed to apply the paint smoothly and evenly.
- Scissors: Essential for cutting the cardboard into the shape of a tree.
- Hot Glue Gun: Secures decorations to the cardboard tree. Provides a strong hold.
- Glue Sticks: Used with the hot glue gun. Ensure you have enough for all decorations.
- Ornaments: Small, lightweight decorations to make the tree look festive. Choose shatterproof ones for safety.
- Tinsel: Adds sparkle and fills in gaps on the tree.
- Battery-Operated String Lights: Adds a magical glow without needing a nearby outlet.
- Command Hooks: Used to hang the tree on the door without damaging the surface.
- Ruler: Ensures straight lines when cutting the cardboard.
- Pencil: Marks where to cut and place decorations.
- Ribbon: Can be used for bows or additional decoration.
- Star or Tree Topper: Finishes off the tree with a festive touch.
- Double-Sided Tape: Helps secure lighter decorations without the need for glue.
Skill Level and Time Needed
Skill Level: Beginner
Time Required: 1-2 hours
- Gather Materials: Collect wrapping paper, tape, scissors, and decorations.
- Measure Door: Ensure the paper fits the door.
- Wrap Door: Secure the paper with tape.
- Create Tree Shape: Cut a tree shape from green paper.
- Decorate Tree: Add ornaments, ribbons, and lights.
- Attach Tree: Tape the decorated tree to the door.
Tips:
- Use lightweight decorations.
- Ensure the door can still open and close easily.
How to Make It
Gather Materials:
- Green construction paper or felt
- Scissors
- Tape or glue
- Colored paper or felt for decorations
- String lights (optional)
- Star or tree topper
Create Tree Shape:
- Cut green paper or felt into a large triangle. This will be the tree.
- Make sure it fits the door.
Attach Tree to Door:
- Use tape or glue to secure the tree shape to the door.
- Ensure it is centered.
Make Decorations:
- Cut out circles, stars, and other shapes from colored paper or felt.
- These will be the ornaments.
Decorate Tree:
- Attach the ornaments to the tree using tape or glue.
- Space them evenly.
Add Lights (Optional):
- Drape string lights around the tree.
- Secure with tape if needed.
Top the Tree:
- Place a star or other topper at the peak of the tree.
- Secure it well.
Final Touches:
- Adjust any decorations.
- Ensure everything is secure.
Helpful Tips and Tricks
Use Command Hooks: These are great for hanging decorations without damaging the door. They come off easily after the holidays.
Pre-Lit Garland: Save time by using pre-lit garland. It adds a festive touch and eliminates the need for stringing lights.
Battery-Operated Lights: Avoid the hassle of cords by using battery-operated lights. They are easy to place and move around.
Double-Sided Tape: Secure lightweight decorations with double-sided tape. It holds well and is easy to remove.
Ribbon and Bows: Add a festive touch with ribbons and bows. They are inexpensive and can be reused each year.
Layering: Create depth by layering different materials like garland, ornaments, and ribbons. This makes the tree look fuller and more interesting.
Use a Template: Draw a tree shape on paper and use it as a guide. This helps keep your design symmetrical and neat.
Common Mistakes to Avoid:
Overloading the Door: Too many decorations can make the door hard to open and close. Keep it simple and balanced.
Ignoring Proportions: Make sure the tree fits the size of the door. A tree that's too big or too small will look awkward.
Not Testing Lights: Always test lights before hanging them. This saves time and frustration.
Alternatives for Materials or Methods:
Felt or Fabric: Instead of garland, use felt or fabric strips. They are easy to cut and shape.
Paper Ornaments: Make ornaments from colored paper. They are lightweight and easy to attach.
Magnetic Hooks: If your door is metal, use magnetic hooks instead of adhesive ones. They are strong and reusable.
Chalkboard Paint: Paint the door with chalkboard paint and draw a tree with chalk. This allows for easy changes and updates.
Budgeting for Your DIY
Materials:
- Green Construction Paper: $5 for a pack
- Colored Paper (for ornaments): $3
- Scissors: $2
- Glue: $1
- Tape: $1
- String Lights (battery-operated): $10
- Star Topper: $2
- Markers: $3
Tools:
- Ruler: $1
- Pencil: $0.50
Total Cost: Around $28.50
Budget-Friendly Alternatives:
- Use Old Magazines for colored paper: Free
- Reuse Last Year's Lights: Free
- Make a Star Topper from cardboard: Free
- Borrow Scissors and Ruler: Free
New Total Cost: Around $15.50
Personalize Your Creation
Materials: Use felt, construction paper, or fabric instead of traditional garlands. Try wooden planks or pallets for a rustic look.
Colors: Go beyond green. Use white for a snowy effect, gold for a glamorous touch, or blue for a winter wonderland theme.
Styles: Create a minimalist tree with simple lines and shapes. Opt for a vintage style using old ornaments and lace. Try a modern look with geometric shapes and metallic accents.
Lights: Use battery-operated fairy lights for a soft glow. Try LED strip lights for a more vibrant effect.
Ornaments: Make handmade ornaments from clay or paper. Use natural elements like pinecones, dried oranges, or cinnamon sticks.
Toppers: Instead of a star, use a bow, angel, or even a Santa hat.
Base: Create a tree skirt from fabric or felt. Use a basket or crate as a base for a unique touch.
Interactive Elements: Add pockets or hooks to hold small gifts or treats. Create a countdown calendar with numbered ornaments.
Eco-Friendly Crafting Ideas
Recycled cardboard makes a great base for a Christmas tree shape. Cut out a tree outline and paint it green. Old magazines or newspapers can be rolled into cones to create ornaments. Attach them with eco-friendly glue.
Use fabric scraps from old clothes to make garlands. Cut them into strips and tie them together. Pinecones collected from outside can be painted and hung as natural decorations.
Twigs and branches can be arranged to form a tree shape. Secure them with twine or string. Decorate with dried orange slices or cinnamon sticks for a festive touch.
LED fairy lights are energy-efficient and can be reused year after year. Reusable ribbon can be tied into bows and added to the tree for extra flair.
For a unique touch, use old buttons or bottle caps as ornaments. Paint them in festive colors and attach with string. Reclaimed wood can be cut into star shapes to top the tree.
Your Festive Door Awaits
Creating a DIY Christmas tree door is a fun, rewarding project. It’s a chance to show off your creativity while adding a personal touch to your holiday decor. Whether you go for a traditional look or something more modern, the key is to enjoy the process. Gather your materials, follow the steps, and don’t be afraid to add your own flair. Your door will become a festive focal point that welcomes guests with holiday cheer. Plus, you’ll have the satisfaction of knowing you made it yourself. So, roll up your sleeves, get crafting, and let your imagination run wild. Your festive door awaits!
How can I make a Christmas tree door decoration?
Use green garland to outline a tree shape on your door. Add ornaments, lights, and a star on top. Secure everything with command hooks or tape.
What materials do I need for a DIY Christmas tree door?
You'll need green garland, ornaments, lights, a star topper, command hooks, and tape. Optional: ribbons, bows, and tinsel for extra flair.
Can I use real pine branches for my door tree?
Yes, but they might dry out quickly. Artificial garland lasts longer and is easier to shape.
How do I attach decorations without damaging my door?
Use command hooks or removable adhesive strips. They hold well and won't leave marks when removed.
What if my door is a dark color?
Use white or brightly colored garland. Add extra lights and shiny ornaments to make it pop.
How long will it take to make a Christmas tree door?
It usually takes about 1-2 hours. Gather all materials first to speed up the process.
Can I involve my kids in making the door tree?
Absolutely! Kids can help with hanging ornaments, placing lights, and adding the star. Just supervise them with any sharp or small items.