
Home>Home & Furniture>Bedroom>DIY RV Bedroom Remodel Ideas
Bedroom
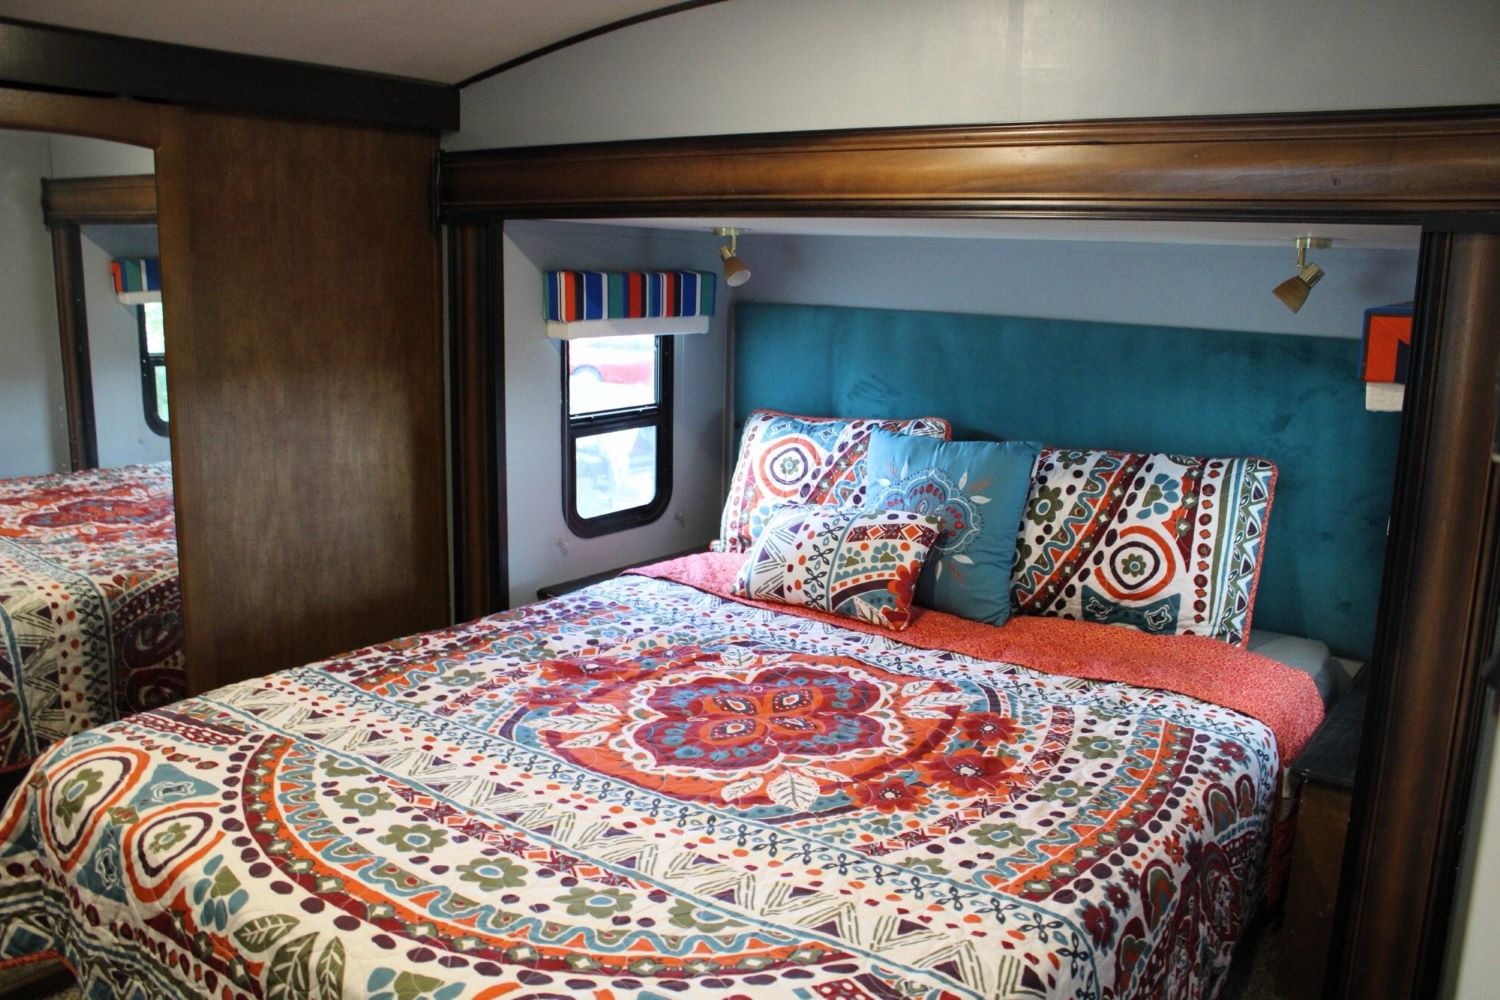
DIY RV Bedroom Remodel Ideas
Published: July 22, 2024
Transform your RV bedroom with these DIY remodel ideas! Discover budget-friendly tips and creative solutions to make your space cozy and stylish.
(Many of the links in this article redirect to a specific reviewed product. Your purchase of these products through affiliate links helps to generate commission for Twigandthistle.com, at no extra cost. Learn more)
Remodeling an RV bedroom can transform your mobile home into a cozy retreat. Whether you're a weekend warrior or full-time traveler, making your sleeping space comfortable is key. With some creativity and a few tools, you can give your RV bedroom a fresh look without breaking the bank. From new paint to clever storage solutions, even small changes can make a big difference. Dive into these DIY ideas to spark your imagination and get started on your RV bedroom makeover. Simple updates can lead to a more enjoyable, personalized space on the road. Ready to roll up your sleeves? Let's get started!
Getting Ready for Your RV Bedroom Makeover
Plan Your Design: Sketch out your ideas on paper. Decide on colors, furniture placement, and any new features you want to add.
Measure Everything: Measure the dimensions of your RV bedroom. This helps ensure that new furniture or decor will fit properly.
Gather Materials: Make a list of all the materials and tools you'll need. Common items include paint, brushes, screws, a drill, and new bedding.
Set Up Workspace: Clear out the RV bedroom. Create a workspace nearby with all your tools and materials organized for easy access.
Safety First: Wear safety goggles and gloves when using tools. Ensure proper ventilation if using paint or adhesives.
Disconnect Power: Turn off the RV's power supply to avoid any electrical hazards while working.
Remove Old Fixtures: Carefully take out old furniture, fixtures, and decor. Keep screws and small parts in labeled containers for reuse or disposal.
Clean the Space: Vacuum and wipe down surfaces to remove dust and dirt. A clean area makes it easier to apply paint or install new items.
Prep Surfaces: Sand down any rough spots on walls or furniture. Apply primer if you plan to paint.
Test Fit: Before final installation, place new furniture and decor in the room to ensure everything fits as planned. Adjust as needed.
Essential Materials and Tools
Paint and Brushes: Fresh paint can transform walls. Use brushes for detailed areas and rollers for larger surfaces.
Sandpaper: Smooth out rough spots on walls or furniture before painting.
Screwdriver Set: Essential for removing and installing screws in various fixtures.
Measuring Tape: Accurate measurements ensure everything fits perfectly.
Utility Knife: Handy for cutting materials like wallpaper or flooring.
Level: Ensures shelves and pictures hang straight.
Drill: Useful for making holes and driving screws quickly.
Wood Putty: Fills in holes or cracks in wooden surfaces.
Primer: Prepares surfaces for paint, ensuring better adhesion.
Drop Cloths: Protects floors and furniture from paint splatters.
Painter’s Tape: Keeps paint lines clean and prevents bleeding.
New Hardware: Fresh knobs, handles, and hinges can update the look of cabinets and drawers.
Fabric and Sewing Kit: Create custom curtains or pillow covers to match the new decor.
Adhesive Hooks: Easy way to hang decorations without drilling holes.
Storage Bins: Helps organize and declutter the space.
Lighting Fixtures: New lights can brighten the room and add style.
Flooring Materials: Options like vinyl planks or carpet tiles can refresh the floor.
Decorative Items: Add personal touches with pictures, plants, and other decor.
Safety Gear: Gloves, goggles, and masks protect you during the remodel.
Required Skills and Time Commitment
Skill Level: Intermediate
Time Required:
- Planning and Design: 2-3 hours
- Removing Old Fixtures: 3-5 hours
- Painting Walls and Cabinets: 4-6 hours
- Installing New Flooring: 6-8 hours
- Assembling and Installing Furniture: 4-6 hours
- Decorating and Final Touches: 2-4 hours
Total Estimated Time: 21-32 hours
Detailed Instructions for Your Remodel
Plan Your Layout
- Measure the space.
- Sketch a rough layout.
- Decide on furniture placement.
Remove Old Fixtures
- Take out old furniture.
- Remove any outdated decor.
- Clean the space thoroughly.
Paint the Walls
- Choose a light, bright color.
- Use painter's tape to protect edges.
- Apply primer, then paint.
Install New Flooring
- Choose vinyl or laminate for durability.
- Remove old flooring.
- Lay down the new flooring, cutting to fit.
Add Storage Solutions
- Install shelves or cabinets.
- Use under-bed storage bins.
- Add hooks for hanging items.
Update Lighting
- Replace old fixtures with LED lights.
- Add reading lights near the bed.
- Consider battery-operated options for flexibility.
Choose New Bedding
- Pick a comfortable mattress.
- Select bedding that matches your color scheme.
- Add decorative pillows and throws.
Decorate the Space
- Hang lightweight pictures or art.
- Use removable wallpaper for an accent wall.
- Add plants for a touch of greenery.
Install Window Treatments
- Choose blinds or curtains.
- Measure and cut to fit.
- Install using appropriate hardware.
Final Touches
- Add a small rug for warmth.
- Place a bedside table or shelf.
- Ensure everything is securely fastened for travel.
Helpful Tips and Tricks
Plan your layout before starting. Measure your space carefully to ensure everything fits. Use lightweight materials like plywood or foam board to avoid adding too much weight to your RV. Multi-functional furniture can save space; consider a bed with storage underneath or a fold-out desk.
Common mistakes to avoid include not checking the weight limits of your RV. Overloading can cause serious issues. Skipping insulation can make your RV uncomfortable in extreme weather. Ignoring ventilation can lead to moisture problems and mold.
Alternatives for materials or methods: Instead of heavy wood, try bamboo or aluminum for a lighter option. Peel-and-stick wallpaper can be a quick and easy way to update walls without the mess of paint. For flooring, vinyl planks are durable and easy to install.
Estimating the Cost of Your Project
Paint: $30-$50 per gallon. You might need 2 gallons.
Flooring: Vinyl planks cost about $2-$3 per square foot. For a 100 sq ft area, expect $200-$300.
Lighting: LED strip lights cost around $20-$30. A new ceiling light fixture can be $40-$60.
Bedding: New sheets and comforter sets range from $50-$100.
Storage Solutions: Plastic bins or baskets cost $5-$15 each. Shelving units can be $20-$50.
Curtains: Fabric curtains cost $20-$40 per set. Curtain rods are $10-$20.
Tools: Basic tools like a screwdriver set, hammer, and measuring tape might cost $30-$50 if you don't already have them.
Budget-Friendly Alternatives:
- Paint: Look for sales or use paint samples for smaller areas.
- Flooring: Peel-and-stick tiles can be cheaper, around $1 per square foot.
- Lighting: Use battery-operated puck lights instead of wired fixtures.
- Bedding: Check discount stores or online sales.
- Storage: Repurpose old boxes or containers.
- Curtains: Use bed sheets or fabric remnants.
- Tools: Borrow from friends or family.
Unique Customization Ideas
Alternative materials can make a big difference. Instead of traditional wood, try lightweight plywood or bamboo for a more eco-friendly option. For flooring, consider vinyl planks or peel-and-stick tiles. These are easy to install and come in various designs.
Colors can change the entire vibe. Use light, neutral shades like beige or white to make the space feel larger. For a cozy feel, go with earth tones like browns and greens. If you want something bold, try navy blue or deep red accents.
Styles can reflect your personality. For a modern look, use sleek lines and minimal decor. Add metallic accents like chrome or brushed nickel. If you prefer a rustic style, incorporate reclaimed wood and vintage decor. For a bohemian vibe, use bright colors, patterned fabrics, and eclectic accessories.
Storage solutions are crucial in small spaces. Install under-bed storage or hanging organizers. Use multi-functional furniture like a bed with built-in drawers or a fold-out desk.
Lighting can also be customized. Use LED strip lights for a soft glow or battery-operated puck lights for easy installation. Add a skylight or large windows to bring in natural light.
Textiles add comfort and style. Choose plush bedding and throw pillows in coordinating colors. Use curtains or blinds that match your theme.
Decor can be personalized. Hang family photos, artwork, or travel souvenirs. Use plants to add a touch of nature.
Technology can enhance your space. Install a smart TV, Bluetooth speakers, or USB charging ports.
Safety features are important too. Add smoke detectors, carbon monoxide detectors, and fire extinguishers.
By mixing and matching these ideas, you can create a unique and functional RV bedroom that suits your style and needs.
Eco-Friendly Remodeling Tips
Reclaimed wood can be used for headboards or shelving. It adds character and reduces waste. Bamboo flooring is another great option. It's durable, renewable, and looks fantastic.
Recycled glass tiles can be used for a backsplash or decorative accents. They come in various colors and patterns. Low-VOC paints are essential for a healthier environment inside your RV. They emit fewer harmful chemicals.
Upcycled furniture can save money and resources. Look for second-hand pieces that can be refurbished. Organic cotton or bamboo bedding is soft, breathable, and eco-friendly.
LED lighting uses less energy and lasts longer than traditional bulbs. Solar panels can be installed to power your lights and small appliances.
Natural insulation like wool or cotton can keep your RV warm without harmful chemicals. Recycled metal can be used for fixtures or accents, adding a modern touch while being sustainable.
Composting toilets are another eco-friendly option. They use less water and turn waste into compost. Water-saving faucets and showerheads can reduce water usage significantly.
Repurposed materials like old doors or windows can be turned into unique decor pieces. Eco-friendly adhesives and sealants are available and better for the environment.
Using local materials reduces the carbon footprint associated with transportation. Natural fabrics for curtains or upholstery are both stylish and sustainable.
Your RV Bedroom Awaits
Transforming your RV bedroom can be a fun, rewarding project. With a bit of creativity, some elbow grease, and the right materials, you can create a cozy, personalized space. Start by choosing a color scheme that makes you feel relaxed. Add storage solutions like under-bed bins or hanging organizers to keep things tidy. Don’t forget to update the bedding for comfort and style. Lighting plays a big role too; consider adding LED strips or fairy lights for a warm glow. Finally, personal touches like photos, plants, or artwork can make the space truly yours. By following these tips, you’ll have an RV bedroom that’s both functional and inviting. Happy remodeling!
How can I maximize storage in my RV bedroom?
Use under-bed storage bins, hanging organizers, and wall-mounted shelves. Think about multi-purpose furniture like a bed with drawers underneath.
What are some easy ways to update the look of my RV bedroom?
Paint the walls or add peel-and-stick wallpaper. Swap out old bedding for fresh, colorful options. Consider new curtains or blinds to brighten up the space.
How do I make my RV bed more comfortable?
Invest in a good mattress topper. Use high-quality sheets and pillows. Adding a memory foam mattress can make a huge difference.
Can I install new lighting in my RV bedroom?
Absolutely! Use LED strip lights for a modern touch. Battery-operated lamps or clip-on reading lights are also great options.
What are some space-saving furniture ideas for an RV bedroom?
Look for folding tables, collapsible chairs, and wall-mounted desks. A murphy bed can also free up a lot of space.
How do I keep my RV bedroom organized?
Use drawer dividers, hanging shoe organizers, and baskets. Label everything so you know where it goes. Keep only what you need to avoid clutter.
Can I add personal touches to my RV bedroom?
Definitely! Hang photos, add throw pillows, and use decorative rugs. Little touches like plants or artwork can make it feel more like home.