
Home>Home & Furniture>Bedroom>DIY Bedroom Cabinets: Step-by-step Guide
Bedroom
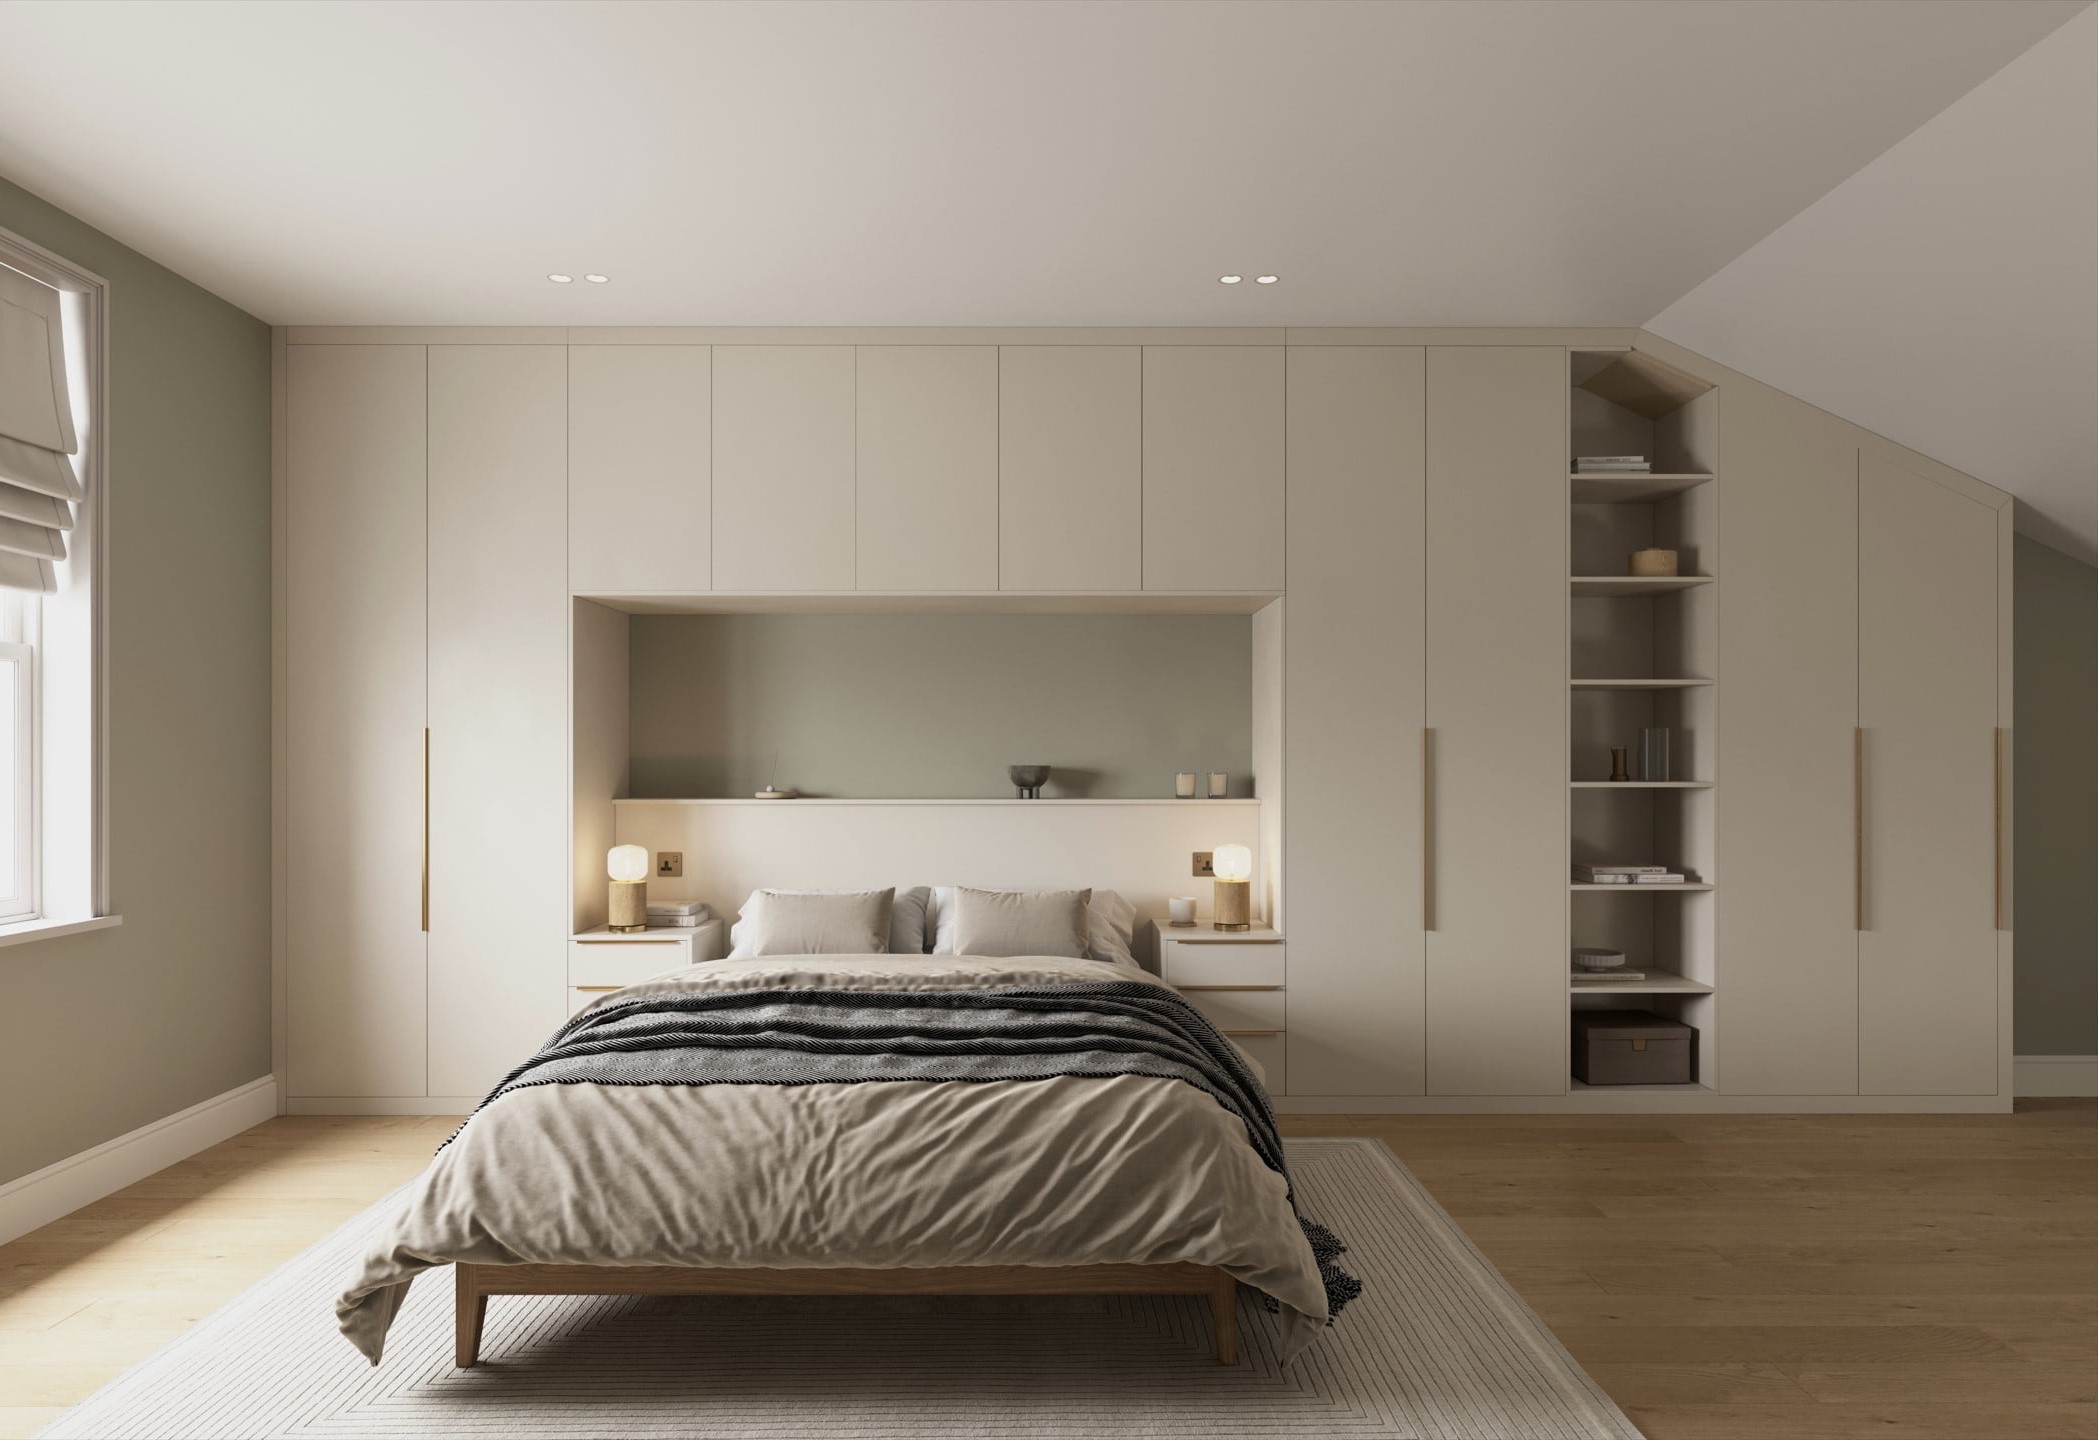
DIY Bedroom Cabinets: Step-by-step Guide
Published: July 9, 2024
Transform your bedroom with our step-by-step DIY cabinet guide. Learn how to build stylish, functional cabinets that maximize space and add a personal touch.
(Many of the links in this article redirect to a specific reviewed product. Your purchase of these products through affiliate links helps to generate commission for Twigandthistle.com, at no extra cost. Learn more)
Building your own bedroom cabinets can be a fun and rewarding project. Whether looking to save money or wanting a custom look, this step-by-step guide will help. Building cabinets yourself allows for creativity in design and ensures a perfect fit for the space. You don't need to be a master carpenter; just follow simple steps and use basic tools. With a bit of patience, you'll have beautiful cabinets to enjoy for years. So, gather your materials and get ready to transform your bedroom. Let's get started on this DIY adventure!
Getting Ready for Your Project
Measure Your Space: Use a tape measure to get accurate dimensions of where the cabinets will go. Write these down.
Design Your Cabinets: Sketch a simple design. Decide on the number of shelves, drawers, and doors.
Gather Materials: Get wood, screws, hinges, handles, and paint or stain. Make sure you have enough for your design.
Prepare Tools: Have a saw, drill, screwdriver, measuring tape, level, and safety gear like gloves and goggles ready.
Clear the Workspace: Remove any clutter from the area where you’ll be working. Make sure there’s enough room to move around.
Safety First: Wear gloves to protect your hands and goggles to protect your eyes. Make sure your workspace is well-lit.
Cut the Wood: Measure and cut the wood pieces according to your design. Double-check measurements before cutting.
Sand the Edges: Smooth out the edges of the cut wood to avoid splinters.
Pre-drill Holes: Mark where screws will go and pre-drill holes to make assembly easier.
Lay Out Pieces: Arrange all the cut pieces on the floor to ensure everything fits together before assembly.
What You Need: Materials and Tools
- Plywood Sheets: Used for the main structure of the cabinets. Choose high-quality plywood for durability.
- Wood Screws: Essential for joining pieces of wood together securely.
- Wood Glue: Provides extra strength to joints and helps keep pieces in place.
- Measuring Tape: Ensures accurate measurements for cutting and fitting.
- Circular Saw: Cuts plywood sheets to the required sizes.
- Drill: Makes holes for screws and helps in assembling the cabinets.
- Screwdriver: Tightens screws and helps in assembling the cabinets.
- Sandpaper: Smooths rough edges and surfaces before painting or staining.
- Paint or Stain: Adds color and protects the wood.
- Paintbrushes or Rollers: Applies paint or stain evenly.
- Cabinet Hinges: Allows doors to open and close smoothly.
- Drawer Slides: Ensures drawers move in and out effortlessly.
- Handles or Knobs: Provides a grip for opening doors and drawers.
- Clamps: Holds pieces together while glue dries or while assembling.
- Level: Ensures cabinets are installed straight and even.
- Safety Gear: Includes gloves, goggles, and a dust mask to protect yourself while working.
Skill Level and Time Commitment
Skill Level: Intermediate
Time Required: Approximately 2-3 days
- Planning and Measuring: 2-3 hours
- Cutting Materials: 4-5 hours
- Assembling Cabinets: 6-8 hours
- Sanding and Finishing: 4-6 hours
- Installing Cabinets: 3-4 hours
Important Keywords: Intermediate, 2-3 days, Planning, Measuring, Cutting, Assembling, Sanding, Finishing, Installing
Follow These Steps
Plan Your Design
- Measure the space where the cabinets will go.
- Sketch a design including dimensions.
- Decide on the number of shelves and drawers.
Gather Materials
- Purchase plywood or MDF for the cabinet frame.
- Get screws, nails, wood glue, and sandpaper.
- Buy paint or stain, handles, and hinges.
Cut the Wood
- Use a saw to cut the wood according to your design.
- Label each piece to avoid confusion.
Assemble the Frame
- Lay out the pieces on a flat surface.
- Apply wood glue to the edges.
- Secure with screws or nails.
Attach the Back Panel
- Cut a piece of plywood for the back.
- Attach using wood glue and nails.
Install Shelves and Dividers
- Measure and mark where shelves will go.
- Attach shelf supports inside the frame.
- Place shelves on supports and secure.
Add Doors and Drawers
- Attach hinges to the doors.
- Secure doors to the frame.
- Assemble and install drawers if included in the design.
Sand and Finish
- Sand all surfaces until smooth.
- Apply paint or stain.
- Let dry completely.
Install Handles and Knobs
- Measure and mark where handles will go.
- Drill holes and attach handles or knobs.
Mount the Cabinets
- Use a level to ensure cabinets are straight.
- Secure cabinets to the wall studs with screws.
Final Touches
- Check all screws and nails are tight.
- Clean up any dust or debris.
Helpful Tips and Tricks
Measure Twice, Cut Once: Always double-check measurements before cutting. This prevents wasted materials and ensures pieces fit together perfectly.
Use Quality Materials: Opt for solid wood or high-quality plywood. These materials last longer and look better than cheaper alternatives.
Pre-Drill Holes: Avoid splitting wood by pre-drilling holes for screws. This makes assembly easier and more secure.
Label Parts: Mark each piece with a pencil to keep track of where everything goes. This helps avoid confusion during assembly.
Sand Edges: Smooth out rough edges with sandpaper. This gives a professional finish and prevents splinters.
Use Clamps: Hold pieces together with clamps while the glue dries. This ensures strong joints and keeps everything aligned.
Paint or Stain Before Assembly: Apply paint or stain to individual pieces before putting them together. This gives a cleaner finish and makes it easier to reach all surfaces.
Common Mistakes to Avoid:
Skipping the Plan: Don't start without a detailed plan. Know your dimensions, materials, and steps before beginning.
Ignoring Safety: Always wear safety goggles and gloves. Use tools properly to avoid accidents.
Rushing the Process: Take your time. Rushing leads to mistakes and poor craftsmanship.
Alternatives for Materials or Methods:
MDF Instead of Plywood: Medium-density fiberboard (MDF) is cheaper and easier to cut. However, it’s less durable than plywood.
Pocket Hole Jigs: Use a pocket hole jig for hidden screws. This method creates strong joints without visible hardware.
Ready-Made Doors: Buy pre-made cabinet doors if making them seems too complicated. This saves time and ensures a professional look.
Peel-and-Stick Veneer: Use peel-and-stick veneer for a quick and easy finish. This can mimic the look of real wood without the hassle of staining or painting.
Budgeting for Your DIY Cabinets
Plywood: $50-$100 per sheet (4x8 feet). You'll need about 3-4 sheets, so budget around $150-$400.
Wood Screws: $10-$20 for a box of 100. One box should be enough.
Wood Glue: $5-$10 per bottle. One bottle should suffice.
Cabinet Hinges: $2-$5 each. For a set of 4 cabinets, expect to spend $20-$40.
Drawer Slides: $10-$20 per pair. For 4 drawers, budget $40-$80.
Handles/Knobs: $2-$5 each. For 8 handles, plan on $16-$40.
Sandpaper: $5-$10 for a pack. One pack should be enough.
Paint or Stain: $20-$50 per gallon. One gallon should cover everything.
Paint Brushes/Rollers: $10-$20 for a set. One set should be enough.
Tools: If you don't have basic tools, consider these costs:
- Circular Saw: $50-$100
- Drill: $50-$100
- Screwdriver Set: $10-$20
- Clamps: $20-$40 for a set
Total Estimated Cost: $386-$950
Budget-Friendly Alternatives:
- Use MDF instead of plywood: $30-$50 per sheet.
- Buy second-hand tools or borrow from friends.
- Look for discounted paint or stain at local stores.
- Use basic handles or knobs from dollar stores.
Personalize Your Cabinets
Materials: Instead of traditional wood, consider plywood for a budget-friendly option or MDF for a smooth finish. For a more rustic look, use reclaimed wood.
Colors: Paint cabinets in bold colors like navy blue or forest green for a modern touch. For a classic look, use neutral colors like white, beige, or gray. Stain the wood for a natural finish.
Styles: Add shaker-style doors for a timeless design. For a minimalist look, go with flat-panel doors. Incorporate glass-front doors to display items or open shelving for easy access.
Hardware: Swap out standard handles for vintage knobs or sleek bar pulls. Use brass or black hardware to match your room's decor.
Interior: Customize the inside with adjustable shelves or pull-out drawers. Add LED strip lights for better visibility.
Finishes: Use matte paint for a contemporary look or high-gloss for a more polished appearance. Apply a protective sealant to keep the cabinets looking new longer.
Accents: Add crown molding at the top for an elegant touch. Install decorative trim around the edges for added detail.
Eco-Friendly Ideas
Materials Needed:
- Reclaimed Wood: Find old pallets, barn wood, or leftover wood from other projects.
- Eco-friendly Paint: Choose low-VOC or natural paints.
- Recycled Hardware: Use handles and knobs from old furniture.
- Bamboo Plywood: A sustainable alternative to traditional plywood.
Step-by-Step Guide:
Plan Your Design: Sketch your cabinet design. Measure the space where the cabinet will go.
Gather Materials: Collect reclaimed wood, bamboo plywood, and recycled hardware. Make sure everything is clean and in good condition.
Cut the Wood: Use a saw to cut the wood to the required sizes. Wear safety goggles and gloves.
Assemble the Frame: Start with the base and sides. Use screws and wood glue to secure the pieces together.
Attach the Back Panel: Cut a piece of bamboo plywood to fit the back of the cabinet. Secure it with screws.
Install Shelves: Measure and cut shelves from reclaimed wood. Attach them inside the cabinet using brackets or wooden supports.
Add Doors: Cut doors from reclaimed wood or bamboo plywood. Attach them with recycled hinges.
Sand and Finish: Sand the entire cabinet to smooth out rough edges. Apply eco-friendly paint or a natural finish.
Attach Hardware: Install recycled handles and knobs on the doors.
Install the Cabinet: Place the cabinet in its designated spot. Secure it to the wall if necessary for stability.
Using reclaimed wood and recycled hardware reduces waste. Eco-friendly paint ensures a healthier indoor environment. Bamboo plywood is a sustainable choice.
Your DIY Masterpiece Awaits
Building your own bedroom cabinets isn't just about saving money. It's about creating something unique that fits your style perfectly. You've learned how to measure, cut, assemble, and finish your cabinets. Now, take pride in your work. Every time you open those cabinet doors, you'll remember the effort and creativity you put into them. Don't be afraid to tackle more DIY projects. Each one will build your skills and confidence. So grab your tools, pick your next project, and keep creating. Your home will thank you, and you'll enjoy the satisfaction of a job well done. Happy building!
How much does it cost to build DIY bedroom cabinets?
The cost can vary, but typically, you might spend between $200 to $600 on materials. It depends on the size, type of wood, and hardware you choose.
What tools do I need for building bedroom cabinets?
You’ll need a saw, drill, screwdriver, measuring tape, level, clamps, and sanding block. A jigsaw and circular saw can also be handy.
How long does it take to build a cabinet?
Building a cabinet can take anywhere from a weekend to a week. It depends on your experience level and the complexity of the design.
Can I use reclaimed wood for my cabinets?
Absolutely! Reclaimed wood can add a unique look to your cabinets. Just make sure it’s clean, dry, and free of pests.
Do I need to finish or paint the cabinets?
Yes, finishing or painting protects the wood and gives it a polished look. You can use stain, paint, or varnish depending on your preference.
How do I ensure my cabinets are level?
Use a level and shims to make sure your cabinets are even. Check the level at multiple points during installation.
What’s the best way to attach cabinets to the wall?
Secure cabinets to wall studs using screws. Make sure to pre-drill holes to avoid splitting the wood.