
Home>Home & Furniture>Bathroom>How to Paint Your Bathroom Sink
Bathroom
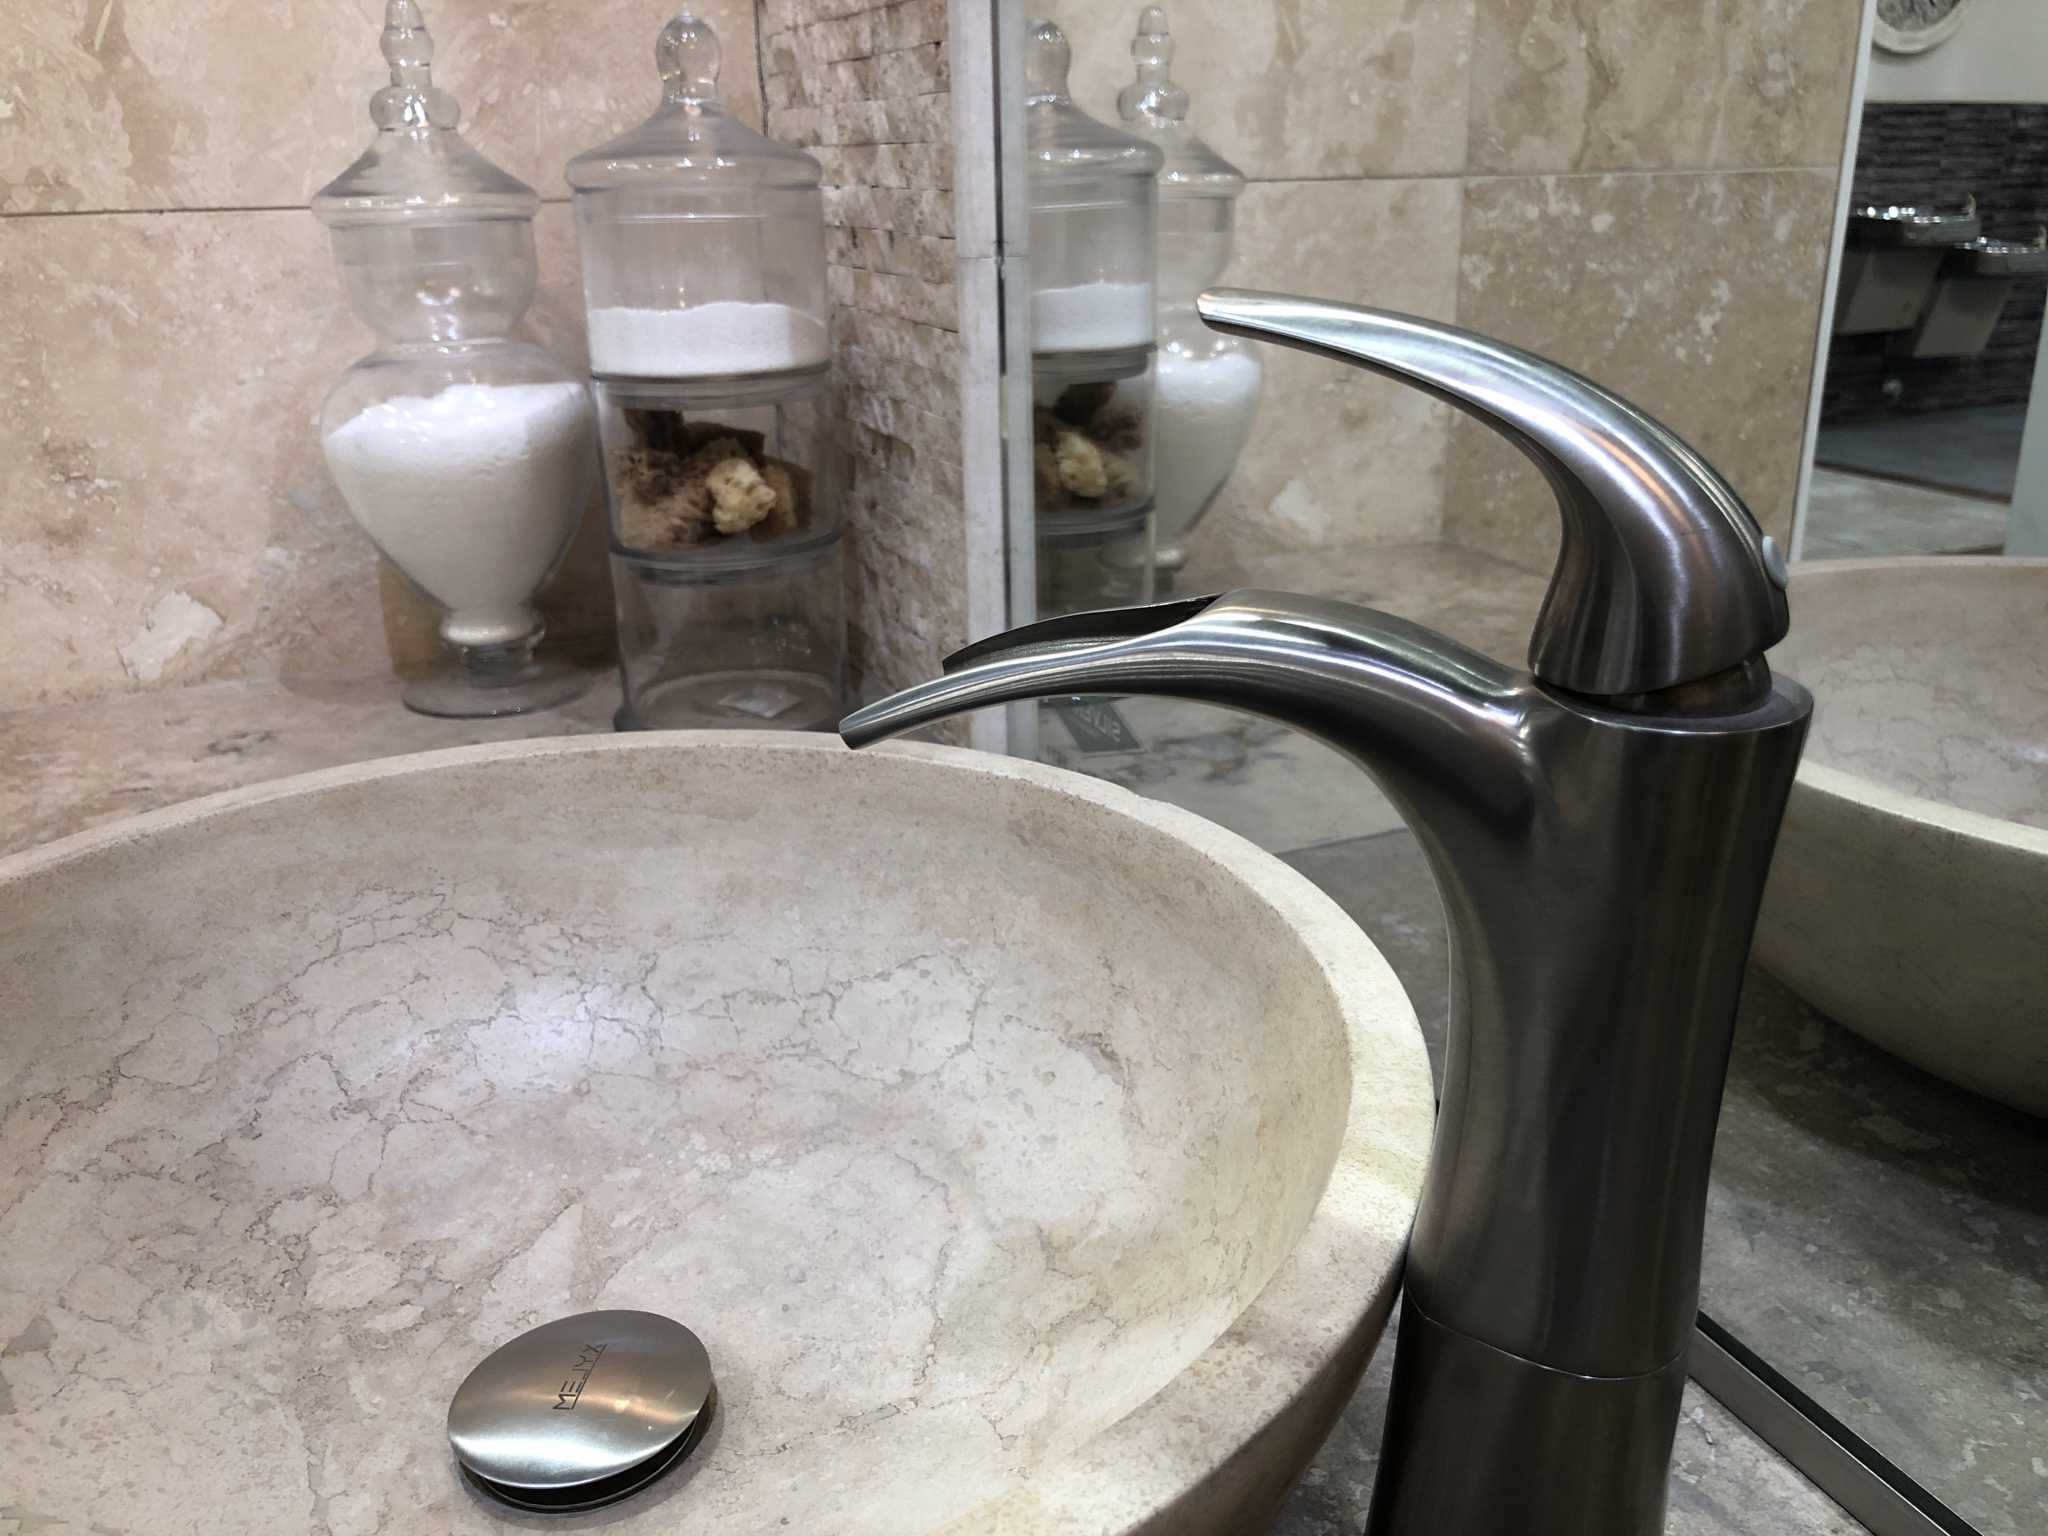
How to Paint Your Bathroom Sink
Published: July 15, 2024
Transform your bathroom sink with our step-by-step painting guide. Learn the best techniques, materials, and tips for a durable, stylish finish.
(Many of the links in this article redirect to a specific reviewed product. Your purchase of these products through affiliate links helps to generate commission for Twigandthistle.com, at no extra cost. Learn more)
Painting your bathroom sink can seem intimidating, but it’s a manageable project with the right tools and steps. Renovating a bathroom doesn’t always require swapping out fixtures; sometimes, a fresh coat of paint can transform the space. Whether your sink looks outdated or worn, painting it can provide a budget-friendly facelift. This guide will help you through the process, from selecting the paint to the final touches. Gather your materials, roll up your sleeves, and prepare to give your bathroom sink a new look. Ready to tackle this DIY project? Let’s begin!
Getting Ready for the Project
Gather Supplies: Get paint, primer, sandpaper, painter's tape, drop cloths, cleaning supplies, gloves, and safety goggles.
Clean the Sink: Use a mild cleaner to remove dirt, soap scum, and grease. Rinse thoroughly and let it dry.
Sand the Surface: Lightly sand the sink with fine-grit sandpaper to create a rough surface for the primer to stick. Wipe away dust with a damp cloth.
Protect Surrounding Areas: Use painter's tape to cover the edges of the sink, faucet, and any other fixtures. Lay down drop cloths to protect the floor.
Ventilate the Area: Open windows or use a fan to ensure proper ventilation. This helps to disperse fumes from the paint and primer.
Wear Safety Gear: Put on gloves and safety goggles to protect your skin and eyes from chemicals.
Apply Primer: Use a brush or roller to apply a coat of primer. Let it dry completely according to the manufacturer's instructions.
Paint the Sink: Once the primer is dry, apply the paint in thin, even coats. Allow each coat to dry before applying the next one.
Cure Time: Let the paint cure for the recommended time before using the sink. This ensures a durable finish.
Gather Your Supplies
- Sandpaper: Used to roughen the sink's surface so the paint adheres better. Choose 220-grit for best results.
- Painter's Tape: Protects areas you don't want painted, like faucets or countertops.
- Drop Cloth: Keeps the floor clean from paint drips and spills.
- Cleaning Solution: Removes dirt, grime, and soap scum from the sink. A mixture of water and mild detergent works well.
- Sponge: Helps apply the cleaning solution and rinse the sink.
- Primer: Ensures the paint sticks to the sink. Look for a primer suitable for ceramic or porcelain.
- Paint: Choose epoxy paint designed for sinks and tubs. This type is durable and water-resistant.
- Paintbrushes: Use a high-quality brush for smooth application. A small, angled brush works best for edges.
- Respirator Mask: Protects you from inhaling fumes from the primer and paint.
- Gloves: Keeps your hands clean and protected from chemicals.
- Mixing Stick: Ensures the paint is well-mixed before application.
- Stirring Container: Holds the paint while you mix it with the stick.
- Fine-Tip Brush: Useful for detailed areas and touch-ups.
- Sealant: Adds an extra layer of protection to the painted surface, making it last longer. Choose a clear, waterproof sealant.
Required Skills and Time Commitment
Skill Level: Intermediate
Time Required: 4-6 hours
Steps:
- Preparation: Clean the sink thoroughly, removing any soap scum or grime. This step takes about 1 hour.
- Sanding: Lightly sand the sink to create a rough surface for the paint to adhere to. This should take around 30 minutes.
- Priming: Apply a coat of primer designed for ceramic or porcelain surfaces. Allow it to dry for 1-2 hours.
- Painting: Use a high-quality epoxy paint. Apply the first coat and let it dry for 1-2 hours. Apply a second coat if needed.
- Drying: Allow the paint to cure completely, which can take up to 24 hours, but active work time is around 4-6 hours.
Detailed Painting Instructions
Gather Supplies:
- Painter's tape
- Sandpaper (220-grit)
- Cleaner (mild detergent)
- Rags
- Primer (bonding primer)
- Epoxy paint (specifically for sinks)
- Paintbrush or spray gun
- Drop cloths or plastic sheeting
- Protective gloves and mask
Prepare the Area:
- Lay down drop cloths or plastic sheeting around the sink.
- Use painter's tape to cover faucets, drains, and any areas you don't want painted.
Clean the Sink:
- Scrub the sink thoroughly with mild detergent and a rag to remove dirt, grease, and soap scum.
- Rinse well and let it dry completely.
Sand the Surface:
- Lightly sand the entire sink surface with 220-grit sandpaper to help the paint adhere better.
- Wipe away any dust with a clean, damp rag.
Apply Primer:
- Put on protective gloves and a mask.
- Apply a thin, even coat of bonding primer using a paintbrush or spray gun.
- Allow the primer to dry according to the manufacturer's instructions.
Paint the Sink:
- Stir the epoxy paint thoroughly.
- Apply the first coat of epoxy paint evenly with a paintbrush or spray gun.
- Let the first coat dry completely before applying a second coat.
- Apply a second coat for better coverage and durability.
- Allow the paint to cure as per the manufacturer's instructions, usually 24-48 hours.
Remove Tape and Clean Up:
- Carefully remove the painter's tape.
- Clean up any drips or spills immediately with a damp rag.
- Dispose of used materials properly.
Reassemble and Use:
- Once the paint is fully cured, reattach any parts you removed.
- Your sink is ready for use!
Helpful Tips for Success
Clean Thoroughly: Use a non-abrasive cleaner to remove soap scum, grime, and any residue. A clean surface ensures paint adheres properly.
Sand the Surface: Lightly sand the sink with fine-grit sandpaper. This helps the paint stick better. Wipe away dust with a damp cloth.
Use Painter's Tape: Protect areas like the faucet, drain, and countertop edges with painter's tape. This keeps paint where it belongs.
Choose the Right Paint: Use epoxy or appliance paint designed for sinks. These paints resist water and wear.
Apply Primer: A good primer helps paint adhere and provides a smooth finish. Let it dry completely before painting.
Multiple Thin Coats: Apply paint in thin, even coats. Multiple thin layers prevent drips and ensure a smooth finish. Let each coat dry before adding the next.
Ventilation: Ensure good airflow in the bathroom. Open windows or use fans to help paint dry and reduce fumes.
Cure Time: Allow the paint to cure fully. This can take several days. Avoid using the sink during this time to ensure a durable finish.
Common Mistakes to Avoid: Skipping cleaning or sanding can lead to peeling paint. Using the wrong type of paint will result in a finish that doesn't last. Rushing the process by not allowing proper drying time between coats can cause imperfections.
Alternatives: Instead of painting, consider using a sink refinishing kit. These kits often include everything needed for a durable, professional-looking finish. Another option is replacing the sink altogether if it's severely damaged or outdated.
Budgeting for Your Sink Painting
Materials Needed:
- Epoxy Paint Kit: $40-$60
- Sandpaper (220-grit): $5
- Painter’s Tape: $3
- Drop Cloths: $10
- Cleaning Supplies (like TSP cleaner): $10
- Paint Brushes/Rollers: $10
Tools Needed:
- Respirator Mask: $20
- Gloves: $5
- Safety Goggles: $5
Total Cost: $108-$128
Budget-Friendly Alternatives:
- Use regular paint instead of epoxy: $20 (but may not last as long)
- Old newspapers instead of drop cloths: Free
- Reuse old paint brushes: Free
Revised Total Cost: $58-$78
Creative Customization Ideas
Alternative Materials: Instead of regular paint, use epoxy paint for a more durable finish. Acrylic urethane paint also works well for sinks, providing a glossy and hard surface. For a more eco-friendly option, consider low-VOC or water-based paints.
Colors: Choose bold colors like navy blue, emerald green, or even black for a dramatic look. For a more subtle appearance, go with pastel shades such as light blue, mint green, or soft pink. Metallic paints like gold, silver, or bronze can add a touch of luxury.
Styles: Create a marble effect by using two or more colors and blending them together. Add stencils or decals for patterns like flowers, geometric shapes, or even custom designs. For a rustic look, use a distressed painting technique by lightly sanding the edges after painting.
Finishes: A high-gloss finish will make the sink look sleek and modern. For a more traditional look, choose a satin or matte finish. Adding a clear topcoat can provide extra protection and make the sink easier to clean.
Hardware: Change out the faucet and handles to match the new color or style of your sink. Choose finishes like brushed nickel, oil-rubbed bronze, or polished chrome to complement the paint job.
Additional Touches: Add a decorative backsplash behind the sink using tiles, peel-and-stick options, or even painted designs. Consider installing a new countertop that matches or contrasts with the sink color for a cohesive look.
Eco-Friendly Painting Practices
Eco-friendly materials can make a big difference. Low-VOC paint is a great choice. VOCs, or volatile organic compounds, are harmful chemicals found in many paints. Low-VOC options are safer for you and the environment.
Reusing materials is another smart move. If you have leftover paint from another project, use it. This reduces waste and saves money.
Recycled paint is also available. Made from leftover paint collected from various sources, it’s mixed and repurposed. This option keeps old paint out of landfills.
Natural brushes made from sustainable materials like bamboo or recycled plastic are better than synthetic ones. They work just as well and are kinder to the planet.
Prep your sink with eco-friendly cleaners. Vinegar and baking soda can clean surfaces without harsh chemicals.
Sanding can be done with reusable sanding blocks instead of disposable sandpaper. These blocks last longer and reduce waste.
Protective gear like masks and gloves can be eco-friendly too. Look for options made from recycled or biodegradable materials.
Sealants should also be low-VOC. They protect your paint job without adding harmful chemicals to your home.
Dispose of waste responsibly. Leftover paint, brushes, and other materials should be taken to a recycling center. Never pour paint down the drain.
By choosing eco-friendly materials and methods, you can paint your bathroom sink in a way that’s good for both you and the planet.
Your Sink's New Look
Painting your bathroom sink can be a game-changer. It’s a simple, cost-effective way to refresh your space without a full renovation. Just remember to clean the sink thoroughly, sand it down, and apply a good primer before painting. Use a high-quality paint designed for bathrooms to ensure durability. Let each coat dry completely before adding another. Once you’re done, seal the paint with a waterproof sealer to protect your hard work. This project might seem a bit daunting at first, but with patience and attention to detail, you’ll have a sink that looks brand new. Plus, you’ll have the satisfaction of knowing you did it yourself. So grab your supplies, roll up your sleeves, and get ready to transform your bathroom sink into a stunning focal point. Happy painting!
How do I prepare the sink for painting?
Clean the sink thoroughly with soap and water. Remove any grime, soap scum, or old caulk. Sand the surface lightly with fine-grit sandpaper to help the paint adhere better. Rinse and dry completely.
What type of paint should I use?
Use epoxy paint or appliance paint. These types are durable and water-resistant, perfect for bathroom sinks.
Do I need to use a primer?
Yes, applying a primer ensures the paint sticks well and lasts longer. Choose a primer designed for use on ceramic or porcelain surfaces.
How many coats of paint are necessary?
Typically, two to three coats of paint provide good coverage. Allow each coat to dry completely before applying the next one.
How long does the paint take to dry?
Drying time varies, but usually, it takes about 24 hours for each coat to dry. Check the paint can for specific drying times.
Can I use the sink immediately after painting?
No, wait at least 72 hours after the final coat to use the sink. This ensures the paint has fully cured and won't chip or peel.
How do I maintain the painted sink?
Clean with mild soap and a soft cloth. Avoid abrasive cleaners or scrubbing pads that can damage the paint.