
Home>Home & Furniture>Bathroom>How to Build a Floating Vanity for Your Bathroom
Bathroom
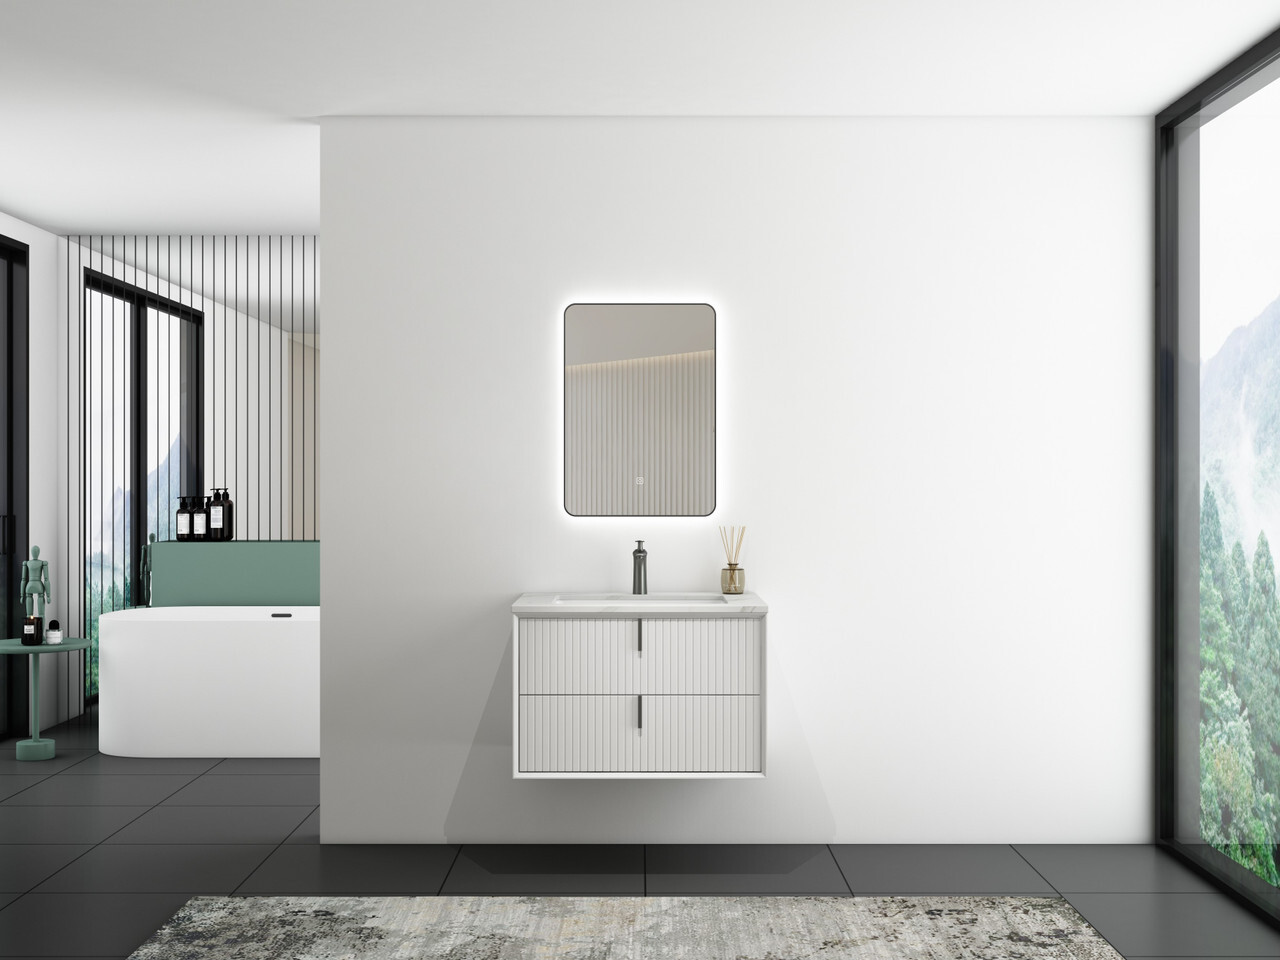
How to Build a Floating Vanity for Your Bathroom
Published: July 14, 2024
Learn how to build a stylish floating vanity for your bathroom with our step-by-step guide. Elevate your space with this modern, space-saving DIY project.
(Many of the links in this article redirect to a specific reviewed product. Your purchase of these products through affiliate links helps to generate commission for Twigandthistle.com, at no extra cost. Learn more)
Creating a floating vanity for your bathroom can be a rewarding DIY project. This sleek design not only saves space but also gives your bathroom a modern touch. Floating vanities are wall-mounted, freeing up floor space and making cleaning easier. Whether updating a current vanity or starting from scratch, the process is straightforward with some basic tools and materials. This guide will walk you through selecting the right materials, prepping your space, and installing the vanity. Ready to give your bathroom a fresh, stylish look? Let’s get started on this exciting project!
Getting Ready for Your Project
Gather Materials: Collect all necessary tools and materials like a drill, screws, brackets, wood, level, and measuring tape.
Measure the Space: Measure the area where the vanity will be installed. Ensure it fits well and leaves enough room for plumbing.
Turn Off Water Supply: Shut off the water supply to avoid any leaks or accidents during installation.
Prepare the Wall: Locate the wall studs using a stud finder. Mark their positions as these will support the vanity.
Cut the Wood: Cut the wood to the desired size for the vanity. Sand the edges to avoid splinters.
Install Brackets: Attach heavy-duty brackets to the wall studs. Ensure they are level and securely fastened.
Attach Vanity: Secure the vanity to the brackets. Double-check that it is level and stable.
Reconnect Plumbing: Reconnect the plumbing fixtures. Check for any leaks before finishing up.
Safety Tips: Wear safety goggles and gloves. Keep the workspace clean to avoid tripping hazards. Use a mask if cutting wood to avoid inhaling dust.
Gathering Materials and Tools
- Plywood: Used for the main structure of the vanity. Choose a high-quality, water-resistant type.
- Wood Screws: Essential for securing the plywood pieces together.
- Wood Glue: Provides additional strength to the joints.
- Wall Anchors: Needed to securely attach the vanity to the wall.
- Stud Finder: Helps locate wall studs for secure mounting.
- Level: Ensures the vanity is perfectly horizontal.
- Measuring Tape: For accurate measurements.
- Circular Saw: Cuts the plywood to the required dimensions.
- Drill: Used for making holes and driving screws.
- Sandpaper: Smooths the edges and surfaces of the plywood.
- Paint or Stain: Adds a finishing touch to the vanity.
- Paintbrush or Roller: Applies paint or stain evenly.
- Clamps: Holds pieces together while the glue dries.
- Safety Gear: Includes safety glasses and gloves for protection.
Plywood forms the base structure. Wood screws and glue hold everything together. Wall anchors and a stud finder ensure secure attachment to the wall. A level and measuring tape help with precision. A circular saw cuts the plywood, while a drill makes holes and drives screws. Sandpaper smooths rough edges. Paint or stain, applied with a brush or roller, finishes the look. Clamps hold pieces during drying, and safety gear protects you during the project.
Required Skills and Time Commitment
Skill Level: Intermediate
Time Required: 6-8 hours
Steps:
- Measure and Plan: 1 hour
- Cut Wood: 1 hour
- Assemble Frame: 2 hours
- Install Vanity: 1-2 hours
- Finishing Touches: 1-2 hours
Detailed Step-by-Step Guide
Gather Materials and Tools
- Plywood or MDF board
- Wood screws
- Wall anchors
- Level
- Drill
- Saw
- Measuring tape
- Stud finder
- Wood glue
- Sandpaper
- Paint or stain
- Vanity sink and faucet
Measure and Plan
- Measure the space where the vanity will go.
- Decide on the dimensions for the vanity.
- Sketch a plan with measurements.
Cut the Wood
- Cut the plywood or MDF board to the desired dimensions for the top, bottom, and sides.
- Sand the edges to smooth them out.
Assemble the Frame
- Attach the sides to the bottom piece using wood screws and wood glue.
- Ensure the frame is square by checking with a level.
Attach the Top
- Secure the top piece to the frame with wood screws and wood glue.
- Check for levelness.
Find Wall Studs
- Use a stud finder to locate the studs in the wall where the vanity will be mounted.
- Mark the stud locations with a pencil.
Mount the Vanity
- Drill pilot holes through the back of the vanity frame.
- Hold the vanity against the wall, aligning with the stud marks.
- Secure the vanity to the wall using wood screws and wall anchors if needed.
Install the Sink and Faucet
- Cut a hole in the top of the vanity for the sink using a saw.
- Follow the sink and faucet installation instructions.
- Secure the sink and connect the plumbing.
Finish the Vanity
- Sand the entire vanity to prepare for finishing.
- Apply paint or stain as desired.
- Let it dry completely before use.
Helpful Tips and Tricks
Measure twice, cut once. Accurate measurements ensure a perfect fit. Use a stud finder to locate wall studs for secure mounting. Pre-drill holes to avoid splitting wood. Leveling is crucial; use a spirit level to keep everything straight. Use a template for sink and faucet holes to avoid mistakes.
Common mistakes include skipping the stud finder and mounting directly on drywall, leading to instability. Not leveling can cause water to pool on the countertop. Over-tightening screws can crack the wood.
For materials, plywood is a budget-friendly alternative to hardwood. Instead of traditional brackets, floating shelf brackets offer a sleek look. If you lack power tools, hand tools can work but may take longer.
Estimating the Cost
Materials:
- Plywood: $50-$100
- Wood screws: $5-$10
- Wood glue: $5-$10
- Brackets: $20-$40
- Paint or stain: $15-$30
- Sealant: $10-$20
- Sink: $50-$200
- Faucet: $30-$100
Tools:
- Drill: $50-$100 (or borrow)
- Saw: $50-$150 (or borrow)
- Level: $10-$20
- Measuring tape: $5-$15
- Sandpaper: $5-$10
- Paintbrushes: $5-$15
Total Estimated Cost: $310-$830
Budget-Friendly Alternatives:
- Reclaimed wood instead of new plywood: Free or low cost
- Second-hand sink and faucet: $20-$50
- Borrow tools from friends or family: Free
- DIY brackets using scrap metal: Minimal cost
Creative Variations and Customizations
Materials: Instead of traditional wood, consider using reclaimed wood for a rustic look or bamboo for an eco-friendly option. Plywood can be a budget-friendly choice, while solid oak or walnut offers a luxurious feel.
Colors: Paint the vanity in bold colors like navy blue or emerald green for a statement piece. For a more subtle look, use neutral tones such as white, beige, or gray. Staining the wood can also bring out its natural beauty.
Styles: For a modern aesthetic, opt for clean lines and a minimalist design. If you prefer a vintage vibe, incorporate ornate handles and decorative trim. A farmhouse style can be achieved with shiplap accents and distressed finishes.
Countertops: Use quartz or granite for a durable, high-end surface. Butcher block countertops add warmth and character, while concrete offers an industrial look. Marble can provide a classic, elegant touch.
Sinks: Choose a vessel sink for a modern touch or an undermount sink for a seamless look. A farmhouse sink can add a rustic element, while a pedestal sink keeps things traditional.
Hardware: Swap out standard handles for brushed nickel, matte black, or antique brass finishes. Geometric shapes or crystal knobs can add unique flair.
Lighting: Install LED strip lights under the vanity for a floating effect. Pendant lights or wall sconces can enhance the overall design and provide better illumination.
Storage: Add open shelving beneath the vanity for easy access to towels and toiletries. Drawers with organizers can keep smaller items tidy. Consider hidden compartments for a sleek, clutter-free look.
Mirrors: Pair the vanity with a frameless mirror for a modern feel or a vintage mirror with an ornate frame for a classic touch. Backlit mirrors can add a touch of luxury.
Backsplash: Use subway tiles for a timeless look or mosaic tiles for a pop of color. Stone slabs can create a seamless, elegant backdrop. Shiplap or beadboard can add texture and interest.
Eco-Friendly Tips
Reclaimed wood can be a great choice for the vanity frame. It adds character and reduces the demand for new lumber. Look for old barn wood or pallets. Bamboo is another eco-friendly option. It grows quickly and is very durable.
For the countertop, consider recycled glass or concrete. Recycled glass countertops are made from crushed glass and resin, creating a unique look. Concrete can be mixed with recycled materials like fly ash.
Use low-VOC (volatile organic compounds) paints and finishes. These products release fewer harmful chemicals into the air, making your bathroom healthier.
Salvaged sinks can add a vintage touch. Check out salvage yards or online marketplaces for unique finds.
For the hardware, choose recycled metal or repurposed items. Old pipes can be turned into towel bars or handles.
When installing, use energy-efficient LED lighting. It consumes less power and lasts longer than traditional bulbs.
Lastly, consider water-saving faucets. These reduce water usage without sacrificing performance.
Your Floating Vanity Awaits
Building a floating vanity isn't just about saving space; it's about adding a touch of modern flair to your bathroom. With some basic tools, a bit of patience, and a clear plan, you can create a stunning piece that looks like it came straight out of a designer catalog. Remember to measure twice, cut once, and always double-check your work. Don't rush the process; taking your time ensures a sturdy, beautiful result. Once installed, you'll not only have a functional piece but also a conversation starter. So, grab your tools, roll up your sleeves, and get to work. Your dream bathroom is just a few steps away. Happy building!
What materials do I need to build a floating vanity?
You’ll need plywood, wood screws, brackets, a level, a drill, wood glue, paint or stain, and a sink. Don’t forget measuring tape and sandpaper.
How do I ensure the vanity is level?
Use a level and shims if needed. Check the level at multiple points to make sure it’s even.
Can I install a floating vanity by myself?
Yes, but having a helper makes it easier, especially when mounting the vanity to the wall.
How do I attach the vanity to the wall?
Use heavy-duty brackets and wood screws. Make sure to screw into wall studs for maximum support.
What kind of finish should I use?
Choose a water-resistant paint or stain. Bathrooms are humid, so a protective finish is crucial.
How high should I mount the floating vanity?
Standard height is about 32 to 36 inches from the floor, but adjust based on your preference.
Do I need special plumbing for a floating vanity?
Not necessarily, but you might need to adjust the existing plumbing to fit the new sink and vanity design.