
Home>Home & Furniture>Bathroom>DIY Towel Rack: How to Build a Stylish Storage Solution
Bathroom
DIY Towel Rack: How to Build a Stylish Storage Solution
Published: July 17, 2024
Learn how to build a stylish DIY towel rack with our step-by-step guide. Maximize your bathroom storage space and add a touch of elegance with this easy project.
(Many of the links in this article redirect to a specific reviewed product. Your purchase of these products through affiliate links helps to generate commission for Twigandthistle.com, at no extra cost. Learn more)
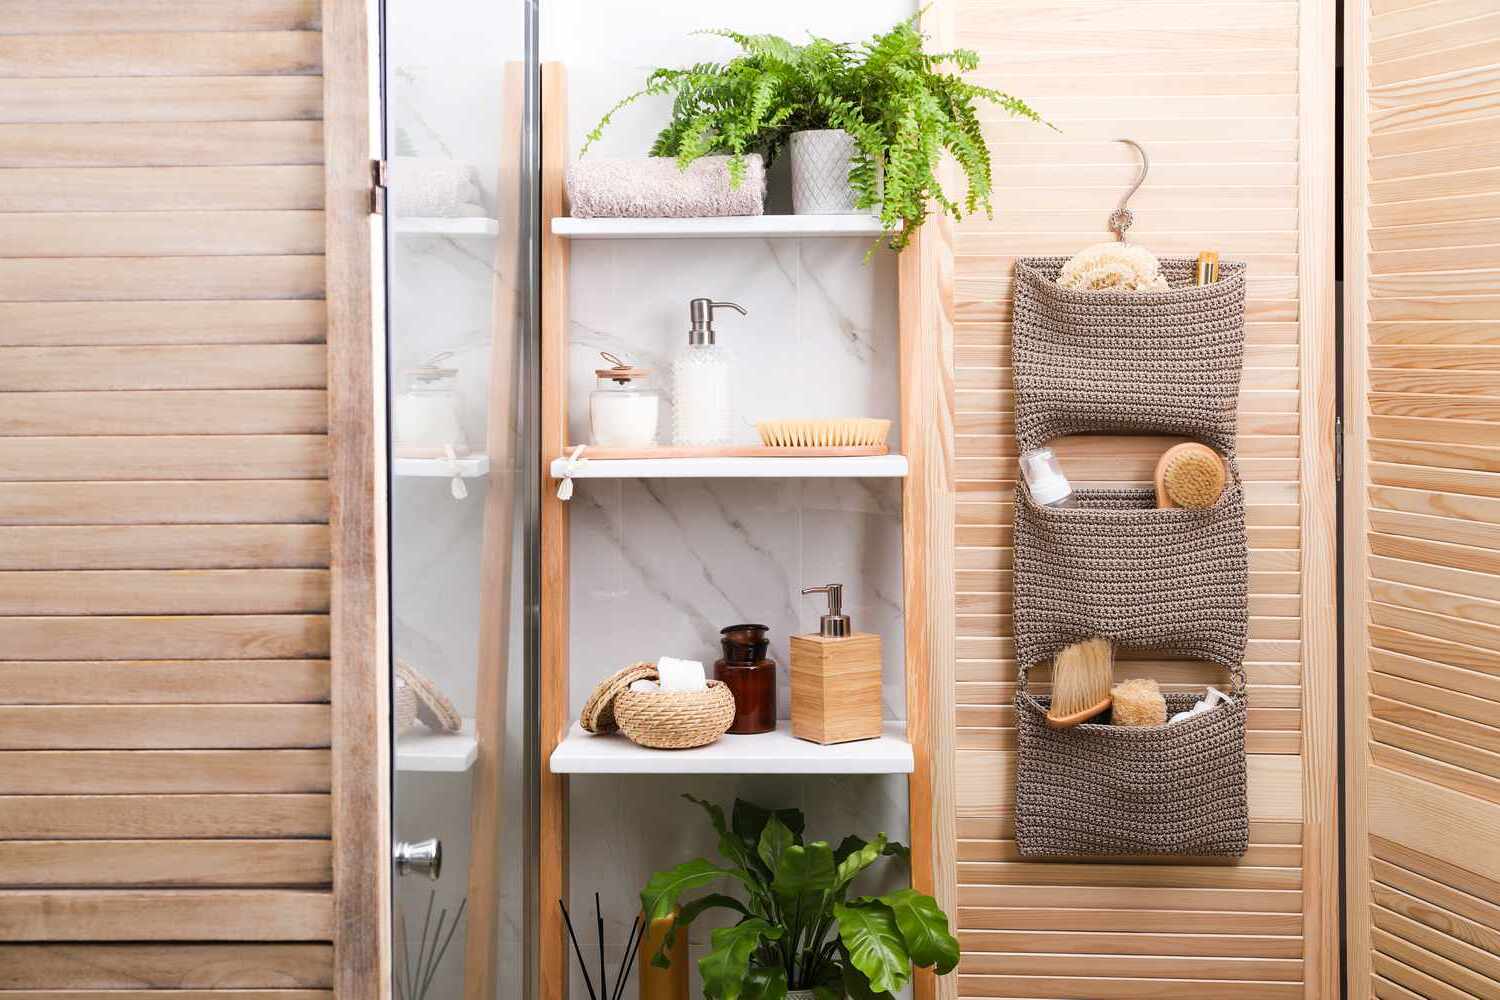
Building your own towel rack can be a fun and rewarding project. Not only does it add a touch of personal style to your home, but it also provides a practical storage solution. Whether you need a place to hang towels in your bathroom or kitchen, a DIY towel rack offers flexibility for any space. You can customize the design, material, and size to match your décor perfectly. Plus, making it yourself can save money and give you a sense of accomplishment. Ready to get started? Let's dive into the basics of building a stylish towel rack.
Getting Ready for Your Project
Gather Materials: Collect all necessary tools and materials like wood, screws, brackets, a drill, a level, sandpaper, paint, and a measuring tape.
Choose a Location: Decide where to install the towel rack. Make sure it's easily accessible and has enough space.
Measure and Mark: Use a measuring tape to mark where the brackets will go. Ensure the marks are level.
Prepare the Wood: Sand the wood to smooth out any rough edges. Paint or stain it if desired. Let it dry completely.
Safety Gear: Wear safety goggles and gloves to protect your eyes and hands while working.
Set Up Workspace: Clear an area to work in. Lay down a drop cloth to catch any debris or paint drips.
Pre-Drill Holes: Pre-drill holes in the wood and wall where the screws will go. This helps prevent the wood from splitting.
Check for Studs: Use a stud finder to locate wall studs. Mounting the rack on studs ensures it can hold the weight of towels.
Gather Tools: Keep all tools within reach. This includes the drill, screws, brackets, and level.
Double-Check Measurements: Before drilling, double-check all measurements to ensure accuracy.
Clean the Area: Wipe down the wall and wood to remove any dust or debris before installation.
Gathering Your Materials and Tools
- Wood Planks: These form the main structure. Choose sturdy, smooth planks.
- Screws: Essential for holding the planks together. Use wood screws for a secure fit.
- Drill: Needed for making holes for screws. A cordless drill is handy.
- Screwdriver: Tightens screws. A manual or electric one works.
- Sandpaper: Smooths rough edges on wood. Fine-grit sandpaper is best.
- Measuring Tape: Ensures accurate measurements. Helps in cutting wood to the right size.
- Saw: Cuts wood planks to desired lengths. A hand saw or electric saw can be used.
- Level: Ensures the rack is straight. A small bubble level is easy to use.
- Wood Stain or Paint: Adds color and protects wood. Choose based on your preferred finish.
- Paintbrush: Applies stain or paint. A medium-sized brush works well.
- Rags: Wipes off excess stain or paint. Old cloths or paper towels are fine.
- Pencil: Marks measurements on wood. Helps in precise cutting and drilling.
- Wall Anchors: Secures the rack to the wall. Use if mounting on drywall.
- Stud Finder: Locates wall studs. Ensures secure mounting if not using wall anchors.
Skill Level and Time Commitment
Skill Level: Beginner
Time Required: 1-2 hours
- Gather Materials: 15 minutes
- Measure and Mark: 10 minutes
- Drill Holes: 20 minutes
- Install Anchors: 15 minutes
- Attach Rack: 30 minutes
Total Time: 1-2 hours
Building Your Towel Rack: Step-by-Step Guide
Gather Materials:
- Wooden board (size depends on your space)
- Sandpaper
- Paint or stain
- Paintbrush
- Towel hooks or bars
- Screws
- Wall anchors
- Drill
- Measuring tape
- Pencil
- Level
Prepare the Wood:
- Sand the wooden board until smooth.
- Wipe off dust with a damp cloth.
Paint or Stain:
- Apply paint or stain to the board.
- Let it dry completely.
Mark Hook Locations:
- Use measuring tape to evenly space out where hooks or bars will go.
- Mark spots with a pencil.
Attach Hooks or Bars:
- Drill pilot holes where marks are.
- Screw hooks or bars into place.
Prepare Wall:
- Decide where the rack will hang.
- Use a level to ensure it will be straight.
- Mark spots for screws on the wall.
Install Wall Anchors:
- Drill holes at marked spots.
- Insert wall anchors.
Mount the Rack:
- Align the rack with wall anchors.
- Screw the rack into place.
Final Touches:
- Check stability.
- Hang towels and enjoy your new rack.
Helpful Tips and Tricks
Measure Twice, Cut Once: Always double-check measurements before cutting any material. This prevents waste and ensures everything fits perfectly.
Use Stud Finder: When mounting the towel rack, use a stud finder to locate wall studs. This provides a stronger hold, especially for heavier racks.
Pre-drill Holes: Pre-drill holes for screws to avoid splitting the wood. This makes assembly smoother and more precise.
Sand Edges: Sand all edges of the wood to prevent splinters and give a polished look. Smooth edges also help paint or stain adhere better.
Level It: Use a level to ensure the rack is straight. A crooked rack looks unprofessional and may not function properly.
Choose the Right Finish: Select a finish that matches your bathroom decor. Paint, stain, or varnish can all work, but make sure it’s water-resistant.
Common Mistakes to Avoid:
- Skipping Sanding: Not sanding the wood can result in rough edges and poor paint adhesion.
- Ignoring Studs: Mounting directly into drywall without anchors or studs can cause the rack to fall.
- Incorrect Measurements: Misjudging space can lead to a rack that doesn’t fit or looks awkward.
- Using Wrong Screws: Using screws that are too short or too long can compromise stability.
Material Alternatives:
- Reclaimed Wood: Adds a rustic touch and is eco-friendly.
- Metal Pipes: For an industrial look, use metal pipes and fittings.
- PVC Pipes: Lightweight and easy to cut, PVC can be painted to match any decor.
- Repurposed Items: Old ladders or wooden crates can be transformed into unique towel racks.
Estimating Your Project Costs
Materials:
- Wood (2x4 or 1x4 boards): $10-$20
- Screws: $5
- Sandpaper: $3
- Wood Stain or Paint: $10
- Hooks: $10
Tools:
- Drill: $30 (if you don't have one)
- Saw: $20 (hand saw) or $50 (electric saw)
- Measuring Tape: $5
- Paintbrush: $2
Total Cost: $75-$125
Budget-Friendly Alternatives:
- Reclaimed Wood: Free or cheaper than new wood
- Borrow Tools: Ask friends or family
- Use Leftover Paint: From other projects
- Repurpose Old Hooks: From unused items around the house
Creative Variations and Customizations
Materials: Instead of using wood, try metal pipes for an industrial look. Reclaimed wood adds a rustic touch. Bamboo offers a natural, eco-friendly option.
Colors: Paint the rack in bold colors like red or blue for a pop of color. Use pastel shades for a softer, more calming effect. Stain the wood in dark walnut or light oak to match your bathroom decor.
Styles: For a modern look, use sleek, straight lines and minimalistic design. Add decorative hooks or knobs for a vintage feel. Incorporate floating shelves above the rack for extra storage.
Finishes: Use a glossy finish for a polished, contemporary look. A matte finish gives a more understated, elegant appearance. Try a distressed finish for a shabby chic vibe.
Accessories: Add a small shelf on top for toiletries. Attach a basket underneath for extra storage. Use decorative brackets to mount the rack for added flair.
Eco-Friendly Building Tips
Reclaimed Wood: Use old pallets or barn wood. Sand it down for a smooth finish. This gives a rustic look and reduces waste.
Bamboo: A fast-growing, renewable resource. Bamboo is strong and stylish. It’s also naturally resistant to moisture.
Recycled Metal: Old pipes or metal rods can be repurposed. Clean them up and paint if needed. These add an industrial touch.
Eco-Friendly Paint: Choose low-VOC or zero-VOC paints. These are better for indoor air quality and the environment.
Natural Finishes: Use beeswax or linseed oil instead of chemical varnishes. These protect wood while being eco-friendly.
Upcycled Hooks: Old doorknobs, handles, or even spoons can be turned into hooks. This adds character and reduces waste.
Jute or Hemp Rope: Use these natural fibers for hanging or decorative elements. They are biodegradable and sturdy.
Salvaged Hardware: Look for old brackets, screws, or nails. These can often be found at salvage yards or thrift stores.
Minimalist Design: Keep it simple. Use fewer materials and create a clean, functional design. This reduces waste and clutter.
Your New Towel Rack Awaits
You've got all the steps down for building a stylish towel rack. From gathering materials to putting on the finishing touches, you're ready to tackle this project. Remember, measuring twice saves headaches later. Sanding and painting add that professional look. Don't forget to use anchors if mounting on drywall.
This project not only saves money but also gives a sense of accomplishment. Plus, you get to show off your handiwork to friends and family. So, grab those tools, roll up your sleeves, and get started. Your bathroom will thank you for the upgrade. Happy building!
How much time will it take to build a towel rack?
Building a towel rack usually takes about 1-2 hours, depending on your skill level and tools.
What materials do I need?
You'll need wood or metal for the rack, screws, brackets, a drill, a saw, sandpaper, and paint or stain if you want to finish it.
Can I customize the size?
Absolutely! Measure your space first, then cut the materials to fit. Customizing ensures it fits perfectly in your bathroom.
Do I need any special tools?
Basic tools like a drill, saw, measuring tape, and screwdriver should suffice. If you have a level, that helps too.
Is it cheaper to build my own towel rack?
Yes, building your own can be cheaper than buying one, especially if you already have some of the tools and materials.
How do I make sure it’s sturdy?
Use strong brackets and screws, and make sure to anchor it into wall studs. This will keep your towel rack secure.
Can I paint or stain the rack?
Definitely! Painting or staining adds a personal touch and helps protect the wood from moisture.