
Home>Home & Furniture>Bathroom>DIY Bathroom Vanity Makeover
Bathroom
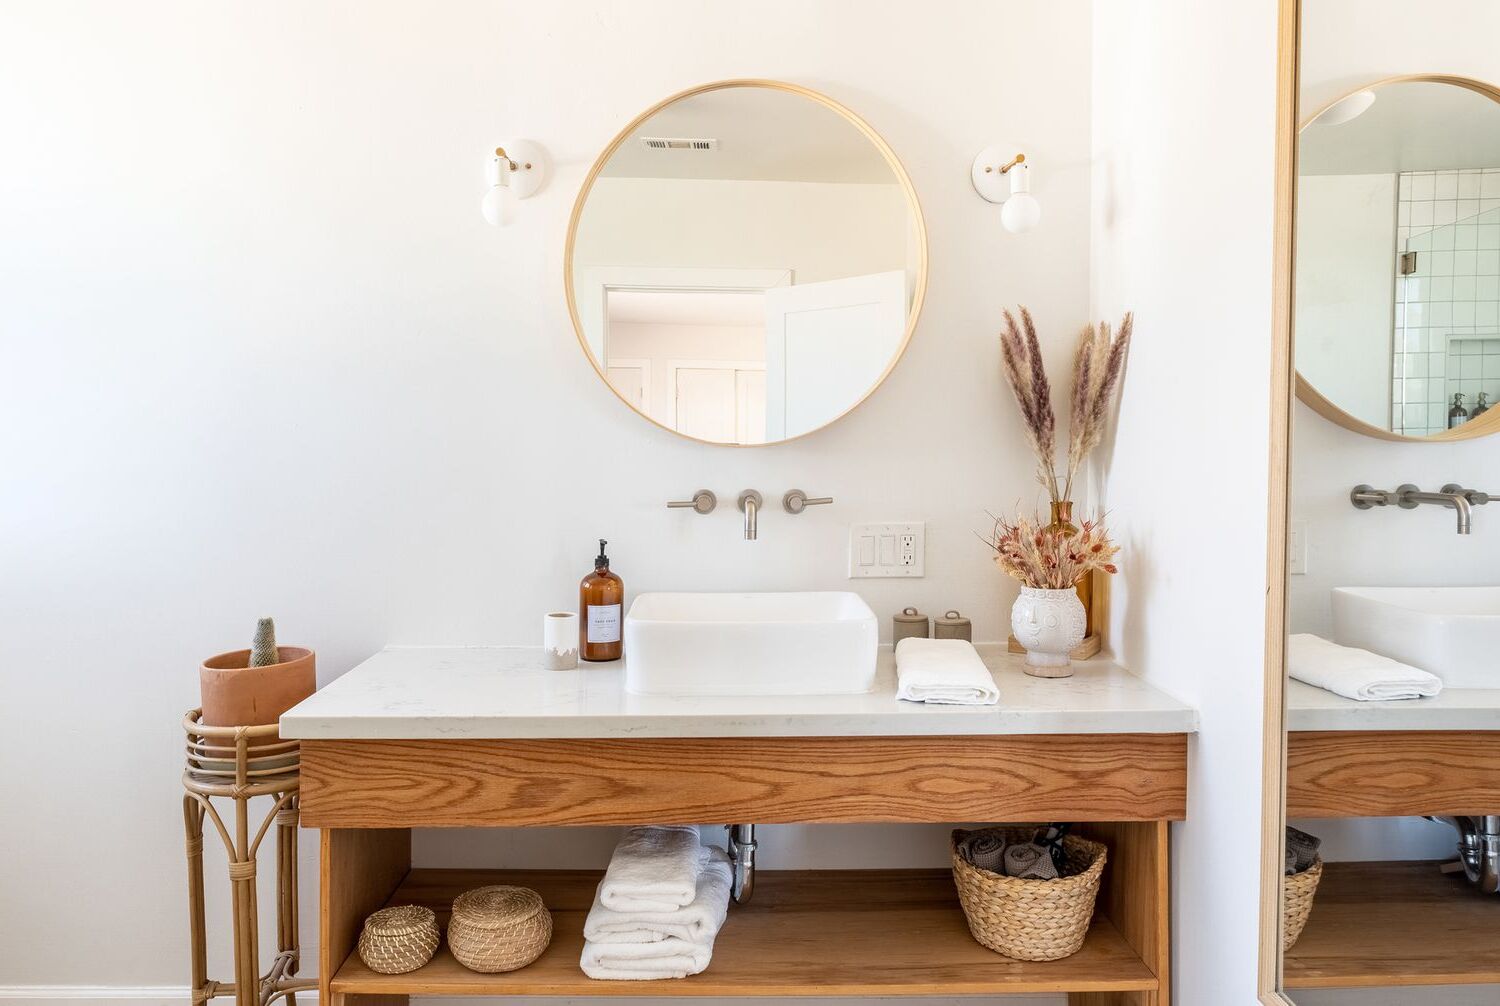
DIY Bathroom Vanity Makeover
Published: July 12, 2024
Transform your bathroom with a DIY vanity makeover! Discover step-by-step instructions, tips, and tricks to create a stylish and functional space on a budget.
(Many of the links in this article redirect to a specific reviewed product. Your purchase of these products through affiliate links helps to generate commission for Twigandthistle.com, at no extra cost. Learn more)
Ready to give your bathroom a fresh look without spending a fortune? A DIY bathroom vanity makeover might be just what you need. With some creativity and a bit of elbow grease, you can transform your old vanity into a stylish and functional centerpiece. This guide will walk you through the basics of updating your vanity, from selecting new hardware to painting and adding unique touches. Whether you're a seasoned DIYer or a newbie looking for a weekend project, this makeover will breathe new life into your bathroom space!
Getting Ready for Your Project
Gather Materials: Collect all necessary tools and supplies like paint, brushes, sandpaper, primer, and new hardware.
Clear the Area: Remove everything from the vanity and surrounding area. This includes toiletries, towels, and any decor.
Turn Off Water Supply: Shut off the water valves under the sink to avoid any leaks or spills.
Safety Gear: Wear gloves, safety goggles, and a mask to protect yourself from dust and fumes.
Ventilation: Ensure the workspace is well-ventilated. Open windows or use fans to keep air flowing.
Clean the Vanity: Wipe down the vanity with a mild cleaner to remove dirt, grease, and grime.
Remove Hardware: Take off handles, knobs, and any other hardware. This makes painting or refinishing easier.
Sand the Surface: Lightly sand the vanity to create a smooth surface for the new paint or finish to adhere to.
Apply Primer: Use a primer to prepare the surface for painting. This helps the paint stick better and last longer.
Protect Surroundings: Cover the floor and nearby walls with drop cloths or plastic sheets to catch any drips or spills.
Gather Your Materials and Tools
Materials:
- Paint: Choose a durable, water-resistant paint for bathroom use.
- Primer: Helps the paint adhere better and last longer.
- Sandpaper: Use medium and fine grit to smooth surfaces.
- Painter's Tape: Protects areas you don't want painted.
- Drop Cloth: Keeps floors clean from paint spills.
- New Hardware: Fresh knobs or handles for drawers and doors.
- Wood Filler: Fills any holes or imperfections in the wood.
- Sealant: Protects the paint from moisture and wear.
Tools:
- Paintbrushes: Different sizes for detailed and broad strokes.
- Roller: Covers large areas quickly and evenly.
- Screwdriver: Removes and installs hardware.
- Putty Knife: Applies wood filler smoothly.
- Drill: Makes new holes for hardware if needed.
- Sanding Block: Holds sandpaper for easier use.
- Measuring Tape: Ensures accurate placement of new hardware.
- Cleaning Cloths: Wipes down surfaces before painting.
Summary of Materials and Tools:
Paint and primer prepare and protect the vanity. Sandpaper and a sanding block smooth the surface. Painter's tape and a drop cloth keep the workspace clean. New hardware updates the look. Wood filler fixes imperfections. Sealant adds durability. Paintbrushes and a roller apply paint. A screwdriver and drill handle hardware changes. A putty knife spreads filler. Measuring tape ensures precision. Cleaning cloths prep the surface.
Skill Level and Time Needed
Skill Level: Intermediate
Time Required: 1-2 days
Steps:
- Remove Old Vanity: 1-2 hours
- Prepare Area: 1 hour
- Install New Vanity: 3-4 hours
- Plumbing Work: 2-3 hours
- Painting/Finishing Touches: 4-5 hours
Follow These Step-by-Step Instructions
Gather Materials:
- Sandpaper
- Primer
- Paint
- Paintbrushes
- Painter’s tape
- New hardware (knobs, handles)
- Screwdriver
- Drop cloth
Prepare the Area:
- Lay down a drop cloth to protect the floor.
- Remove everything from the vanity.
Remove Hardware:
- Use a screwdriver to take off knobs, handles, and any other hardware.
Clean the Vanity:
- Wipe down surfaces with a damp cloth to remove dust and grime.
- Let it dry completely.
Sand the Surface:
- Use sandpaper to lightly sand the vanity.
- Focus on roughing up the surface for better paint adhesion.
Apply Painter’s Tape:
- Tape off areas you don’t want painted, like walls and countertops.
Prime the Vanity:
- Apply a coat of primer using a paintbrush.
- Let it dry according to the primer’s instructions.
Paint the Vanity:
- Apply the first coat of paint with a brush.
- Allow it to dry completely.
- Apply a second coat if needed for full coverage.
Reattach Hardware:
- Once the paint is dry, reattach knobs, handles, and other hardware with a screwdriver.
Clean Up:
- Remove painter’s tape carefully.
- Dispose of or clean paintbrushes and other materials.
Final Touches:
- Put items back into the vanity.
- Enjoy your refreshed bathroom vanity!
Helpful Tips and Tricks
Plan your layout before starting. Measure your space to ensure everything fits. Remove old hardware carefully to avoid damaging the vanity. Label screws and parts to keep track of everything.
Sand surfaces before painting for a smooth finish. Use painter's tape to protect areas you don't want painted. Apply primer before painting to help the paint stick better.
Choose water-resistant paint to prevent damage from moisture. Install new hardware like knobs and handles to give a fresh look. Use a level to ensure everything is straight.
Common mistakes to avoid: Skipping the sanding step can lead to uneven paint. Not using primer might cause the paint to peel. Forgetting to measure can result in parts that don't fit.
Alternative materials or methods: Instead of replacing the vanity, reface it with new doors and drawer fronts. Use peel-and-stick tiles for a quick countertop update. Contact paper can also give a new look to surfaces without much effort.
Estimating the Cost
Vanity Paint: $20-$40 for a quart of high-quality paint. Primer: $10-$15 for a quart. Sandpaper: $5 for a pack. Paintbrushes/Rollers: $10-$20 for a set. Painter's Tape: $5. New Hardware (knobs/handles): $20-$50 depending on style. Caulk: $5. Caulk Gun: $5-$10. Drop Cloth: $5-$10. Cleaning Supplies: $5-$10 for basic cleaners.
Total Estimated Cost: $85-$175.
Budget-Friendly Alternatives:
- Use leftover paint from previous projects.
- Borrow tools like paintbrushes or caulk guns from friends or family.
- Look for discounted hardware at thrift stores or online marketplaces.
- Use old sheets instead of buying a drop cloth.
Different Variations and Customizations
Paint: Change the color of the vanity using chalk paint for a vintage look or high-gloss paint for a modern feel.
Hardware: Swap out old handles and knobs with brushed nickel, oil-rubbed bronze, or crystal options.
Countertop: Replace the countertop with quartz, granite, or even a butcher block for a rustic touch.
Sink: Install a vessel sink for a contemporary style or an undermount sink for a sleek appearance.
Faucet: Upgrade to a waterfall faucet or a gooseneck faucet for added elegance.
Backsplash: Add a tile backsplash using subway tiles, mosaic tiles, or peel-and-stick tiles for an easy update.
Storage: Incorporate open shelving or floating shelves above the vanity for extra storage and display space.
Mirror: Replace the mirror with a framed mirror, round mirror, or even a medicine cabinet with a mirror front.
Lighting: Update the lighting with sconce lights, pendant lights, or a vanity light bar for better illumination.
Decor: Add decorative elements like plants, candles, or artwork to personalize the space.
Materials: Consider using reclaimed wood, metal accents, or glass elements to add unique textures and finishes.
Eco-Friendly Sustainability Tips
Reclaimed wood can give your vanity a rustic charm. Look for old barn wood or pallets. Bamboo is another great option; it's fast-growing and sustainable. For countertops, consider recycled glass or concrete mixed with recycled materials.
Use low-VOC paints to reduce harmful fumes. Eco-friendly sealants can protect wood without toxic chemicals.
Repurpose old furniture like dressers or tables into vanities. This reduces waste and adds character.
Salvaged hardware from old cabinets or doors can be cleaned up and reused.
Install water-saving faucets to reduce water usage.
For a fresh look, refinish rather than replace. Sand down surfaces and apply a new coat of eco-friendly paint or stain.
LED lighting is energy-efficient and long-lasting.
Recycled tiles can add a unique touch to your backsplash or countertop.
Use natural stone like granite or marble, which are durable and timeless.
Choose biodegradable cleaners for maintenance to keep your bathroom eco-friendly.
Your Bathroom's New Look
You've transformed your bathroom vanity into something special. With some elbow grease and a few supplies, you've given your space a fresh, updated look. The sanding, painting, and installing new hardware have paid off. Now, your bathroom feels like a whole new place.
Remember, DIY projects like this not only save money but also give a sense of accomplishment. Plus, you get to add your personal touch to your home. Keep experimenting with different styles and techniques. Who knows? You might find a new passion for home improvement.
Enjoy your revamped bathroom vanity. You've earned it.
How do I choose the right paint for my bathroom vanity?
Look for paint that's moisture-resistant and durable. Semi-gloss or satin finishes work best since they're easy to clean and can handle humidity.
Can I paint over a laminate vanity?
Yes, but you'll need to sand it lightly and use a primer designed for slick surfaces. This helps the paint stick better.
What tools will I need for this project?
You'll need sandpaper, primer, paint, paintbrushes, a screwdriver, and possibly a drop cloth to protect the floor.
How long does it take to complete a bathroom vanity makeover?
Usually, it takes a weekend. Sanding, priming, and painting each take a few hours, but you'll need to wait for each layer to dry.
Do I need to remove the vanity from the bathroom to paint it?
Not necessarily. You can paint it in place if you use a drop cloth and tape to protect surrounding areas.
Can I change the hardware on my vanity?
Absolutely! New knobs or handles can make a big difference. Just make sure the new hardware fits the existing holes or be ready to drill new ones.
What if my vanity has water damage?
If the damage is minor, you can sand and fill it with wood filler. For major damage, you might need to replace parts of the vanity.