
Home>Home & Furniture>Bathroom>DIY Bathroom Light Fixture Upgrade
Bathroom
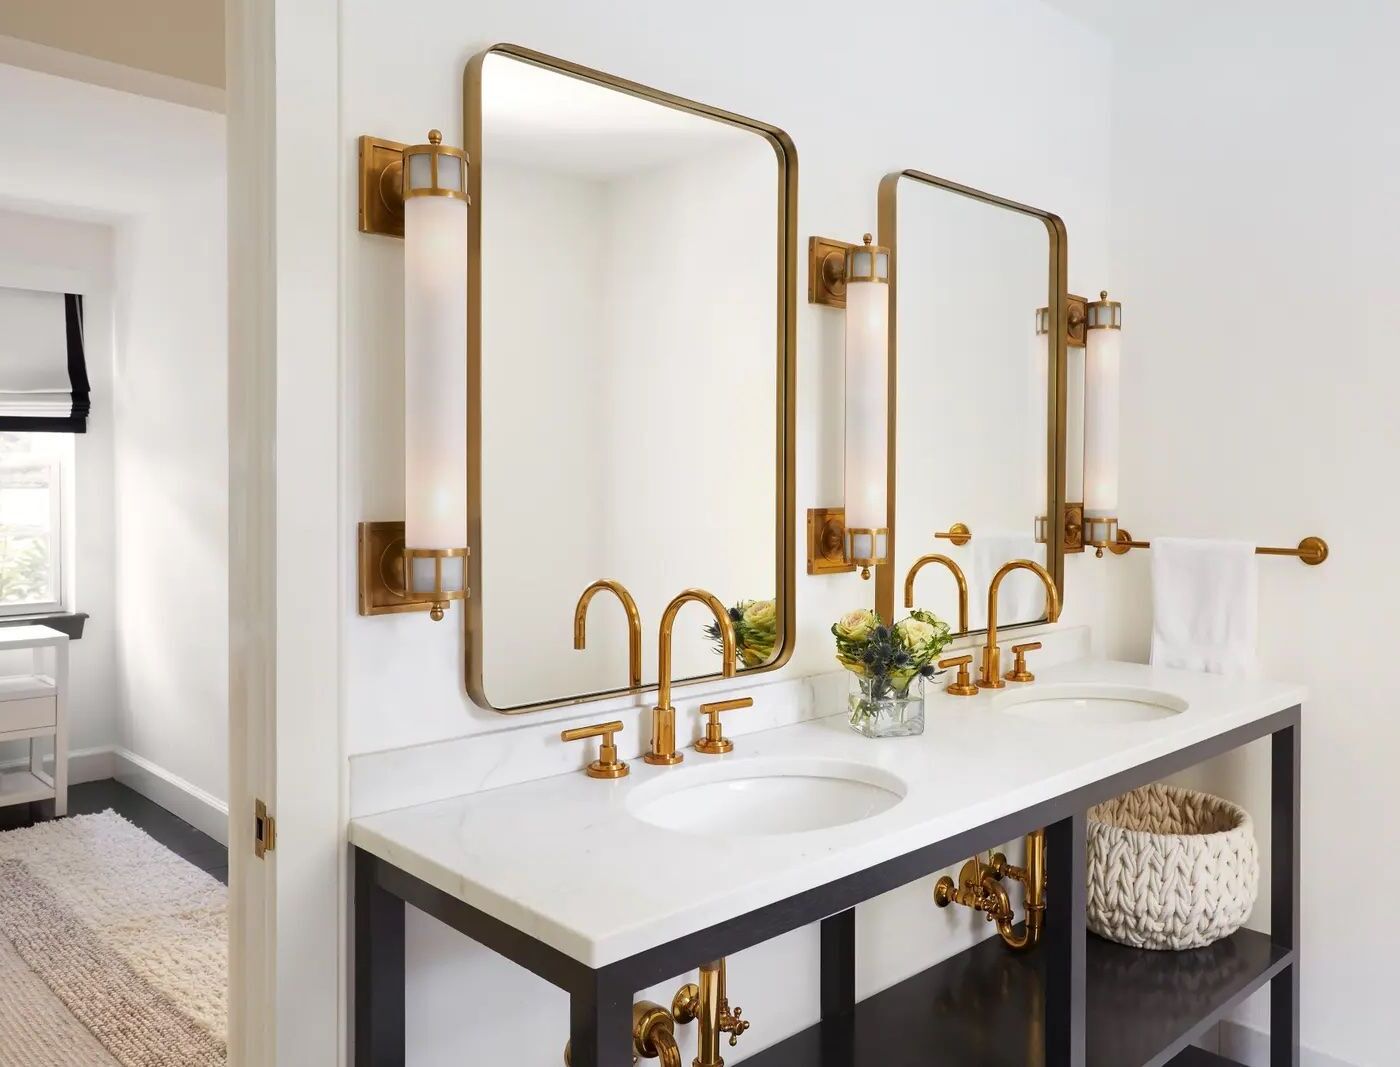
DIY Bathroom Light Fixture Upgrade
Published: July 11, 2024
Upgrade your bathroom with a DIY light fixture project! Discover step-by-step instructions, tips, and tools needed to transform your space with stylish lighting.
(Many of the links in this article redirect to a specific reviewed product. Your purchase of these products through affiliate links helps to generate commission for Twigandthistle.com, at no extra cost. Learn more)
Ready to refresh your bathroom without breaking the bank? Upgrading your bathroom light fixture is an easy DIY project that can transform the look of your space. Whether you're swapping out an outdated fixture or just want something new, this guide will walk you through the steps. You'll not only brighten up your bathroom but also gain some handy skills along the way. Grab your tools, and let's get started on making your bathroom shine!
Getting Ready for Your Project
- Turn off power: Switch off the circuit breaker to avoid electrical shocks.
- Gather tools: Collect a screwdriver, wire stripper, voltage tester, and new light fixture.
- Clear workspace: Remove any items from the bathroom counter to create a safe, clutter-free area.
- Use safety gear: Wear safety goggles and gloves to protect your eyes and hands.
- Check for voltage: Use a voltage tester to ensure no electricity is flowing to the fixture.
- Remove old fixture: Unscrew and carefully detach the old light fixture from the wall.
- Inspect wiring: Examine existing wires for damage or wear, replacing if necessary.
- Read instructions: Go through the new fixture’s manual to understand installation steps.
- Prepare new fixture: Assemble any parts of the new light fixture as per instructions.
- Have a helper: Ask someone to hold the fixture while you connect the wires.
What You Need: Materials and Tools
New Light Fixture: The main item for the upgrade. Choose one that fits your bathroom's style and size.
Screwdriver Set: Essential for removing the old fixture and installing the new one. Both flathead and Phillips screwdrivers might be needed.
Wire Strippers: Used to strip the insulation off the wires for proper connections.
Voltage Tester: Ensures the power is off before you start working. Safety first!
Wire Nuts: Connects the wires securely. Usually included with the new fixture, but having extras is wise.
Electrical Tape: Provides additional insulation for wire connections.
Ladder or Step Stool: Helps you reach the fixture safely.
Safety Glasses: Protects your eyes from dust and debris.
Work Gloves: Keeps your hands safe from sharp edges and electrical components.
Measuring Tape: Ensures the new fixture is centered and properly aligned.
Pencil: Marks the spots for drilling or aligning the fixture.
Drill: May be needed for mounting the new fixture, especially if new holes are required.
Light Bulbs: Make sure they are compatible with the new fixture. LED bulbs are energy-efficient and long-lasting.
Drop Cloth: Protects your bathroom surfaces from dust and debris during the installation process.
Required Skills and Time Commitment
Skill Level: Intermediate
Time Required: 2-3 hours
Steps:
- Turn off power at the circuit breaker.
- Remove the old fixture by unscrewing it from the wall or ceiling.
- Disconnect the wiring carefully, noting which wires connect where.
- Install the new mounting bracket that comes with the new fixture.
- Connect the new fixture's wires to the existing wires using wire nuts.
- Secure the new fixture to the mounting bracket.
- Turn the power back on and test the new light.
How to Upgrade Your Bathroom Light Fixture
Turn Off Power
- Locate the circuit breaker.
- Switch off the power to the bathroom.
Remove Old Fixture
- Unscrew the old light fixture.
- Disconnect the wires (black, white, ground).
Prepare New Fixture
- Read the instructions for the new light fixture.
- Assemble any parts if needed.
Connect Wires
- Match black wire to black wire, white to white, ground to ground.
- Use wire nuts to secure connections.
Mount New Fixture
- Attach the new fixture to the wall or ceiling.
- Use screws provided in the fixture kit.
Install Light Bulbs
- Screw in the appropriate light bulbs.
- Ensure they are the correct wattage.
Turn On Power
- Go back to the circuit breaker.
- Switch the power back on.
Test the Light
- Flip the bathroom light switch.
- Check if the new fixture works properly.
Clean Up
- Dispose of the old fixture.
- Put away tools and packaging.
Helpful Tips and Tricks
Turn off power at the circuit breaker before starting. Use a voltage tester to ensure no electricity flows to the fixture.
Gather all tools: screwdriver, wire strippers, electrical tape, and a new light fixture.
Remove the old fixture by unscrewing it from the wall or ceiling. Carefully disconnect the wires, noting which ones connect where.
Install the new fixture by connecting the wires: black to black, white to white, and ground to ground. Use wire nuts to secure connections.
Mount the new fixture to the wall or ceiling, ensuring it’s level and secure.
Turn the power back on and test the light.
Common mistakes to avoid:
- Forgetting to turn off the power.
- Not using a voltage tester.
- Mixing up the wires.
- Not securing the fixture properly.
Alternatives:
- Use LED bulbs for energy efficiency.
- Consider motion-sensor lights for convenience.
- Try battery-operated fixtures if wiring is complicated.
Estimating the Cost
Light Fixture: $50-$150
LED Bulbs: $10-$20
Wire Nuts: $5
Electrical Tape: $3
Screwdriver Set: $10-$20
Voltage Tester: $10-$15
Wire Strippers: $10-$15
Mounting Hardware: $5-$10
Total Cost: $103-$238
Budget-Friendly Alternatives:
Light Fixture: $30-$50
LED Bulbs: $5-$10
Screwdriver Set: Borrow from a friend or use existing tools
Voltage Tester: Borrow or use a multimeter if available
Total Cost with Alternatives: $53-$90
Personalizing Your Light Fixture
Materials: Instead of traditional metal fixtures, consider using wood for a rustic look or glass for a modern touch. Reclaimed wood can add character, while frosted glass offers a sleek, contemporary vibe.
Colors: Paint the fixture in bold colors like navy blue or emerald green for a statement piece. For a more subtle look, use neutral tones such as beige, white, or gray. Metallic finishes like brushed nickel, bronze, or gold can add elegance.
Styles: Swap out standard bulbs for Edison bulbs to give a vintage feel. Use LED strip lights behind a mirror for a futuristic look. For a coastal theme, incorporate seashells or driftwood into the design.
Shapes: Instead of a standard rectangular fixture, try a circular or geometric shape. A cluster of small lights can create a unique focal point.
Mounting Options: Install the fixture as a wall sconce for a classic look or as a pendant light for a more modern approach. Consider recessed lighting for a minimalist style.
Additional Features: Add a dimmer switch to control brightness. Incorporate motion sensors for convenience. Use smart bulbs that change color or can be controlled via a smartphone app.
Decorative Elements: Attach crystals or beads for a glamorous touch. Use stencils to paint patterns or designs on the fixture. Add mirrored accents to reflect light and make the space feel larger.
Eco-Friendly Tips for Your Project
Reusing old fixtures can save money and reduce waste. Refurbish existing fixtures by painting or polishing them. LED bulbs use less energy and last longer than traditional bulbs. Recycled glass or metal can be used for new shades or covers. Natural materials like bamboo or reclaimed wood add a rustic touch. Solar-powered lights can be installed if your bathroom gets enough sunlight. Energy-efficient dimmer switches help control light levels and save power. Eco-friendly paint for fixtures avoids harmful chemicals. Second-hand stores often have unique, affordable options. Composting old materials instead of throwing them away reduces landfill waste.
Brighten Up Your Space
Upgrading your bathroom light fixture can be a game-changer. A new light can transform the entire vibe of your bathroom, making it feel fresh and modern. Plus, doing it yourself saves money and gives you a sense of accomplishment. Remember to turn off the power before starting, gather all necessary tools, and follow the instructions carefully. If you run into any issues, don't hesitate to ask for help or consult online resources. Once your new fixture is up, you'll notice a big difference in both functionality and aesthetics. So, grab your tools, roll up your sleeves, and get to work. Your bathroom will thank you for it!
How do I choose the right light fixture for my bathroom?
Consider the size of your bathroom, the style you want, and the brightness needed. For small bathrooms, a single fixture might do, while larger ones could need multiple lights. Match the fixture to your bathroom's decor and ensure it provides enough light for tasks like shaving or applying makeup.
What tools will I need for this project?
You'll need a screwdriver, wire stripper, voltage tester, drill, and screws. A ladder might be handy if the fixture is high up. Always have safety goggles and gloves to protect yourself.
How do I safely remove the old light fixture?
First, turn off the power at the circuit breaker. Use a voltage tester to ensure the wires aren't live. Then, unscrew the old fixture, carefully disconnect the wires, and remove it from the wall or ceiling.
What should I do if the new fixture's wiring is different from the old one?
Check the instruction manual that comes with the new fixture. Usually, the black wire connects to black, white to white, and ground wire to the green or bare copper wire. If you're unsure, consult an electrician.
Can I install a dimmer switch with my new light fixture?
Yes, but make sure the light bulbs and fixture are compatible with dimmers. Follow the instructions for installing the dimmer switch, which usually involves connecting it to the existing wiring.
How do I ensure the new fixture is securely mounted?
Use the mounting bracket that comes with the fixture. Secure it to the electrical box in the wall or ceiling. Make sure all screws are tight and the fixture is stable before turning the power back on.
What type of bulbs should I use for my bathroom light fixture?
LED bulbs are a great choice because they're energy-efficient and long-lasting. Choose bulbs with a color temperature of 3000K to 4000K for a natural, bright light. Make sure the bulbs fit the fixture's socket type.