
Home>Create & Decorate>DIY & Crafts>How To Make A Telescope
DIY & Crafts
How To Make A Telescope
Published: May 26, 2024

Senior Editor in Create & Decorate, Kathryn combines traditional craftsmanship with contemporary trends. Her background in textile design and commitment to sustainable crafts inspire both content and community.
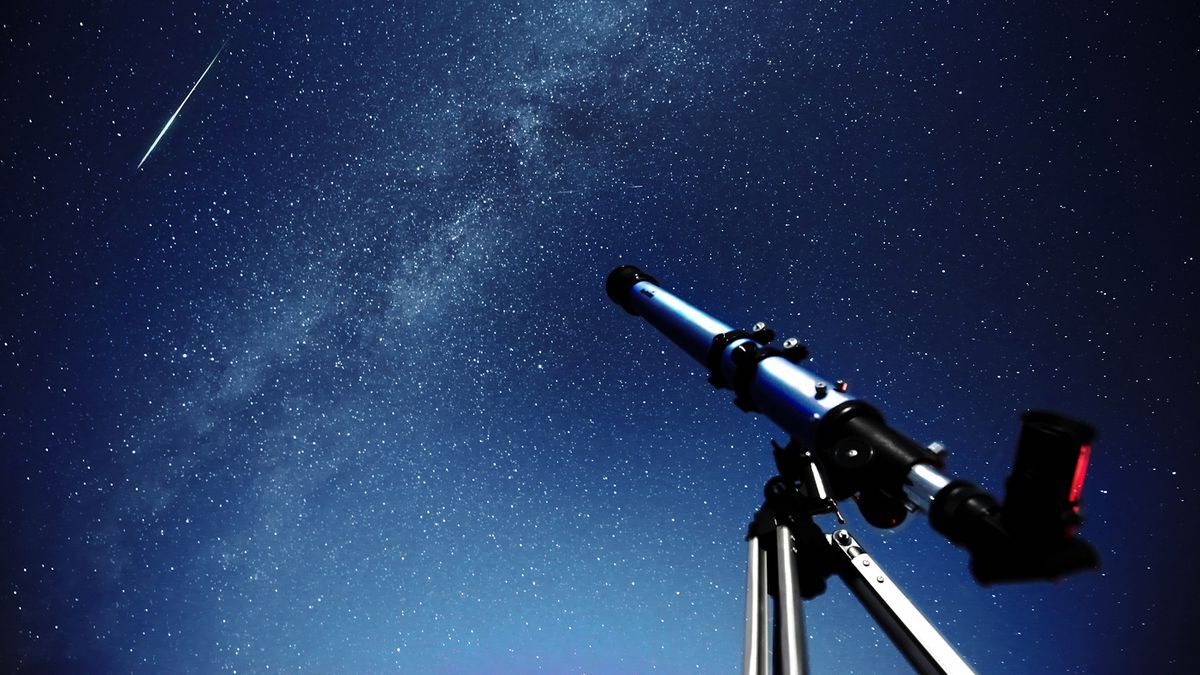
Learn how to make a telescope with our step-by-step DIY guide. Explore fun and creative crafts for all skill levels. Start your project today!
(Many of the links in this article redirect to a specific reviewed product. Your purchase of these products through affiliate links helps to generate commission for Twigandthistle.com, at no extra cost. Learn more)
Introduction
So, you want to learn how to make a telescope? Well, you've come to the right place! Making your own telescope can be a rewarding and educational experience. Whether you're an amateur astronomer or just someone who loves to tinker with DIY projects, building your own telescope can be a fun and fulfilling endeavor. In this article, we'll guide you through the process of making a telescope from scratch, from understanding the basics to assembling the final product. So, roll up your sleeves and get ready to embark on an exciting journey into the world of telescope making!
Understanding the Basics of Telescope Making
Telescope making involves understanding the fundamental principles of optics and mechanics. Before diving into the actual construction, it's essential to grasp the basic components of a telescope, including the objective lens or mirror, the eyepiece, and the tube that houses these elements. The objective lens or mirror is responsible for gathering and focusing light, while the eyepiece magnifies the image formed by the objective. Understanding how these components work together to create a magnified image is crucial to the success of your telescope-making endeavor.
Additionally, familiarizing yourself with the different types of telescopes, such as refracting and reflecting telescopes, will provide valuable insights into the design and construction process. Refracting telescopes use lenses to bend and focus light, while reflecting telescopes utilize mirrors to achieve the same result. Each type has its own set of advantages and challenges, so understanding the differences will help you make informed decisions as you embark on building your own telescope.
Furthermore, gaining knowledge about the focal length, aperture, and magnification of a telescope is vital. The focal length determines the distance at which the telescope brings light to focus, while the aperture dictates the amount of light the telescope can gather. Understanding how these factors influence the performance of a telescope will enable you to make informed choices when selecting materials and designing the optics of your homemade telescope.
Finally, familiarizing yourself with the principles of collimation, which is the alignment of the optical elements, and understanding the concept of focal ratio will set the stage for a successful telescope-making journey. With a solid grasp of these fundamental principles, you'll be well-equipped to move on to the next steps of gathering materials and tools for your DIY telescope project.
Gathering Materials and Tools
Before you can start building your own telescope, you’ll need to gather the necessary materials and tools. Here’s a comprehensive list to get you started:
- Optical Components: Depending on the type of telescope you want to build, you’ll need an objective lens or mirror, an eyepiece, and possibly a diagonal mirror. These components are crucial for gathering and focusing light to create a magnified image.
- Tube and Mounting: You’ll need a sturdy tube to house the optical components. PVC pipes or cardboard tubes are commonly used for this purpose. Additionally, you’ll require a mounting system, such as a tripod or a Dobsonian mount, to support and adjust the telescope.
- Tools: Essential tools for telescope making include a saw, drill, screwdrivers, and sandpaper for cutting, shaping, and assembling the components. Additionally, you may need specialized tools for grinding and polishing the optical elements, depending on the complexity of your telescope design.
- Materials for Construction: Depending on your telescope design, you’ll need materials such as wood, metal, or plastic for constructing the tube, mount, and other structural components. Adhesives, fasteners, and paints may also be required to assemble and finish the telescope.
- Optical Testing Equipment: To ensure the quality and performance of your telescope, you may need testing equipment such as a collimator, star diagonal, and a Cheshire eyepiece for aligning and testing the optical elements.
- Protective Gear: When working with materials and tools, safety should always be a priority. Make sure to have safety goggles, gloves, and a dust mask to protect yourself during the construction process.
Once you’ve gathered all the necessary materials and tools, you’ll be well-prepared to move on to the exciting phase of building the telescope tube and assembling the optics. With careful planning and attention to detail, you’ll soon be on your way to creating your very own homemade telescope!
Building the Telescope Tube
Building the telescope tube is a critical step in the telescope-making process. The tube serves as the housing for the optical components and provides structural support for the entire telescope. Here's a detailed guide on how to construct the telescope tube for your DIY telescope:
-
Selecting the Tube Material: The first step in building the telescope tube is to select a suitable material. PVC pipes, cardboard tubes, or metal tubing are commonly used for this purpose. Consider the size and weight of your telescope components when choosing the tube material to ensure it can support the weight and size of the optics.
-
Cutting and Shaping: Once you have the tube material, use a saw to cut it to the desired length. Ensure that the cuts are clean and straight to facilitate proper alignment of the optical components. Depending on your design, you may also need to shape the ends of the tube to accommodate the mounting and focusing mechanisms.
-
Assembling the Tube: After cutting and shaping the tube, assemble the structural components. If you're using PVC pipes, you can use adhesive or fasteners to join the sections securely. For cardboard tubes, reinforcing the joints with adhesive and additional layers of cardboard can provide added strength and stability.
-
Adding End Caps and Focuser: To complete the telescope tube, add end caps to both ends to secure the optical components and protect them from dust and debris. Additionally, install a focuser mechanism at one end of the tube to allow for precise focusing of the telescope. The focuser should be sturdy and capable of supporting the weight of the eyepiece.
-
Finishing Touches: Once the basic structure of the telescope tube is assembled, consider applying a protective finish or paint to enhance its durability and aesthetic appeal. A weather-resistant coating can protect the tube from environmental elements if you plan to use the telescope outdoors.
By following these steps, you can successfully build a sturdy and functional telescope tube to house the optical components of your DIY telescope. With the tube in place, you're one step closer to completing your homemade telescope and embarking on exciting stargazing adventures.
Constructing the Optics
Constructing the optics of a telescope is a crucial aspect of telescope making, as it directly impacts the performance and image quality of the final product. Here's a detailed guide on how to construct the optics for your DIY telescope:
-
Preparing the Objective Lens or Mirror: If you're building a refracting telescope, you'll need to acquire or create a high-quality objective lens. For reflecting telescopes, a precisely shaped and polished mirror is essential. Ensure that the optical surface is free from defects and accurately shaped to achieve optimal light-gathering and focusing capabilities.
-
Grinding and Polishing: If you're crafting your own optical components, the process of grinding and polishing is essential to achieve the desired curvature and smoothness of the lens or mirror. This process requires precision and patience, as even minor imperfections can significantly impact the performance of the telescope.
-
Testing the Optics: Once the optical components are shaped and polished, it's crucial to test their quality and performance. Use optical testing equipment such as a collimator and star diagonal to verify the accuracy of the optical surfaces and ensure that they are properly aligned to achieve optimal image formation.
-
Assembling the Optical Train: After confirming the quality of the optical components, assemble the optical train, which includes the objective lens or mirror, any additional mirrors or lenses, and the eyepiece. Pay close attention to the alignment and spacing of these elements to ensure that they work together effectively to produce a clear and magnified image.
-
Collimating the Optics: Collimation, or the alignment of the optical elements, is a critical step in ensuring the performance of the telescope. Use a collimation tool to adjust the alignment of the mirrors or lenses, ensuring that they are precisely positioned to achieve optimal focus and image clarity.
By following these steps, you can successfully construct the optics for your DIY telescope, laying the foundation for a high-performance and reliable instrument for stargazing and astronomical observations. With the optics in place, you're one step closer to completing your homemade telescope and unlocking the wonders of the night sky.
Assembling the Telescope
Now that you have constructed the telescope tube and optics, it's time to bring all the components together and assemble your homemade telescope. Here's a step-by-step guide to assembling the telescope:
-
Mounting the Optics: Begin by securely mounting the optical components, including the objective lens or mirror and the eyepiece, within the telescope tube. Ensure that the components are positioned and aligned according to the specifications of your telescope design.
-
Attaching the Focuser: If you haven't already installed the focuser during the construction of the telescope tube, now is the time to attach it to the tube. The focuser allows for precise adjustment of the eyepiece position, enabling you to achieve sharp focus when observing celestial objects.
-
Aligning the Optics: Once the optical components are in place, carefully align the optics to ensure that they work together harmoniously to produce a clear and magnified image. Use collimation tools to fine-tune the alignment of the mirrors or lenses, optimizing the telescope's performance.
-
Securing the Mounting: If your telescope is equipped with a mounting system, such as a tripod or Dobsonian mount, ensure that it is securely attached to the telescope tube. The mounting system provides stability and allows for smooth adjustments to point the telescope at different celestial objects.
-
Balancing the Telescope: If your telescope is mounted on a tripod or similar support, it's essential to balance the telescope to prevent it from tipping over or becoming unstable. Adjust the positioning of the telescope and counterweights, if applicable, to achieve proper balance.
-
Testing the Functionality: Before taking your telescope out for stargazing, perform a series of tests to ensure that all the components are functioning as intended. Check the focusing mechanism, the stability of the mounting, and the overall alignment of the telescope to verify its readiness for use.
By following these steps, you can successfully assemble your homemade telescope, bringing together the carefully crafted components to create a functional and reliable instrument for exploring the wonders of the night sky. With the telescope fully assembled, you're now ready to embark on exciting astronomical observations and celestial discoveries.
Testing and Adjusting the Telescope
Testing and adjusting the telescope is a crucial phase in the telescope-making process, as it ensures that the instrument performs optimally and delivers clear, sharp images of celestial objects. Here's a detailed guide on how to test and adjust your homemade telescope:
-
Initial Alignment: Before conducting any tests, ensure that the telescope is set up on a stable and level surface. If your telescope is equipped with a mounting system, such as a tripod or Dobsonian mount, make sure it is securely positioned and adjusted for stability.
-
Daytime Alignment: To facilitate initial testing, start by conducting a daytime alignment of the telescope. Point the telescope at a distant terrestrial object, such as a tree or building, and use the focusing mechanism to achieve a sharp image. This initial alignment allows you to verify the functionality of the optics and the accuracy of the mounting.
-
Collimation Check: Use a collimation tool to verify the alignment of the optical elements, including mirrors or lenses. Ensure that the components are precisely aligned to achieve optimal focus and image clarity. If adjustments are needed, carefully follow the instructions for collimating the telescope to fine-tune the alignment.
-
Star Test: Conduct a star test during nighttime to evaluate the performance of the telescope under celestial viewing conditions. Choose a bright star and observe its image through the telescope. Pay attention to the appearance of the star image, looking for signs of distortion, aberrations, or asymmetry that may indicate the need for further adjustments.
-
Focusing Accuracy: Test the accuracy and precision of the focusing mechanism by observing celestial objects at different distances. Ensure that the focuser allows for smooth and precise adjustments to achieve sharp focus, enabling you to capture clear and detailed views of stars, planets, and other celestial phenomena.
-
Mounting Stability: Verify the stability of the mounting system by adjusting the telescope to different viewing angles and orientations. Check for any signs of instability, vibrations, or wobbling that may affect the clarity and stability of the images observed through the telescope.
-
Fine-Tuning Optics: If necessary, make incremental adjustments to the collimation and alignment of the optical elements based on the results of the star test and daytime observations. Use collimation tools and adjustment mechanisms to fine-tune the optics for optimal performance.
-
Repeat Testing: After making adjustments, repeat the testing process to verify the effectiveness of the changes and ensure that the telescope delivers clear and sharp images of celestial objects. Continuously refine the alignment and adjustments until the telescope consistently performs to your satisfaction.
By following these testing and adjusting procedures, you can ensure that your homemade telescope meets the highest standards of performance and delivers breathtaking views of the cosmos. With careful testing and adjustments, you'll be ready to embark on a journey of astronomical exploration and discovery with your newly crafted telescope.
Conclusion
In conclusion, the process of making a telescope from scratch is a rewarding and educational endeavor that allows DIY enthusiasts and astronomy enthusiasts to create a customized instrument for exploring the wonders of the night sky. By understanding the basics of telescope making, gathering the necessary materials and tools, constructing the telescope tube, crafting the optics, assembling the telescope, and testing and adjusting its performance, individuals can embark on an exciting journey of astronomical exploration with a homemade telescope tailored to their preferences and specifications. Whether it's observing distant galaxies, capturing the beauty of the moon, or studying the intricate details of planetary surfaces, a well-crafted homemade telescope can open up a world of celestial wonders and inspire a lifelong passion for astronomy. With dedication, patience, and attention to detail, the process of making a telescope becomes not only a practical DIY project but also a gateway to the captivating realm of the cosmos.