
Home>Create & Decorate>DIY & Crafts>How To Make A Champagne Wall
DIY & Crafts
How To Make A Champagne Wall
Published: June 6, 2024

Senior Editor in Create & Decorate, Kathryn combines traditional craftsmanship with contemporary trends. Her background in textile design and commitment to sustainable crafts inspire both content and community.
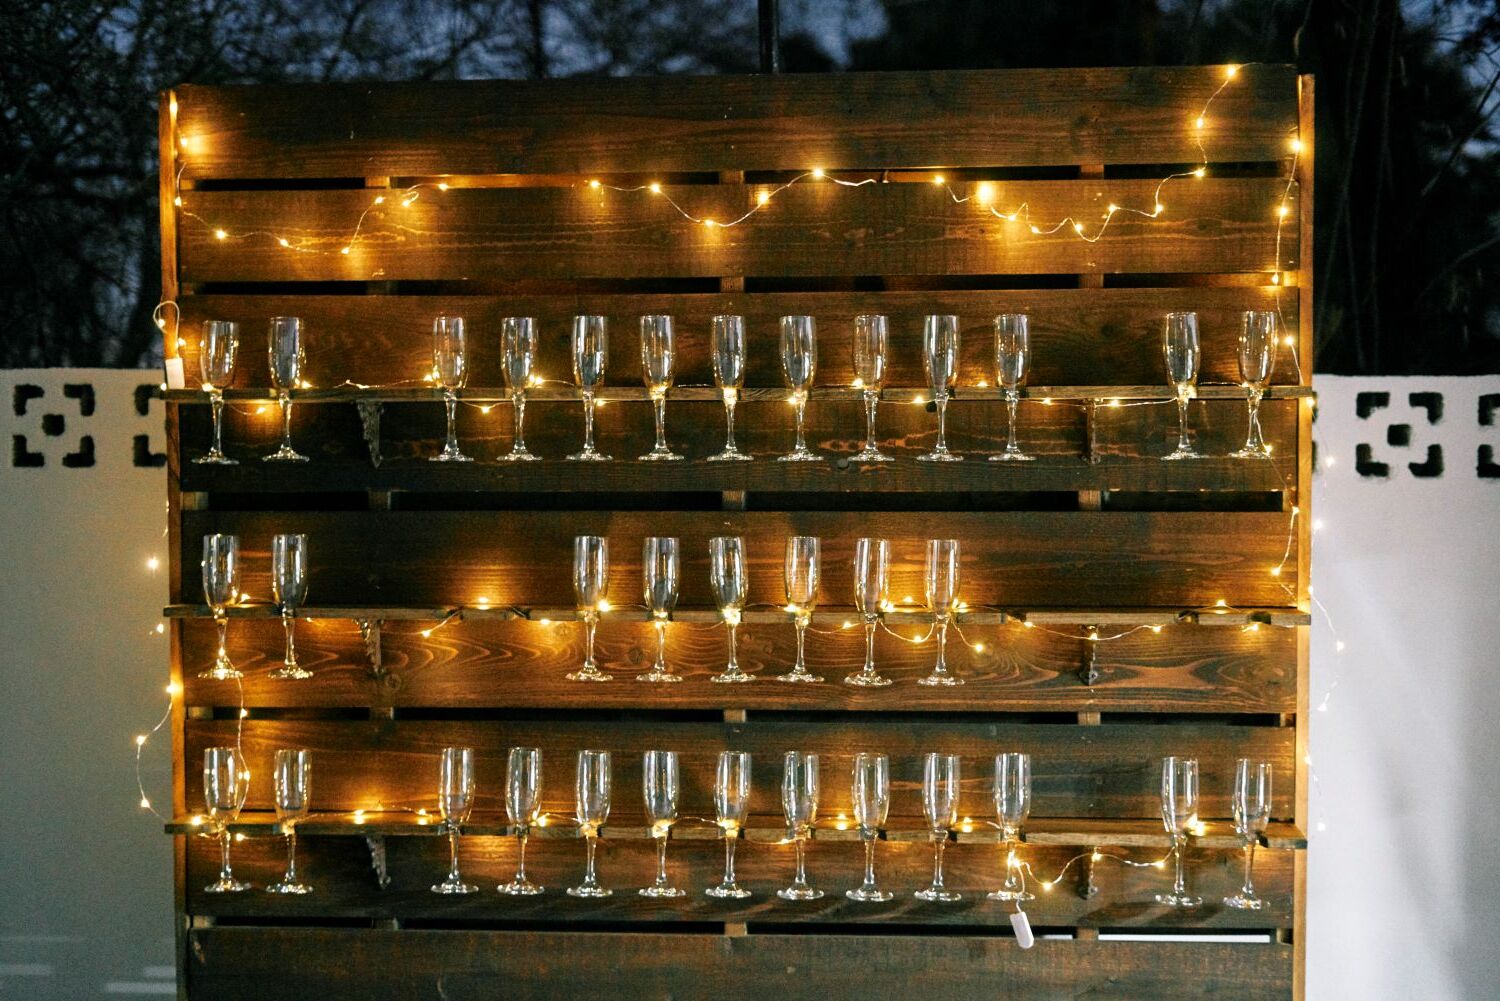
Learn how to create a stunning DIY champagne wall with our step-by-step guide. Perfect for weddings, parties, and special events. Elevate your event with this elegant and unique craft project.
(Many of the links in this article redirect to a specific reviewed product. Your purchase of these products through affiliate links helps to generate commission for Twigandthistle.com, at no extra cost. Learn more)
Introduction
So, you've been to a fancy event or a luxurious party and seen those stunning champagne walls that instantly elevate the ambiance and make a statement. Now, you're probably wondering how you can bring that same level of elegance and sophistication into your own home. Well, you're in luck because creating a champagne wall is easier than you might think! With just a few simple steps and some creativity, you can transform a blank wall into a stunning display that will impress your guests and add a touch of glamour to any space. In this guide, we'll walk you through the process of creating your very own champagne wall, so you can bring a little bit of that VIP experience into your home. Let's get started!
Materials Needed
To create your own champagne wall, you'll need a few essential materials to get started. Here's a list of what you'll need:
- Wall Shelves: Choose sturdy and stylish wall shelves that can hold the weight of the champagne bottles. Opt for shelves that complement your home decor and the overall aesthetic you want to achieve.
- Champagne Flutes or Glasses: Select a set of champagne flutes or glasses that will be displayed alongside the bottles. This will add an extra touch of elegance to your champagne wall.
- Champagne Bottles: Of course, you'll need the star of the show – the champagne! Select your favorite bottles or opt for a variety to add visual interest to the display.
- Wall Brackets: These will be used to secure the wall shelves in place. Make sure to choose brackets that are durable and can support the weight of the shelves and bottles.
- Measuring Tape and Level: These tools will come in handy when measuring and ensuring that the shelves are installed straight and level.
- Screws and Anchors: Depending on the type of wall you have, you may need screws and anchors to securely attach the brackets to the wall.
- Decorative Accents: Consider adding decorative elements such as fairy lights, greenery, or other embellishments to enhance the visual appeal of your champagne wall.
Gather these materials before you begin, and you'll be well-prepared to create a stunning champagne wall that will be the envy of your guests.
Step 1: Measure and Mark the Wall
-
Assess the Space: Before you start installing your champagne wall, take a moment to assess the space where you plan to create the display. Consider the dimensions of the wall and visualize how you want the champagne bottles and shelves to be arranged.
-
Measure the Wall: Use a measuring tape to determine the precise dimensions of the wall. This will help you decide on the placement and spacing of the wall shelves. Take accurate measurements to ensure that the shelves will fit perfectly and create a balanced look.
-
Mark the Placement: Once you've decided on the positioning of the shelves, use a pencil to mark the spots where the brackets will be installed. Use a level to ensure that the markings are straight and aligned.
-
Consider Eye Level: When marking the wall, consider the eye level of the average person. You want the champagne wall to be easily visible and accessible, so take this into account when determining the height of the shelves.
By carefully measuring and marking the wall, you'll set the foundation for a champagne wall that is not only visually appealing but also well-proportioned and thoughtfully arranged.
Step 2: Install the Brackets
-
Gather Your Tools: Before you begin installing the brackets, gather your tools including a drill, screws, anchors (if needed), and a screwdriver. Having everything on hand will make the installation process smoother.
-
Position the Brackets: Hold the brackets against the wall at the marked spots. Use a level to ensure that they are perfectly straight. Once you're satisfied with the positioning, mark the spots where the screws will go.
-
Drill Pilot Holes: Using a drill bit that is slightly smaller than the screws you'll be using, drill pilot holes at the marked spots. This will make it easier to insert the screws and will help prevent the wall from splitting.
-
Attach the Brackets: With the pilot holes in place, it's time to attach the brackets to the wall. Use a screwdriver or a drill to secure the brackets in place. If you're using anchors, make sure they are inserted securely into the wall before attaching the brackets.
-
Double-Check for Stability: Once the brackets are installed, give them a gentle tug to ensure they are securely attached to the wall. You want to make sure they can support the weight of the shelves and champagne bottles without any issues.
-
Repeat for Each Bracket: If you have multiple brackets for the champagne wall, repeat the installation process for each one, ensuring that they are evenly spaced and aligned with one another.
By following these steps, you'll have the brackets securely installed and ready to support the stylish shelves that will showcase your champagne collection.
Step 3: Attach the Shelves
-
Place the Shelves: Once the brackets are securely installed, it's time to place the shelves on top of them. Carefully position the shelves on the brackets, ensuring that they are level and evenly spaced. Take a step back and assess the placement to make any necessary adjustments before proceeding.
-
Secure the Shelves: Depending on the type of wall shelves you have, they may come with their own mounting hardware or require screws to secure them to the brackets. Follow the manufacturer's instructions for securing the shelves in place, making sure they are stable and can support the weight of the champagne bottles.
-
Test for Stability: After attaching the shelves, give them a gentle shake to test their stability. You want to ensure that they are firmly in place and can withstand the weight of the champagne bottles without any wobbling or movement.
-
Add Decorative Touches: With the shelves in position, take the opportunity to add any decorative touches or embellishments to enhance the visual appeal of the champagne wall. Consider incorporating fairy lights, greenery, or other decorative elements to elevate the overall look.
-
Arrange the Champagne Flutes: If you plan to display champagne flutes or glasses alongside the bottles, take the time to arrange them on the shelves in an aesthetically pleasing manner. Consider incorporating symmetry and balance in the arrangement for a polished look.
By following these steps, you'll have the shelves securely attached and ready to showcase your champagne collection in style.
Step 4: Add the Champagne Bottles
-
Arrange the Bottles: Begin by carefully arranging the champagne bottles on the shelves. Consider creating visual interest by varying the heights and positions of the bottles. You can also mix and match different bottle designs and labels to add a touch of diversity to the display.
-
Consider Lighting: If you've incorporated decorative lighting elements, position the bottles in a way that allows them to catch the light and create an enchanting visual effect. This can add a captivating sparkle to your champagne wall, especially in the evening or during gatherings.
-
Create a Focal Point: Select a focal point on the wall where you want to draw attention. This could be achieved by placing a particularly eye-catching bottle or by arranging the bottles in a visually appealing pattern. Creating a focal point adds a sense of purpose and artistry to the display.
-
Maintain Balance: As you add the bottles, step back occasionally to assess the overall balance and symmetry of the display. Aim for a harmonious arrangement that feels visually pleasing and well-proportioned. Adjust the positioning of the bottles as needed to achieve the desired effect.
-
Showcase Special Bottles: If you have any particularly special or unique champagne bottles in your collection, consider giving them a prominent place on the wall. This could include limited edition bottles, personalized labels, or bottles with sentimental value.
-
Consider Accessibility: While creating an aesthetically pleasing arrangement is important, also consider the accessibility of the bottles. Ensure that they can be easily reached when it's time to celebrate and enjoy a glass of champagne.
By following these steps, you'll be able to add the champagne bottles to your wall in a way that creates a captivating and visually stunning display.
Step 5: Decorate and Enjoy!
-
Add Decorative Accents: Once the champagne bottles are in place, it's time to elevate the visual appeal of your champagne wall with decorative accents. Consider incorporating elements such as fairy lights, greenery, or floral arrangements to add a touch of elegance and charm to the display. These decorative touches can enhance the overall ambiance and create a captivating focal point in your home.
-
Personalize the Display: Infuse your personality into the champagne wall by adding personal touches. This could include incorporating framed photos, artwork, or other meaningful items alongside the champagne bottles. By personalizing the display, you can make it uniquely yours and create a conversation piece that reflects your individual style and taste.
-
Create a Theme: Consider creating a themed champagne wall to align with special occasions or seasonal celebrations. For example, you could adorn the display with festive decorations during the holiday season or incorporate elements that complement a specific event or gathering. Adhering to a theme can add a sense of cohesiveness and make the champagne wall even more impactful.
-
Maintain and Refresh: Regularly maintain and refresh the champagne wall to ensure it remains visually appealing. Dust the shelves and bottles, replace any wilted greenery, and update the decorative accents as needed. By keeping the display fresh and well-maintained, you can continue to enjoy its beauty and allure.
-
Celebrate and Enjoy: With your champagne wall beautifully adorned and complete, it's time to celebrate and enjoy the luxurious ambiance it brings to your home. Whether it's a special occasion, a gathering with friends, or simply a quiet evening at home, take the opportunity to savor the beauty of your champagne wall and the joy it brings to your living space.
By following these steps, you can decorate your champagne wall to reflect your personal style and create a captivating display that adds a touch of sophistication and glamour to your home. So, raise a glass and toast to the stunning champagne wall you've created!