
Home>Create & Decorate>DIY & Crafts>How To Build A Stud Wall
DIY & Crafts
How To Build A Stud Wall
Published: May 26, 2024

Content Creator specializing in woodworking and interior transformations. Caegan's guides motivate readers to undertake their own projects, while his custom furniture adds a personal touch.
Learn how to build a stud wall with our easy DIY guide. Perfect for DIY & Crafts enthusiasts looking to enhance their home. Step-by-step instructions and tips included!
(Many of the links in this article redirect to a specific reviewed product. Your purchase of these products through affiliate links helps to generate commission for Twigandthistle.com, at no extra cost. Learn more)
Introduction
So, you're looking to add a new room or partition to your home, but you're not quite sure where to start. Well, building a stud wall is a great place to begin! Whether you're a seasoned DIY enthusiast or a newbie looking to take on a new challenge, constructing a stud wall is a manageable project that can make a significant impact on your living space. In this article, we'll guide you through the process of building a stud wall from start to finish, providing you with the confidence and know-how to tackle this project with ease. Let's get started!
Materials and Tools Needed
Before you begin building your stud wall, it's essential to gather all the necessary materials and tools. Here's a comprehensive list to ensure you have everything on hand:
Materials:
- Lumber: Purchase high-quality 2×4 lumber for the wall studs.
- Plywood or Drywall: Depending on your preference, you'll need sheets of plywood or drywall for covering the studs.
- Insulation: If you're aiming for soundproofing or improved insulation, insulation batts are a must.
- Screws and Nails: Stock up on screws for securing the studs and nails for attaching the drywall or plywood.
- Vapor Barrier (optional): Consider using a vapor barrier to prevent moisture from seeping into the wall.
Tools:
- Tape Measure: Accurate measurements are crucial, so a reliable tape measure is a must-have.
- Level: Ensure your wall is straight and plumb with a spirit level.
- Circular Saw or Handsaw: A saw will be necessary for cutting the lumber to the required lengths.
- Hammer or Nail Gun: Depending on your preference, use a hammer or nail gun for securing the studs.
- Screwdriver or Drill: For driving screws into the lumber, a screwdriver or drill is essential.
- Insulation Knife: If you're adding insulation, an insulation knife will help you cut the batts to size.
- Safety Gear: Don't forget safety goggles, gloves, and a dust mask to protect yourself during the construction process.
By ensuring you have all the required materials and tools at the outset, you'll be well-prepared to embark on your stud wall construction project.
Measuring and Marking
Before you start cutting any lumber, it's crucial to measure and mark the precise locations for your stud wall. Here's a step-by-step guide to help you through this essential phase:
-
Locate and Mark the Wall Position: Use a tape measure to mark the exact location where you want to build the stud wall. Ensure that the area is clear of any obstructions and that the floor is level.
-
Measure and Mark the Stud Positions: Determine the spacing for your wall studs, typically 16 inches on center. Starting from one end, measure and mark the stud positions on the top and bottom plates. Use a square to ensure the marks are perpendicular to the plates.
-
Transfer the Measurements to the Plates: Once you have marked the stud positions on one plate, transfer the measurements to the corresponding positions on the other plate. This will ensure that the studs are aligned when the wall is assembled.
-
Mark Openings for Doors and Windows: If your wall will include openings for doors or windows, measure and mark these locations accordingly. Double-check the measurements to ensure accuracy.
-
Double-Check Your Measurements: Before proceeding to the cutting stage, double-check all your measurements to avoid any errors that could affect the stability and alignment of the wall.
By taking the time to measure and mark accurately, you'll lay a solid foundation for the rest of the construction process. This meticulous approach will contribute to a well-built and structurally sound stud wall.
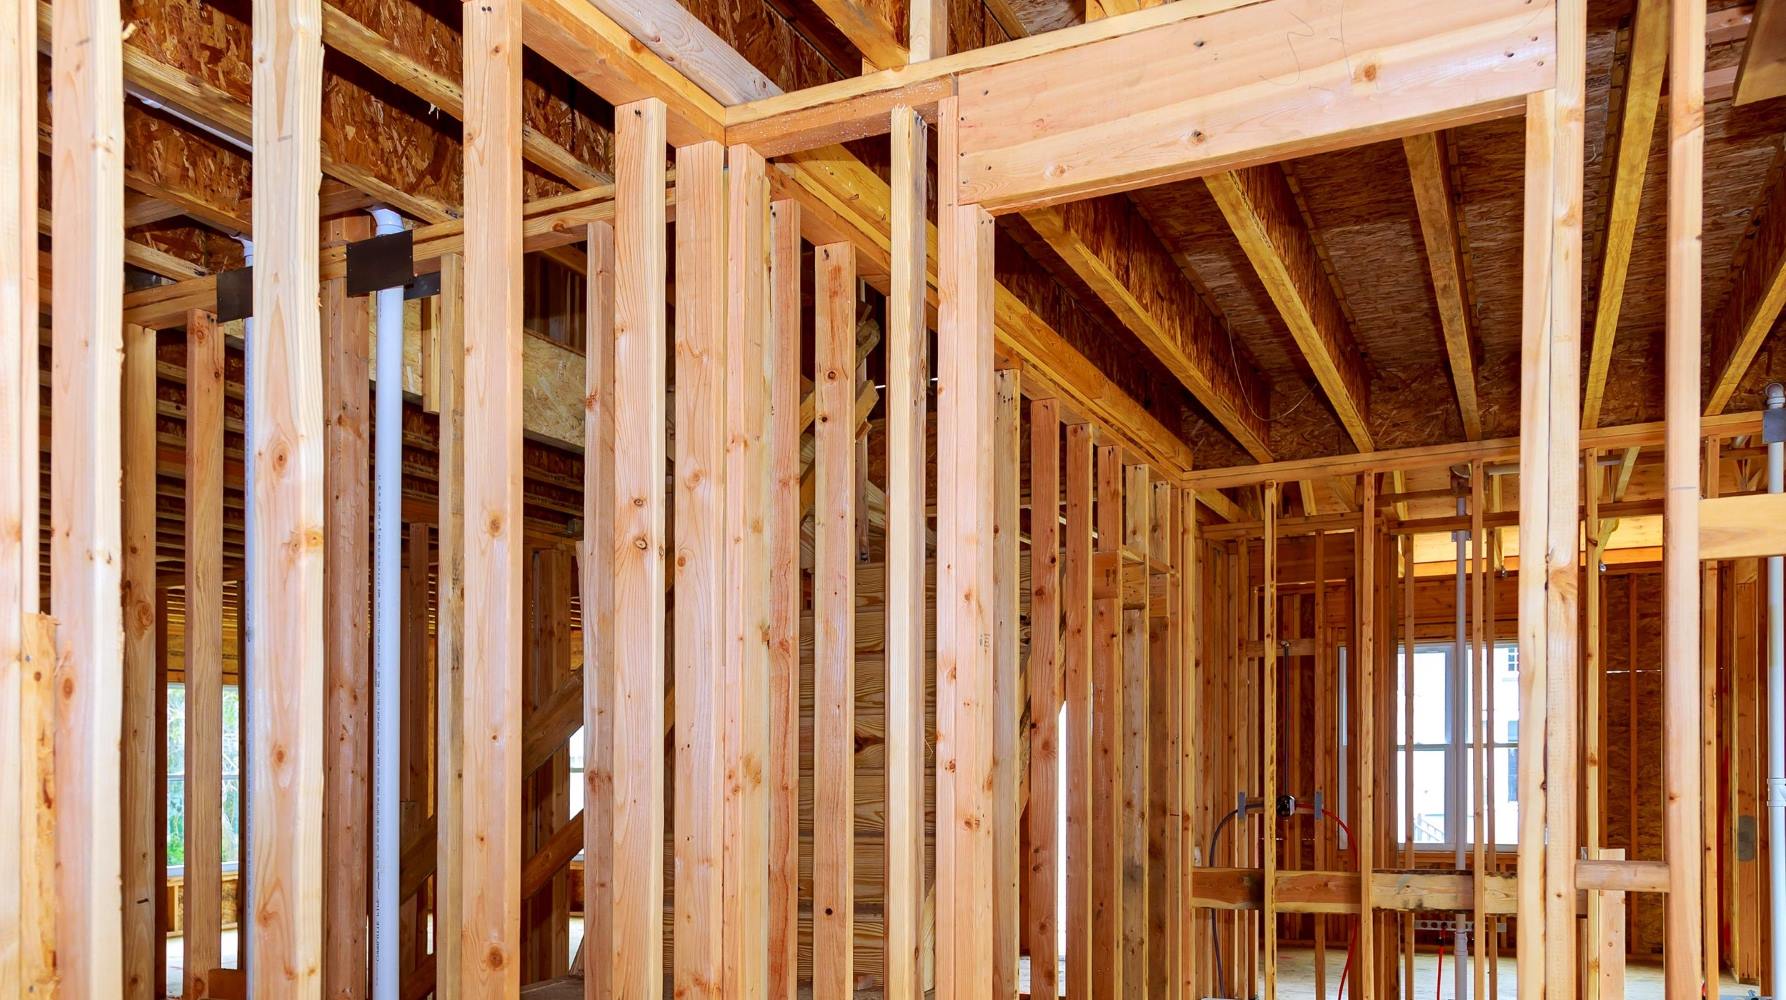
Cutting and Installing the Studs
Once you have completed the measuring and marking phase, it's time to move on to cutting and installing the studs for your wall. Here's a detailed guide to help you through this crucial stage:
-
Cutting the Lumber: Using a circular saw or handsaw, carefully cut the 2×4 lumber to the measured lengths for the wall studs. Ensure that the cuts are precise and straight to guarantee a snug fit within the wall frame.
-
Positioning the Studs: With the lumber cut to size, position the studs vertically between the top and bottom plates of the wall frame. Ensure that each stud is aligned with the marked positions and is standing plumb. Use a level to check for vertical alignment and make adjustments as necessary.
-
Securing the Studs: Once the studs are in position, secure them to the plates using screws or nails. Drive the fasteners through the studs and into the plates to create a sturdy and stable framework for the wall. Be sure to space the fasteners evenly along the length of each stud for optimal support.
-
Door and Window Openings: If your wall includes openings for doors or windows, frame these openings by installing additional studs around the perimeter. Ensure that the framing is structurally sound and capable of supporting the door or window fixtures.
-
Double-Check Alignment: As you progress with installing the studs, periodically check the alignment and plumb of the wall using a spirit level. This will help you identify any deviations and make timely adjustments to maintain the structural integrity of the wall.
By following these steps with precision and care, you'll effectively cut and install the studs, laying the groundwork for a robust and well-constructed stud wall.
Adding Insulation
Once the studs are in place, it's time to consider adding insulation to your stud wall. Insulation plays a crucial role in regulating temperature, reducing energy costs, and providing soundproofing within your living space. Here's a step-by-step guide to help you effectively add insulation to your stud wall:
-
Selecting the Right Insulation: Choose insulation batts that are suitable for the dimensions of your wall cavity. Ensure that the insulation material has the appropriate R-value to meet your energy efficiency needs.
-
Cutting the Insulation: Measure the height and width of each wall cavity and use an insulation knife to cut the insulation batts to the required size. It's essential to achieve a snug fit without compressing the insulation, as this can compromise its effectiveness.
-
Placing the Insulation: Carefully insert the cut insulation batts into the wall cavities between the studs. Ensure that the insulation completely fills the cavity and is in full contact with the interior surface of the wall.
-
Vapor Barrier (Optional): Depending on your climate and local building codes, you may need to install a vapor barrier to prevent moisture from penetrating the wall. If required, carefully position the vapor barrier over the insulation, ensuring that it forms a continuous barrier within the wall assembly.
-
Securing the Insulation: If necessary, use insulation supports or wire mesh to hold the insulation in place within the wall cavities. This will prevent the insulation from sagging or shifting over time.
By following these steps, you can effectively add insulation to your stud wall, enhancing its energy efficiency and contributing to a more comfortable and soundproof living environment.
Attaching Drywall
Attaching drywall is a critical step in the construction of a stud wall, as it provides the finished surface for your new room or partition. Here's a detailed guide to help you effectively attach drywall to your stud wall:
-
Measuring and Cutting: Begin by measuring the dimensions of the wall and cutting the drywall sheets to fit. Use a utility knife to score the front-facing paper of the drywall, then snap the sheet along the scored line. Finally, cut through the back paper to complete the cut.
-
Positioning the Drywall: Lift the cut drywall sheet into position against the studs, ensuring that the tapered edges of the drywall are facing each other. Start at the ceiling and work your way down, positioning each sheet snugly against the previous one.
-
Securing the Drywall: Use drywall screws to secure the drywall to the studs. Place the screws every 12 inches along the studs, ensuring they are slightly below the surface of the drywall without breaking the paper. This will allow for a smooth and seamless finish.
-
Taping and Mudding: Once the drywall is secured, apply drywall tape to cover the joints between the sheets. Then, using a taping knife, apply joint compound (mud) over the tape and screw indentations. Feather the edges to create a smooth transition between the joints and the rest of the drywall.
-
Sanding and Finishing: After the joint compound has dried, sand the seams and screw indentations to create a smooth, even surface. Apply additional coats of joint compound as needed, sanding between coats, until the surface is ready for painting or wallpapering.
By following these steps, you can effectively attach drywall to your stud wall, creating a solid and visually appealing surface for your new room or partition.
Finishing Touches
After attaching the drywall, it's time to focus on the finishing touches that will bring your stud wall project to completion. Here's a detailed guide to help you add those final elements that will enhance the functionality and aesthetics of your newly constructed wall:
-
Trim Installation: Install trim around the edges of the wall, including baseboards, door casings, and window trim. This not only provides a polished look but also covers any gaps between the drywall and adjacent surfaces.
-
Priming the Surface: Apply a coat of primer to the drywall to seal the surface and prepare it for painting. Primer helps the paint adhere evenly and enhances the overall finish.
-
Painting or Wallpapering: Once the primer has dried, it's time to add color and personality to your wall. Whether you choose to paint or wallpaper, this step allows you to customize the look of your space to suit your preferences.
-
Installing Electrical Fixtures: If your stud wall includes electrical outlets or switches, install the necessary fixtures. Ensure that all electrical work complies with local building codes and is carried out by a qualified professional if needed.
-
Adding Shelving or Storage: Depending on the purpose of the room, consider adding shelving or storage solutions to maximize the functionality of the space. This can be a great way to optimize the usability of the newly created area.
-
Final Inspections: Before considering the project complete, conduct a thorough inspection of the wall to ensure that all elements are in place and meet your expectations. Check for any imperfections or areas that may require additional attention.
By focusing on these finishing touches, you can elevate the overall look and functionality of your stud wall, transforming it into a seamless and integrated part of your living space.