
Home>Create & Decorate>DIY & Crafts>Dye Table DIY: Transform Your Furniture With Vibrant Colors
DIY & Crafts
Dye Table DIY: Transform Your Furniture With Vibrant Colors
Published: June 4, 2024

Content Creator specializing in woodworking and interior transformations. Caegan's guides motivate readers to undertake their own projects, while his custom furniture adds a personal touch.
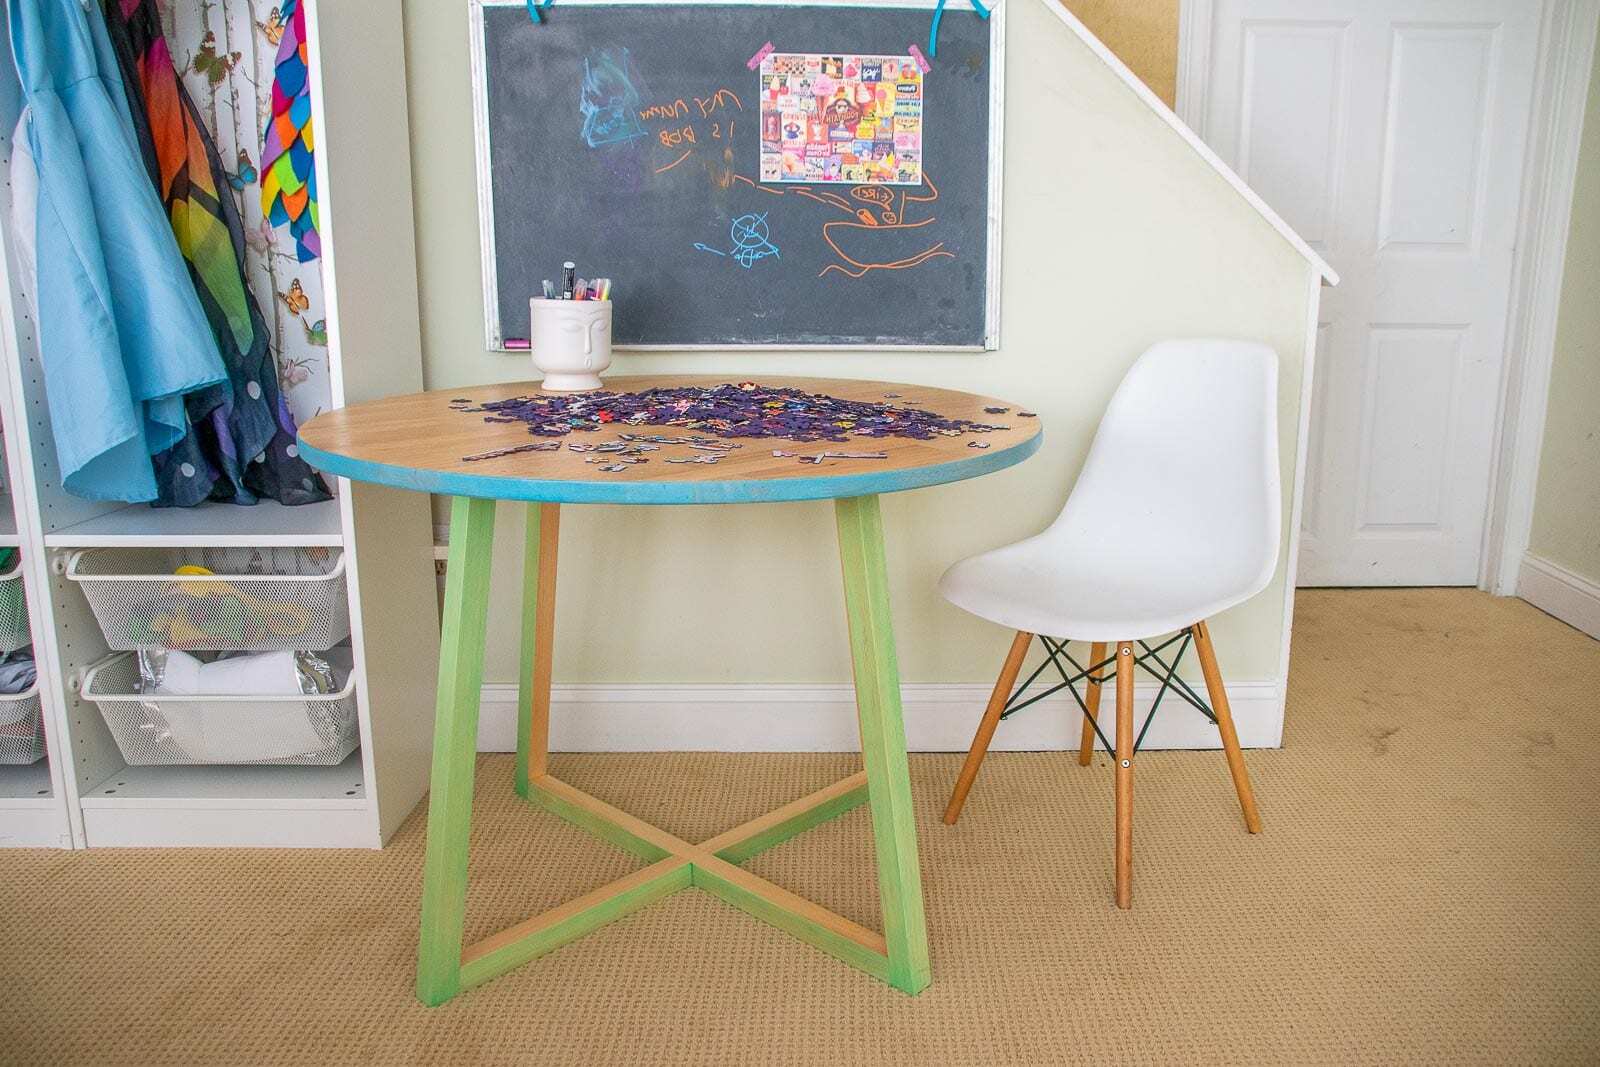
Transform your furniture with vibrant colors using our DIY dye table guide. Get creative with our DIY & Crafts project and revamp your home decor.
(Many of the links in this article redirect to a specific reviewed product. Your purchase of these products through affiliate links helps to generate commission for Twigandthistle.com, at no extra cost. Learn more)
Introduction
Are you looking to add a pop of color to your home decor? Dyeing your furniture is a fantastic way to transform its look and breathe new life into your living space. Whether you want to revamp an old table or give your chairs a fresh new look, a dye table DIY project can be a fun and rewarding endeavor. In this article, we'll guide you through the process of dyeing your furniture, from choosing the right dye to applying it and sealing the color for a long-lasting finish. Get ready to unleash your creativity and give your home a vibrant makeover with this exciting DIY project!
Choosing the Right Dye for Your Furniture
When it comes to dyeing your furniture, selecting the right dye is crucial for achieving the desired results. Here are some popular options to consider:
1. Wood Dye:
Wood dye is specifically formulated for use on wooden furniture. It penetrates the wood fibers, resulting in a rich and deep color. This type of dye is available in a wide range of shades, allowing you to choose the perfect color to complement your home decor.
2. Fabric Dye:
If you're looking to revamp upholstered furniture, fabric dye is the way to go. Whether it's a couch, chair, or ottoman, fabric dye can breathe new life into worn or outdated upholstery. Choose from a variety of colors to match your style and preferences.
3. Leather Dye:
For leather furniture, using a specialized leather dye is essential. Leather dye is designed to adhere to the unique surface of leather, providing a durable and long-lasting finish. It's available in an array of colors, enabling you to customize your leather furniture to suit your taste.
4. Multi-Surface Dye:
If you have furniture made from a combination of materials, such as wood, metal, or plastic, a multi-surface dye is the ideal choice. This versatile dye is formulated to adhere to various surfaces, making it a convenient option for multi-material furniture pieces.
When selecting a dye, consider the material of your furniture and the desired end result. Whether you're aiming for a bold and vibrant look or a subtle and natural finish, choosing the right dye is the first step towards achieving a stunning transformation.
Preparing Your Furniture for Dyeing
Before diving into the dyeing process, it's essential to prepare your furniture to ensure the best possible results. Here's how to get your furniture ready for its vibrant makeover:
-
Clean the Surface: Start by thoroughly cleaning the furniture surface to remove any dirt, dust, or grime. Use a mild detergent or wood cleaner for wooden furniture, and a fabric cleaner for upholstered pieces. For leather furniture, use a leather cleaner to remove any surface impurities.
-
Sand the Wood: If you're dyeing wooden furniture, sanding the surface is crucial for achieving a smooth and even finish. Use fine-grit sandpaper to gently sand the wood, removing any existing finish or imperfections. Wipe away the sanding residue with a tack cloth to ensure a clean surface for dye application.
-
Repair Any Damage: Inspect the furniture for any scratches, dents, or imperfections. Fill in any cracks or holes with wood filler for wooden furniture, and use a leather repair kit for any damages to leather surfaces. Repairing these imperfections before dyeing will result in a more polished and professional-looking final product.
-
Protect Surrounding Areas: Before applying the dye, protect the surrounding areas from potential spills or splatters. Lay down a drop cloth or plastic sheeting to safeguard the floor and any nearby surfaces. This precaution will help prevent accidental staining and make for easier cleanup.
-
Test the Dye: Before applying the dye to the entire piece of furniture, it's a good idea to test it on a small, inconspicuous area. This will allow you to assess the color and ensure it meets your expectations before committing to dyeing the entire piece.
By taking the time to properly prepare your furniture for dyeing, you'll set the stage for a successful and visually stunning transformation. These preparatory steps are essential for ensuring that the dye adheres evenly and that the final result is nothing short of spectacular.
Applying the Dye to Your Furniture
Once your furniture is prepped and ready, it's time to apply the dye and bring your vision to life. Here's a step-by-step guide to applying the dye to your furniture:
-
Stir the Dye: Before applying the dye, thoroughly stir it to ensure that the color is evenly distributed. This is especially important for liquid dyes to achieve a consistent hue.
-
Use a Brush or Cloth: Depending on the type of dye and the furniture's material, you can use a brush or a cloth to apply the dye. For wood dye, a brush allows for precise application, while fabric dye can be applied using a cloth or sponge. Leather dye often comes with an applicator for easy use.
-
Apply Evenly: Work in small sections, applying the dye in smooth, even strokes. Ensure that the dye is spread uniformly to avoid streaks or patchy areas. For fabric or leather, gently rub the dye into the material, allowing it to penetrate for a rich and vibrant color.
-
Work in Layers: Depending on the desired intensity of the color, you may need to apply multiple layers of dye. Allow each layer to dry completely before applying the next one. This gradual approach will help you achieve the perfect depth of color.
-
Wipe Off Excess: After applying the dye, use a clean cloth to wipe off any excess product. This step is crucial for preventing drips, runs, or uneven buildup of dye, especially on vertical surfaces.
-
Allow to Dry: Once the dye is applied, allow the furniture to dry thoroughly according to the manufacturer's instructions. This may involve letting the piece air dry or using a fan to speed up the process.
-
Inspect and Touch Up: After the first coat has dried, inspect the furniture for any missed spots or uneven areas. Touch up as needed to ensure a flawless and consistent finish.
By following these steps, you can ensure that the dye is applied with precision and care, resulting in a beautifully transformed piece of furniture that reflects your personal style and creativity.
Finishing and Sealing Your Newly Dyed Furniture
After applying the dye and allowing it to dry, the final step in the dye table DIY process is to finish and seal your newly dyed furniture. This crucial step not only enhances the appearance of the furniture but also protects the vibrant color for long-lasting beauty. Here's how to finish and seal your newly dyed furniture:
-
Apply a Clear Finish: Once the dye has dried completely, apply a clear finish to the furniture to enhance the color and provide a protective layer. For wooden furniture, a clear polyurethane or varnish can be used to seal the dye and add a glossy or satin sheen, depending on your preference. For fabric or leather furniture, a clear fabric sealant or leather protectant can be applied to safeguard the color and texture.
-
Use a Sealant for Protection: To ensure the longevity of the newly dyed furniture, consider using a sealant specifically designed for the material. For wood, a wood sealant or wax can provide an extra layer of protection against wear and tear. Fabric and leather furniture can benefit from a fabric protector or leather conditioner, which helps repel stains and maintain the vibrancy of the dye.
-
Follow Manufacturer's Instructions: When applying the finish and sealant, it's essential to follow the manufacturer's instructions for the specific products being used. This includes the recommended application method, drying times, and any additional steps for optimal results. Adhering to these guidelines will help achieve a professional finish and ensure the durability of the dye.
-
Allow Sufficient Drying Time: After applying the finish and sealant, allow the furniture to dry thoroughly before using it. This may involve letting the piece air dry in a well-ventilated area or following any specific drying instructions provided with the products. Patience during this stage will contribute to the overall quality and resilience of the dyed furniture.
-
Enjoy Your Vibrantly Dyed Furniture: Once the finishing and sealing process is complete, you can proudly display and enjoy your newly dyed furniture. Whether it's a colorful table, a revitalized chair, or a reimagined sofa, your DIY project has breathed new life into your living space, adding a vibrant and personalized touch to your home decor.
By finishing and sealing your newly dyed furniture, you not only protect the color and material but also elevate the overall look and feel of the piece. This final step ensures that your DIY dye table project yields stunning and long-lasting results that you can admire and appreciate for years to come.
Tips and Tricks for a Successful Dye Table DIY Project
-
Test the Color: Before committing to dyeing the entire piece of furniture, test the color on a small, inconspicuous area. This allows you to ensure that the chosen dye shade aligns with your vision for the furniture.
-
Protect Your Hands: When working with dye, especially fabric or leather dye, it's essential to protect your hands from staining. Wear gloves to prevent the dye from coming into direct contact with your skin.
-
Work in a Well-Ventilated Area: Whether you're dyeing wood, fabric, or leather, ensure that you work in a well-ventilated space. Proper ventilation helps to disperse fumes and ensures a comfortable working environment.
-
Mix Dye for Consistency: If you're using a liquid dye, make sure to mix it thoroughly before application. This ensures that the color is consistent and uniform throughout the dyeing process.
-
Consider Multiple Colors: Don't be afraid to get creative with your dye table DIY project. Experiment with multiple colors or create unique patterns to add a personalized touch to your furniture.
-
Protect Surrounding Surfaces: When dyeing furniture, it's important to protect surrounding surfaces from accidental spills or splatters. Lay down a drop cloth or plastic sheeting to safeguard floors and other nearby items.
-
Follow Drying Times: Whether it's allowing the dye to dry between coats or waiting for the finish and sealant to set, always adhere to the recommended drying times. This ensures that each step is completed thoroughly and contributes to the overall quality of the project.
-
Regular Maintenance: After completing your dye table DIY project, follow the manufacturer's recommendations for regular maintenance. This may include using specific cleaning products or applying touch-up dye as needed to keep your furniture looking vibrant and fresh.
By incorporating these tips and tricks into your dye table DIY project, you can elevate the process and ensure a successful outcome that brings new life and color to your furniture.
Conclusion
Embarking on a dye table DIY project offers a fantastic opportunity to infuse your furniture with vibrant colors and breathe new life into your living space. Whether you're revamping a wooden table, refreshing upholstered chairs, or reimagining leather furniture, the process of dyeing allows for endless creativity and personalization. By choosing the right dye, preparing the furniture meticulously, applying the dye with care, and finishing and sealing the newly dyed pieces, you can achieve stunning results that reflect your unique style and vision. With the tips and tricks provided, you can navigate the dyeing process with confidence and create furniture that stands out as a colorful centerpiece in your home. Embrace the transformative power of dyeing and enjoy the beauty and personality it brings to your living space.