
Home>Create & Decorate>DIY & Crafts>DIY: Build Your Own Lightsaber
DIY & Crafts
DIY: Build Your Own Lightsaber
Published: June 14, 2024

Senior Editor in Create & Decorate, Kathryn combines traditional craftsmanship with contemporary trends. Her background in textile design and commitment to sustainable crafts inspire both content and community.
Discover how to create your very own custom lightsaber with our step-by-step DIY guide. Unleash your creativity and craft the ultimate Jedi weapon today!
(Many of the links in this article redirect to a specific reviewed product. Your purchase of these products through affiliate links helps to generate commission for Twigandthistle.com, at no extra cost. Learn more)
Introduction
So, you want to build your very own lightsaber? Well, you're in for an exciting and rewarding DIY project! Whether you're a die-hard Star Wars fan or just someone who loves tinkering with electronics, creating your own lightsaber can be a fun and fulfilling experience. In this guide, we'll walk you through the step-by-step process of building your very own custom lightsaber, from choosing the design to assembling the hilt and wiring the electronics. Get ready to unleash your inner Jedi or Sith as we dive into the world of DIY lightsabers!
Materials Needed
To embark on this epic lightsaber-building journey, you'll need to gather a few essential materials and tools. Here's a rundown of what you'll need to bring your DIY lightsaber to life:
-
Hilt: This is the handle of the lightsaber, and you can either purchase a pre-made hilt or craft one from scratch using materials like aluminum or PVC pipe.
-
LEDs: These are the light source for your lightsaber blade. Opt for high-quality LEDs that emit a bright and vibrant light.
-
Batteries: You'll need a power source to fuel your lightsaber's illuminating power. Lithium-ion batteries are a popular choice due to their long-lasting performance.
-
Switches: A reliable on/off switch is crucial for controlling the activation and deactivation of your lightsaber.
-
Sound Module: If you want to take your lightsaber to the next level, consider adding a sound module to produce those iconic lightsaber hums and clashes.
-
Blade Material: For the blade, you can use a durable and translucent material such as polycarbonate tubing to achieve that authentic lightsaber glow.
-
Wires and Soldering Equipment: To wire up the electronics, you'll need various gauges of wire and a soldering iron to make secure connections.
-
Miscellaneous Tools: Don't forget about essential tools like screwdrivers, pliers, wire cutters, and a heat gun for shaping and assembling your lightsaber components.
With these materials in hand, you'll be well-equipped to construct your very own custom lightsaber that's sure to impress fellow Jedi and Sith enthusiasts alike.
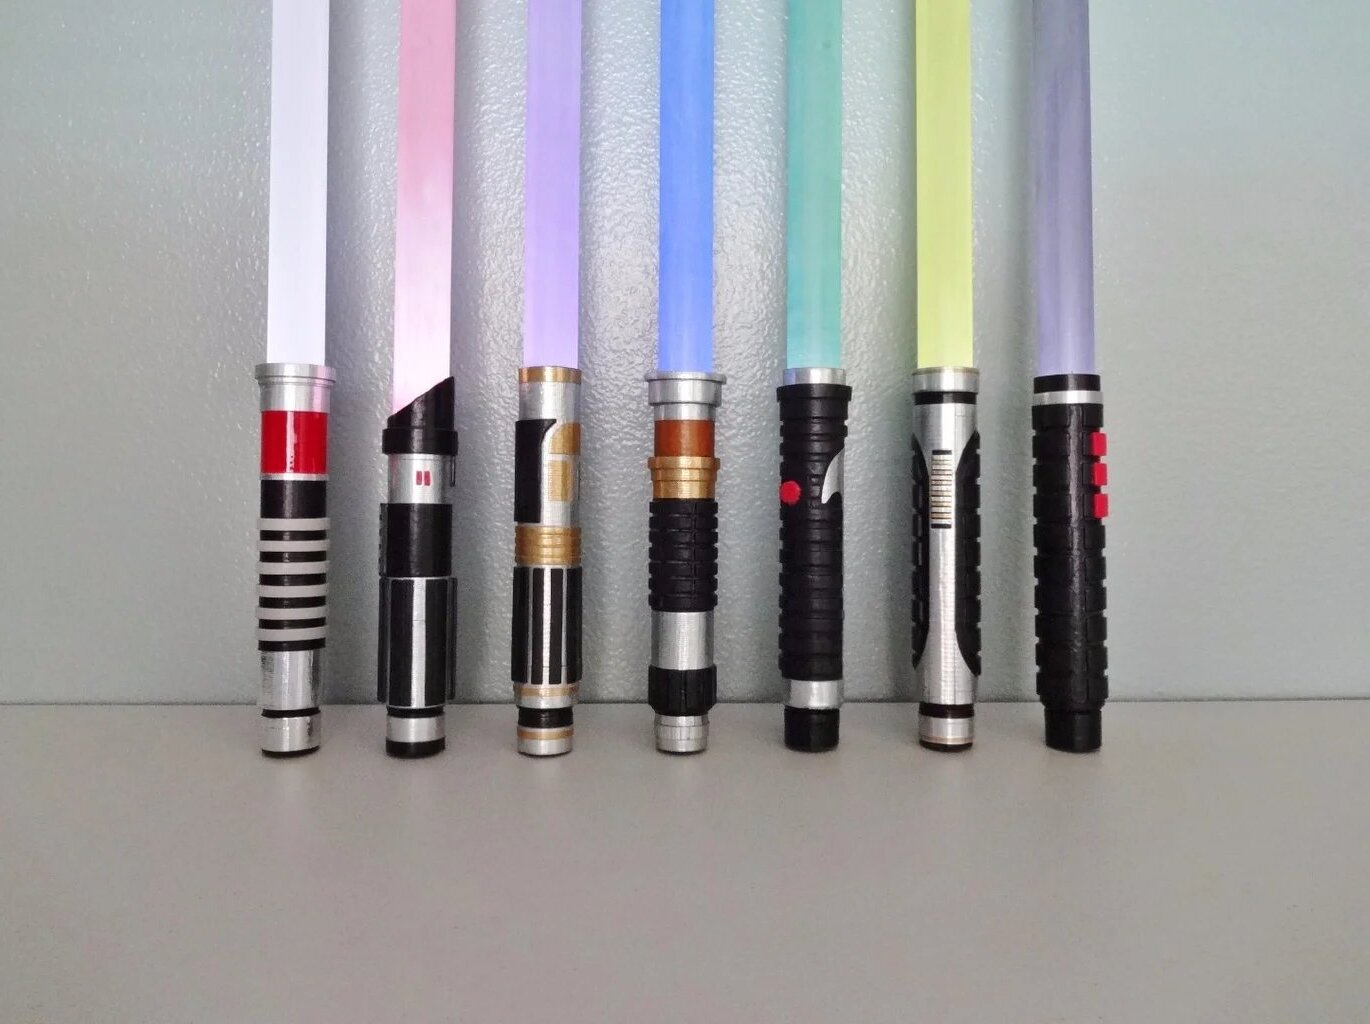
Step 1: Choosing Your Lightsaber Design
When it comes to building your own lightsaber, the first and most crucial step is deciding on the design of your weapon. This is where you can let your creativity run wild and tailor your lightsaber to reflect your unique style and personality. Here are a few key design elements to consider:
-
Hilt Style: The hilt is the handle of the lightsaber, and it comes in various shapes, sizes, and materials. You can opt for a sleek and modern design with metallic accents, or go for a more rugged and weathered look to emulate a battle-worn lightsaber.
-
Embellishments: Consider adding embellishments such as grips, buttons, and decorative elements to enhance the aesthetic appeal of your lightsaber. These details can be purely decorative or serve a functional purpose, such as providing better grip and control during duels.
-
Color Scheme: The color of your lightsaber blade is a defining characteristic that reflects the nature of the wielder. Traditional lightsabers are often associated with blue and green for Jedi, and red for Sith. However, you can break free from tradition and choose any color that resonates with you, whether it's a vibrant purple, fiery orange, or even a dual-colored blade.
-
Customization: One of the perks of building your own lightsaber is the ability to customize every aspect of its design. From etching intricate patterns on the hilt to incorporating personalized engravings, the possibilities for customization are endless.
Before diving into the construction process, take the time to sketch out your ideal lightsaber design and gather inspiration from various sources, such as the Star Wars films, comics, and fan-made lightsabers. Once you have a clear vision of your lightsaber's design, you can move on to the next step of bringing it to life.
Step 2: Assembling the Hilt
Assembling the hilt of your DIY lightsaber is a pivotal step that sets the foundation for the overall look and functionality of your weapon. Here's a detailed breakdown of the process:
-
Hilt Components: Begin by gathering all the components for the hilt, including the main body, grips, buttons, and any additional embellishments. If you're crafting the hilt from scratch, ensure that the materials are cut and shaped according to your design specifications.
-
Hilt Construction: Assemble the hilt components in the desired configuration, ensuring that they are securely attached. Depending on the design, you may need to drill holes for switches, LED holders, and other electronic components. Take your time to align the components accurately, as this will impact the overall aesthetics and functionality of the lightsaber.
-
Grip Installation: If your lightsaber design includes grips, carefully install them onto the hilt using adhesive or fasteners. Grips not only enhance the visual appeal of the hilt but also provide a comfortable and secure hold during combat simulations or display.
-
Button Placement: Position the activation switch and any auxiliary buttons in ergonomic locations on the hilt. These buttons should be easily accessible and intuitive to operate, allowing for seamless activation and deactivation of the lightsaber.
-
Customization: This is the stage where you can add personalized touches to the hilt, such as etchings, engravings, or weathering effects to achieve a battle-worn appearance. Let your creativity shine as you infuse unique elements that make your lightsaber one-of-a-kind.
-
Quality Check: Once the hilt is assembled, conduct a thorough quality check to ensure that all components are securely fastened and aligned. Test the grip comfort and button functionality to address any potential issues before proceeding to the next step.
By meticulously assembling the hilt of your lightsaber, you're not only creating a visually stunning prop but also laying the groundwork for a functional and durable weapon that embodies your creative vision. With the hilt complete, you're ready to delve into the electrifying realm of wiring the electronics for your DIY lightsaber.
Step 3: Wiring the Electronics
Wiring the electronics of your DIY lightsaber is where the magic truly happens, as it brings your creation to life with illuminating brilliance and, if desired, captivating sound effects. Here's a comprehensive guide to navigating the intricate process of wiring the essential components of your lightsaber:
-
Prepare the Electronics: Before diving into the wiring process, gather all the electronic components, including the LEDs, batteries, switches, and sound module. Ensure that the wires are cut to the appropriate lengths and stripped at the ends for secure connections.
-
Soldering Connections: Using a soldering iron, carefully solder the wires to the respective terminals of the LEDs, switches, and sound module. It's crucial to maintain a steady hand and apply the right amount of solder to create strong and reliable connections that can withstand the rigors of lightsaber duels.
-
Battery Placement: Determine the optimal placement for the batteries within the hilt, ensuring that they are securely housed and easily accessible for future replacements. Consider incorporating a battery holder or compartment that allows for convenient battery installation and removal.
-
Switch Integration: Connect the on/off switch to the power source and the LED circuit, enabling seamless control over the activation and deactivation of the lightsaber. Test the switch functionality to ensure smooth operation and troubleshoot any issues that may arise.
-
Sound Module Setup: If you've opted to include a sound module in your lightsaber, follow the manufacturer's instructions for integrating the module into the electronic circuit. This may involve connecting the speaker, configuring sound fonts, and adjusting volume levels to achieve the desired auditory experience.
-
Wire Management: Organize the wired components within the hilt to prevent tangling and ensure a clean and professional-looking assembly. Utilize cable ties, adhesive clips, or custom-designed wiring channels to route the wires neatly and minimize interference with other internal components.
-
Insulation and Protection: Once the wiring is complete, insulate the exposed connections with heat-shrink tubing or electrical tape to safeguard against short circuits and ensure electrical safety. Additionally, consider implementing protective measures to shield the electronics from external elements and impacts.
-
Functionality Testing: Before proceeding to the next stage, conduct a comprehensive functionality test to verify that the electronics are operating as intended. Activate the lightsaber to observe the illumination and, if applicable, the sound effects, ensuring that all components are functioning harmoniously.
By mastering the art of wiring the electronics, you're not only infusing your lightsaber with radiant luminance and dynamic audio but also honing your skills in electronic craftsmanship. With the electronics seamlessly integrated into the hilt, you're now poised to embark on the exhilarating phase of installing the blade and witnessing your DIY lightsaber come to life in all its radiant glory.
Step 4: Installing the Blade
The installation of the blade is a pivotal stage in bringing your DIY lightsaber to its full glory. Here's a detailed breakdown of the process:
-
Blade Selection: Begin by selecting a durable and translucent material for the blade, such as polycarbonate tubing, which is renowned for its resilience and light diffusion properties. Ensure that the length of the blade aligns with your hilt design, providing a proportional and visually appealing extension.
-
Blade Attachment: Carefully insert the blade into the hilt, ensuring a secure and snug fit. Depending on the hilt design, you may need to incorporate retention screws or locking mechanisms to prevent the blade from dislodging during vigorous movements.
-
Blade Illumination: If your lightsaber incorporates LEDs, align the LED assembly within the hilt to illuminate the blade evenly. The LEDs should be positioned to maximize light dispersion throughout the length of the blade, creating a radiant and uniform glow.
-
Blade Securing: Once the blade is inserted and illuminated, secure it within the hilt to prevent any lateral movement or instability. This may involve tightening retention screws, adjusting internal components, or implementing custom retention methods to ensure the blade remains steadfast during dynamic use.
-
Visual Inspection: Conduct a visual inspection of the installed blade to verify that it aligns seamlessly with the hilt and emits a captivating glow. Address any irregularities or inconsistencies in the blade's illumination to achieve a flawless and captivating visual display.
-
Blade Customization: This stage presents an opportunity to customize the appearance of the blade, such as incorporating weathering effects, adding diffusion film for enhanced light dispersion, or experimenting with color filters to achieve unique visual aesthetics.
-
Blade Removal Testing: Test the removal of the blade to ensure that it can be disengaged from the hilt for maintenance or customization purposes. Verify that the installation method allows for convenient blade removal without compromising the structural integrity of the lightsaber.
By meticulously installing the blade, you're not only completing the visual spectacle of your DIY lightsaber but also ensuring its structural integrity and functionality. With the blade securely integrated into the hilt, you're now poised to witness the culmination of your efforts as you embark on the final phase of testing and fine-tuning your custom lightsaber.
Step 5: Testing and Fine-Tuning
With the construction of your DIY lightsaber nearing completion, it's time to embark on the exhilarating phase of testing and fine-tuning to ensure that your creation meets the highest standards of performance and aesthetics.
-
Functionality Test: Activate your lightsaber to verify that the electronic components, including the LEDs and sound module if applicable, are functioning seamlessly. Observe the illumination of the blade and listen for the characteristic hums and clashes, ensuring that the sound effects synchronize with the activation and deactivation of the lightsaber.
-
Battery Performance: Assess the performance of the power source by monitoring the longevity of the batteries during prolonged use. Ensure that the batteries deliver consistent power to sustain the illumination and sound effects without diminishing performance over time.
-
Ergonomic Evaluation: Engage in simulated combat maneuvers or handling exercises to evaluate the ergonomic design of the lightsaber. Assess the comfort, balance, and maneuverability of the weapon, ensuring that it provides a satisfying and intuitive grip for extended use.
-
Visual Inspection: Conduct a comprehensive visual inspection of the entire lightsaber assembly to identify any imperfections, misalignments, or aesthetic discrepancies. Address any visual irregularities and make necessary adjustments to achieve a flawless and captivating appearance.
-
Sound Calibration: If your lightsaber incorporates a sound module, fine-tune the audio settings to achieve the desired volume, clarity, and resonance of the sound effects. Experiment with different sound fonts and volume levels to customize the auditory experience to your preference.
-
Blade Stability: Perform rigorous movements and swings to test the stability and retention of the blade within the hilt. Verify that the blade remains securely in place without wobbling or disengaging, ensuring a reliable and steadfast integration.
-
Customization Refinement: Take this opportunity to refine any customized elements of your lightsaber, such as etchings, engravings, or weathering effects. Fine-tune these details to achieve a cohesive and visually striking aesthetic that complements the overall design.
-
User Feedback: Enlist the feedback of fellow lightsaber enthusiasts or trusted individuals to gather insights on the performance and visual appeal of your creation. Consider their input to make informed refinements and enhancements that elevate the overall quality of your DIY lightsaber.
By meticulously testing and fine-tuning your custom lightsaber, you're not only ensuring its optimal functionality and visual allure but also honing your skills as a master lightsaber craftsman. With the culmination of this phase, you can proudly wield your one-of-a-kind lightsaber with confidence, knowing that it embodies the culmination of your creativity and craftsmanship.
Conclusion
Congratulations, you've successfully embarked on an epic journey to construct your very own custom lightsaber. Through meticulous craftsmanship and unwavering creativity, you've brought to life a weapon that not only embodies the iconic allure of lightsabers from the Star Wars universe but also reflects your unique style and personality. As you stand in awe of your radiant creation, you can take pride in the mastery of each step, from choosing the design and assembling the hilt to wiring the electronics, installing the blade, and fine-tuning every detail. Whether you're a Jedi, a Sith, or a devoted lightsaber enthusiast, your DIY lightsaber stands as a testament to your ingenuity and passion for the art of creation. May the Force be with you as you wield your custom lightsaber and continue to explore the boundless realms of DIY and home improvement.