
Home>Create & Decorate>DIY & Crafts>DIY Bar Table: How To Create Your Own Stylish And Functional Piece
DIY & Crafts
DIY Bar Table: How To Create Your Own Stylish And Functional Piece
Published: May 27, 2024

Content Creator specializing in woodworking and interior transformations. Caegan's guides motivate readers to undertake their own projects, while his custom furniture adds a personal touch.
Learn how to make a stylish and functional DIY bar table with our step-by-step guide. Perfect for DIY & Crafts enthusiasts!
(Many of the links in this article redirect to a specific reviewed product. Your purchase of these products through affiliate links helps to generate commission for Twigandthistle.com, at no extra cost. Learn more)
Introduction
Are you looking to add a touch of style and functionality to your home with a DIY bar table? Creating your own bar table can be a rewarding and cost-effective project that allows you to customize the design to fit your space perfectly. Whether you're a seasoned DIY enthusiast or a beginner looking for a fun project, building your own bar table can be a great way to showcase your creativity and woodworking skills. In this guide, we'll take you through the step-by-step process of creating a stylish and functional bar table that will be the perfect addition to your home. Let's get started!
Materials Needed
To get started on your DIY bar table project, you'll need the following materials:
- Wood: Choose high-quality wood for the tabletop and base, such as pine, oak, or maple.
- Measuring Tape and Pencil: Essential for accurately measuring and marking the wood for cutting.
- Saw: A table saw or circular saw for cutting the wood to the desired dimensions.
- Wood Screws: These will be used to secure the tabletop and base pieces together.
- Drill: A power drill will be necessary for creating holes for the screws.
- Wood Glue: Use wood glue to reinforce the joints for added stability.
- Sandpaper: Different grits for sanding the wood to a smooth finish.
- Wood Stain or Paint: Choose a finish that complements your home decor and protects the wood from wear and tear.
- Brushes and Rags: For applying the wood stain or paint.
- Protective Gear: Safety goggles, gloves, and a dust mask to ensure your safety during the woodworking process.
Gather these materials before you begin, and you'll be well-equipped to tackle each step of the DIY bar table project.
Step 1: Choosing the Right Wood
When it comes to creating a DIY bar table, selecting the right wood is crucial for both the aesthetics and durability of the finished piece. Here are some popular wood options to consider:
-
Pine: Known for its affordability and versatility, pine is a popular choice for DIY projects. It's relatively easy to work with and can be stained or painted to achieve the desired look.
-
Oak: If you're aiming for a more traditional and sturdy bar table, oak is an excellent choice. It's known for its strength and attractive grain patterns, making it a timeless option for furniture projects.
-
Maple: Renowned for its durability and smooth texture, maple is a great choice for a bar table that will see frequent use. It's also receptive to various finishes, allowing you to achieve the desired aesthetic.
Consider the overall style and function of your bar table when choosing the wood. Additionally, factor in the level of maintenance you're willing to commit to, as different wood types may require specific care to maintain their appearance over time. Once you've selected the ideal wood for your DIY bar table, you're ready to move on to the next step in the construction process.
Step 2: Measuring and Cutting the Wood
Accurate measurements and precise cuts are essential for creating a well-crafted DIY bar table. Follow these steps to ensure that your tabletop and base components are cut to the correct dimensions:
-
Measure Twice, Cut Once: Before making any cuts, use a measuring tape and pencil to mark the wood according to your desired dimensions. Double-check your measurements to avoid errors that could affect the overall fit and stability of the table.
-
Tabletop Dimensions: If you're creating a rectangular bar table, measure and mark the wood for the tabletop, ensuring that the length and width are consistent with your design plans. For a round or oval tabletop, use a compass or circular object to trace the shape onto the wood before cutting.
-
Base Components: Whether you're constructing a simple four-legged base or a more intricate design, precise measurements are crucial for ensuring that the base pieces align correctly with the tabletop. Take into account the height and stability of the base when determining the length of the legs and support pieces.
-
Cutting the Wood: Use a table saw or circular saw to carefully cut along the marked lines, following all safety precautions and guidelines for operating the tools. If you're not confident in your cutting abilities, consider seeking assistance from a professional or experienced woodworker to ensure accurate and clean cuts.
By taking the time to measure and cut the wood accurately, you'll set the foundation for a sturdy and visually appealing DIY bar table. With the tabletop and base components prepared, you'll be ready to move on to the next stages of assembling and finishing your custom bar table.
Step 3: Assembling the Tabletop
Assembling the tabletop is a critical step in the construction of your DIY bar table. Follow these guidelines to ensure a seamless and sturdy assembly process:
-
Arranging the Wood: Lay out the tabletop pieces in the desired configuration, ensuring that the edges align perfectly. This step allows you to visualize the final look of the tabletop before securing the pieces together.
-
Applying Wood Glue: Once the tabletop pieces are arranged, apply a thin, even layer of wood glue along the edges where the pieces will be joined. Wood glue provides additional strength and stability to the tabletop joints.
-
Securing with Screws: To reinforce the tabletop, use wood screws to secure the pieces together. Pre-drill guide holes to prevent the wood from splitting, then drive the screws into place. Ensure that the screws are countersunk to achieve a smooth tabletop surface.
-
Clamping the Joints: After applying the wood glue and screws, use clamps to hold the tabletop pieces tightly together while the glue sets. This step is crucial for creating strong and seamless joints.
-
Allowing for Drying Time: Once the tabletop pieces are assembled, allow sufficient time for the wood glue to dry and cure. Follow the manufacturer's recommendations for the specific type of wood glue used.
By following these steps, you'll be able to create a well-constructed tabletop that forms the foundation of your DIY bar table. With the tabletop assembled, you can proceed to the next stage of building the base for your custom bar table.
Step 4: Building the Base
Creating a sturdy and visually appealing base is essential for the overall stability and aesthetics of your DIY bar table. Follow these steps to construct a base that complements your tabletop design:
-
Design Considerations: Before building the base, consider the overall style and functionality of your bar table. Whether you opt for a simple four-legged design or a more intricate base with additional supports, ensure that the base aligns with your vision for the finished piece.
-
Cutting Base Components: Using the same wood type as the tabletop or a complementary material, measure and cut the wood for the base components. Pay close attention to the dimensions and angles to ensure that the base pieces fit together seamlessly.
-
Joinery Techniques: Depending on your chosen design, employ appropriate joinery techniques such as mortise and tenon, dowel joints, or pocket hole screws to connect the base components securely. Each joint should be carefully crafted to provide maximum strength and stability.
-
Assembling the Base: Lay out the base components according to your design plan, ensuring that the pieces align correctly. Use wood glue and screws to secure the joints, following the same process as with the tabletop assembly. Consider using clamps to hold the base pieces in place while the glue sets.
-
Ensuring Stability: Test the stability of the assembled base to ensure that it can support the weight of the tabletop and withstand regular use. Make any necessary adjustments to the base structure to achieve optimal stability and balance.
-
Finishing Touches: Once the base is assembled and deemed stable, sand any rough edges and apply the chosen finish to match the tabletop. Whether you opt for a natural wood finish or a painted look, ensure that the base complements the overall aesthetic of the bar table.
By following these steps, you'll be able to construct a base that not only provides essential support for the tabletop but also enhances the visual appeal of your DIY bar table. With the tabletop and base components prepared, you're ready to move on to the next stage of sanding and finishing the bar table.
Step 5: Sanding and Finishing
Sanding and finishing are crucial steps in the construction of a DIY bar table, as they contribute to the overall appearance and durability of the finished piece. Follow these steps to achieve a smooth and visually appealing surface for your bar table:
-
Sanding the Wood: Begin by sanding the tabletop and base components using sandpaper with a medium grit, such as 120-grit. Sand in the direction of the wood grain to remove any rough spots, uneven edges, or imperfections. Gradually progress to finer grit sandpaper, such as 220-grit, to achieve a smooth and polished surface.
-
Round the Edges: If desired, use sandpaper to gently round the edges of the tabletop and base components. This step adds a subtle touch of refinement to the bar table and reduces the risk of sharp edges.
-
Removing Dust: After sanding, use a clean, dry cloth or a tack cloth to remove any dust or debris from the wood surfaces. This ensures that the finish adheres smoothly and evenly to the wood.
-
Choosing a Finish: Select a wood stain, paint, or clear finish that complements the chosen wood type and aligns with your desired aesthetic. Consider the level of protection and maintenance required for the finish, as well as its compatibility with the wood species.
-
Applying the Finish: Using a brush or rag, apply the chosen finish to the tabletop and base components in smooth, even strokes. Ensure that the finish is applied in a well-ventilated area and follow the manufacturer's instructions for drying times between coats.
-
Multiple Coats: Depending on the type of finish chosen, apply multiple coats to achieve the desired depth and protection. Allow each coat to dry thoroughly before applying the next, and lightly sand between coats for a smooth finish.
-
Sealing the Surface: If using a clear finish, consider applying a protective sealant to safeguard the wood from moisture, stains, and daily wear. This step is particularly important for a bar table, which may be exposed to spills and frequent use.
By meticulously sanding and applying the chosen finish, you'll enhance the natural beauty of the wood and protect your DIY bar table from the rigors of daily use. With the sanding and finishing process complete, your custom bar table will be ready to add a stylish and functional touch to your home.
Step 6: Adding the Final Touches
Once the tabletop and base of your DIY bar table are assembled, sanded, and finished, it's time to add the final touches that will elevate the overall look and functionality of the piece. Consider the following steps to put the finishing touches on your custom bar table:
-
Hardware Selection: Choose the appropriate hardware, such as drawer pulls, knobs, or decorative brackets, to enhance the visual appeal of your bar table. Opt for hardware that complements the style of the table and adds a touch of personality.
-
Incorporate Storage: If your design allows, consider incorporating storage options such as shelves, drawers, or compartments into the bar table. This adds functionality and convenience, especially if the table will be used for serving drinks or storing bar accessories.
-
Personalization: Add a personal touch to your bar table by incorporating custom engravings, stenciled designs, or a coat of arms. Personalization adds a unique and sentimental element to the piece, making it a standout feature in your home.
-
Protective Pads: Attach protective pads to the bottom of the table legs to prevent scratches on the floor and minimize noise when moving the table. This simple addition helps to preserve both the table and the flooring in your home.
-
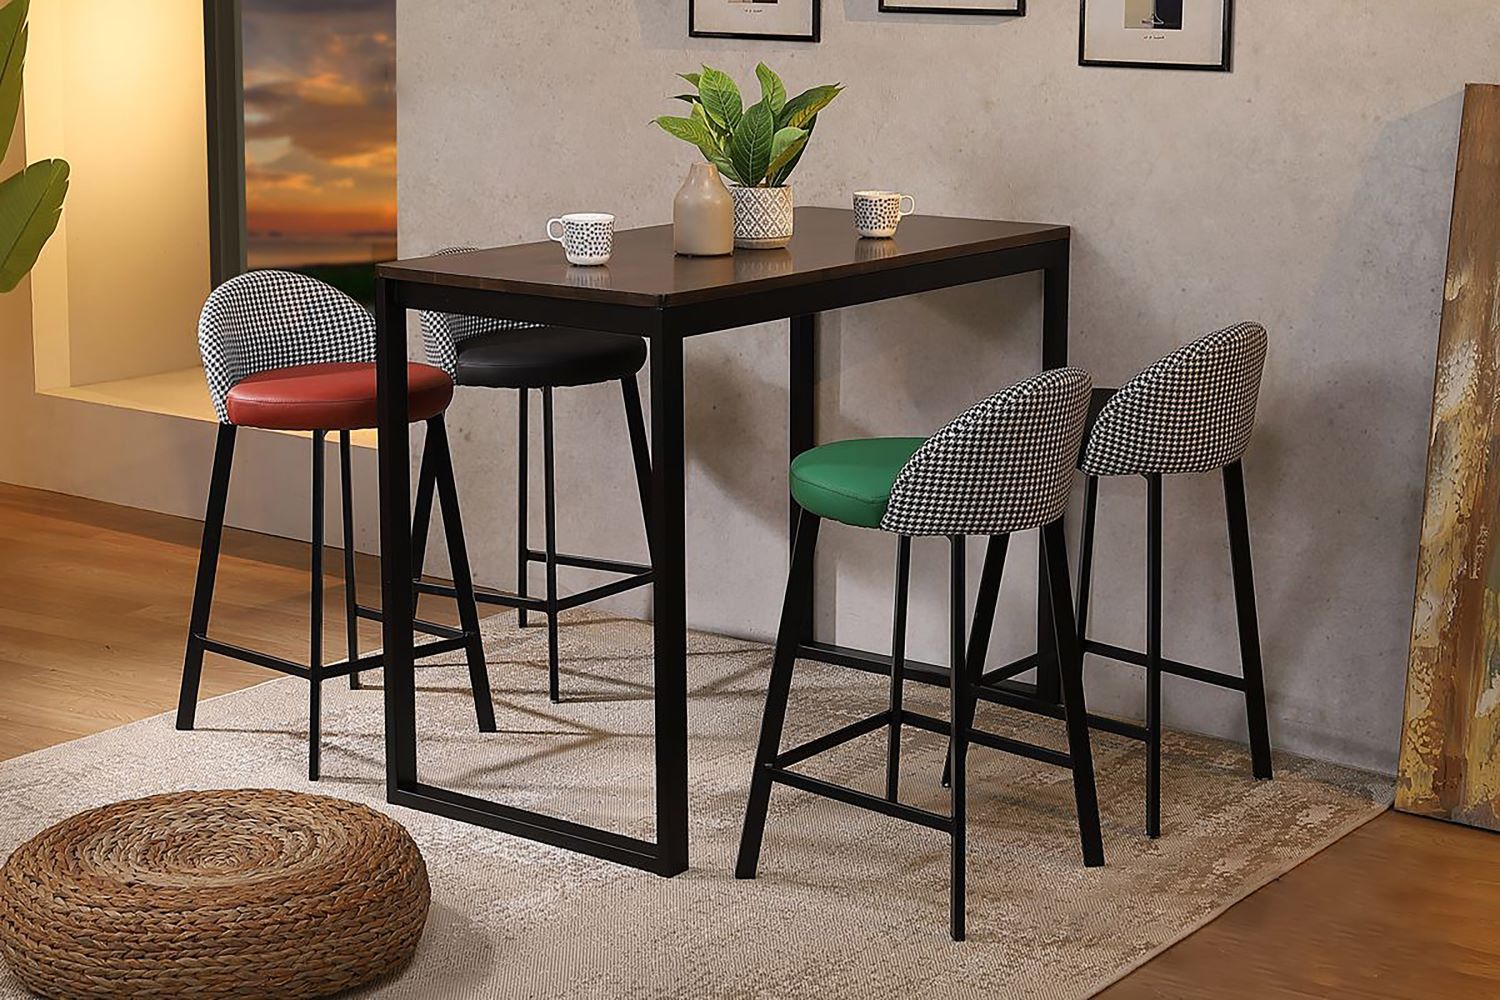
Bar Stools or Chairs: Complete the bar table setup by selecting bar stools or chairs that complement the design and height of the table. Consider factors such as comfort, style, and the overall aesthetic of your home when choosing seating options.
-
Lighting: If your bar table is located in an area with subdued lighting, consider adding a stylish lamp or pendant light above the table to create an inviting ambiance. Proper lighting enhances the functionality and visual appeal of the space.
By adding these final touches, you'll transform your DIY bar table into a stylish, functional, and personalized piece of furniture that reflects your creativity and craftsmanship. Whether it's for entertaining guests or enjoying a casual meal, your custom bar table will undoubtedly become a focal point in your home.
Conclusion
Congratulations on completing your DIY bar table! By following the step-by-step process outlined in this guide, you've not only created a stylish and functional piece of furniture but also showcased your woodworking skills and creativity. Your custom bar table is now ready to take its place as a standout feature in your home, providing a space for entertaining, enjoying meals, and adding a touch of personalized style to your living space. Whether you've chosen a rustic, modern, or traditional design, your DIY bar table is a testament to your ability to bring your vision to life through hands-on craftsmanship. As you admire your finished creation, take pride in the fact that you've not only saved on costs but also tailored the design to perfectly suit your home. Cheers to your DIY success and the countless memories that will be made around your new bar table!