
Home>Create & Decorate>DIY & Crafts>DIY Amplifier: How To Build Your Own High-Quality Audio Amplifier At Home
DIY & Crafts
DIY Amplifier: How To Build Your Own High-Quality Audio Amplifier At Home
Published: May 28, 2024

Content Creator specializing in woodworking and interior transformations. Caegan's guides motivate readers to undertake their own projects, while his custom furniture adds a personal touch.
Learn how to create a high-quality audio amplifier at home with our step-by-step DIY guide. Perfect for DIY & Crafts enthusiasts.
(Many of the links in this article redirect to a specific reviewed product. Your purchase of these products through affiliate links helps to generate commission for Twigandthistle.com, at no extra cost. Learn more)
Introduction
Are you a music enthusiast or an audio aficionado looking to enhance your listening experience? Building your own DIY amplifier can be a rewarding and cost-effective way to achieve high-quality sound. In this guide, we will walk you through the process of creating your own audio amplifier from scratch. Whether you're a seasoned electronics hobbyist or a beginner looking to delve into the world of DIY audio equipment, this step-by-step tutorial will equip you with the knowledge and skills to construct a high-quality amplifier that meets your specific audio needs. Let's dive into the exciting world of DIY audio amplifiers and unleash your creativity and passion for sound!
Understanding the Basics of Audio Amplifiers
When delving into the realm of DIY audio amplifiers, it's crucial to grasp the fundamental principles behind these devices. An audio amplifier is an electronic device that magnifies the amplitude of audio signals, thereby increasing the volume of sound produced by speakers. It serves as the powerhouse of your audio system, taking the low-power audio signal from your source, such as a music player or a turntable, and boosting it to a level that can drive your speakers. Amplifiers come in various types, including solid-state and tube amplifiers, each with its unique characteristics and sonic qualities. Understanding the key components and inner workings of audio amplifiers is essential for anyone embarking on the journey of building their own DIY amplifier. Let's explore the intricacies of audio amplifiers and lay the groundwork for your DIY project.
Key Components of Audio Amplifiers
- Input Stage: This is where the audio signal enters the amplifier. The input stage processes the incoming signal and prepares it for amplification.
- Amplification Stage: The heart of the amplifier, this stage is responsible for boosting the strength of the audio signal. It utilizes electronic components such as transistors or vacuum tubes to increase the power of the signal.
- Output Stage: Once the audio signal has been amplified, it is sent to the output stage, which drives the speakers or headphones, producing the sound that we hear.
Amplifier Classes
Audio amplifiers are categorized into different classes based on their circuit designs and operational characteristics. The most common classes include Class A, Class AB, and Class D. Each class has its unique efficiency, distortion profile, and suitability for various audio applications. Understanding the differences between amplifier classes is crucial for selecting the right design for your DIY amplifier project.
Gain, Power, and Impedance
Gain refers to the amplification factor of the amplifier, determining how much it increases the strength of the input signal. Power is the amount of electrical energy the amplifier can deliver to the speakers, influencing the loudness and dynamics of the sound. Impedance matching between the amplifier and speakers is vital for efficient power transfer and optimal performance. These parameters play a significant role in the overall sound quality and compatibility of your amplifier with different audio equipment.
By familiarizing yourself with these fundamental aspects of audio amplifiers, you'll be better equipped to make informed decisions when selecting components and designing the circuit for your DIY amplifier. Now that we've laid the groundwork for understanding audio amplifiers, let's move on to the next step in creating your high-quality DIY amplifier.
Selecting the Right Components for Your DIY Amplifier
When it comes to building a high-quality DIY amplifier, the selection of components plays a pivotal role in determining the performance and sonic characteristics of the final product. Here's a comprehensive guide to help you choose the right components for your DIY amplifier:
1. Amplifier Type and Class
Before diving into component selection, it's essential to decide on the type and class of amplifier you want to build. Whether you opt for a solid-state amplifier or a tube amplifier, each type has its unique sonic signature and operational characteristics. Additionally, choosing the amplifier class, such as Class A, Class AB, or Class D, will influence the overall efficiency and performance of your amplifier.
2. Power Rating and Output Requirements
Determining the power rating and output requirements of your amplifier is crucial for selecting the appropriate components. Consider the power needs of your speakers and the intended listening environment. Whether you're building a low-power amplifier for near-field listening or a high-power amplifier for a larger room, matching the power output of the amplifier to the requirements of your speakers is essential for optimal performance.
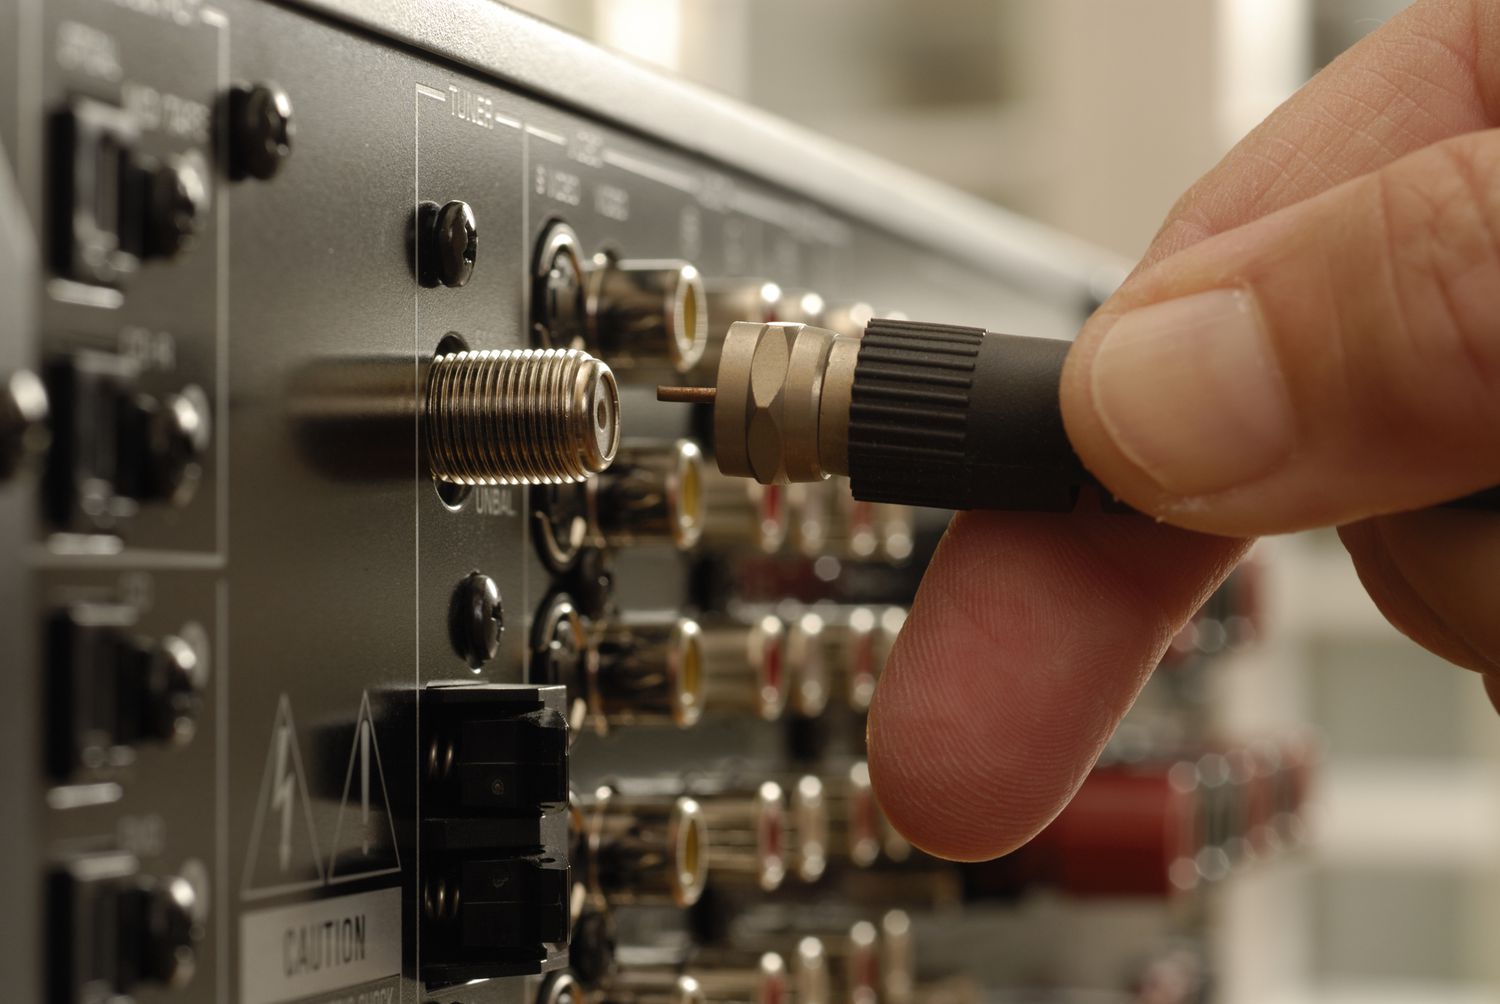
3. Audio Input and Source Compatibility
When selecting components for the input stage of your amplifier, ensure compatibility with your audio sources. Whether you plan to connect a turntable, CD player, or digital audio player, choosing the right input connectors and impedance matching components will ensure seamless integration with your audio sources.
4. Quality Passive Components
Components such as resistors, capacitors, and inductors are integral to the performance of your amplifier. Opt for high-quality passive components with tight tolerances and low noise characteristics to minimize signal degradation and ensure faithful reproduction of the audio signal.
5. Transistors or Tubes
If you're building a solid-state amplifier, the selection of transistors and semiconductor devices will significantly impact the amplifier's performance. Pay attention to the specifications and ratings of transistors, ensuring they can handle the power and voltage requirements of your amplifier design. For tube amplifiers, selecting the right vacuum tubes is crucial for achieving the desired tonal characteristics and harmonic distortion profile.
6. Power Supply Components
The power supply is a critical aspect of amplifier design, providing the necessary voltage and current to drive the amplifier circuit. Selecting high-quality transformers, rectifiers, and filtering capacitors is essential for maintaining a clean and stable power supply, ultimately contributing to the sound quality and reliability of your amplifier.
7. Heat Dissipation and Cooling
For high-power amplifiers, proper heat dissipation is essential to prevent component overheating and ensure long-term reliability. Selecting heat sinks, thermal compounds, and cooling fans, if necessary, will help manage the thermal performance of your amplifier, especially during prolonged listening sessions or high-output scenarios.
By carefully considering these factors and selecting the right components for your DIY amplifier, you can lay a solid foundation for a high-quality audio amplifier that meets your sonic preferences and performance requirements. With the components in hand, you're ready to move on to the next exciting phase of your DIY amplifier project: building the circuit.
Building the Circuit for Your High-Quality Audio Amplifier
Now that you have carefully selected the components for your DIY amplifier, it's time to delve into the exciting phase of building the amplifier circuit. The circuit design is the backbone of your amplifier, dictating its performance, sound characteristics, and overall sonic signature. Whether you're following a pre-existing amplifier schematic or designing your own circuit, attention to detail and precision are paramount in this phase of the project.
1. Schematic Design and Layout
If you're using a pre-existing amplifier design, familiarize yourself with the schematic and layout of the circuit. Understanding the signal flow, component placement, and interconnections is crucial for successful assembly. Pay close attention to the specifications and ratings of components, ensuring they align with the requirements of the circuit design.
2. PCB Design and Assembly
For a professional and reliable amplifier build, consider designing a custom printed circuit board (PCB) to house the amplifier circuit. PCB design software allows you to create a layout that optimizes signal integrity, minimizes noise, and streamlines the assembly process. Once the PCB design is finalized, proceed with the fabrication and assembly of the circuit board, ensuring precise placement of components and secure solder joints.
3. Component Placement and Wiring
Whether you're using a PCB or assembling the amplifier circuit on a protoboard, meticulous component placement and wiring are essential for the amplifier's functionality and reliability. Follow the schematic and layout guidelines, ensuring proper orientation and connectivity of components. Pay attention to signal routing, ground connections, and the separation of high and low-level signal paths to minimize interference and noise.
4. Thermal Considerations
In high-power amplifier designs, thermal management is critical to ensure the longevity and stability of the circuit. If your amplifier generates significant heat, consider incorporating thermal pads, heat sinks, and proper ventilation in the circuit layout to dissipate heat effectively. Additionally, ensure that high-power components such as transistors or tubes are adequately cooled to prevent overheating.
5. Testing and Troubleshooting
Once the circuit is assembled, thorough testing is essential to verify its functionality and performance. Use a multimeter, oscilloscope, and signal generator to test the amplifier's input and output signals, ensuring proper amplification and minimal distortion. Be prepared to troubleshoot any potential issues, such as incorrect wiring, component failures, or oscillations, and make necessary adjustments to the circuit.
By meticulously building the amplifier circuit with attention to detail, precision, and thorough testing, you can ensure the successful realization of your high-quality DIY amplifier. With the circuit in place and validated, you're ready to move on to the next phase: assembling and testing your DIY amplifier.
Assembling and Testing Your DIY Amplifier
Now that you have meticulously built the amplifier circuit, it's time to embark on the exciting phase of assembling and testing your DIY amplifier. This crucial stage involves bringing together the various components, housing them in a suitable enclosure, and subjecting the amplifier to rigorous testing to ensure its functionality and performance.
1. Enclosure Selection and Preparation
Selecting the right enclosure for your amplifier is essential for housing the circuit, providing structural support, and facilitating heat dissipation. Choose an enclosure that accommodates the amplifier circuit board, input/output connectors, and ventilation openings. Additionally, consider the aesthetic appeal and durability of the enclosure. Once you have the enclosure, prepare it by drilling holes for mounting components, input/output jacks, and ventilation, ensuring a clean and professional appearance.
2. Component Mounting and Wiring
Carefully mount the amplifier circuit board, input/output connectors, and other components in the chosen enclosure. Pay attention to the layout and orientation of components, ensuring secure mounting and proper alignment with the enclosure's openings. Follow the wiring diagram and interconnect the components, maintaining organized and insulated wiring to prevent short circuits and signal interference.
3. Power Supply Integration
Integrate the power supply components into the amplifier enclosure, ensuring proper insulation and secure mounting. Pay close attention to the routing of power cables, ensuring they are safely positioned to avoid contact with signal-carrying components. If your amplifier includes a power transformer, ensure it is adequately secured and isolated to prevent mechanical vibrations and electromagnetic interference.
4. Grounding and Shielding
Proper grounding and shielding are crucial for minimizing noise and interference in your amplifier. Establish a robust grounding scheme, connecting the amplifier circuit ground to the enclosure's chassis and input/output connectors. Additionally, consider incorporating shielding for sensitive circuitry or signal paths to mitigate electromagnetic interference and maintain signal integrity.
5. Functional Testing
With the amplifier fully assembled, it's time to subject it to comprehensive functional testing. Power up the amplifier and verify its power-on sequence, ensuring that all indicators, such as LEDs or meters, function as intended. Test the input and output connections, confirming proper signal flow and connectivity. Use a signal generator and oscilloscope to assess the amplifier's frequency response, distortion characteristics, and overall performance.
6. Load Testing and Thermal Performance
Subject the amplifier to load testing by connecting it to the intended speakers or load resistors. Verify that the amplifier can deliver the expected power output without distortion or instability. Monitor the thermal performance of the amplifier during prolonged operation, ensuring that heat dissipation is adequate and that the amplifier remains within safe operating temperatures.
7. Performance Validation
Finally, evaluate the amplifier's performance by subjecting it to real-world audio signals. Connect various audio sources and music sources, assessing the amplifier's sonic characteristics, tonal balance, and dynamic range. Listen for any anomalies, distortion, or noise, and make adjustments as necessary to optimize the amplifier's performance.
By meticulously assembling and testing your DIY amplifier, you can ensure its functionality, reliability, and sonic performance. With the amplifier successfully assembled and validated, you're ready to unleash the power of your high-quality DIY amplifier and immerse yourself in the captivating world of audio amplification.
Fine-Tuning and Customizing Your Amplifier for Optimal Performance
Fine-tuning and customizing your amplifier is a crucial step in optimizing its performance and tailoring its sonic characteristics to your preferences. Whether you're aiming for pristine audio transparency, warm tube-driven tones, or high-fidelity sound reproduction, the fine-tuning and customization process allows you to refine the amplifier's behavior and sonic signature to align with your audio aspirations.
1. Bias Adjustment (For Tube Amplifiers)
If you've constructed a tube amplifier, bias adjustment is a critical aspect of fine-tuning. Proper biasing ensures that the vacuum tubes operate within their specified parameters, influencing their harmonic distortion profile and overall tonal characteristics. By measuring and adjusting the bias voltage or current for each tube, you can achieve the desired balance between clean headroom and harmonic richness, customizing the amplifier's tonal palette to suit your sonic preferences.
2. Tone Control and Equalization
Incorporating tone control and equalization circuits allows you to shape the amplifier's frequency response to match your audio sources and listening environment. Whether it's a simple bass and treble control or a more elaborate parametric equalizer, these features enable you to fine-tune the amplifier's tonal balance, compensating for room acoustics or tailoring the sound to different music genres. Customizing the amplifier's equalization empowers you to achieve a personalized sonic signature that complements your audio playback preferences.
3. Feedback and Stability Optimization
For solid-state amplifiers, optimizing the feedback network and stability compensation is essential for achieving clean, linear amplification with minimal distortion. Fine-tuning the feedback loop parameters, such as gain and phase margin, allows you to strike a balance between stability and transient response, ensuring that the amplifier behaves predictably and reliably across varying load conditions. By customizing the feedback network, you can tailor the amplifier's transient behavior and distortion characteristics to align with your sonic ideals.
4. Component Upgrades and Modifications
Exploring component upgrades and circuit modifications presents an avenue for customizing the amplifier's performance and sonic attributes. Whether it's upgrading capacitors, resistors, or op-amps, or implementing circuit tweaks such as changing the amplifier's operating class or biasing scheme, these modifications can impart subtle or profound changes to the amplifier's sound. Carefully evaluating the impact of component upgrades and circuit modifications allows you to fine-tune the amplifier's performance, elevating its sonic fidelity and responsiveness to your audio inputs.
5. Aesthetic Customization
Beyond sonic customization, the aesthetic appeal of your amplifier can be personalized to reflect your individual style and preferences. Consider customizing the amplifier's enclosure with unique finishes, engraved panels, or illuminated accents. Aesthetic customization not only adds a personal touch to your amplifier but also enhances its visual integration into your audio setup, creating a cohesive and personalized listening environment.
By engaging in the fine-tuning and customization process, you can transform your DIY amplifier into a bespoke audio instrument that embodies your sonic vision and preferences. Whether it's refining the tonal characteristics, optimizing stability and feedback, or adding personalized aesthetic touches, the customization journey empowers you to unleash the full potential of your high-quality DIY amplifier, elevating your audio listening experience to new heights.
Conclusion and Final Thoughts
Embarking on the journey of building your own high-quality audio amplifier is a gratifying endeavor that not only enhances your technical skills but also allows you to craft a sonic masterpiece tailored to your unique preferences. As you reach the culmination of your DIY amplifier project, it's essential to reflect on the knowledge gained, the challenges overcome, and the sheer joy of bringing your amplifier to life. The process of selecting components, designing the circuit, assembling the amplifier, and fine-tuning its performance has not only resulted in a remarkable audio device but has also fostered a deeper appreciation for the art and science of audio amplification.
As you integrate your DIY amplifier into your audio setup and immerse yourself in the captivating sounds it produces, take pride in the craftsmanship and ingenuity that went into its creation. Your DIY amplifier stands as a testament to your passion for audio excellence and your dedication to the pursuit of sonic perfection. Whether you're enjoying the pristine clarity of a well-recorded symphony, the warmth of vinyl playback, or the raw energy of a live concert, your DIY amplifier serves as the conduit through which music and sound come to life, enveloping you in an immersive auditory experience.
As you listen to your favorite tracks and explore new musical horizons, the DIY amplifier you've crafted becomes more than just an audio device – it becomes a companion on your sonic journey, faithfully translating the nuances and emotions embedded in the music. The satisfaction derived from knowing that your hands brought this amplifier to fruition, that your choices shaped its sonic character, and that your creativity breathed life into its circuits is an unparalleled reward that transcends the realm of audio equipment.
In the realm of DIY audio amplifiers, the journey never truly ends. It's a continuum of exploration, learning, and refinement, where each project fuels the next, and each sonic revelation inspires new aspirations. As you revel in the sonic splendor of your DIY amplifier, let it serve as a testament to the boundless possibilities that await those who dare to venture into the realm of DIY audio craftsmanship. Your amplifier stands as a testament to the power of creativity, the allure of technical mastery, and the unyielding pursuit of audio excellence.
In the grand tapestry of audio amplification, your DIY amplifier is a unique thread, woven with passion, skill, and a relentless pursuit of sonic perfection. It's a testament to the enduring spirit of innovation and the timeless allure of creating something truly exceptional. As you bask in the sonic glory of your DIY amplifier, remember that its creation is a testament to your unwavering commitment to the art of audio amplification. Let your DIY amplifier be a source of inspiration, a catalyst for creativity, and a beacon of sonic excellence in your audio journey.