
Home>Organize & Storage>Closet Organization>DIY Closet Vanity Ideas
Closet Organization
DIY Closet Vanity Ideas
Published: September 3, 2024
Discover creative DIY closet vanity ideas to transform your space into a stylish and functional area. Get inspired with tips and tricks for the perfect closet makeover!
(Many of the links in this article redirect to a specific reviewed product. Your purchase of these products through affiliate links helps to generate commission for Twigandthistle.com, at no extra cost. Learn more)
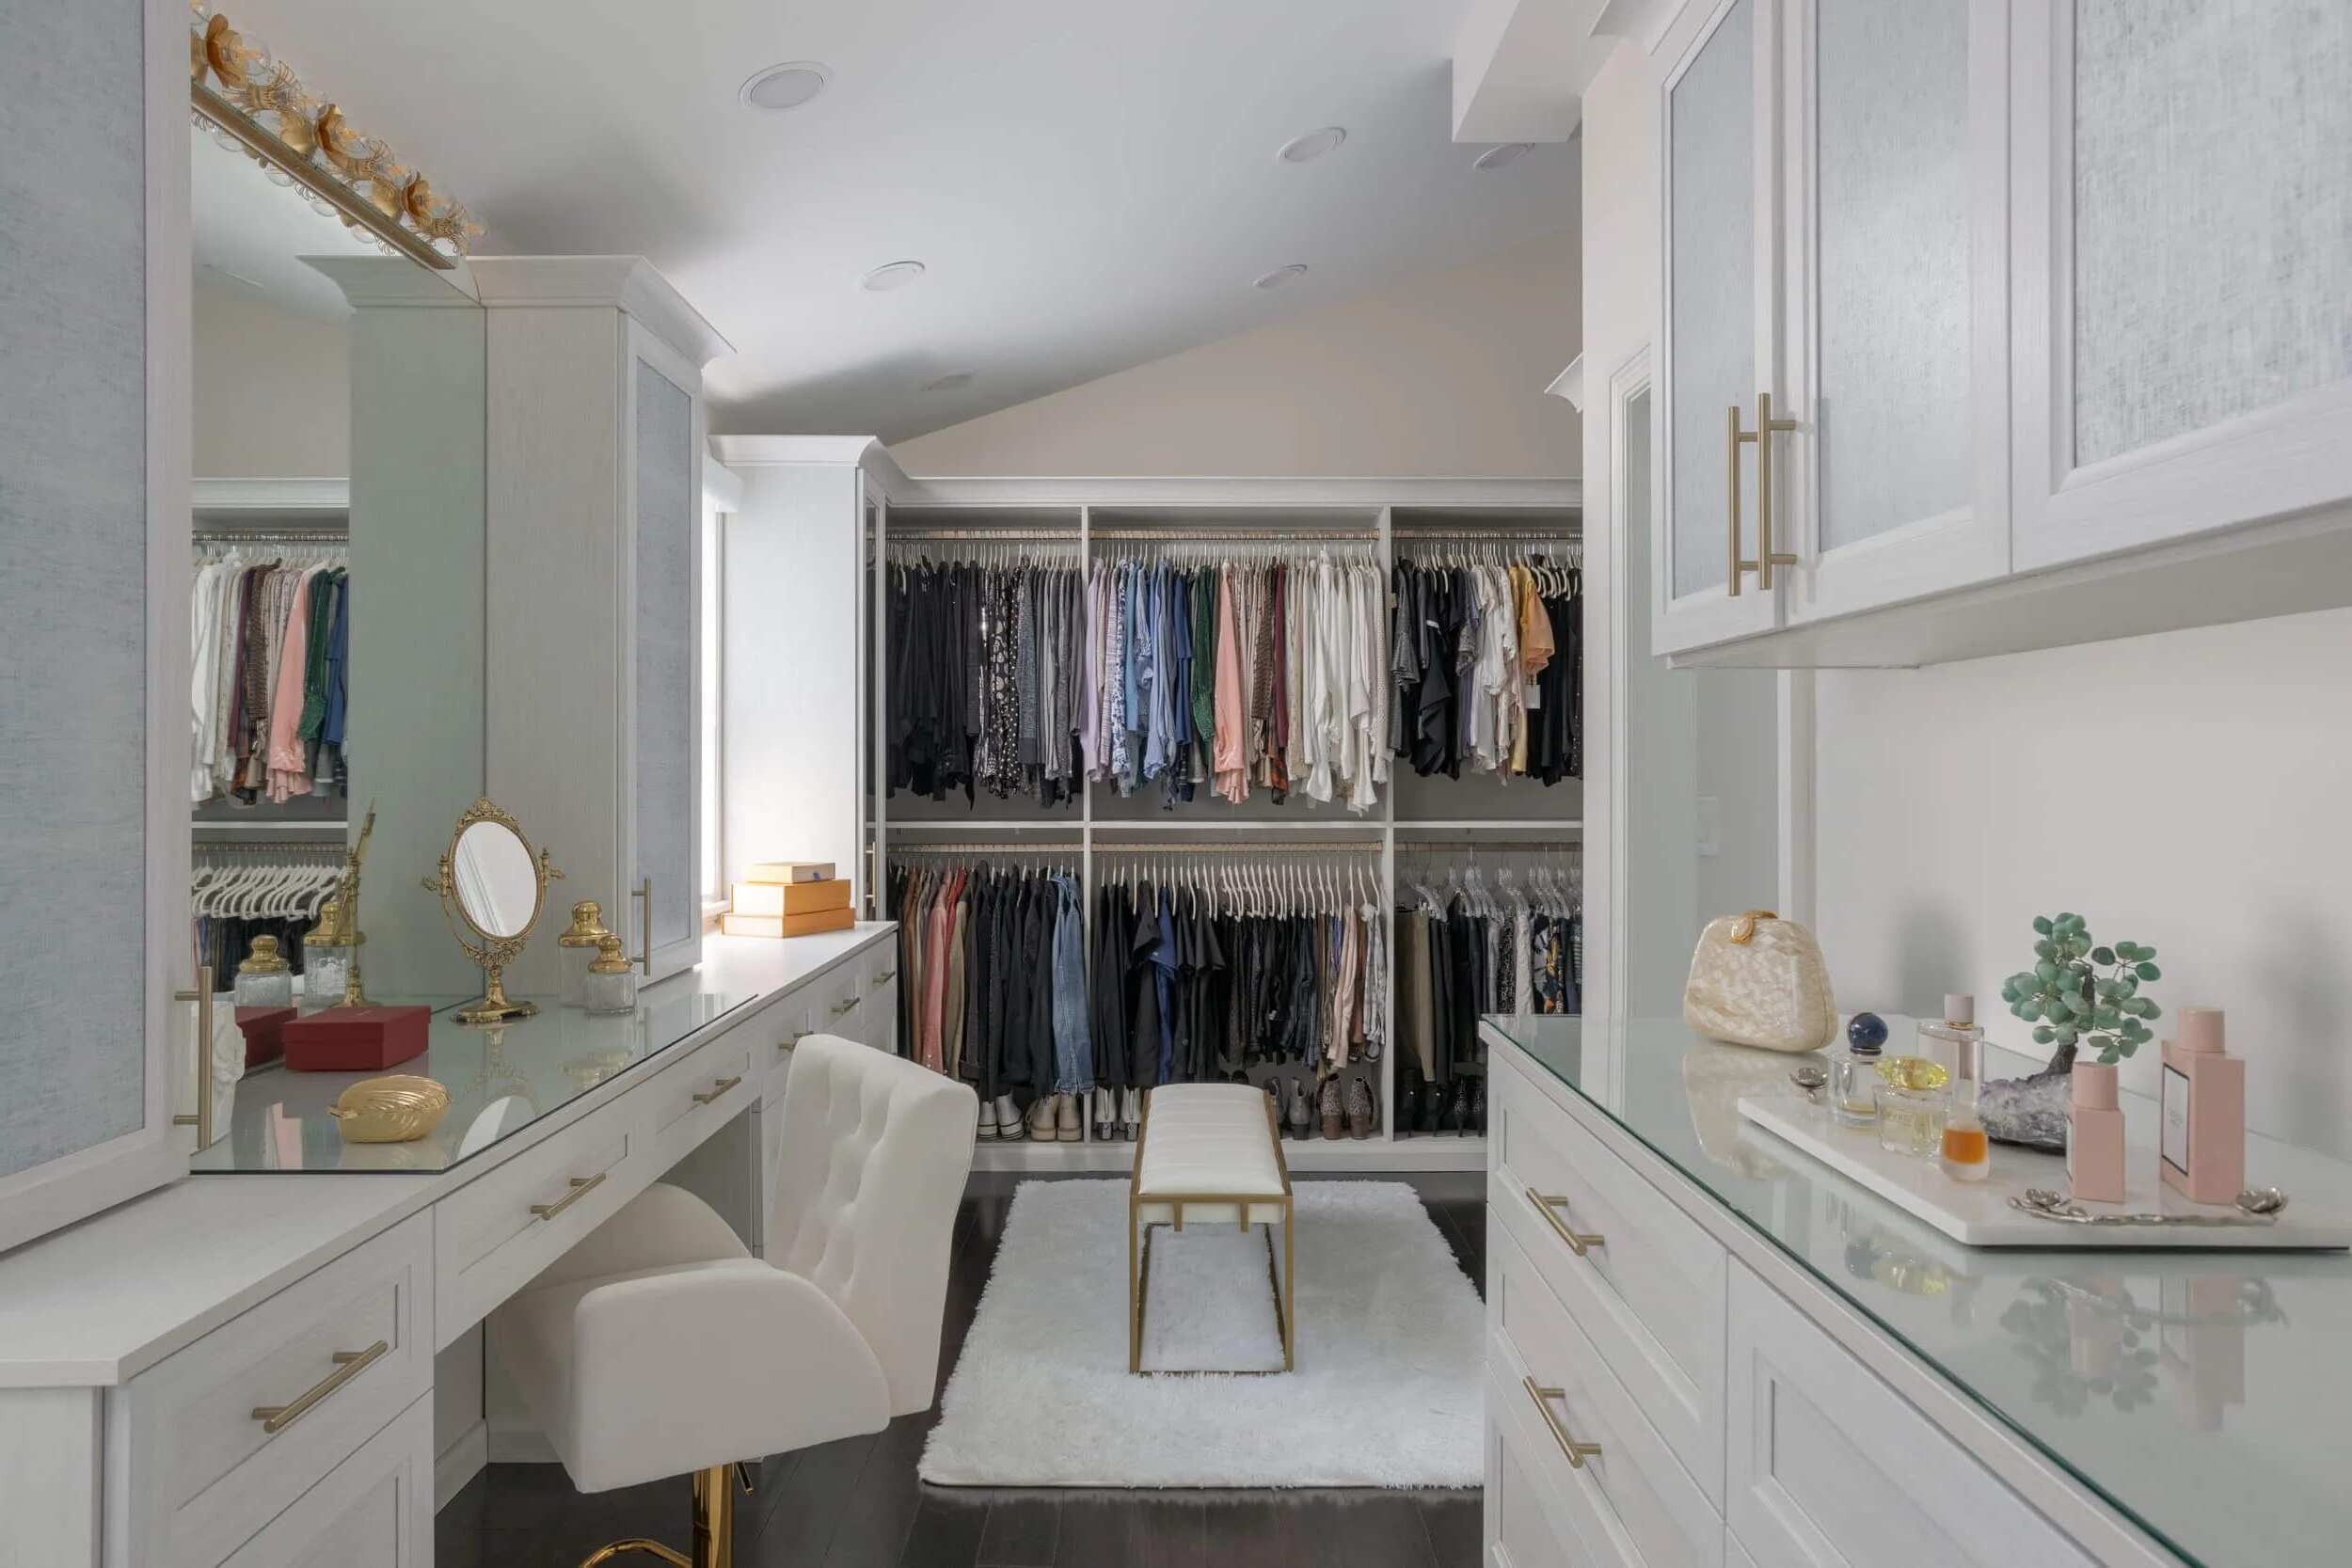
Got a closet that needs a makeover? Creating a DIY closet vanity can be a fun project that adds style and functionality to your space. You don't need a lot of fancy tools or a big budget. With just a few supplies and some creativity, you can transform an ordinary closet into a personalized vanity area. This guide will share simple steps and ideas to help get you started. Imagine having a special spot for getting ready each day, right in your own home. Ready to dive in? Let's make that closet vanity a reality!
Getting Ready for Your Project
Measure the Space: Use a tape measure to get the dimensions of your closet. Write down the width, depth, and height.
Clear the Area: Remove everything from the closet. This includes clothes, shelves, and any other items.
Gather Tools and Materials: Collect all necessary tools like a drill, screws, a level, and a saw. Also, gather materials such as wood, a mirror, paint, and a vanity chair.
Plan the Layout: Sketch a rough design of where you want the vanity table, mirror, and storage. This helps visualize the final look.
Set Up a Workspace: Find a clean, well-lit area to cut wood and assemble parts. Lay down a drop cloth to protect the floor.
Safety Gear: Wear safety goggles, gloves, and a dust mask to protect yourself while working.
Check for Electrical Outlets: If you need lighting, make sure there’s an outlet nearby. If not, consider using battery-operated lights.
Prep the Walls: Clean the walls and patch any holes. If you plan to paint, do this now and let it dry completely.
Cut and Assemble: Cut wood pieces according to your measurements. Assemble the vanity table and any shelves.
Install the Vanity: Secure the vanity table to the wall using brackets. Make sure it’s level.
Add Finishing Touches: Attach the mirror, install lighting, and place the chair. Add any decorative items like organizers or trays.
Gathering Materials and Tools
- Wooden Boards: Used for creating shelves, the countertop, and any additional storage units.
- Screws and Nails: Essential for securing the wooden boards together and attaching them to the wall.
- Measuring Tape: Ensures accurate measurements for cutting wood and placing shelves.
- Saw: Needed for cutting wooden boards to the desired size.
- Drill: Used for making holes for screws and assembling the vanity.
- Screwdriver: Helps in tightening screws.
- Hammer: Useful for driving nails into the wood.
- Level: Ensures shelves and the countertop are even.
- Sandpaper: Smooths out rough edges on the wood.
- Paint or Stain: Adds color or finish to the wood.
- Paintbrushes or Rollers: Used for applying paint or stain.
- Mirror: A key component of any vanity.
- Lighting Fixtures: Provides adequate lighting for the vanity area.
- Power Strip: Useful for plugging in hairdryers, straighteners, or other electronic devices.
- Storage Bins or Baskets: Helps organize makeup, hair products, and other items.
- Adhesive Hooks: Useful for hanging jewelry or other accessories.
- Decorative Knobs or Handles: Adds a personal touch to drawers or cabinets.
- Wood Glue: Provides extra strength to joints and connections.
- Pencil: Marks measurements and cutting lines.
- Clamps: Holds pieces of wood together while the glue dries.
Skill Level and Time Needed
Skill Level: Intermediate
Time Required: 4-6 hours
- Planning and Measuring: 1 hour
- Gathering Materials: 30 minutes
- Assembling Vanity: 2-3 hours
- Painting/Staining: 1 hour
- Final Touches: 30 minutes
How to Build Your Closet Vanity
Measure the Space
- Use a tape measure to find the dimensions of the closet.
- Write down the width, depth, and height.
Choose a Vanity Table
- Pick a table that fits within the measured space.
- Ensure it has enough surface area for your needs.
Install Lighting
- Mount a light fixture above the vanity table.
- Use LED bulbs for bright, energy-efficient lighting.
Add a Mirror
- Hang a mirror on the wall above the table.
- Ensure it is securely fastened.
Organize Storage
- Place small bins or drawers on the table for makeup and accessories.
- Use hooks or shelves on the walls for additional storage.
Set Up a Chair
- Choose a comfortable chair that fits under the table.
- Ensure it is the right height for the table.
Decorate
- Add personal touches like photos, plants, or decorative trays.
- Keep the area tidy and clutter-free.
Test the Setup
- Sit at the vanity and check if everything is within reach.
- Adjust the arrangement if needed.
Helpful Tips and Tricks
Measure your space accurately. Use a level to ensure everything is straight. Repurpose old furniture like a small desk or table for the vanity. Install good lighting; LED strips work well. Use baskets or bins for storage. Add a mirror with built-in lights if possible. Paint or wallpaper the inside for a fresh look.
Common mistakes include not measuring correctly, leading to poor fit. Avoid overloading shelves, which can cause them to sag. Don’t forget about ventilation; closets can get stuffy.
Instead of a traditional vanity, consider a floating shelf. For mirrors, try stick-on options. Use peel-and-stick wallpaper for easy application.
Estimating the Cost
Materials:
- Vanity Table: $50 - $150 (You can repurpose an old desk or table for free)
- Mirror: $20 - $100 (Consider thrift stores for cheaper options)
- Lighting: $30 - $80 (LED strip lights are budget-friendly)
- Chair/Stool: $20 - $60 (Repurpose an old chair to save money)
- Paint: $15 - $30 (For a fresh look)
- Drawer Organizers: $10 - $30 (Dollar stores have affordable options)
Tools:
- Screwdriver Set: $10 - $20
- Paintbrushes/Rollers: $5 - $15
- Measuring Tape: $5 - $10
- Drill: $30 - $60 (Borrow from a friend to save money)
Total Cost: $195 - $555
Budget-Friendly Alternatives:
- Repurpose Furniture: Use an old desk or table instead of buying new.
- Thrift Stores: Find mirrors, chairs, and other items at lower prices.
- DIY Lighting: Use battery-operated LED lights instead of wired ones.
- Dollar Stores: Get drawer organizers and small items for less.
Different Variations and Customizations
Alternative materials can add a unique touch. Instead of traditional wood, try reclaimed wood for a rustic look or plywood for a budget-friendly option. For a modern feel, use metal or glass surfaces.
Colors make a big difference. Paint the vanity in bold colors like navy blue or emerald green for a statement piece. Pastel shades like mint green or blush pink create a softer, more calming vibe. Neutral tones like white, beige, or gray keep it classic and versatile.
Styles can vary based on personal taste. For a vintage look, add antique knobs and handles. A minimalist style can be achieved with sleek lines and hidden storage. For a bohemian touch, incorporate woven baskets and colorful textiles.
Lighting is crucial. Install LED strip lights around the mirror for a Hollywood glam effect. Use pendant lights for a chic, modern look. Wall sconces can add a touch of elegance.
Storage solutions can be customized too. Add floating shelves for easy access to beauty products. Use drawer organizers to keep makeup and accessories tidy. Install a pull-out tray for a hidden workspace.
Mirrors can also be varied. A large, framed mirror adds a classic touch. For a modern twist, use a round mirror with a thin frame. Mirrored cabinets provide both storage and style.
Seating options can enhance comfort. A plush stool or upholstered chair adds luxury. For a more casual feel, use a simple wooden bench or a folding chair.
Decorative accents personalize the space. Add plants for a fresh, natural feel. Use artwork or photos to make it uniquely yours. Incorporate decorative trays to organize and display items stylishly.
Eco-Friendly Tips
Reclaimed Wood: Use old wood from pallets or barns. Sand it down, then stain or paint it for a fresh look.
Recycled Glass: Create a countertop using recycled glass tiles. They come in various colors and add a unique touch.
Eco-Friendly Paint: Choose low-VOC or zero-VOC paint. These paints are better for indoor air quality.
Bamboo: Use bamboo for shelves or countertops. It's a fast-growing, renewable resource.
Repurpose Furniture: Turn an old desk or dresser into a vanity. Add a mirror and some lighting.
Natural Fabrics: Use organic cotton or linen for seat cushions or curtains. They are biodegradable and sustainable.
LED Lighting: Install LED lights around the mirror. They use less energy and last longer than traditional bulbs.
Salvaged Hardware: Find knobs, handles, and hooks at thrift stores or salvage yards. They add character and reduce waste.
Cork: Use cork for drawer liners or a bulletin board. It's renewable and has a unique texture.
Recycled Metal: Incorporate recycled metal for drawer pulls or light fixtures. It’s durable and eco-friendly.
Your Dream Vanity Awaits
Creating a DIY closet vanity is totally doable. With some creativity and a few tools, you can transform a simple closet into a stylish and functional space. Think about your needs and preferences. Do you need more storage or a bigger mirror? Maybe some extra lighting?
Don't forget to personalize it. Add some decor that makes you happy. A few pictures, a plant, or even some funky knobs on the drawers can make a big difference.
Remember, the goal is to create a space where you feel comfortable and inspired. So, roll up your sleeves, grab your tools, and get started. Your dream vanity is just a weekend project away. Happy DIY-ing!
How can I turn my closet into a vanity?
Clear out the closet, then add a small desk or table. Install a mirror on the wall and add lighting. Use shelves or drawers for storage.
What kind of lighting works best?
LED lights are great because they're bright and energy-efficient. You can use strip lights around the mirror or a table lamp.
Do I need a big closet for this?
Not at all! Even a small closet can become a vanity. Just use compact furniture and smart storage solutions.
How do I organize makeup and accessories?
Use drawer organizers and small bins. Hanging organizers on the door can also save space.
Can I DIY the whole project?
Absolutely! Most of the materials are easy to find. You might need some basic tools like a screwdriver and hammer.
What should I do about ventilation?
If your closet doesn't have good airflow, consider a small fan or ventilation system. This helps keep the area fresh.
How much will it cost?
Costs vary, but you can keep it budget-friendly by using thrifted or repurposed items. Expect to spend anywhere from $50 to $200.