
Home>Home & Furniture>Roof>How to Build an Extruded Aluminum Roof Rack
Roof
How to Build an Extruded Aluminum Roof Rack
Published: August 19, 2024
Learn how to build a durable and versatile extruded aluminum roof rack with our step-by-step guide. Perfect for DIY enthusiasts looking to maximize their vehicle's storage.
(Many of the links in this article redirect to a specific reviewed product. Your purchase of these products through affiliate links helps to generate commission for Twigandthistle.com, at no extra cost. Learn more)
Building an extruded aluminum roof rack can be a satisfying project for any DIY enthusiast. Aluminum is lightweight yet strong, making it ideal for roof racks designed to carry gear on top of vehicles. With some basic tools and materials, constructing your own custom rack becomes achievable. This introduction will guide you through selecting materials, cutting and assembling pieces, and securing the rack safely to your vehicle. By the end, you'll have a sturdy roof rack ready for adventure. Ready to get started? Let's dive in and put those DIY skills to good use.
Getting Ready for Your Project
Gather Materials: Collect extruded aluminum bars, brackets, bolts, nuts, washers, and tools like a drill, wrench, and measuring tape.
Safety Gear: Wear safety goggles, gloves, and ear protection. Keep a first aid kit nearby.
Workspace Setup: Choose a flat, stable surface. Ensure good lighting and ventilation. Keep tools organized.
Measure Your Vehicle: Measure the roof's width and length. Note any curves or unique features.
Cut Aluminum Bars: Use a saw to cut bars to the required lengths. Smooth edges with a file.
Pre-Drill Holes: Mark and drill holes for bolts on the bars. Ensure alignment for easy assembly.
Test Fit: Assemble the rack loosely on the ground. Check for fit and adjust as needed.
Clean Surface: Clean the vehicle's roof. Remove dirt and debris to ensure a secure fit.
Attach Brackets: Secure brackets to the roof using bolts. Ensure they are tight and stable.
Assemble Rack: Attach the aluminum bars to the brackets. Tighten all bolts securely.
Check Stability: Push and pull the rack to ensure it’s stable. Adjust bolts if necessary.
Final Inspection: Inspect all connections. Ensure no loose parts or sharp edges.
Materials and Tools Needed
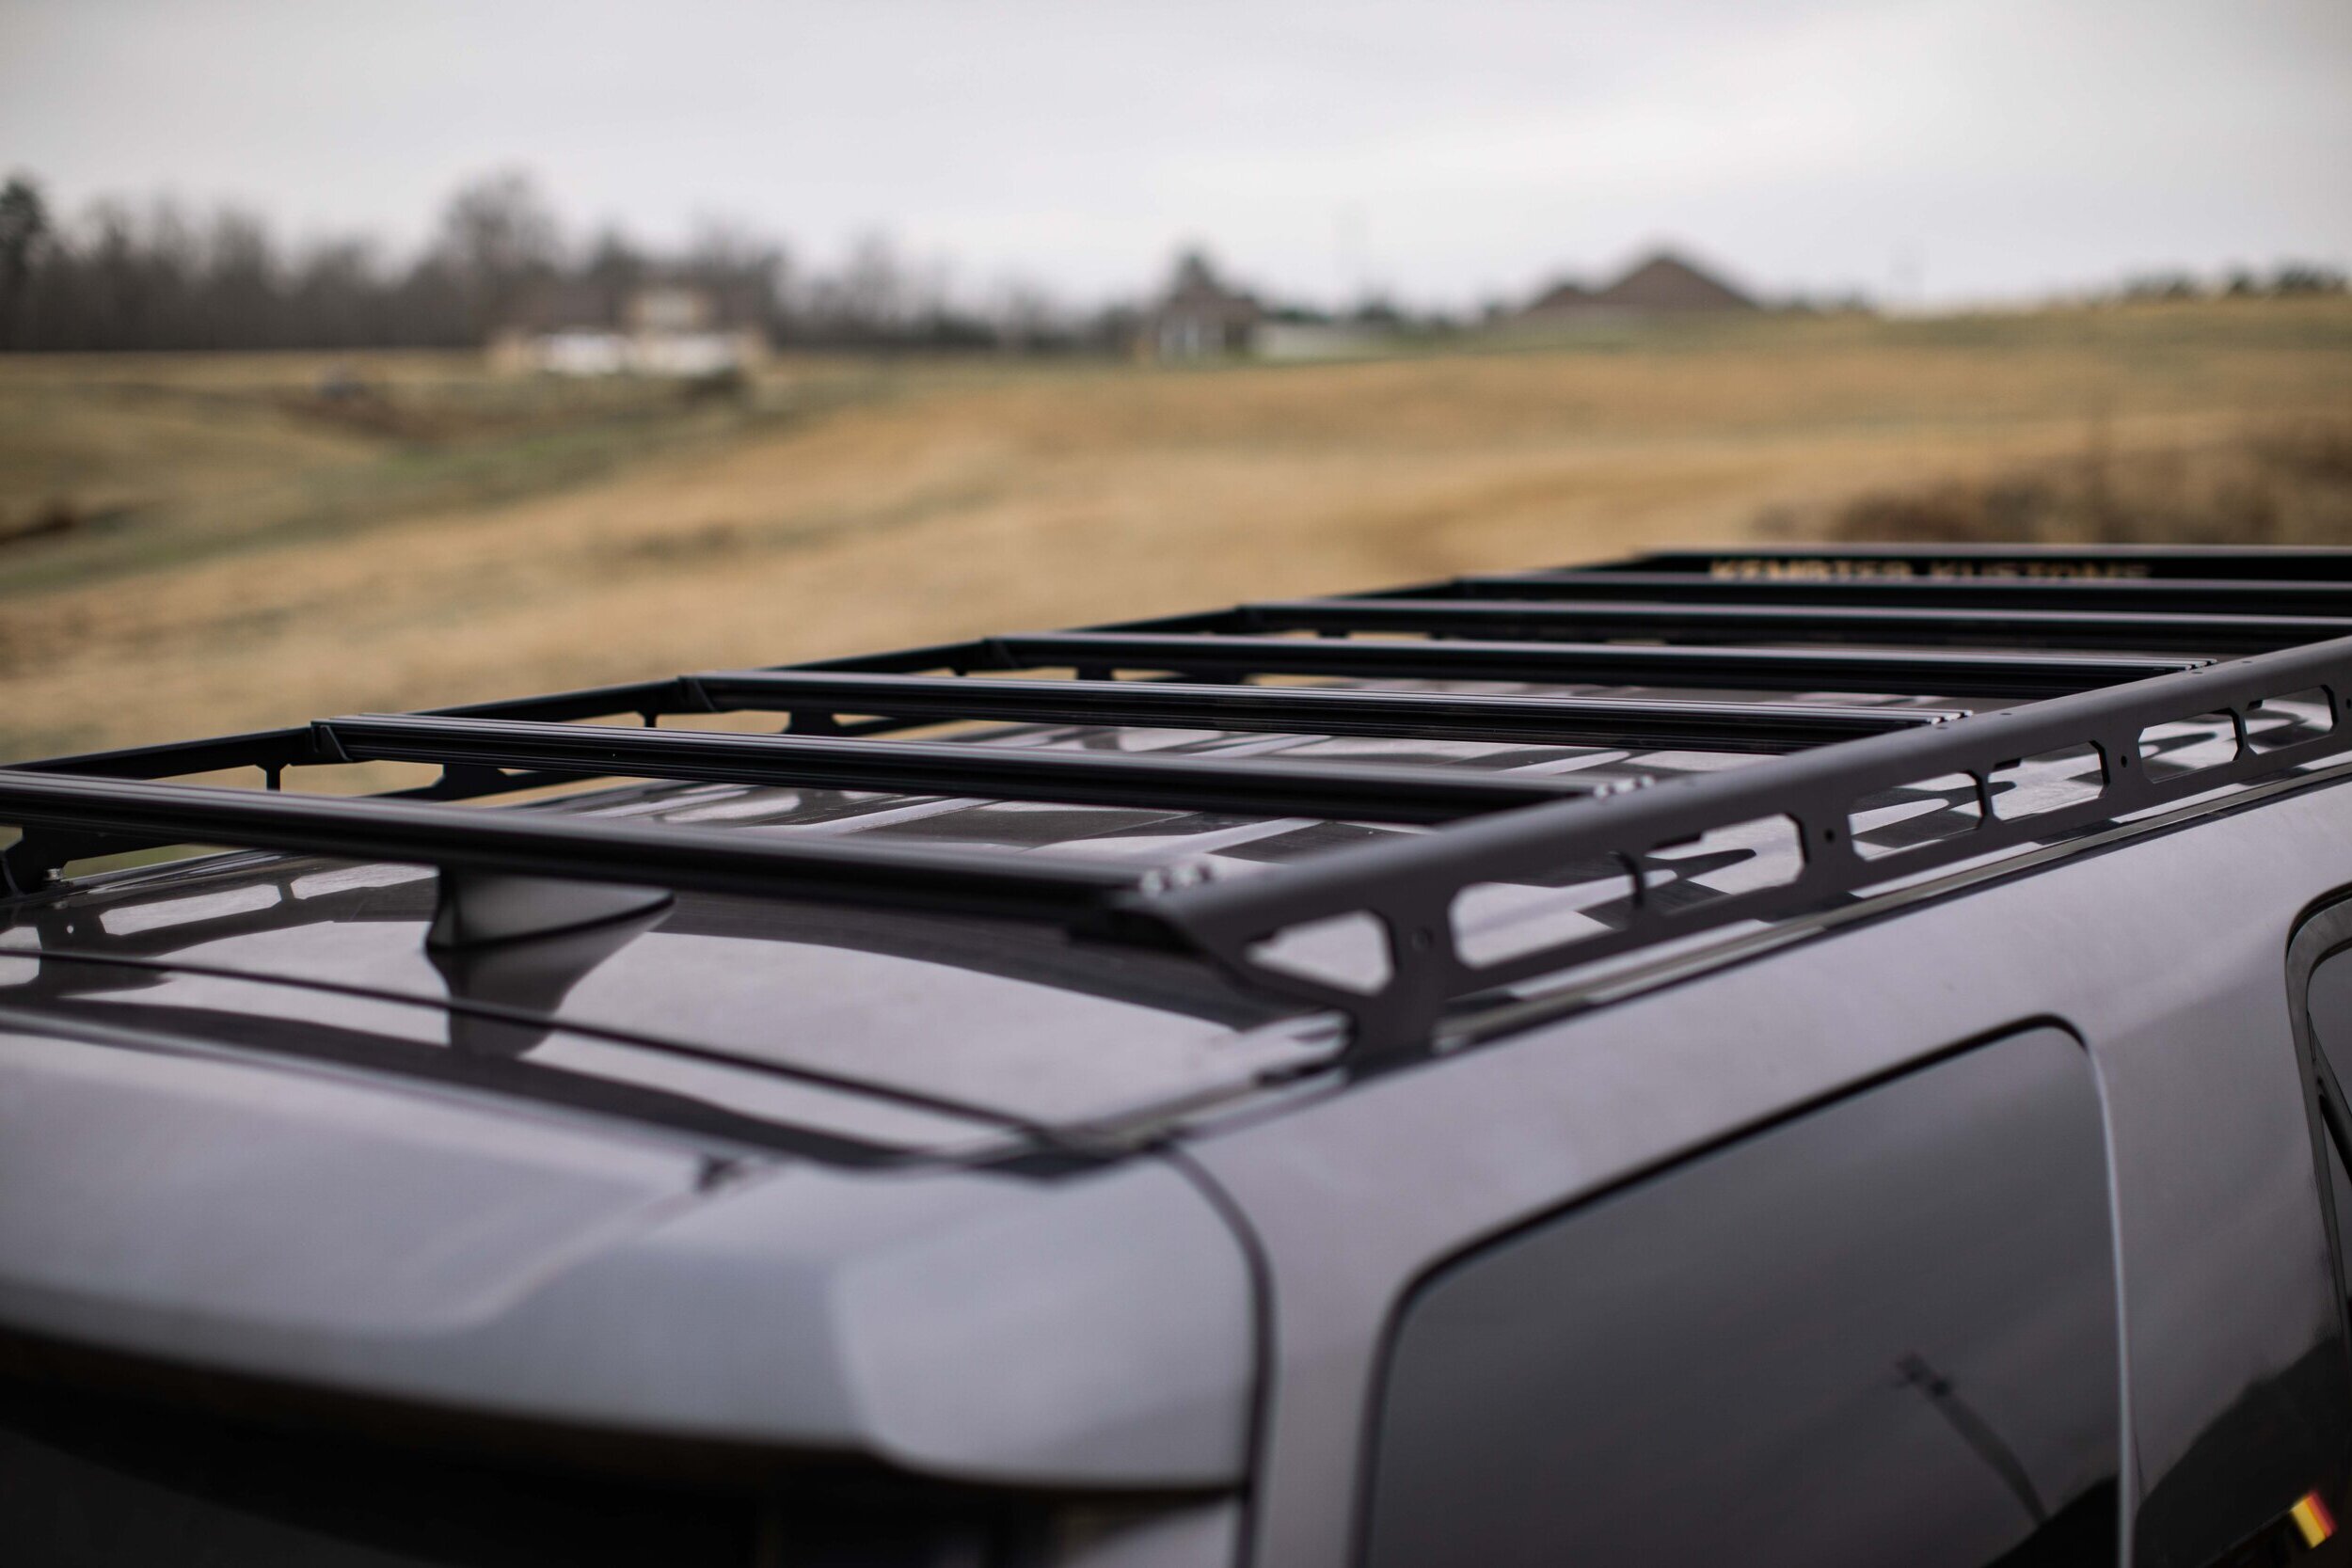
Extruded Aluminum Bars: These are the main structural components. They are lightweight yet strong, perfect for supporting weight on your roof.
Corner Brackets: Used to connect the aluminum bars at right angles, ensuring a sturdy frame.
T-Slot Nuts and Bolts: These fasteners slide into the grooves of the aluminum bars, allowing you to attach various components securely.
Rubber Gaskets: Placed between the roof and the rack to prevent scratching and provide a snug fit.
End Caps: These cover the open ends of the aluminum bars, giving a finished look and preventing debris from entering.
Measuring Tape: Essential for accurate measurements to ensure all parts fit together correctly.
Marker: Used to mark where cuts and holes need to be made.
Hacksaw or Miter Saw: For cutting the aluminum bars to the required lengths.
Drill and Drill Bits: Needed for making holes in the aluminum bars for bolts and screws.
Allen Wrenches: Used to tighten the T-slot nuts and bolts.
Screwdriver: For securing screws and other fasteners.
File or Sandpaper: To smooth out any rough edges after cutting the aluminum bars.
Safety Gear: Includes gloves and safety glasses to protect yourself while cutting and drilling.
Ladder: Helps you reach the roof of your vehicle safely.
Clamps: Hold the aluminum bars in place while you work on them.
Level: Ensures that the rack is even and properly aligned.
Skill Level and Time Required
Skill Level: Intermediate
Time Required: 6-8 hours
- Gather Materials: 1 hour
- Measure and Cut Aluminum: 1-2 hours
- Assemble Frame: 2 hours
- Install Mounting Brackets: 1 hour
- Final Adjustments and Testing: 1 hour
Step-by-Step Instructions
Gather Materials:
- Extruded aluminum bars
- Corner brackets
- Bolts, nuts, and washers
- Rubber gaskets
- Measuring tape
- Hacksaw or miter saw
- Drill with metal bits
- Screwdriver
- Wrenches
Measure Roof:
- Measure the width and length of your vehicle's roof.
- Decide on the dimensions for your rack based on these measurements.
Cut Aluminum Bars:
- Use a hacksaw or miter saw to cut the aluminum bars to the desired lengths.
- Ensure cuts are straight for a proper fit.
Assemble Frame:
- Lay out the cut bars to form the frame.
- Attach corner brackets at each corner using bolts, nuts, and washers.
- Tighten bolts with wrenches.
Add Crossbars:
- Measure and cut additional bars for crossbars.
- Attach crossbars to the frame using brackets and bolts.
- Space crossbars evenly for support.
Drill Mounting Holes:
- Mark spots on the frame where it will attach to the vehicle.
- Drill holes at these marks for mounting bolts.
Install Rubber Gaskets:
- Place rubber gaskets between the rack and the vehicle's roof to prevent scratches.
- Ensure gaskets align with mounting holes.
Mount Rack to Vehicle:
- Position the rack on the roof.
- Insert bolts through the mounting holes and gaskets.
- Secure bolts with nuts and washers from inside the vehicle.
Check Stability:
- Tighten all bolts and nuts securely.
- Shake the rack gently to ensure it is stable and secure.
Final Adjustments:
- Make any necessary adjustments for alignment.
- Double-check all connections and tighten if needed.
Tips and Tricks
Measure Twice, Cut Once: Always double-check measurements before cutting aluminum. Mistakes can be costly.
Use Proper Tools: A miter saw with a non-ferrous blade works best for cutting aluminum. Ensure cuts are clean and precise.
Deburr Edges: After cutting, use a deburring tool or sandpaper to smooth rough edges. This prevents injuries and ensures parts fit together well.
Pre-Drill Holes: Mark and pre-drill holes for bolts and screws. This makes assembly easier and ensures alignment.
Use Stainless Steel Hardware: Stainless steel bolts, nuts, and washers resist rust and corrosion, making your rack last longer.
Apply Thread Locker: Use thread locker on bolts to prevent them from loosening due to vibrations while driving.
Test Fit Before Final Assembly: Assemble the rack loosely first to ensure all parts fit correctly. Make adjustments as needed before tightening everything.
Protective Coating: Consider applying a protective coating or paint to the aluminum to prevent oxidation and improve appearance.
Common Mistakes to Avoid:
Skipping Measurements: Not measuring accurately can lead to parts not fitting together properly.
Using Wrong Tools: Using inappropriate tools can damage the aluminum or result in poor cuts.
Ignoring Safety Gear: Always wear safety goggles and gloves when cutting and assembling to avoid injuries.
Over-Tightening Bolts: Over-tightening can strip threads or damage the aluminum. Tighten bolts just enough to secure them.
Alternatives for Materials or Methods:
Steel Instead of Aluminum: Steel can be used for a stronger, though heavier, rack. It may require welding instead of bolting.
Pre-Made Kits: Consider pre-made roof rack kits if custom building seems too complex. These kits often come with all necessary parts and instructions.
Plastic End Caps: Use plastic end caps for aluminum tubing to give a finished look and protect from sharp edges.
Rivets Instead of Bolts: Rivets can be used for a more permanent and streamlined assembly, though they are harder to remove if adjustments are needed.
Cost Estimation
Extruded aluminum: $100-$150 for 10-15 feet
Corner brackets: $20-$30 for a pack of 10
Bolts, nuts, washers: $10-$20 for a mixed pack
Crossbars: $40-$60 for two
Mounting feet: $30-$50 for four
Rubber gaskets: $10-$15 for a pack
End caps: $10-$15 for a pack of four
Tools:
- Drill: $30-$50
- Metal saw: $20-$40
- Measuring tape: $5-$10
- Wrenches: $10-$20
Total cost: $285-$460
Budget-friendly alternatives:
- Use recycled aluminum: Save $50-$70
- DIY corner brackets: Save $10-$15
- Borrow tools: Save $50-$100
Variations and Customizations
Materials: Instead of extruded aluminum, consider using steel for a more rugged look or wood for a classic, vintage style. Carbon fiber can be used for a lightweight, high-tech option.
Colors: Paint the rack in black for a sleek, modern appearance. Use bright colors like red or blue for a sporty vibe. Camouflage patterns can be applied for an adventurous, off-road feel.
Styles: Add side rails for extra security. Install crossbars to support different types of cargo. Attach light mounts for off-road lighting. Integrate a wind deflector to reduce noise and improve aerodynamics.
Accessories: Include tie-down points for securing loads. Add lockable storage boxes for valuables. Install a bike rack or kayak holder for outdoor activities. Use solar panels on top for charging devices during trips.
Finishes: Opt for a matte finish to reduce glare. Choose a glossy finish for a polished look. Apply a textured finish for better grip and durability.
Sustainability Tips
Extruded aluminum is a great choice for a roof rack because it’s lightweight, strong, and recyclable. Look for recycled aluminum to reduce environmental impact. Use stainless steel bolts and nuts, which are durable and can be reused.
Consider reclaimed wood for any non-structural parts. This adds a unique look and reduces waste. Opt for eco-friendly paint or sealant to protect the materials without harmful chemicals.
When cutting aluminum, save the scraps for future projects or recycling. Use hand tools or manual saws instead of power tools to save energy.
For the base, repurpose an old bike rack or metal frame. This reduces the need for new materials and gives new life to old items.
Finally, ensure the design is modular. This allows for easy repairs or upgrades without replacing the entire rack.
Your Roof Rack Awaits
Building an extruded aluminum roof rack isn't just about saving money; it's about creating something unique. You've learned to measure, cut, and assemble the aluminum pieces, ensuring a snug fit for your vehicle. By choosing extruded aluminum, you've opted for a lightweight yet durable material that can handle your adventures. Remember, the key steps include precise measurements, secure connections, and proper finishing touches. With your new skills, you can tackle other DIY projects with confidence. Now, load up your gear and hit the road, knowing your custom roof rack is ready for anything.
What materials do I need to build an extruded aluminum roof rack?
You'll need extruded aluminum bars, corner brackets, bolts, nuts, washers, and end caps. A drill, saw, measuring tape, and wrenches will also come in handy.
How do I measure my car for the roof rack?
Measure the width and length of your car's roof. Make sure to account for any curves or obstructions like antennas. This helps ensure your rack fits snugly.
Can I customize the size of the roof rack?
Absolutely! You can cut the aluminum bars to fit your car's roof perfectly. Just make sure to measure twice and cut once to avoid mistakes.
How do I attach the roof rack to my car?
Use mounting brackets that fit your car's roof rails or gutters. Secure them tightly with bolts and nuts. Double-check that everything is snug to avoid any wobbles.
Is it difficult to assemble the roof rack?
Not really. If you can follow instructions and use basic tools, you should be fine. Just take your time and ensure each part is securely fastened.
How much weight can an extruded aluminum roof rack hold?
Typically, these racks can hold between 100 to 200 pounds. Always check the manufacturer's guidelines and your car's roof load limit to be safe.
Do I need to maintain the roof rack?
Yes, it's a good idea to check the bolts and brackets regularly. Tighten any loose parts and clean the aluminum to prevent corrosion.