
Home>Home & Furniture>Living Room>Country Charm: DIY Decorations
Living Room
Country Charm: DIY Decorations
Published: August 6, 2024
Discover how to bring rustic elegance into your home with our DIY country charm decorations. Simple, budget-friendly ideas to transform your living space with a cozy, farmhouse feel.
(Many of the links in this article redirect to a specific reviewed product. Your purchase of these products through affiliate links helps to generate commission for Twigandthistle.com, at no extra cost. Learn more)
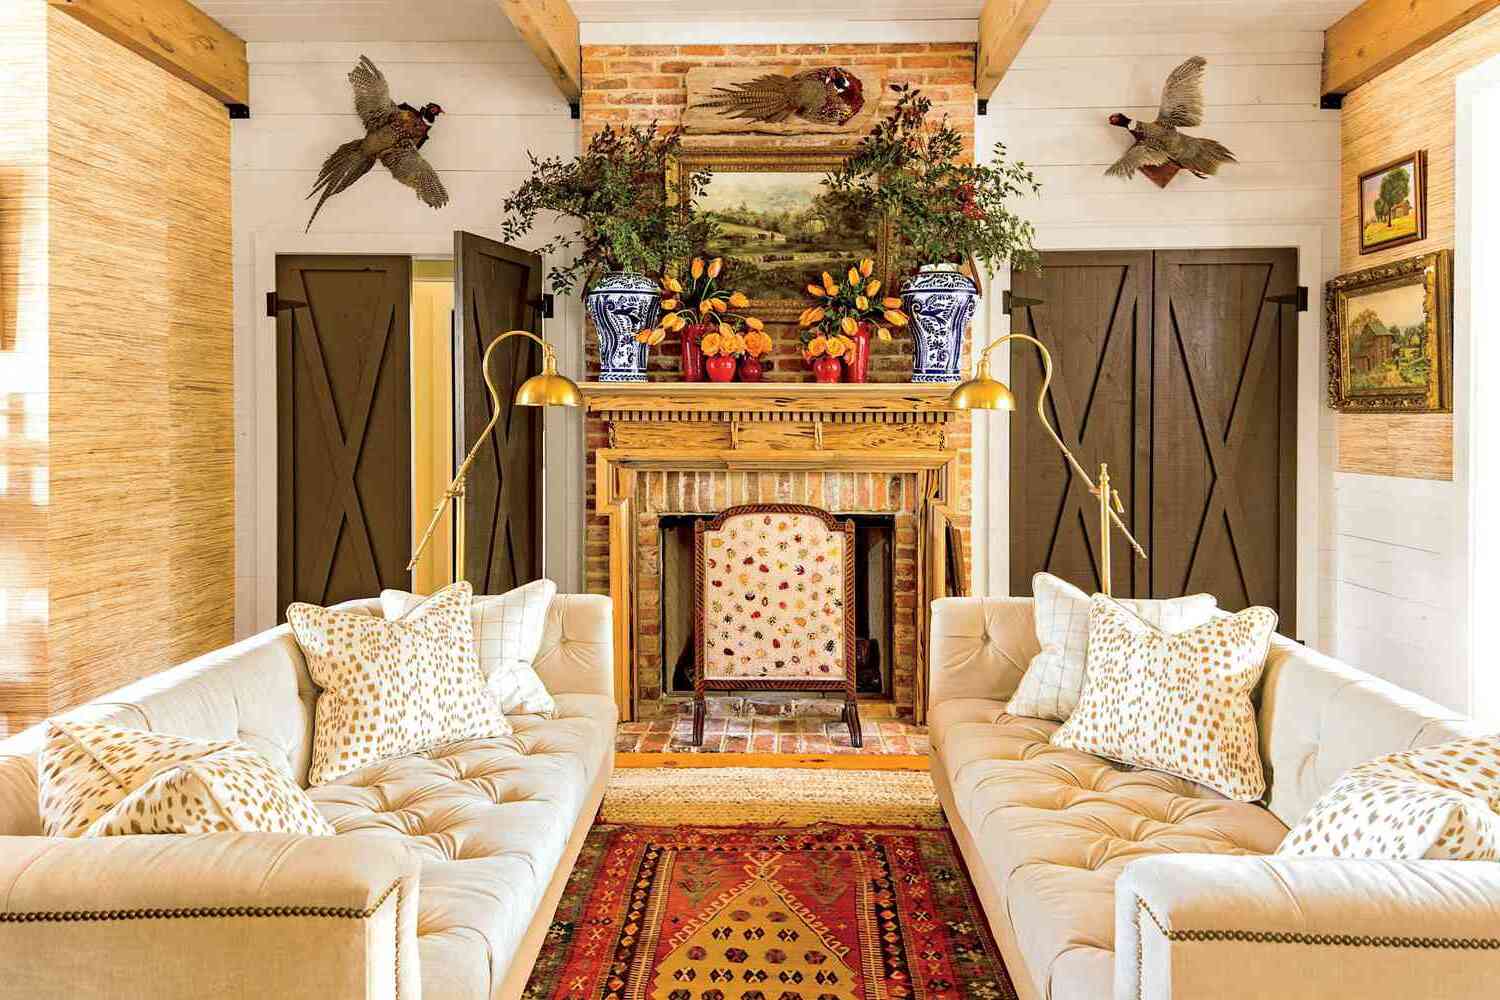
Welcome to the world of DIY home decor with a touch of country charm! Creating your own decorations can be a fun, fulfilling way to personalize your space while saving money. It's all about mixing rustic elements with cozy, inviting designs. Imagine mason jars transformed into lanterns, wooden pallets turned into shelves, or simple burlap wreaths adding a touch of warmth to your door. Whether you're a seasoned crafter or a beginner, there are countless projects to try that will give your home that perfect country feel. Ready to roll up your sleeves and get started? Let's dive in!
Getting Ready for Your Project
Gather Materials: Collect all necessary supplies like wood, paint, brushes, sandpaper, nails, and decorative items. Ensure everything is within reach.
Set Up Workspace: Choose a well-ventilated area with good lighting. Lay down a drop cloth or old newspapers to protect surfaces from paint and dust.
Safety Gear: Wear safety goggles, gloves, and a dust mask. If using power tools, ensure you have ear protection.
Measure and Cut: Measure your wood pieces accurately. Use a saw to cut them to size. Sand edges to avoid splinters.
Prime and Paint: Apply a primer to your wood pieces. Once dry, paint them in your chosen colors. Let each coat dry completely before adding another.
Assemble: Use nails or screws to put your pieces together. Make sure everything is aligned properly.
Add Decorations: Attach any decorative items like ribbons, stencils, or fabric. Use a hot glue gun for secure attachment.
Final Touches: Inspect your project for any rough edges or spots that need touch-ups. Sand or repaint as needed.
Clean Up: Dispose of any waste materials properly. Clean your tools and workspace to keep everything in good condition for next time.
Gather Your Materials and Tools
- Wooden Planks: Essential for creating rustic signs or shelves. Choose reclaimed wood for an authentic look.
- Sandpaper: Smooths rough edges on wood, making it safer and more polished.
- Paint: Adds color to your projects. Use chalk paint for a vintage feel.
- Paintbrushes: Needed for applying paint. Different sizes help with detailed work.
- Stencils: Helps create consistent designs or lettering on wood.
- Hammer and Nails: Basic tools for assembling wooden pieces.
- Screws and Screwdriver: Provides a stronger hold than nails for heavier items.
- Glue Gun: Useful for attaching decorations like ribbons or flowers.
- Ribbons and Burlap: Adds a country touch to your decorations.
- Artificial Flowers: Brings a natural element without needing maintenance.
- Twine: Perfect for hanging signs or wrapping around jars for a rustic look.
- Mason Jars: Versatile for vases, candle holders, or storage.
- Scissors: Essential for cutting ribbons, burlap, and twine.
- Measuring Tape: Ensures accurate measurements for cutting wood or placing decorations.
- Drill: Needed for making holes in wood for screws or hanging hardware.
- Hooks and Hangers: Allows you to display your finished pieces on walls.
Skill Level and Time Needed
Skill Level: Beginner
Time Required: 2-4 hours
- Gather Materials: 30 minutes
- Prepare Workspace: 15 minutes
- Create Decorations: 1-2 hours
- Finishing Touches: 30 minutes
- Clean Up: 15 minutes
How to Make It: Step-by-Step
Gather Materials:
- Burlap fabric
- Mason jars
- Twine or jute rope
- Hot glue gun
- Scissors
- Paint and brushes
- Wooden signs or plaques
- Stencils (optional)
Prepare Burlap:
- Cut burlap into strips or shapes.
- Ensure edges are neat by trimming any frays.
Decorate Mason Jars:
- Wrap burlap around jars.
- Secure with hot glue.
- Tie twine around the neck for added charm.
- Paint designs or words on burlap if desired.
Create Wooden Signs:
- Paint wooden signs in desired colors.
- Use stencils to add words or designs.
- Let paint dry completely.
Add Burlap Accents:
- Cut small burlap pieces.
- Glue onto wooden signs as accents.
- Use twine to create bows or other decorations.
Assemble Decorations:
- Arrange mason jars and wooden signs together.
- Place in desired locations around the home.
- Adjust as needed for the best visual appeal.
Final Touches:
- Add flowers or candles to mason jars.
- Ensure all pieces are securely glued.
- Step back and admire your work.
Helpful Tips and Tricks
Use natural materials like wood, burlap, and twine. Repurpose old items such as mason jars, wooden crates, and vintage frames. Incorporate greenery like dried flowers, eucalyptus, or lavender for a rustic feel. Distress furniture using sandpaper to give it a weathered look. Mix patterns like gingham, plaid, and floral for a cozy vibe. Add personal touches with handmade signs or family photos in rustic frames.
Common mistakes include overcrowding spaces with too many decorations, which can make a room feel cluttered. Avoid using too many colors; stick to a neutral palette with pops of color. Skipping the prep work when painting or distressing furniture can lead to a messy finish. Ignoring scale can make items look out of place; ensure decorations fit the space properly.
For alternatives, consider using faux greenery if maintaining real plants is difficult. Instead of buying new, thrift stores often have unique items perfect for a country charm look. Chalk paint can be a great alternative to traditional paint for a matte, vintage finish. Fabric scraps can be used for small projects like coasters or bunting.
Estimating the Cost
Wooden Pallets: $20 each. You might need 2-3, so around $40-$60.
Paint: $15 per quart. One quart should be enough for small projects.
Paintbrushes: $5 for a basic set.
Sandpaper: $5 for a pack.
Nails and Screws: $10 for a mixed pack.
Hammer: $10 for a basic one.
Drill: $40 for a budget-friendly option.
Decorative Items: $20 for things like ribbons, stencils, or small signs.
Total Cost: Around $145-$165.
Budget-Friendly Alternatives:
Reclaimed Wood: Free if you can find it.
Leftover Paint: Use any you already have.
Basic Tools: Borrow from friends or family.
Natural Decorations: Use pinecones, leaves, or flowers from your yard.
Different Ways to Customize
Materials: Instead of traditional wood, try using reclaimed barn wood for a more rustic look. Mason jars can be swapped with vintage glass bottles. Use burlap instead of cotton for a rougher texture.
Colors: Opt for pastel shades like light blue, soft pink, or mint green instead of the usual earth tones. For a bolder look, use deep reds or navy blues.
Styles: Add a modern twist by incorporating metal accents like galvanized steel or copper. For a shabby chic vibe, distress the wood and use lace or doilies.
Patterns: Use gingham or floral patterns for a classic country feel. For something different, try polka dots or stripes.
Finishes: Instead of a matte finish, use a glossy or satin finish for a polished look. For an aged appearance, use crackle paint or a whitewash technique.
Accessories: Add twine or ribbon for a decorative touch. Use dried flowers or herbs for a natural element. Incorporate antique keys or buttons for added charm.
Lighting: Swap out regular candles for LED fairy lights or battery-operated candles. Use lanterns or hurricane lamps for a cozy ambiance.
Themes: Create a seasonal theme by changing decorations for fall, winter, spring, or summer. For a holiday theme, add elements like mini pumpkins for autumn or pinecones for winter.
Eco-Friendly Tips
Reclaimed wood can be used to create rustic picture frames or shelves. Old mason jars make charming candle holders or vases. Burlap sacks can be repurposed into table runners or wall hangings. Vintage fabrics from old clothes can be sewn into decorative pillows or bunting. Twigs and branches collected from your yard can be crafted into wreaths or centerpieces. Wine corks can be transformed into coasters or bulletin boards. Tin cans can be painted and used as planters or utensil holders. Old newspapers can be rolled and glued to make unique wall art. Glass bottles can be turned into beautiful vases or lanterns. Scrap wood can be cut and painted to create personalized signs.
Bringing It All Together
Creating DIY country decorations can be a fun, rewarding experience. From rustic wood signs to mason jar lanterns, these projects add a personal touch to any space. Remember, the key is to embrace imperfections and let your creativity shine. Don't stress about making everything perfect; the charm lies in the handmade feel. Gather your materials, follow the steps, and enjoy the process. Whether you're decorating for a special occasion or just sprucing up your home, these country-inspired crafts will bring warmth and character. So, roll up your sleeves, get crafting, and transform your space with a bit of country charm. Happy crafting!
How can I create a rustic centerpiece for my dining table?
Use a wooden crate or an old metal bucket. Fill it with mason jars, wildflowers, and candles. Add some burlap or lace for extra charm.
What's an easy way to make a farmhouse-style wreath?
Grab a grapevine wreath base. Attach cotton stems, eucalyptus, and a burlap bow. You can also add a wooden sign with a welcoming message.
How do I make a DIY distressed wood sign?
Sand down a piece of wood, paint it with chalk paint, and let it dry. Then, use sandpaper to distress the edges and surface. Stencil or hand-paint your favorite quote on it.
Any tips for making homemade candles with a country feel?
Use mason jars as containers. Melt soy wax, add essential oils like lavender or vanilla, and pour into the jars. Place a wick in the center and let it cool.
How can I repurpose old windows for decoration?
Clean the window frame, then paint or distress it. Use it as a photo frame, a chalkboard, or even hang it as is for a vintage look.
What's a simple way to make a cozy throw pillow?
Sew or glue burlap or linen fabric into a pillowcase. Stuff it with filling, then stencil or paint a farmhouse design or phrase on the front.