
Home>Home & Furniture>Kitchen>Transform Your Kitchen with Painted Cabinets
Kitchen
Transform Your Kitchen with Painted Cabinets
Published: August 4, 2024
Revitalize your kitchen with painted cabinets! Discover tips, color ideas, and step-by-step guidance to transform your space into a stylish and modern culinary haven.
(Many of the links in this article redirect to a specific reviewed product. Your purchase of these products through affiliate links helps to generate commission for Twigandthistle.com, at no extra cost. Learn more)
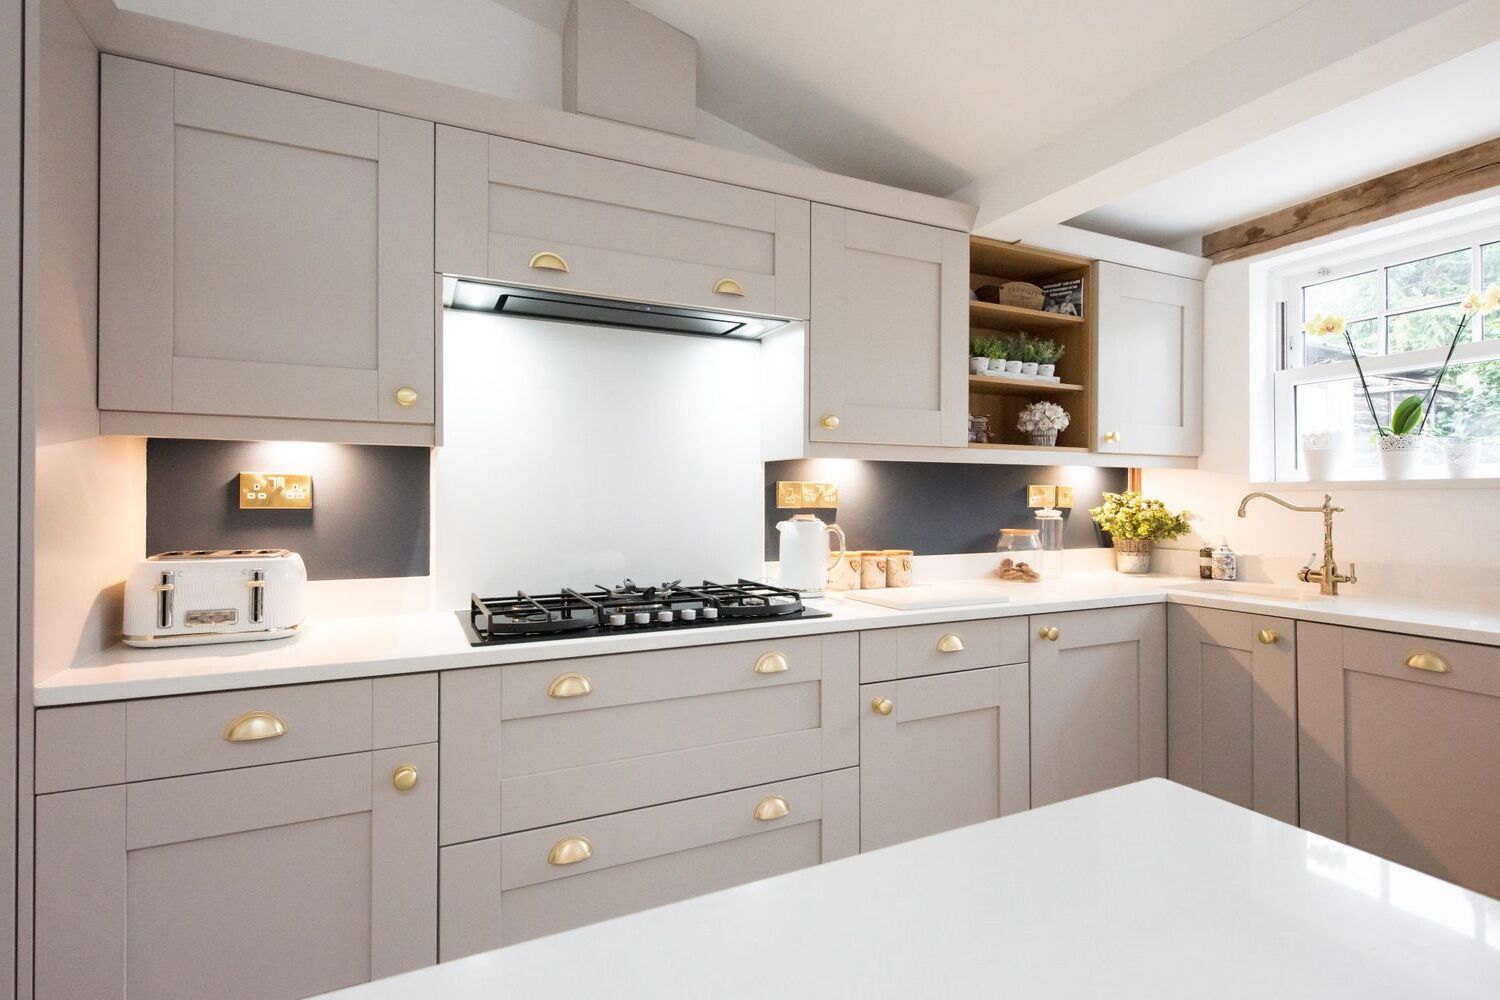
Changing the color of your kitchen cabinets can give the entire room a fresh look. It's a cost-effective way to update without a complete remodel. Whether you prefer bright, bold colors or classic, neutral tones, painting cabinets can match your style easily. With just some paint, brushes, and a bit of effort, your kitchen can feel brand new. This project is great for beginners and experienced DIYers alike. You don't need to be a pro to achieve beautiful results. Plus, it's a fun way to spend a weekend and see a big transformation in your home.
Getting Ready for Your Kitchen Makeover
Clear the Area: Remove all items from cabinets and countertops. Cover appliances and floors with drop cloths to protect them from paint splatters.
Gather Supplies: Ensure you have sandpaper, primer, paint, brushes, rollers, and painter's tape. Having everything ready will save time.
Safety First: Wear safety goggles and a mask to protect your eyes and lungs from dust and fumes. Ensure the area is well-ventilated by opening windows or using fans.
Workspace Setup: Create a designated area for painting. Lay down drop cloths or old sheets to catch any drips. Set up a sturdy table or workbench for painting cabinet doors.
Remove Hardware: Take off all cabinet doors, drawers, and hardware like handles and hinges. Label each piece to make reassembly easier.
Clean Surfaces: Wipe down all surfaces with a degreaser to remove any grease or grime. This ensures the paint adheres properly.
Sand Cabinets: Lightly sand the cabinet surfaces to create a smooth base for the primer. Wipe away dust with a damp cloth.
Apply Painter's Tape: Use painter's tape to protect areas you don't want to paint, like walls or countertops.
Prime the Cabinets: Apply a coat of primer to all surfaces. This helps the paint stick better and provides a uniform base color.
Let it Dry: Allow the primer to dry completely before moving on to painting. This usually takes a few hours, but check the primer's instructions for exact drying times.
Essential Materials and Tools
Materials and Tools Needed:
- Sandpaper: Smooths out the cabinet surface, removing old paint or varnish.
- Screwdriver: Removes cabinet doors, drawers, and hardware.
- Painter's Tape: Protects areas you don't want to paint.
- Drop Cloths: Covers floors and countertops to catch paint drips.
- Cleaner/Degreaser: Cleans cabinets, removing grease and grime.
- Primer: Prepares the surface for paint, ensuring better adhesion.
- Paint: Provides the new color for your cabinets. Choose a durable type like semi-gloss or satin.
- Paint Brushes: Useful for detailed areas and edges.
- Paint Rollers: Covers larger, flat surfaces quickly.
- Paint Tray: Holds paint for easy access while rolling.
- Putty Knife: Fills in any holes or imperfections with wood filler.
- Wood Filler: Repairs dents, scratches, or holes in the cabinets.
- Drill: Reattaches doors and hardware after painting.
- Tack Cloth: Removes dust after sanding.
- Stir Sticks: Mixes paint thoroughly before application.
- Protective Gear: Includes gloves, masks, and goggles to keep you safe from fumes and dust.
Skill Level and Time Needed
Skill Level: Intermediate
Time Required:
Preparation: 2-3 hours
- Remove cabinet doors and hardware
- Clean and sand surfaces
Priming: 1-2 hours
- Apply primer to all surfaces
- Allow drying time
Painting: 4-6 hours
- Apply first coat of paint
- Allow drying time
- Apply second coat of paint
Reassembly: 1-2 hours
- Reattach cabinet doors and hardware
Total Time: 8-13 hours
Detailed Step-by-Step Guide
Remove Cabinet Doors and Hardware
- Unscrew cabinet doors.
- Take off all handles, knobs, and hinges.
- Label each door and its corresponding location.
Clean Surfaces
- Use a degreaser to clean doors, drawers, and cabinet frames.
- Wipe down with a damp cloth to remove residue.
- Let everything dry completely.
Sand the Cabinets
- Lightly sand all surfaces with 220-grit sandpaper.
- Wipe off dust with a tack cloth.
Fill Holes and Imperfections
- Use wood filler to fill any holes or dents.
- Let the filler dry, then sand smooth.
Apply Primer
- Use a high-quality primer suitable for your cabinet material.
- Apply a thin, even coat with a brush or roller.
- Let the primer dry according to the manufacturer's instructions.
Sand Again
- Lightly sand the primed surfaces with 220-grit sandpaper.
- Wipe off dust with a tack cloth.
Paint the Cabinets
- Choose a durable paint designed for cabinets.
- Apply the first coat with a brush or roller, using long, even strokes.
- Let the first coat dry completely.
- Lightly sand between coats if needed.
- Apply a second coat and let it dry.
Reattach Hardware and Doors
- Reattach hinges, handles, and knobs.
- Screw the doors back onto the cabinets, matching labels to their original locations.
Touch Up and Clean Up
- Inspect for any missed spots or drips.
- Touch up as needed.
- Clean up your workspace and enjoy your refreshed kitchen!
Helpful Tips and Tricks
Clean cabinets thoroughly before painting. Remove all hardware like knobs and hinges. Label doors and drawers to avoid confusion later. Sand surfaces lightly to help paint stick better. Use a primer to ensure even color and durability. Apply paint in thin, even coats to avoid drips. Allow each coat to dry completely before adding another. Seal with a clear topcoat for extra protection.
Common mistakes to avoid: Skipping the cleaning step can lead to peeling paint. Not sanding enough might cause the paint to not adhere properly. Using thick coats can result in uneven surfaces and drips. Forgetting to label doors and drawers can create a puzzle when reassembling.
Alternatives for materials or methods: Instead of traditional paint, consider chalk paint for a matte finish without much prep work. Spray paint can offer a smoother finish but requires more prep to protect surrounding areas. Gel stain can give a wood-like appearance without stripping old paint.
Budgeting for Your Project
Paint: $30-$50 per gallon. You'll need 1-2 gallons depending on the size of your kitchen.
Primer: $20-$30 per gallon. One gallon should be enough.
Sandpaper: $5-$10 for a pack. Get various grits (80, 120, 220).
Painter's Tape: $5-$10 per roll. One roll should be enough.
Drop Cloths: $10-$20. Plastic sheets or old sheets work too.
Paint Brushes and Rollers: $15-$30. Get a variety of sizes.
Screwdriver: $5-$15. Needed to remove cabinet doors and hardware.
Cleaning Supplies: $10-$15. Degreaser and rags for cleaning surfaces.
Budget-Friendly Alternatives:
- Use leftover paint from other projects.
- Reuse old sheets as drop cloths.
- Borrow tools like screwdrivers and paint brushes from friends or family.
Total Estimated Cost: $100-$200.
Creative Variations and Customizations
Colors: Choose bold colors like navy blue or emerald green for a modern look. Soft pastels like mint green or baby blue create a vintage feel. Neutral tones like white, gray, or beige offer a timeless appearance.
Materials: Use chalk paint for a matte, rustic finish. High-gloss paint provides a sleek, contemporary look. Milk paint gives an antique, distressed effect.
Styles: Add stencils or decals for decorative patterns. Install new hardware like brass or matte black handles for a fresh touch. Consider open shelving by removing some cabinet doors.
Textures: Apply a glaze over the paint for an aged, weathered look. Use a sponge technique to create a textured, faux finish. Try a two-tone effect by painting the upper cabinets one color and the lower cabinets another.
Finishes: Seal with a polyurethane coat for durability. Use a wax finish for a soft, velvety feel. Opt for a satin finish for a subtle sheen without too much shine.
Eco-Friendly Painting Tips
Eco-friendly materials can make a big difference. Low-VOC paints are a great choice. They release fewer harmful chemicals into the air. Milk paint is another option. Made from natural ingredients, it’s safe and biodegradable.
Reusing materials helps the environment. Instead of buying new cabinets, refinish your existing ones. Sand them down and apply a fresh coat of paint. This saves wood and reduces waste.
Recycled paint is also available. Made from leftover paint, it’s mixed and repackaged. This keeps old paint out of landfills.
Energy-efficient tools can save power. Use LED lights for better visibility while painting. They use less energy and last longer.
Natural brushes made from plant fibers are a good choice. They are biodegradable and don’t contribute to plastic waste.
Eco-friendly cleaners can prep your cabinets. Vinegar and water work well. They are non-toxic and safe for the environment.
Proper disposal of old paint is important. Take it to a recycling center. Don’t pour it down the drain.
Repurposing old hardware can add charm. Clean and repaint old knobs and handles. This gives them new life and reduces waste.
Sustainable wood can be used for repairs. Look for FSC-certified wood. It comes from responsibly managed forests.
Composting sawdust and wood shavings is another eco-friendly tip. They can enrich your garden soil.
Eco-friendly packaging for supplies is a smart choice. Look for items in recyclable or biodegradable packaging.
Solar-powered tools are another option. They use renewable energy and reduce your carbon footprint.
Water-based sealants are better for the environment. They have fewer harmful chemicals than oil-based ones.
Upcycling old furniture into new pieces can be fun. Turn an old dresser into a kitchen island. This reduces waste and adds unique style.
Local materials support your community and reduce transportation emissions. Buy paint and supplies from nearby stores.
Minimalist design can also be eco-friendly. Fewer materials mean less waste. Keep your kitchen simple and functional.
Natural light can brighten your workspace. Open windows and use mirrors to reflect light. This reduces the need for artificial lighting.
Plant-based stains are another option. They are made from natural ingredients and are biodegradable.
Reusable drop cloths can protect your floors. Wash and reuse them instead of buying disposable ones.
Eco-friendly adhesives are available too. Look for water-based or plant-based options. They are less harmful to the environment.
Educate others about eco-friendly choices. Share your tips with friends and family. This helps spread awareness and encourages sustainable practices.
Your Kitchen Awaits
Painting your cabinets can breathe new life into your kitchen. With some prep work, quality paint, and a bit of patience, you can achieve a professional look without breaking the bank. Remember to clean and sand the surfaces well, use a primer, and apply multiple thin coats for the best results. Don’t rush the drying times between coats; it’s crucial for a smooth finish. If you make a mistake, don’t panic. Sand it down and repaint. Your kitchen will look fresh and updated, making all the effort worthwhile. So grab your brushes, roll up your sleeves, and get started. Your dream kitchen is just a few strokes away.
How do I prep my cabinets for painting?
First, remove all doors, drawers, and hardware. Clean everything with a degreaser to get rid of grime. Sand the surfaces lightly to help the paint stick better. Wipe away dust with a damp cloth.
What kind of paint should I use?
Use a high-quality acrylic or latex paint. These types dry quickly and are durable. For a smooth finish, consider using a satin or semi-gloss sheen.
Do I need to use a primer?
Yes, using a primer is crucial. It helps the paint adhere better and provides a uniform base. Choose a bonding primer if your cabinets are laminate or glossy.
How many coats of paint will I need?
Typically, you'll need two coats of paint. Apply the first coat and let it dry completely before adding the second. This ensures even coverage and a professional look.
Can I use a brush or should I spray the paint?
Both methods work, but using a paint sprayer gives a smoother finish. If you use a brush, opt for a high-quality synthetic brush to minimize brush marks.
How long should I wait before reattaching doors and hardware?
Wait at least 24 hours for the paint to dry completely. For the best results, give it 48 hours to cure fully before reattaching doors and hardware.
What if I make a mistake?
Don’t worry! If you notice a mistake, lightly sand the area once the paint is dry. Then, touch it up with a small brush. Patience is key to a flawless finish.