
Home>Home & Furniture>Kitchen>How to Distress Wood Cabinets: Step-by-step Guide
Kitchen
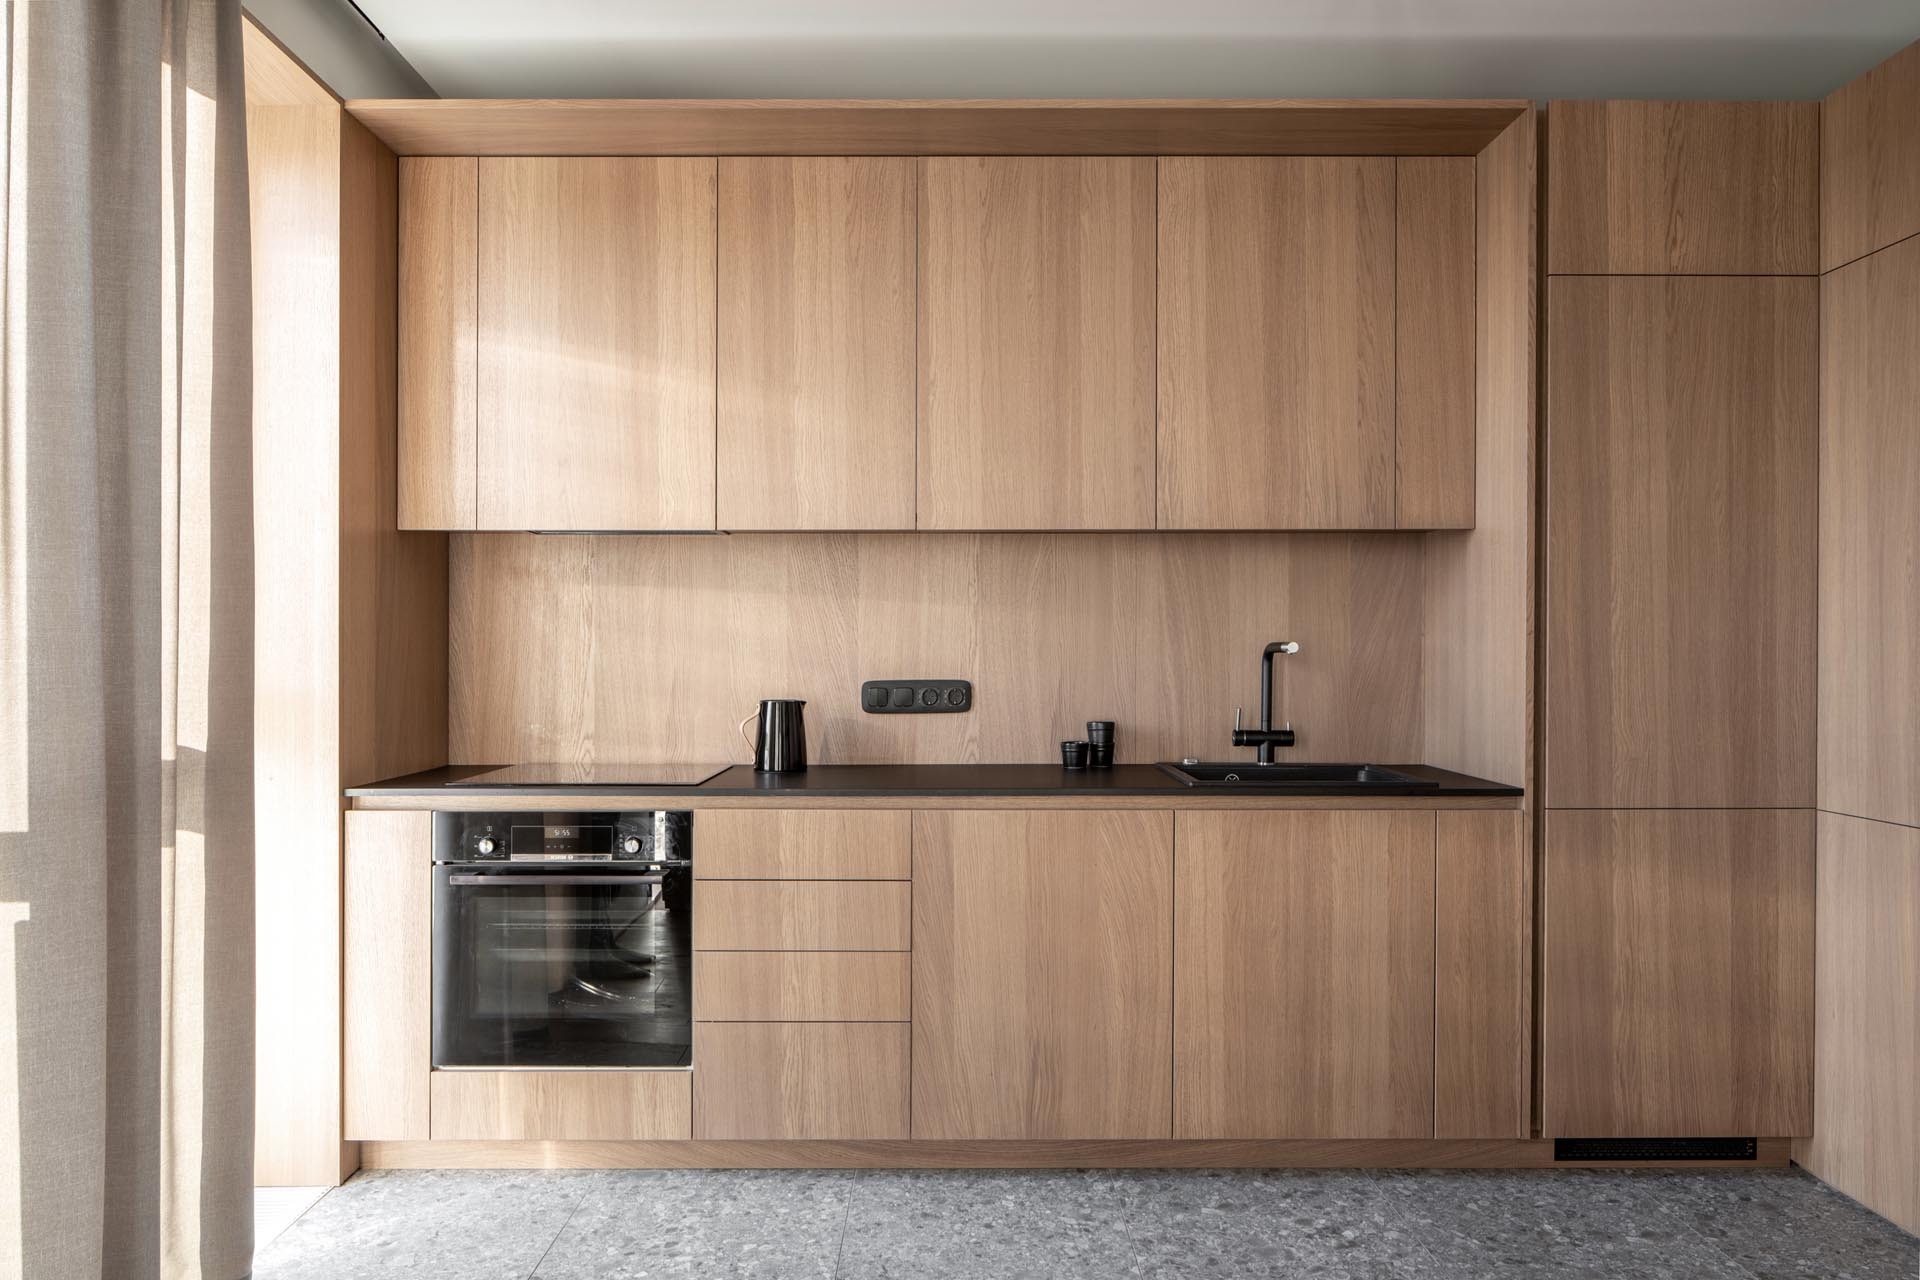
How to Distress Wood Cabinets: Step-by-step Guide
Published: July 26, 2024
Learn how to distress wood cabinets with our step-by-step guide. Transform your kitchen with a rustic, vintage look using easy techniques and expert tips.
(Many of the links in this article redirect to a specific reviewed product. Your purchase of these products through affiliate links helps to generate commission for Twigandthistle.com, at no extra cost. Learn more)
Distressing wood cabinets can give your kitchen or bathroom a charming, rustic feel. This easy technique helps new wood look antique, offering character and warmth. You don't need to be a professional carpenter to achieve this effect. With some basic tools and a bit of patience, anyone can transform their cabinets. Plus, it’s a fun project that lets you get creative. Whether you prefer a subtle aged look or a more dramatic distressed appearance, this guide will walk you through the steps. Ready to give your cabinets a vintage makeover? Let’s dive in!
Getting Ready for the Project
- Gather Materials: Sandpaper, paint, brushes, drop cloths, safety goggles, gloves, and a dust mask.
- Clear the Area: Remove all items from cabinets. Lay down drop cloths to protect floors.
- Safety First: Wear safety goggles, gloves, and a dust mask to protect from dust and chemicals.
- Clean Cabinets: Wipe down cabinets with a damp cloth to remove dirt and grease.
- Remove Hardware: Take off all knobs, handles, and hinges to avoid getting paint on them.
- Sand the Surface: Use sandpaper to roughen the surface. This helps the paint adhere better.
- Set Up Workspace: Ensure good ventilation. Work in a well-lit area to see details clearly.
- Test Paint: Apply a small amount of paint on an inconspicuous area to check color and texture.
- Organize Tools: Keep all tools and materials within reach to avoid interruptions.
What You Need: Materials and Tools
- Sandpaper: Used to roughen the surface of the wood, giving it a worn look. Different grits (coarseness) will create various effects.
- Paintbrushes: Essential for applying paint or stain. Use different sizes for detailed work and larger areas.
- Paint or Stain: Choose colors that will give the cabinets an aged appearance. Often, a base coat of a darker color with a lighter topcoat works well.
- Wood Stain: Adds depth and enhances the distressed look. Apply after sanding for best results.
- Rags or Cloths: Useful for wiping off excess paint or stain. Old T-shirts or towels work great.
- Putty Knife: Helps create chips and scratches in the wood, mimicking natural wear and tear.
- Hammer and Nails: Lightly tap the wood with the hammer or nails to create small dents and imperfections.
- Steel Wool: Used to further distress the wood and smooth out rough edges after sanding.
- Protective Gear: Gloves, safety glasses, and a mask protect you from dust and fumes.
- Drop Cloths: Protects your workspace from paint, stain, and dust. Old sheets or plastic tarps work well.
- Painter’s Tape: Helps mask off areas you don’t want to paint or stain.
- Screwdriver: Needed to remove cabinet doors and hardware before starting the distressing process.
- Vacuum or Dust Brush: Cleans up dust and debris created during sanding and distressing.
These materials and tools will help you achieve a beautifully distressed look for your wood cabinets.
Required Skills and Time Commitment
Skill Level: Intermediate
Time Required: 4-6 hours
- Preparation: 1 hour
- Sanding: 1-2 hours
- Applying Paint or Stain: 1 hour
- Distressing: 1-2 hours
- Finishing Touches: 1 hour
Detailed Steps to Distress Wood Cabinets
Remove Cabinet Doors and Hardware
- Use a screwdriver to take off doors, handles, and hinges.
- Place hardware in a safe spot for later use.
Clean the Cabinets
- Wipe down surfaces with a damp cloth to remove dirt and grease.
- Let them dry completely.
Sand the Cabinets
- Use medium-grit sandpaper (around 120-grit) to sand the surfaces.
- Focus on edges and corners for a more worn look.
Apply Base Coat
- Choose a dark color for the base coat.
- Use a paintbrush to apply an even layer.
- Allow it to dry thoroughly.
Apply Wax (Optional)
- Rub a candle or wax block on areas you want to look more distressed.
- This will make it easier to remove the top coat later.
Apply Top Coat
- Pick a lighter color for the top coat.
- Paint over the entire surface, covering the base coat.
- Let it dry completely.
Distress the Cabinets
- Use fine-grit sandpaper (around 220-grit) to sand edges, corners, and areas of natural wear.
- Sand until the base coat shows through in spots.
Clean Off Dust
- Wipe down the cabinets with a clean, damp cloth to remove sanding dust.
- Let them dry.
Apply a Protective Finish
- Use a clear polyurethane or wax to seal the distressed look.
- Apply evenly and let it dry.
Reattach Hardware and Doors
- Screw the handles, hinges, and doors back onto the cabinets.
- Ensure everything is securely fastened.
Helpful Tips and Tricks
Sand the Surface: Start by lightly sanding the cabinets to remove any existing finish. Use medium-grit sandpaper for best results.
Apply a Base Coat: Paint the cabinets with a base coat in a color that will show through the distressed areas. Let it dry completely.
Use Candle Wax: Rub candle wax on areas where you want the base coat to show through. Focus on edges and corners.
Paint the Top Coat: Apply a top coat of paint in your desired color. The waxed areas will resist this paint.
Distress with Sandpaper: Once the top coat dries, use fine-grit sandpaper to gently sand the waxed areas. This will reveal the base coat underneath.
Add Character with Tools: Use a hammer, chain, or screwdriver to create small dents and scratches for an aged look.
Seal the Finish: Apply a clear sealant to protect the distressed finish. Choose a matte or satin finish for a more authentic look.
Common Mistakes to Avoid:
- Over-sanding: Too much sanding can remove both layers of paint.
- Skipping the Wax: Without wax, the top coat won't distress properly.
- Rushing Dry Times: Let each coat dry fully to avoid smudging.
Alternative Methods:
- Vaseline Instead of Wax: Petroleum jelly can be used in place of candle wax for a similar effect.
- Chalk Paint: Chalk paint can create a distressed look without needing a base coat.
- Dry Brushing: Lightly dip a dry brush in paint and apply it sparingly for a weathered appearance.
Estimating the Cost
Sandpaper: $5-$10 for a pack. Paint or stain: $15-$30 per quart. Paintbrushes: $10-$20 for a set. Drop cloths: $5-$10 each. Gloves: $5 for a pack. Screwdriver: $5-$10. Steel wool: $3-$5 per pack. Sealer: $10-$20 per quart.
Total cost: $58-$110.
Budget-friendly alternatives: Use old sheets instead of drop cloths. Borrow tools like screwdrivers from friends or family. Opt for cheaper paintbrushes or use ones you already have.
Different Ways to Customize
Alternative Materials: Instead of traditional wood, try using reclaimed wood for a more rustic look. Plywood can also be used for a budget-friendly option.
Colors: Experiment with different paint colors. Use white or cream for a shabby chic style. Gray or black can give a more modern, industrial feel. For a pop of color, try pastel shades like mint green or soft blue.
Styles: For a farmhouse style, add decorative trim or beadboard to the cabinet doors. For a vintage look, use antique hardware like old-fashioned knobs and handles. For a modern twist, combine distressed wood with sleek, metal accents.
Techniques: Instead of sanding, try using a wire brush to create deeper grooves and texture. For a more aged appearance, apply a dark glaze over the paint and wipe it off, leaving it in the crevices. Use a hammer and nails to create small dents and imperfections.
Finishes: Seal the cabinets with matte varnish for a natural look or use glossy polyurethane for a bit of shine. For a more weathered look, consider using liming wax to highlight the grain and add a whitewashed effect.
Hardware: Swap out standard hardware for vintage-style or industrial pieces. Ceramic knobs can add a touch of charm, while iron handles can give a rugged feel.
Accents: Add stenciled designs or decals to the cabinet doors for a personalized touch. Consider using fabric panels or chicken wire inserts for a unique look.
Eco-Friendly Tips
Gather Materials: Use recycled sandpaper and non-toxic paint or stain. Look for eco-friendly brands that use natural ingredients.
Prepare the Cabinets: Remove hardware and clean with a vinegar-water solution instead of harsh chemicals. This helps reduce chemical waste.
Sand the Cabinets: Use recycled sandpaper to rough up the surface. Sand in the direction of the wood grain to avoid damage.
Apply Paint or Stain: Choose low-VOC (volatile organic compounds) or natural paints. Apply a thin coat and let it dry completely.
Distress the Wood: Use recycled tools like old chains, screws, or nails to create dents and scratches. Lightly sand over these areas to blend them in.
Seal the Finish: Opt for a water-based sealant that is low in VOCs. This will protect the wood without releasing harmful chemicals.
Reattach Hardware: Reuse the original hardware or find second-hand pieces to avoid buying new. This reduces waste and gives a unique look.
Clean Up: Dispose of any waste responsibly. Recycle sandpaper and paint cans if possible. Use biodegradable cleaning wipes for any spills.
Bringing It All Together
Distressing wood cabinets adds character and charm to any space. By following the steps, you can transform plain cabinets into unique pieces. Start by gathering materials like sandpaper, paint, and a hammer. Sand the surface to remove any finish. Apply a base coat of paint, let it dry, then add a second color if desired. Use sandpaper to distress edges and corners, revealing the base coat. Add dents and scratches with a hammer or chain for a more aged look. Seal the finish with a clear coat to protect your work. Remember, the goal is to create a natural, worn appearance, so don't stress about perfection. With a bit of effort and creativity, your cabinets will have a rustic, vintage feel that enhances your home's aesthetic. Happy DIY-ing!
How do I start distressing wood cabinets?
Begin by removing all hardware and doors. Sand the surface lightly to remove any finish or gloss. This helps the paint adhere better.
What tools will I need?
You'll need sandpaper, a paintbrush, paint, a distressing tool like a hammer or chain, and a clear sealant to protect the finish.
What kind of paint should I use?
Use chalk paint or milk paint for a vintage look. These types of paint are easy to sand and distress.
How do I create a distressed look?
After painting, use sandpaper to lightly sand edges and corners where natural wear would occur. You can also use a hammer or chain to add dents and scratches.
Should I seal the cabinets after distressing?
Yes, apply a clear sealant like polyurethane or wax to protect the distressed finish and make it last longer.
Can I distress cabinets without removing them?
It's possible, but removing them makes the process easier and ensures you reach all areas evenly.
How long does the process take?
Depending on the size and number of cabinets, it can take a weekend. Allow time for paint and sealant to dry between steps.