
Home>Home & Furniture>Kitchen>How to Build a Butcher Block Island
Kitchen
How to Build a Butcher Block Island
Published: July 25, 2024
Learn how to build a butcher block island with our step-by-step guide. Perfect for enhancing your kitchen's functionality and style. DIY tips and expert advice included!
(Many of the links in this article redirect to a specific reviewed product. Your purchase of these products through affiliate links helps to generate commission for Twigandthistle.com, at no extra cost. Learn more)
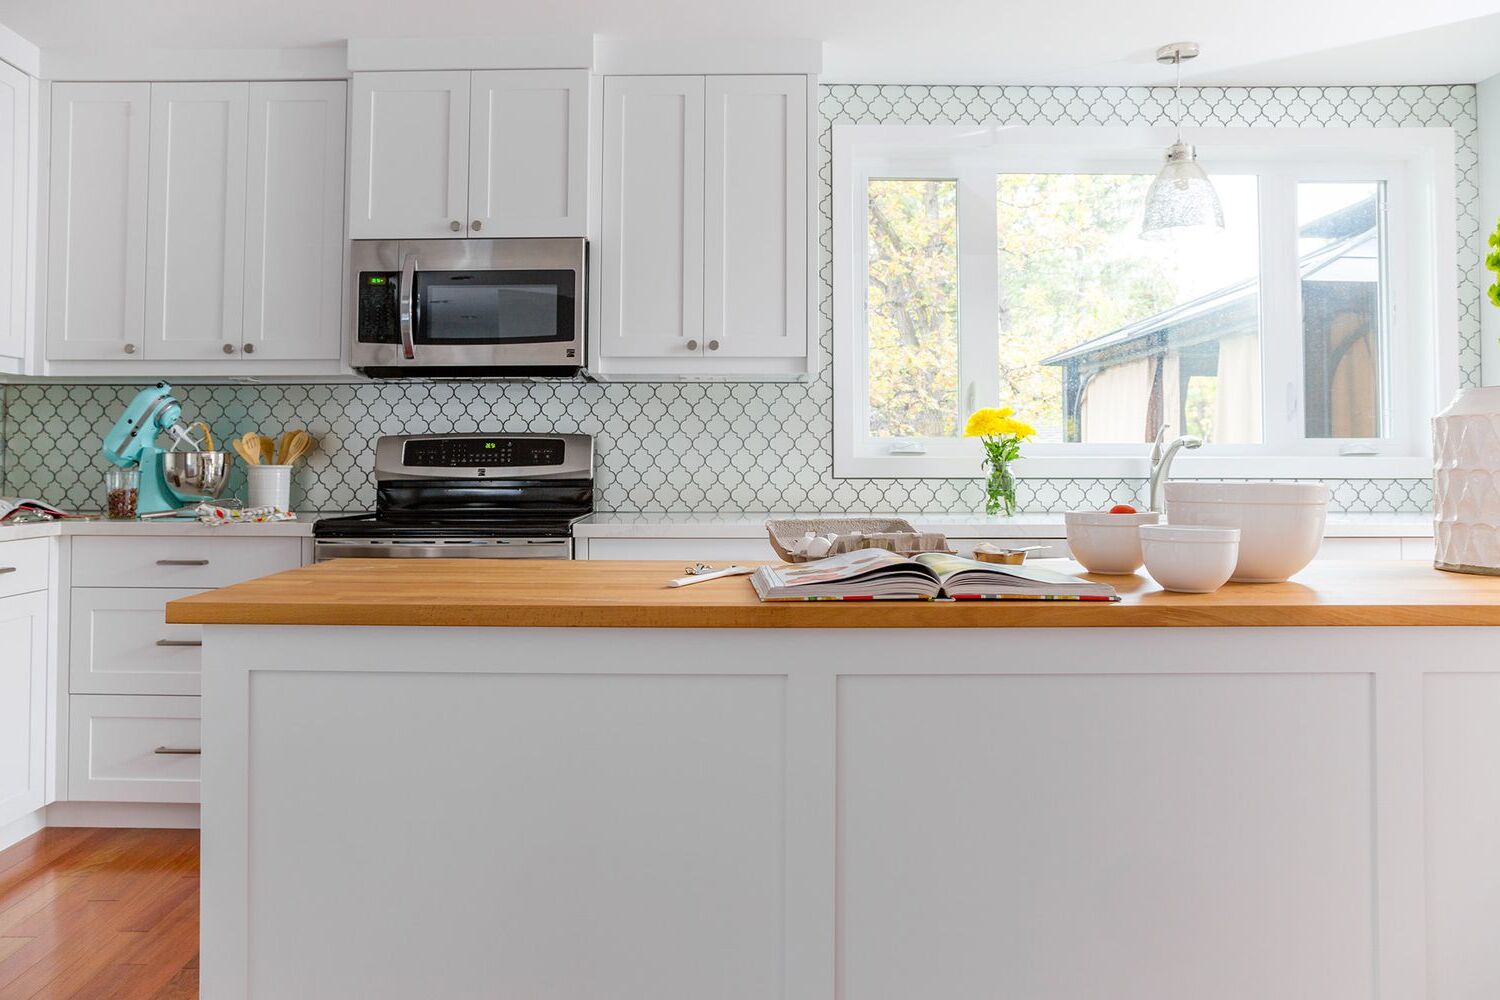
Creating a butcher block island can transform your kitchen, giving it a unique and functional centerpiece. Whether you're an experienced DIY enthusiast or just starting, this project is manageable with some basic tools and materials. You'll learn how to choose the right wood, measure accurately, and assemble the pieces for a sturdy, stylish island. This guide will walk you through each step, ensuring your new butcher block island not only looks great but also stands up to daily use. Ready to roll up your sleeves and get started on this rewarding project? Let's dive in!
Getting Ready for Your Project
Gather Materials: Collect all necessary tools and materials like wood, screws, brackets, sandpaper, and a saw. Make sure everything is within reach.
Safety Gear: Wear safety goggles, gloves, and a dust mask. These protect your eyes, hands, and lungs from debris and dust.
Clear Workspace: Ensure your workspace is clean and spacious. Remove any clutter that could cause accidents.
Measure Twice, Cut Once: Double-check all measurements before cutting the wood. This avoids mistakes and wasted materials.
Secure Wood: Use clamps to hold the wood steady while cutting or sanding. This prevents slips and ensures straight cuts.
Pre-drill Holes: Pre-drill holes for screws to avoid splitting the wood. This makes assembly easier and more precise.
Sand Edges: Sand all edges and surfaces of the wood to remove splinters and rough spots. This makes the island smooth and safe to use.
Check for Level: Use a level to ensure your butcher block island is even. This prevents wobbling and ensures stability.
Ventilation: Work in a well-ventilated area, especially when using adhesives or finishes. Proper airflow reduces inhalation of harmful fumes.
Read Instructions: If using a kit, read all instructions thoroughly before starting. This helps avoid mistakes and ensures a smoother build process.
Gathering Materials and Tools
- Butcher Block Slab: The main surface for your island. Choose a hardwood like maple or oak for durability.
- Wood Screws: Used to secure the butcher block to the base and other components.
- Wood Glue: Provides extra strength when joining wood pieces.
- Sandpaper: Smooths out rough edges and surfaces. Use different grits for best results.
- Wood Stain or Sealant: Protects the wood and enhances its appearance.
- Paint or Primer: If you plan to paint the base, these will be necessary.
- Measuring Tape: Ensures accurate measurements for cutting and assembling.
- Circular Saw or Table Saw: Cuts the wood to the required sizes.
- Drill: Makes holes for screws and other hardware.
- Screwdriver: Tightens screws securely.
- Clamps: Holds pieces together while the glue dries.
- Level: Ensures your island is even and balanced.
- Safety Gear: Includes gloves, goggles, and a dust mask to protect yourself while working.
- Pencil: Marks measurements and cutting lines.
- Brushes or Rags: Applies stain, sealant, or paint evenly.
Required Skills and Time Commitment
Skill Level: Intermediate
Time Required: 1-2 days
- Gather Materials: 1 hour
- Cut Wood: 2-3 hours
- Assemble Frame: 3-4 hours
- Attach Butcher Block Top: 2-3 hours
- Sand and Finish: 4-5 hours
- Install Hardware: 1-2 hours
Building Instructions
Gather Materials and Tools
- Butcher block countertop
- Four table legs
- Wood screws
- Wood glue
- Sandpaper
- Wood finish or sealant
- Drill
- Screwdriver
- Measuring tape
- Saw (if cutting is needed)
Measure and Cut
- Measure the desired height and width for the island.
- Cut the butcher block to the desired size if necessary.
Prepare the Legs
- Measure and mark where the legs will attach to the butcher block.
- Ensure legs are evenly spaced at each corner.
Attach the Legs
- Apply wood glue to the top of each leg.
- Position legs at the marked spots.
- Secure legs with wood screws using a drill.
Sand the Butcher Block
- Sand the surface of the butcher block to smooth any rough edges.
- Wipe away dust with a damp cloth.
Apply Finish or Sealant
- Apply wood finish or sealant to the butcher block surface.
- Allow it to dry according to the product instructions.
- Apply a second coat if needed.
Final Assembly
- Ensure all screws are tight.
- Check the stability of the island.
- Make any necessary adjustments.
Position the Island
- Move the butcher block island to its desired location in the kitchen.
- Ensure it is level and stable.
Helpful Tips and Tricks
Measure twice, cut once. Always double-check measurements before cutting any wood.
Use clamps. Clamps keep pieces steady while you work, ensuring precise cuts and strong joints.
Sand thoroughly. Sand all surfaces to a smooth finish before assembly. This helps with staining and sealing later.
Seal the wood. Apply a food-safe sealant to protect the butcher block from moisture and stains.
Pre-drill holes. Pre-drilling prevents wood from splitting when you insert screws.
Level the base. Ensure the island base is level before attaching the butcher block top. This prevents wobbling.
Use quality wood glue. High-quality glue strengthens joints and extends the island's lifespan.
Common mistakes to avoid:
Skipping sanding. Rough surfaces make staining uneven and can cause splinters.
Ignoring wood grain. Cutting against the grain weakens the wood and affects the look.
Using the wrong sealant. Non-food-safe sealants can be toxic and unsafe for kitchen use.
Alternatives for materials or methods:
Plywood base. Instead of solid wood, use plywood for the base. It's cheaper and easier to work with.
Pre-made legs. Buy pre-made table legs instead of crafting your own. This saves time and ensures uniformity.
Mineral oil finish. Use mineral oil as an alternative to sealant. It's food-safe and easy to apply.
Budgeting Your Project
Butcher Block: $200-$400 depending on size and wood type.
Base Cabinets: $150-$300 each. You might need two or three.
Screws and Nails: $10-$20.
Wood Glue: $5-$10.
Sandpaper: $5-$15 for a pack.
Stain or Finish: $20-$50.
Paint or Primer: $20-$40 if painting the base.
Brushes and Rollers: $10-$20.
Handles or Knobs: $20-$50 for a set.
Casters (optional): $30-$60 for a set of four.
Tools: If you don't have them, a drill ($50-$100), saw ($50-$150), and sander ($30-$70) might be needed.
Total Cost: $600-$1,300.
Budget-Friendly Alternatives:
- Use pre-owned cabinets from a thrift store or online marketplace: $50-$100 each.
- Opt for pine butcher block instead of hardwood: $100-$200.
- Borrow tools from friends or rent them from a hardware store: $20-$50 per day.
- Skip the casters if mobility isn't needed: Save $30-$60.
Personalizing Your Butcher Block Island
Alternative materials can change the look and feel of your butcher block island. Instead of traditional hardwood, consider using bamboo for a more eco-friendly option. Reclaimed wood adds a rustic charm, while maple or walnut offers a sleek, modern appearance.
Colors can also make a big difference. Stain the wood in dark espresso for a rich, elegant look or go with a natural finish to keep it light and airy. Paint the base of the island in bold colors like navy blue or forest green to create a focal point in your kitchen.
Styles can be customized to match your kitchen decor. For a farmhouse style, add shiplap to the sides and use antique hardware. If you prefer a modern look, opt for clean lines and minimalist handles. For an industrial vibe, incorporate metal accents and pipe fittings.
Adding extra features can make your island more functional. Install open shelving for easy access to pots and pans or add drawers for extra storage. A built-in wine rack or spice rack can also be a great addition.
Countertop options can vary too. Instead of a full butcher block top, consider a granite or quartz insert for a mixed-material look. A marble slab can add a touch of luxury and is perfect for baking.
Leg styles can also be customized. Use turned legs for a classic look or hairpin legs for a modern, airy feel. Casters can be added to make the island mobile, allowing you to move it around as needed.
Backsplash ideas can enhance the island's appearance. A tile backsplash can add color and texture, while a metal sheet can give it an industrial edge. Wood paneling can create a cohesive look with the rest of the island.
Lighting can also be customized. Install pendant lights above the island for focused lighting or add under-cabinet lighting to illuminate the workspace. LED strips can be used for a modern touch.
Seating options can vary based on your needs. Add bar stools for a casual dining area or incorporate a bench for a more communal feel. Built-in seating can save space and provide extra storage underneath.
Finishing touches like decorative corbels or trim can add character to your island. Use decorative brackets to support overhangs or add molding to the base for a polished look. Hooks and rails can be added for hanging utensils or towels.
Eco-Friendly Building Tips
Reclaimed wood is a great option for building a butcher block island. You can find old wood from barns, factories, or even old furniture. This not only saves trees but also gives your island a unique, rustic look.
Bamboo is another eco-friendly choice. It grows quickly and is very strong. Using bamboo helps reduce deforestation and provides a durable surface for your island.
Non-toxic finishes are important for sealing your butcher block. Look for natural oils like linseed or tung oil. These options are safer for your family and the environment.
Recycled metal can be used for handles, brackets, or other hardware. This reduces waste and adds a cool, industrial touch to your island.
Salvaged countertops can be repurposed for your project. Check out local salvage yards or online marketplaces for materials that can be given a new life.
Energy-efficient tools should be used during construction. Battery-powered tools with rechargeable batteries are a good choice. This helps reduce your carbon footprint.
Local sourcing of materials cuts down on transportation emissions. Try to buy wood, metal, and other supplies from local businesses.
Upcycling old furniture can provide parts for your butcher block island. An old table or dresser might have the perfect pieces you need.
Composting wood scraps instead of throwing them away helps reduce landfill waste. Small pieces of wood can be broken down and used in your garden.
Water-based adhesives are better for the environment compared to solvent-based ones. They have fewer harmful chemicals and work just as well.
By using these eco-friendly materials and methods, you can build a butcher block island that is both beautiful and kind to the planet.
Your Butcher Block Island Awaits
Building a butcher block island isn't just about adding a piece of furniture to your kitchen. It's about creating a functional and aesthetic centerpiece that reflects your personal style. By following the steps, you’ve not only saved money but also gained a sense of accomplishment. Remember, the key to a successful DIY project lies in planning, patience, and precision. Don’t rush the process; take your time to ensure each step is done correctly. With your new skills, you can tackle more projects around the house. So, roll up those sleeves, grab your tools, and get started on your next DIY adventure. Your kitchen will thank you, and so will anyone who gets to enjoy the fruits of your labor. Happy building!
What materials do I need to build a butcher block island?
You'll need butcher block, wood glue, screws, sandpaper, wood stain, and sealant. Also, grab a saw, drill, and clamps.
How do I choose the right butcher block?
Pick a hardwood like maple or oak. Make sure it's thick and sturdy enough for your needs.
Can I customize the size of my butcher block island?
Absolutely! Measure your kitchen space and cut the butcher block to fit. Just ensure it’s proportional to your area.
How do I attach the butcher block to the base?
Use wood glue and screws to secure the butcher block to the base. Clamps help hold it in place while the glue dries.
Do I need to sand the butcher block?
Yes, sand the butcher block to make it smooth. Start with coarse sandpaper and finish with a finer grit.
How do I finish the butcher block?
Apply a wood stain if you want color, then seal it with a food-safe sealant to protect the surface.
How do I maintain my butcher block island?
Regularly clean with mild soap and water. Reapply the sealant every few months to keep it in top shape.