
Home>Home & Furniture>Kitchen>DIY Canisters: How to Create Stylish Storage
Kitchen
DIY Canisters: How to Create Stylish Storage
Published: July 25, 2024
Discover how to create stylish DIY canisters for your kitchen. Learn step-by-step instructions and tips to enhance your storage space with personalized, chic containers.
(Many of the links in this article redirect to a specific reviewed product. Your purchase of these products through affiliate links helps to generate commission for Twigandthistle.com, at no extra cost. Learn more)
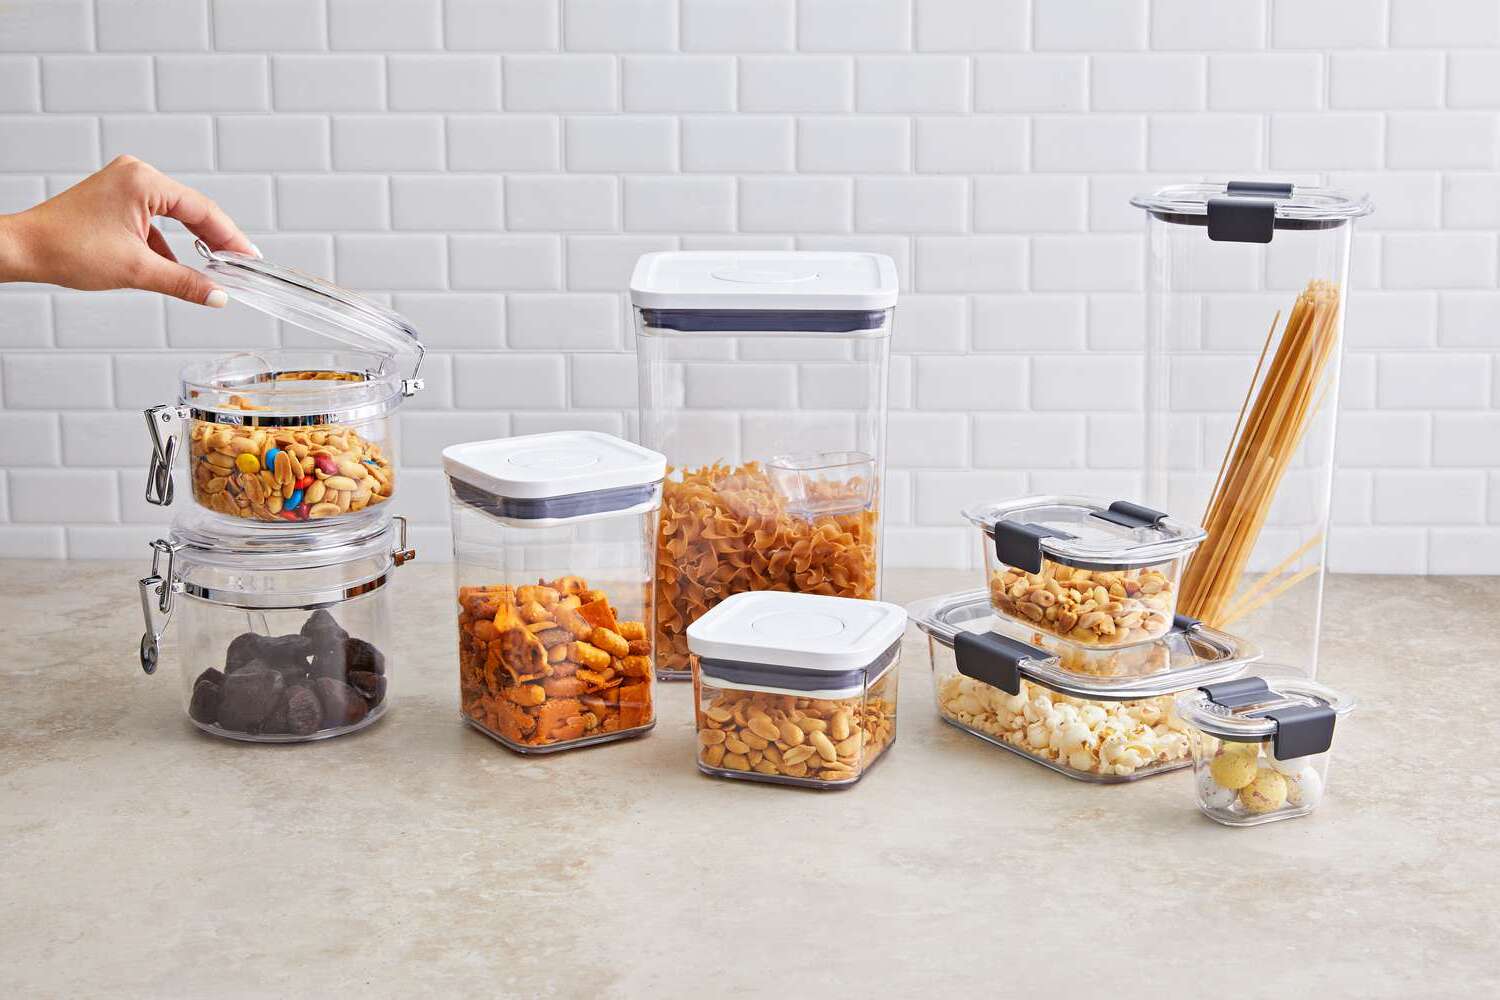
Creating your own stylish storage canisters at home is simpler than you might think. These DIY projects not only give your space a personal touch but also provide a functional solution for organizing various items. Whether you're storing kitchen ingredients, bathroom essentials, or craft supplies, homemade canisters can be customized to fit your decor and needs. With a few basic materials and a bit of creativity, you can transform ordinary containers into eye-catching storage solutions. Ready to get started? Let's explore how you can make these practical and stylish additions to your home.
Getting Ready for Your Project
Gather Materials: Collect all necessary items like jars, lids, paint, brushes, labels, and decorative elements. Ensure you have everything before starting.
Clean Jars: Wash and dry jars thoroughly to remove any dust or residue. Clean surfaces help paint and decorations stick better.
Workspace Setup: Choose a well-ventilated area with a flat surface. Lay down newspaper or a drop cloth to protect your workspace from paint spills.
Safety Gear: Wear gloves to protect your hands from paint and adhesives. Use a mask if working with strong-smelling paints or sprays.
Organize Tools: Arrange brushes, paints, and other tools within easy reach. This keeps the process smooth and efficient.
Plan Design: Sketch your design ideas on paper. Decide on colors, patterns, and label styles before applying them to the jars.
Test Paint: Apply a small amount of paint on a hidden part of the jar to see how it adheres. This helps avoid surprises later.
Drying Area: Set up a space where jars can dry undisturbed. Ensure it’s dust-free to keep your designs clean.
Label Prep: If using labels, cut them out and have them ready. This saves time when you’re ready to apply them.
Ventilation: Ensure good airflow in your workspace, especially when using spray paint or strong adhesives. Open windows or use fans if needed.
Gather Your Materials and Tools
- Glass Jars: These will be the main containers. Choose sizes based on what you plan to store.
- Spray Paint: Used to color the lids or the jars themselves. Pick a color that matches your decor.
- Painter's Tape: Helps create clean lines if you want to paint patterns or sections.
- Sandpaper: Smooths out any rough edges on the lids or jars before painting.
- Hot Glue Gun: Secures decorative elements like ribbons or labels.
- Decorative Ribbons: Adds a stylish touch around the jar necks or lids.
- Labels: Helps identify the contents of each canister. Can be pre-made or handwritten.
- Scissors: Cuts ribbons, tape, and labels to the desired size.
- Rubbing Alcohol: Cleans the jars before painting to ensure the paint adheres well.
- Measuring Tape: Ensures ribbons and tape are cut to the correct length.
- Craft Knife: Useful for detailed cutting of labels or tape.
- Clear Sealant Spray: Protects the paint and decorations from chipping or peeling.
Skill Level and Time Needed
Skill Level: Beginner
Time Required: 1-2 hours
- Gather Materials: 10 minutes
- Clean and Prep Containers: 15 minutes
- Paint or Decorate: 30-45 minutes
- Drying Time: 30 minutes
- Add Labels or Finishing Touches: 10-20 minutes
Step-by-Step Guide
Gather Materials:
- Empty containers (glass jars, tin cans, etc.)
- Paint (spray or acrylic)
- Paintbrushes
- Labels or stickers
- Decorative items (ribbons, fabric, etc.)
- Glue or adhesive
- Sandpaper (optional)
Clean Containers:
- Wash containers thoroughly.
- Dry completely to ensure paint adheres well.
Sand Surfaces (if needed):
- Lightly sand the surface of containers.
- Wipe away dust with a damp cloth.
Paint Containers:
- Apply a base coat of paint.
- Let it dry completely.
- Add additional coats if needed for full coverage.
Decorate:
- Attach labels or stickers to identify contents.
- Use glue to add decorative items like ribbons or fabric.
- Ensure all decorations are securely attached.
Seal (Optional):
- Apply a clear sealant to protect paint and decorations.
- Allow to dry completely.
Fill and Use:
- Fill canisters with desired items.
- Place in desired location for stylish storage.
Helpful Tips and Tricks
Choose the Right Containers: Start with sturdy containers like mason jars, old coffee tins, or even plastic containers. Make sure they have tight-fitting lids to keep contents fresh.
Prep the Surface: Clean and dry containers thoroughly. If painting, lightly sand the surface to help the paint stick better.
Use Primer: Apply a coat of primer before painting. This helps the paint adhere and last longer.
Paint and Decorate: Use acrylic paint for a smooth finish. Add designs with stencils or freehand. For a rustic look, try chalk paint.
Seal the Paint: Once dry, apply a clear sealant to protect the paint from chipping.
Labeling: Use chalkboard labels or printable labels for easy identification. You can also use a label maker for a clean look.
Common Mistakes to Avoid:
- Skipping Primer: This can cause paint to peel.
- Not Sealing: Unsealed paint can chip easily.
- Overloading Decorations: Too many embellishments can make the canister look cluttered.
Alternatives:
- Decoupage: Use decorative paper or fabric with Mod Podge for a unique look.
- Spray Paint: For a quick, even coat, use spray paint instead of brush-on paint.
- Vinyl Stickers: These can be a quick way to add designs without painting.
Estimating the Cost
Materials:
- Glass Jars: $10-$20 for a set of 4
- Spray Paint: $5-$10 per can
- Chalkboard Labels: $5-$10 for a pack
- Chalk Marker: $3-$5
- Decorative Ribbon: $2-$5 per roll
Tools:
- Scissors: $5-$10
- Painter's Tape: $3-$5
- Newspaper or Drop Cloth: $0-$5
Total Estimated Cost: $33-$70
Budget-Friendly Alternatives:
- Reuse Old Jars: Free
- Acrylic Paint Instead of Spray Paint: $1-$3 per bottle
- Printable Labels: Free (if you have a printer)
- Regular Marker Instead of Chalk Marker: $1-$2
- Twine Instead of Decorative Ribbon: $1-$3 per roll
Creative Variations and Customizations
Alternative materials can give your canisters a unique look. Instead of glass jars, try using metal tins, wooden boxes, or even ceramic pots. Each material offers a different aesthetic and durability.
Colors can transform the appearance of your storage. Paint the canisters with chalk paint for a vintage look, or use metallic spray paint for a modern touch. Bright colors can make them pop, while neutral tones provide a more subtle, elegant feel.
Styles can also vary. For a rustic look, wrap the canisters in burlap or twine. To achieve a boho vibe, add macramé or fabric with bold patterns. For a minimalist approach, keep the design simple with clean lines and solid colors.
Labels add functionality and style. Use chalkboard paint for erasable labels, or print custom vinyl stickers for a polished look. Handwritten tags on kraft paper can give a charming, homemade feel.
Lids can be customized too. Replace standard lids with wooden tops, cork stoppers, or even decorative knobs. Adding a handle or pull can make them easier to use and more stylish.
Decorative elements like stencils, decoupage, or washi tape can add personal flair. Use stencils to create patterns or images, or apply decoupage with your favorite paper designs. Washi tape offers a quick, easy way to add color and patterns.
Functional modifications can enhance usability. Add magnetic strips to the back for fridge storage, or attach hooks for hanging. Stackable designs can save space, while see-through windows help identify contents quickly.
Eco-Friendly Tips
Glass jars from pasta sauce or pickles make excellent canisters. Clean them thoroughly, then paint or label them for a fresh look. Tin cans can also be repurposed. Remove labels, clean, and paint or wrap them in fabric for a stylish touch.
Mason jars are another great option. They are durable, reusable, and come in various sizes. Decorate with twine, chalkboard paint, or fabric to match your decor.
Wooden boxes from old crates or pallets can be transformed into canisters. Sand them down, paint or stain, and add lids if needed. These add a rustic charm to any space.
Fabric scraps can be used to create covers for existing containers. Sew or glue fabric around jars or cans for a unique, eco-friendly look.
Cardboard tubes from paper towels or toilet paper rolls can be turned into small canisters. Cover them with decorative paper or fabric, and add a base and lid.
Old Tupperware or plastic containers can be given new life. Decorate with paint or adhesive paper, and use them for dry goods or craft supplies.
Recycled paper can be used to make papier-mâché canisters. Form the shape with balloons or molds, then paint and decorate once dry.
Bamboo is a sustainable material that can be used to make canisters. Purchase bamboo sheets or containers, then personalize with paint or fabric.
Cork from wine bottles can be used to create lids or decorative accents for your canisters. It’s a renewable resource and adds a natural touch.
Your DIY Journey Awaits
Creating DIY canisters isn't just about making storage solutions. It's about adding a personal touch to your space. With a few materials and some creativity, you can transform ordinary items into stylish containers. Remember, the key is to have fun and let your imagination run wild. Whether you’re using paint, fabric, or decals, each canister will be unique. Plus, you’ll save money and reduce waste by repurposing old jars or tins. So, gather your supplies, roll up your sleeves, and start crafting. Your home will thank you for the added charm and functionality. Happy DIY-ing!
How do I choose the right materials for my DIY canisters?
Pick materials that suit your style and needs. Glass, metal, and plastic are popular choices. Glass is great for a sleek look, metal adds a vintage touch, and plastic is lightweight and durable.
What tools will I need to make DIY canisters?
You'll need basic tools like scissors, a ruler, glue, and paint. Depending on your design, you might also need a drill, sandpaper, or a hot glue gun.
Can I repurpose old containers for DIY canisters?
Absolutely! Repurposing old containers is a great way to save money and reduce waste. Just make sure to clean them thoroughly before starting your project.
How can I make my DIY canisters look more professional?
Use labels and consistent colors to give your canisters a polished look. Adding decorative elements like ribbons or stencils can also make a big difference.
Are DIY canisters safe for food storage?
Yes, as long as you use food-safe materials. Avoid using paints or adhesives that could be toxic. Glass and certain plastics are usually safe bets.
How do I ensure my canisters are airtight?
To make your canisters airtight, use rubber seals or gaskets. You can also add a layer of cling film under the lid for extra protection.
Can I customize the size of my DIY canisters?
Definitely! You can cut materials to your desired size or use containers of different shapes and sizes. Just make sure they fit your storage needs.