
Home>Home & Furniture>Garage & Basement>DIY Garage Alarm System Guide
Garage & Basement
DIY Garage Alarm System Guide
Published: September 26, 2024
Secure your garage with our DIY Garage Alarm System Guide. Learn step-by-step installation, essential tools, and expert tips to protect your valuables efficiently.
(Many of the links in this article redirect to a specific reviewed product. Your purchase of these products through affiliate links helps to generate commission for Twigandthistle.com, at no extra cost. Learn more)
Tired of worrying about your garage security? Want to feel more in control and protect your valuables? A DIY garage alarm system might be just what you need. This guide will help you set up a simple yet effective alarm system that fits your needs and budget. No need for expensive professional installations. With a few tools and some basic skills, you can enhance your garage's safety. Follow these straightforward steps to create a reliable security system. Ready to get started? Let's dive in and transform your garage into a secure haven.
Getting Ready for Your Project
Gather Materials: Collect all necessary items like sensors, alarm unit, wiring, and tools. Check the instructions for any specific components.
Read Instructions: Carefully read the manual for your alarm system. Understand how each part works and where it should be installed.
Safety Gear: Wear safety goggles and gloves to protect your eyes and hands. Use a dust mask if drilling or cutting.
Clear Workspace: Remove clutter from the garage. Ensure you have enough room to move around and access all areas where the alarm will be installed.
Turn Off Power: If working with electrical components, turn off the power at the breaker box to avoid shocks.
Mark Locations: Use a pencil to mark where sensors and the alarm unit will be placed. Double-check measurements to ensure accuracy.
Drill Holes: Drill pilot holes for mounting screws. This makes it easier to install sensors and the alarm unit.
Run Wiring: Plan the route for wires. Use cable clips to secure wires along walls and ceilings, keeping them out of the way.
Test Components: Before final installation, connect and test each component to ensure they work correctly.
Mount Components: Secure sensors, alarm unit, and any other parts in their marked locations using screws or adhesive strips.
Connect Power: Reconnect power and test the entire system to make sure everything functions as expected.
Materials and Tools Needed
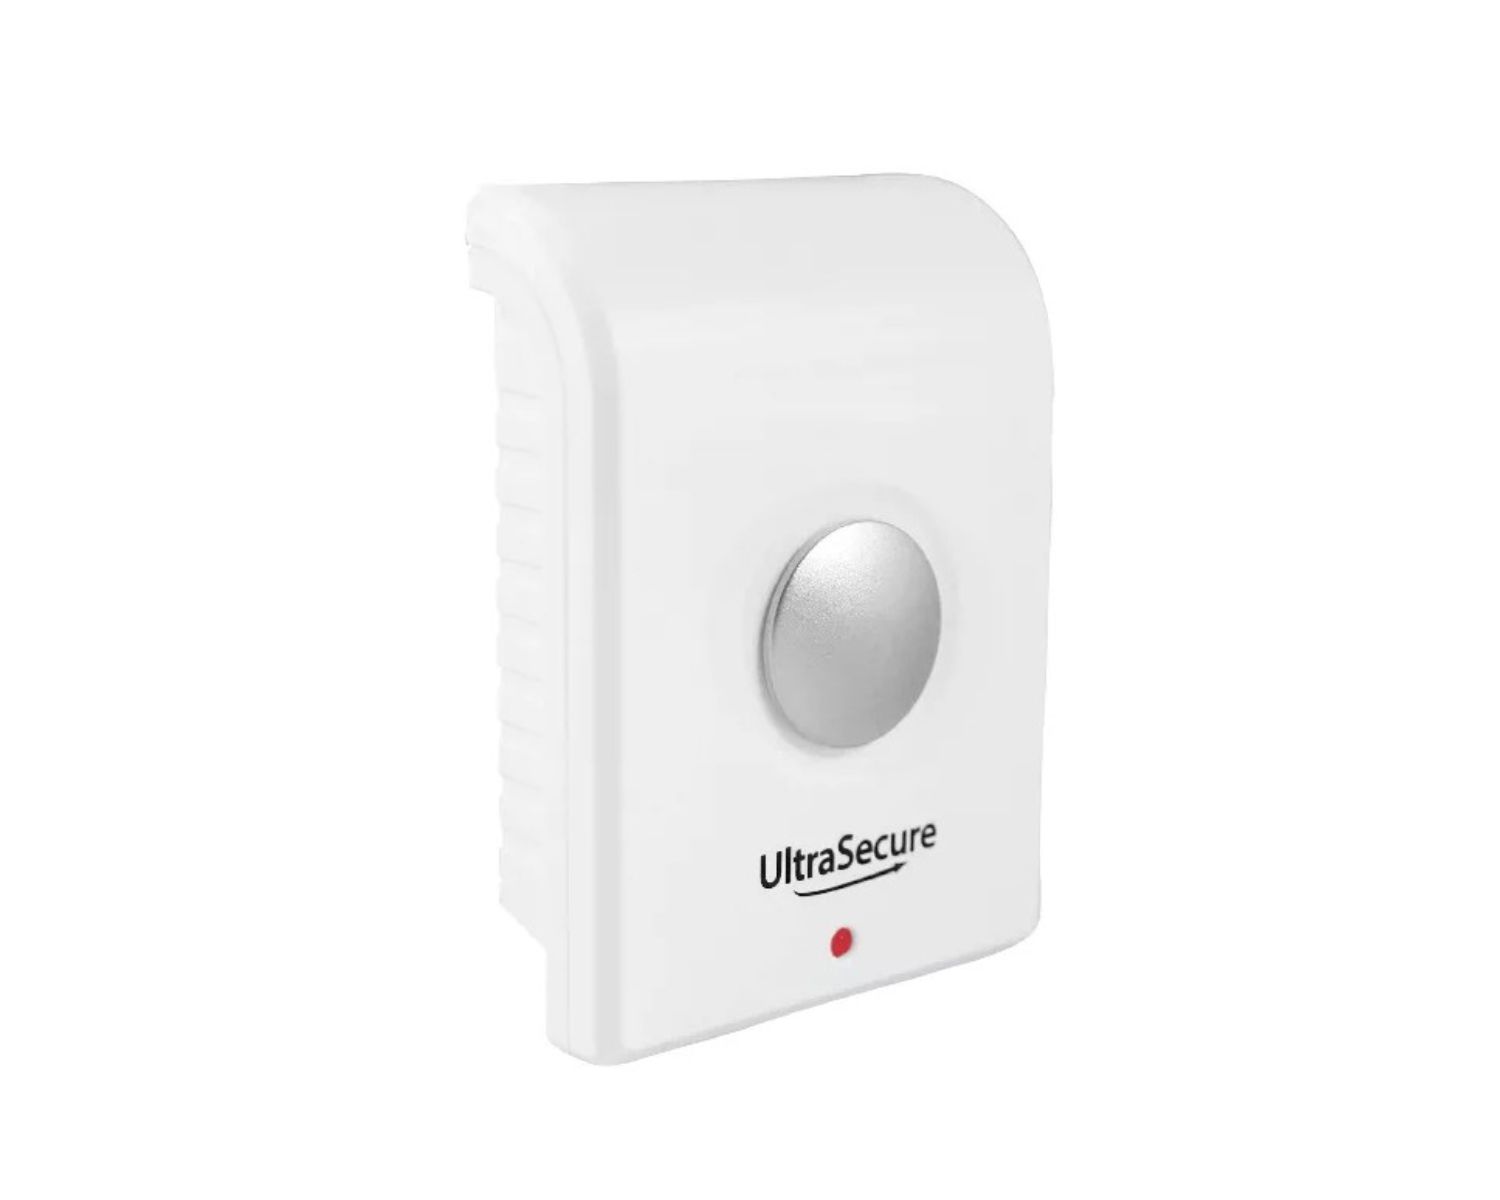
- Alarm Kit: The main component, usually includes sensors, a control panel, and a siren.
- Screwdriver Set: Needed to mount sensors and the control panel.
- Drill: For making holes in walls to secure the alarm components.
- Screws and Anchors: Used to attach sensors and the control panel to walls.
- Wire Strippers: Essential for preparing wires if your alarm system isn't wireless.
- Measuring Tape: Helps ensure sensors are placed at the correct distance.
- Ladder: Useful for reaching high spots in the garage.
- Batteries: Power the sensors and control panel if they aren't hardwired.
- Double-Sided Tape: An alternative to screws for mounting sensors.
- Pencil: Mark spots where you will drill or screw.
- Smartphone: For setting up and controlling the alarm system if it has a mobile app.
Each item plays a crucial role in ensuring your DIY garage alarm system is installed correctly and functions properly.
Skill Level and Time Required
Skill Level: Intermediate
Time Required: 3-4 hours
- Gather Materials: 30 minutes
- Install Sensors: 1 hour
- Set Up Alarm Unit: 1 hour
- Test System: 30 minutes
- Adjust Settings: 30 minutes
Step-by-Step Instructions
Gather Materials:
- Alarm kit
- Screwdriver
- Drill
- Screws
- Batteries
- Double-sided tape
Choose Alarm Location:
- Pick a spot near the garage door.
- Ensure it’s out of reach but accessible for maintenance.
Mount Alarm Unit:
- Use double-sided tape to position the alarm unit.
- Secure with screws for added stability.
Install Sensors:
- Place door sensors on the garage door and frame.
- Align sensors so they connect when the door is closed.
Connect Wires:
- Follow the alarm kit instructions to connect wires.
- Ensure connections are tight and secure.
Insert Batteries:
- Open the battery compartment.
- Insert batteries according to the polarity markings.
Test the System:
- Close the garage door.
- Arm the alarm and check if it triggers when the door opens.
Adjust Sensitivity:
- If the alarm is too sensitive or not sensitive enough, adjust settings.
- Refer to the manual for specific instructions.
Secure Wiring:
- Use clips or tape to keep wires tidy.
- Ensure no wires are dangling or exposed.
Regular Maintenance:
- Check batteries every few months.
- Test the alarm periodically to ensure it’s functioning properly.
Tips and Tricks
Choose the Right Sensor: Motion sensors, door sensors, or even infrared sensors can work. Pick one that suits your needs.
Placement Matters: Install sensors at entry points like doors and windows. High corners work well for motion sensors.
Use Strong Adhesive: Ensure sensors stay put by using strong double-sided tape or screws.
Test Before Finalizing: Check the system works before securing everything. This saves time if adjustments are needed.
Backup Power: Use a battery backup to keep the alarm functional during power outages.
Integrate with Smart Devices: Connect the alarm to your smartphone for real-time alerts.
Label Wires: If using a wired system, label each wire to avoid confusion during installation.
Secure Wi-Fi: For wireless systems, ensure your Wi-Fi network is secure to prevent hacking.
Regular Maintenance: Test the system monthly and replace batteries as needed.
Common Mistakes to Avoid:
Ignoring Instructions: Always read the manual. Skipping steps can lead to malfunctions.
Poor Placement: Sensors placed too high or too low may not detect movement effectively.
Overlooking Updates: Keep firmware updated to ensure the system runs smoothly.
Alternatives for Materials or Methods:
DIY Kits: Consider pre-packaged DIY alarm kits. They simplify the process with all necessary components included.
Smart Home Systems: Use smart home devices like Alexa or Google Home for integrated security solutions.
Recycled Materials: Use old smartphones as security cameras with appropriate apps.
Cost Estimation
Materials:
- Motion Sensors: $20 each (need 2) - $40
- Door/Window Sensors: $10 each (need 4) - $40
- Alarm Siren: $25
- Control Panel: $50
- Wiring: $15
- Batteries: $10
Tools:
- Screwdriver Set: $15
- Drill: $40
- Wire Strippers: $10
- Tape Measure: $5
Total Cost: $250
Budget-Friendly Alternatives:
- Used Motion Sensors: $10 each (need 2) - $20
- Basic Door/Window Sensors: $5 each (need 4) - $20
- Simple Alarm Siren: $15
- Basic Control Panel: $30
- Wiring: $10
- Batteries: $5
Tools:
- Borrowed Screwdriver Set: Free
- Used Drill: $20
- Basic Wire Strippers: $5
- Tape Measure: $3
Total Cost: $128
Variations and Customizations
Alternative materials can make your garage alarm system more personalized. Instead of using a standard motion sensor, try a laser tripwire for a high-tech feel. For a more rustic look, use wooden casings instead of plastic for housing the electronics.
Colors can also change the vibe. Paint the alarm box in bright colors like red or yellow to make it stand out, or use camouflage colors to blend it with the surroundings.
Styles can vary too. For a modern look, use sleek, metallic finishes. For a vintage style, opt for brass fittings and antique switches.
Power sources can be customized. Instead of traditional batteries, consider solar panels for an eco-friendly option.
Alerts can be modified. Instead of a loud siren, use a silent alarm that sends a notification to your phone.
Mounting options can change based on your needs. Use magnetic mounts for easy removal or hidden mounts for a cleaner look.
Connectivity can be enhanced. Integrate the alarm with smart home systems like Alexa or Google Home for voice control.
Sensors can be varied. Add temperature sensors to alert you if the garage gets too hot or cold.
Lighting can be added. Install LED strips that light up when the alarm is triggered for a visual alert.
Sound options can be customized. Choose a custom ringtone or even a recorded message to play when the alarm goes off.
Sustainability Tips
Use recycled wood for mounting components. Repurpose an old smartphone as a camera or motion detector. Choose solar-powered lights to save energy. Opt for rechargeable batteries instead of disposables. Use reclaimed wires from old electronics. Install a manual switch to turn off the system when not needed. Reuse plastic containers for housing small parts. Select eco-friendly paint for any visible parts.
Your Garage is Now Secure
You've got the know-how to build a DIY garage alarm system. With some basic tools, a few components, and a bit of time, you can protect your space without breaking the bank. Remember to test your system regularly to ensure everything's working smoothly. If something seems off, troubleshoot it right away.
Don't forget, the key to a successful DIY project is patience and attention to detail. You've taken a big step towards securing your garage and giving yourself peace of mind. Now, enjoy the confidence that comes with knowing your belongings are safe. Happy DIY-ing!
How hard is it to install a DIY garage alarm system?
It’s not too tough! Most systems come with clear instructions. If you can handle basic tools like a screwdriver and a drill, you’re good to go.
What tools will I need?
You’ll need a screwdriver, drill, measuring tape, and maybe a ladder. Some systems might need a wire stripper if you’re dealing with wired components.
Can I connect it to my smartphone?
Absolutely! Many modern systems have apps that let you monitor and control the alarm from your phone. Just follow the app’s setup instructions.
How much will it cost?
Costs vary. Basic systems can be around $50, while more advanced setups with cameras and sensors might run a few hundred bucks. It’s all about what features you want.
Do I need Wi-Fi?
Most newer systems use Wi-Fi for remote access and alerts. If you want to get notifications on your phone, you’ll need a decent Wi-Fi connection in your garage.
What if the power goes out?
Many systems have battery backups. These keep your alarm running even during a power outage, so you’re still protected.
How do I maintain it?
Regularly check the sensors and batteries. Clean any dust off the components and test the system every few months to make sure everything’s working right.