
Home>Home & Furniture>Doors & Windows>How to Make DIY Blinds for Windows
Doors & Windows
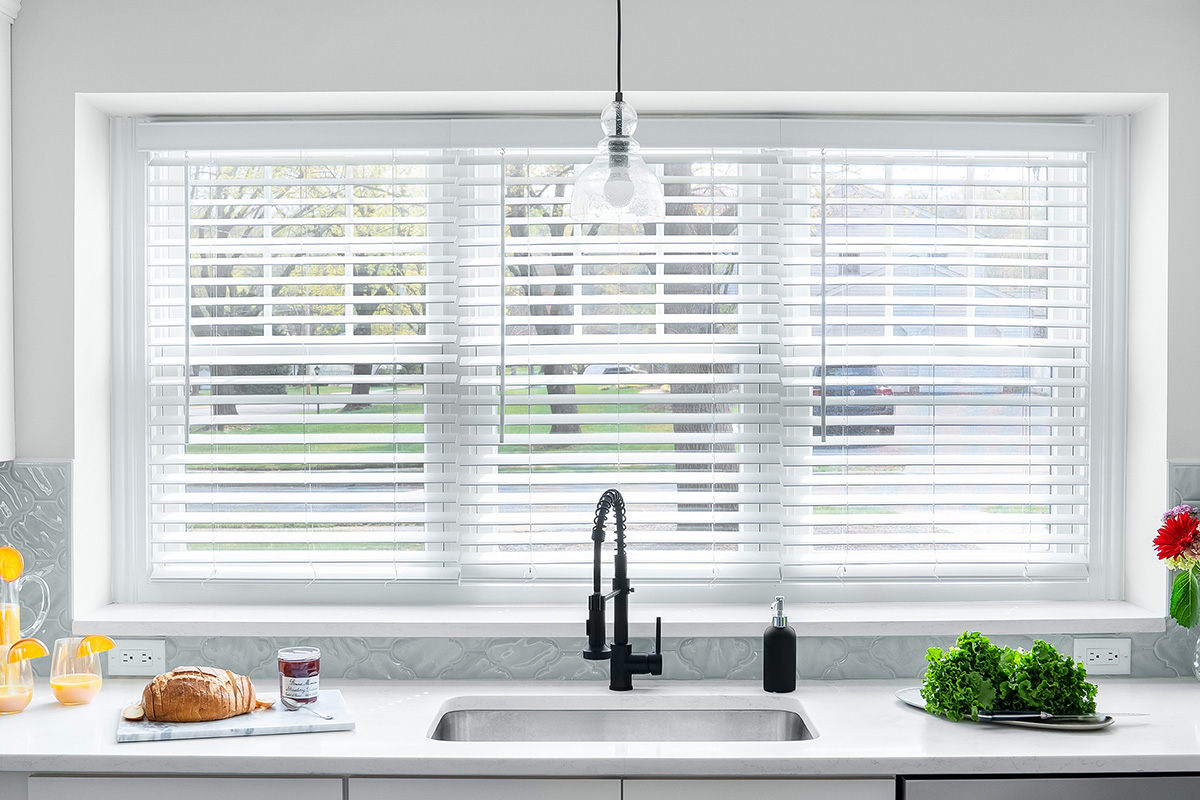
How to Make DIY Blinds for Windows
Published: August 10, 2024
Learn how to make DIY blinds for windows with our step-by-step guide. Save money, customize your home decor, and enhance privacy with these easy-to-follow instructions.
(Many of the links in this article redirect to a specific reviewed product. Your purchase of these products through affiliate links helps to generate commission for Twigandthistle.com, at no extra cost. Learn more)
Making your own blinds for windows can be both fun and cost-effective. Not only will you save money, but you also get the chance to customize the look to match your style. Whether you're new to DIY projects or have some experience, this guide will help you through the process. Imagine looking at your windows and feeling proud that you made those blinds. Ready to roll up your sleeves and get started? With a few materials, patience, and some creativity, you’ll have custom blinds in no time. Now, let’s get into the steps to create your very own window blinds.
Getting Ready for Your Project
Measure Your Windows: Use a tape measure to get the exact width and height of your window. Write down the measurements to avoid mistakes.
Choose Materials: Decide on the fabric or material for your blinds. Consider light-blocking or decorative options.
Gather Tools: Collect essential tools like a tape measure, scissors, fabric glue, a sewing machine, and a drill.
Safety Gear: Wear safety goggles and gloves to protect your eyes and hands while cutting materials or using power tools.
Prepare Workspace: Clear a large, flat surface to lay out your materials. Ensure good lighting and ventilation.
Cut Fabric: Cut the fabric according to your window measurements, adding a few extra inches for hems.
Sew Hems: Use a sewing machine to sew the edges of the fabric, creating neat hems. This prevents fraying.
Install Hardware: Drill holes for brackets or hooks where the blinds will hang. Ensure they are level and secure.
Attach Blinds: Attach the fabric to the hardware, ensuring it hangs evenly and can be easily adjusted.
Test Functionality: Check that the blinds roll up and down smoothly. Make any necessary adjustments.
Essential Materials and Tools
Materials:
- Fabric: Choose a sturdy fabric that matches your room's decor.
- Wooden Dowels: These will help keep the blinds straight.
- Cord: Used to raise and lower the blinds.
- Sewing Thread: Matches the fabric color for a seamless look.
- Hooks or Rings: Attach to the top of the window frame to hang the blinds.
- Fabric Glue: For securing hems if you prefer not to sew.
- Velcro Strips: Attach the blinds to the window frame.
Tools:
- Measuring Tape: Measure the window dimensions accurately.
- Scissors: Cut the fabric and cord to the required lengths.
- Sewing Machine: Stitch the fabric pieces together.
- Drill: Make holes for hooks or rings in the window frame.
- Iron: Press the fabric to remove wrinkles before sewing.
- Pencil: Mark measurements on the fabric.
- Pins: Hold fabric pieces together while sewing.
Fabric is the main material, providing the look and feel of the blinds. Wooden Dowels ensure the blinds hang straight. Cord allows you to adjust the blinds' height. Sewing Thread should match the fabric for a clean finish. Hooks or Rings are necessary for hanging. Fabric Glue is an alternative to sewing. Velcro Strips offer an easy way to attach blinds to the frame.
Measuring Tape ensures precise dimensions. Scissors cut materials to size. Sewing Machine speeds up the stitching process. Drill creates holes for mounting. Iron smooths out fabric. Pencil helps mark where to cut or sew. Pins keep everything in place during assembly.
Required Skills and Time Commitment
Skill Level: Intermediate
Time Required: 4-6 hours
- Gather Materials: 30 minutes
- Measure Windows: 20 minutes
- Cut Fabric and Rods: 1 hour
- Sew Fabric: 2 hours
- Assemble Blinds: 1 hour
- Install Blinds: 30 minutes
Detailed Step-by-Step Guide
Measure the Window:
- Use a tape measure to get the width and height of the window.
- Write down the measurements.
Choose Fabric:
- Pick a fabric that matches your room decor.
- Ensure the fabric is wide enough to cover the window.
Cut the Fabric:
- Lay the fabric flat on a cutting surface.
- Cut the fabric to the window's width and add 2 inches to each side for hemming.
Hem the Edges:
- Fold the edges of the fabric over by 1 inch.
- Use an iron to press the folds.
- Sew along the edges to create a neat hem.
Attach Rings:
- Lay the fabric flat, with the back side facing up.
- Sew small rings along the top edge, spaced about 6 inches apart.
Install a Rod:
- Mount a curtain rod above the window using brackets.
- Ensure the rod is level.
Hang the Blinds:
- Slide the rings onto the rod.
- Adjust the fabric so it hangs evenly.
Add a Pull Cord:
- Attach a pull cord to the bottom of the fabric.
- Thread the cord through the rings to allow easy raising and lowering.
Secure the Cord:
- Tie a knot at the end of the cord to prevent it from slipping through the rings.
- Attach a cord cleat to the wall to wrap the cord around when not in use.
Test the Blinds:
- Pull the cord to raise and lower the blinds.
- Make any necessary adjustments to ensure smooth operation.
Helpful Tips and Tricks
Measure accurately before cutting any materials. Use a metal tape measure for precision. Double-check your measurements to avoid mistakes.
Choose the right fabric. Light-blocking fabrics work well for bedrooms, while lighter fabrics suit living areas. Consider using old sheets or tablecloths as an affordable alternative.
Use a level to ensure your blinds hang straight. Crooked blinds can be frustrating to fix later.
Pre-drill holes for screws to prevent wood from splitting. This step makes installation smoother and more professional-looking.
Iron your fabric before attaching it to the blinds. Wrinkles can make the final product look sloppy.
Secure the edges of the fabric with fabric glue or a hot glue gun. This prevents fraying and gives a cleaner finish.
Test the mechanism before finalizing everything. Make sure the blinds roll up and down smoothly.
Common mistakes to avoid include not measuring correctly, choosing the wrong type of fabric, and skipping the pre-drilling step. These errors can lead to poorly fitting blinds or damaged materials.
Alternatives for materials include using bamboo shades instead of fabric or wooden slats for a more rustic look. For the mechanism, consider using cordless options for a cleaner appearance and added safety.
Estimating the Cost
Fabric: $20-$50, depending on quality and design.
Wooden dowels: $10 for a pack of 10.
Cord: $5 for 50 feet.
Sewing machine: $100-$200, if you don't already have one. Borrowing from a friend can save money.
Needles and thread: $5.
Scissors: $10.
Measuring tape: $5.
Hot glue gun: $10.
Glue sticks: $5 for a pack.
Mounting hardware: $10.
Total cost: $180-$310, depending on materials and tools you already own.
Budget-friendly alternatives:
- Use old sheets or curtains instead of buying new fabric.
- Borrow a sewing machine from a friend or family member.
- Repurpose old blinds for mounting hardware.
- Use a needle and thread instead of a hot glue gun.
Creative Variations and Customizations
Materials: Instead of traditional fabric, try using bamboo, wooden slats, or recycled materials like old denim or canvas. These alternatives can give your blinds a unique look and feel.
Colors: Paint or dye your blinds to match your room's color scheme. Use bold colors for a modern look or pastels for a softer, more classic appearance. You can also create patterns like stripes or polka dots for added flair.
Styles: Experiment with different styles such as Roman shades, roller blinds, or vertical blinds. Roman shades offer a more elegant look, while roller blinds are simple and functional. Vertical blinds can be great for larger windows or sliding doors.
Trims and Embellishments: Add ribbons, lace, or beads to the edges of your blinds for a decorative touch. You can also sew on buttons or patches to give them a personalized look.
Mechanisms: Instead of a traditional cord, use a pulley system or magnetic strips to open and close your blinds. This can make them safer for homes with children or pets.
Layering: Combine different materials and styles for a layered effect. For example, pair a sheer fabric with a heavier material to control light and privacy levels.
Eco-Friendly Options: Use organic fabrics or sustainable materials like cork or jute. These choices are better for the environment and can add a natural touch to your decor.
Custom Shapes: If your windows are not standard sizes, create custom-shaped blinds to fit perfectly. This can be especially useful for arched or triangular windows.
Motorized Blinds: For a high-tech option, install a motorized system that allows you to control your blinds with a remote or smartphone app. This can add convenience and a modern touch to your home.
Seasonal Themes: Change your blinds with the seasons. Use light, airy fabrics for summer and heavier, insulating materials for winter. This not only updates your decor but can also help with energy efficiency.
Eco-Friendly Tips
Recycled Fabric: Use old sheets, tablecloths, or curtains. Cut them to fit your window size.
Bamboo: Bamboo grows quickly, making it a sustainable choice. You can find bamboo slats or mats to create natural-looking blinds.
Wooden Pallets: Disassemble wooden pallets to use the slats. Sand them down and paint or stain them for a polished look.
Cardboard: Use sturdy cardboard from old boxes. Cut into strips and paint or cover with fabric for a unique design.
Old Jeans: Repurpose old denim jeans. Cut into strips and sew together for a durable, stylish blind.
Natural Dyes: Use natural dyes like tea, coffee, or beet juice to color your fabric. This avoids harmful chemicals.
Twine or Rope: Use natural fibers like jute or hemp twine. Weave them together to create a rustic blind.
Reclaimed Wood: Find old wood from barns or fences. Cut to size and attach with hinges for a rustic, eco-friendly blind.
Reused Hardware: Use old curtain rods, hooks, or brackets. This saves money and reduces waste.
Non-Toxic Glue: Choose eco-friendly, non-toxic glue for assembling your blinds. This keeps harmful chemicals out of your home.
Your DIY Blinds Are Ready
You've got your DIY blinds all set up. They add a personal touch to your space, save you money, and give you that sweet sense of accomplishment. Remember, the key steps were measuring your windows, choosing the right materials, cutting everything to size, and assembling with care. If you hit a snag, don't sweat it. Mistakes happen, and they're part of the learning process. Just take a step back, reassess, and try again. Now, sit back and enjoy the fruits of your labor. Your windows never looked so good, right? Plus, you now have a new skill under your belt. Keep experimenting with different styles and materials. Who knows? You might even inspire someone else to give it a shot. Happy crafting!
How do I measure my windows for DIY blinds?
Measure the width and height of the window frame. For inside mounts, measure the width at the top, middle, and bottom, then use the smallest measurement. For height, measure from the top to the bottom on the left, middle, and right, then use the longest measurement. For outside mounts, add a few inches to the width and height for better coverage.
What materials do I need to make DIY blinds?
You’ll need fabric, a wooden dowel or metal rod, a sewing machine or fabric glue, scissors, a measuring tape, and mounting hardware like brackets or hooks. Optional items include decorative trim or ribbon.
Can I use any type of fabric for DIY blinds?
Most fabrics work, but thicker ones like canvas or blackout fabric offer better light control and privacy. Lighter fabrics like cotton or linen can give a softer look but might not block as much light.
How do I attach the blinds to the window?
Use brackets or hooks to mount the blinds. For inside mounts, attach brackets inside the window frame. For outside mounts, attach them above or beside the window frame. Slide the dowel or rod through the top of the fabric and hang it on the brackets or hooks.
How do I make sure the blinds roll up smoothly?
Attach a dowel or rod at the bottom of the fabric to add weight. This helps the blinds roll up evenly. You can also sew or glue small rings to the back of the fabric and thread a cord through them to create a pulley system.
Can I customize the look of my DIY blinds?
Absolutely! Add decorative trim, ribbon, or paint to match your room’s decor. You can also stencil or stamp patterns onto the fabric for a unique touch.
How do I clean DIY fabric blinds?
Spot clean with a damp cloth and mild detergent. For deeper cleaning, remove the fabric from the rod or dowel and hand wash or machine wash on a gentle cycle, depending on the fabric type. Always check the fabric care instructions.