
Home>Home & Furniture>Doors & Windows>How to Make Custom Door Panels
Doors & Windows
How to Make Custom Door Panels
Published: September 9, 2024
Learn how to make custom door panels with our step-by-step guide. Discover materials, tools, and techniques to create unique, stylish, and functional door panels for your home.
(Many of the links in this article redirect to a specific reviewed product. Your purchase of these products through affiliate links helps to generate commission for Twigandthistle.com, at no extra cost. Learn more)
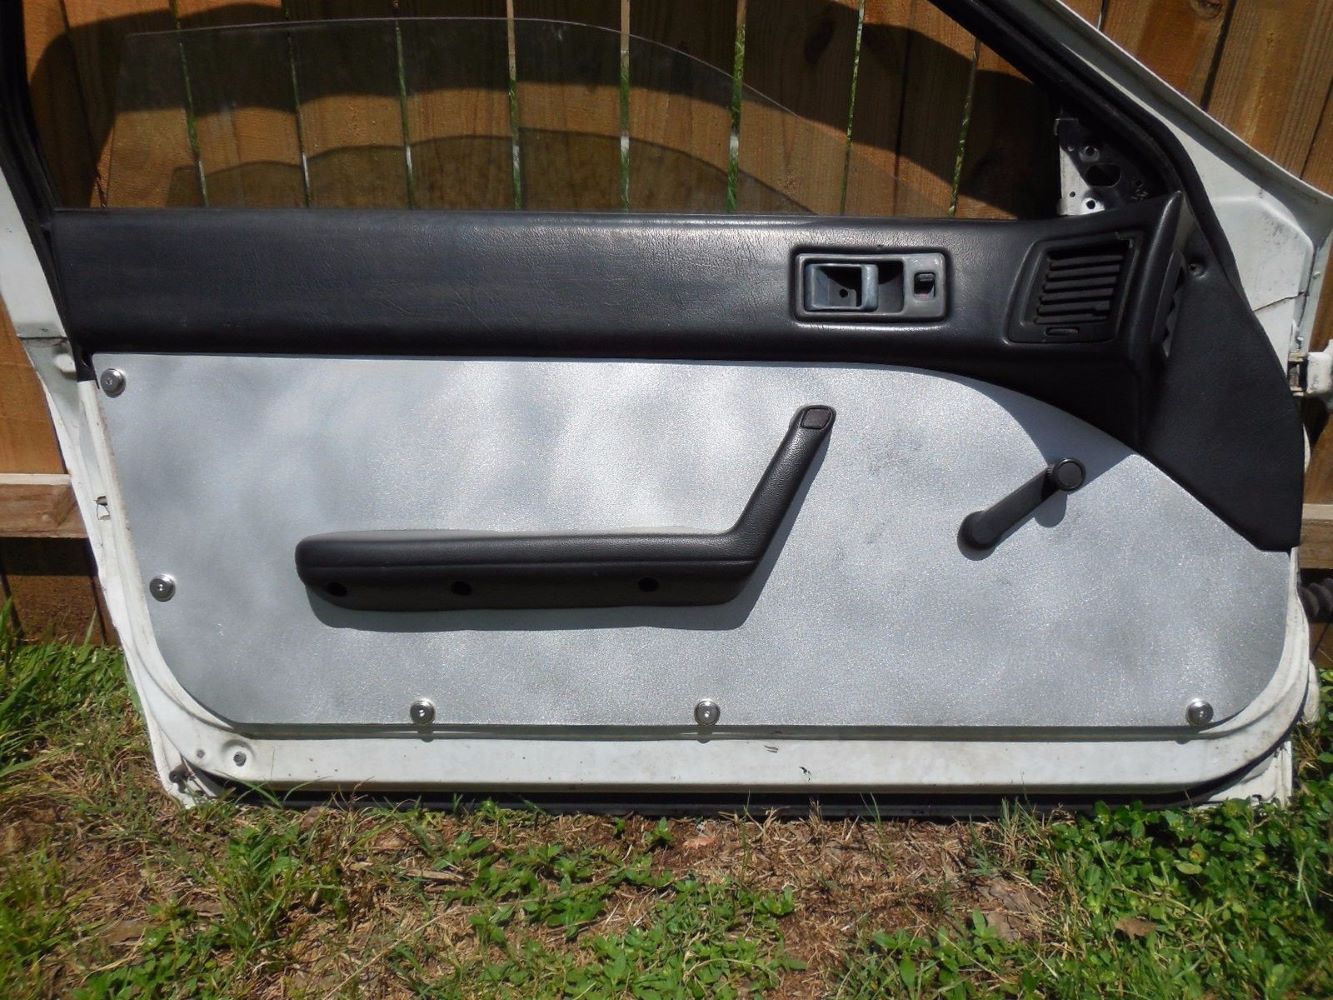
Making custom door panels can add a unique touch to your home. It's a fun project where you can use creativity and basic tools. Whether refurbishing old doors or starting from scratch, custom panels can fit any style. You don’t need to be a professional carpenter to achieve great results. With some planning, patience, and a few materials, you can transform ordinary doors into beautiful pieces. Think of it as an opportunity to express your style and improve your skills. Ready to get started? This guide will walk you through the process step by step.
Getting Ready for Your Project
Gather Materials: Collect plywood, fabric, foam padding, adhesive spray, a staple gun, screws, and a screwdriver.
Measure the Door: Use a tape measure to get the exact dimensions of the door. Write down the measurements.
Cut the Plywood: Cut the plywood to match the door's dimensions. Use a saw for precise cuts.
Safety Gear: Wear safety goggles and gloves to protect your eyes and hands.
Workspace Setup: Clear a large, flat surface to work on. Ensure good lighting and ventilation.
Attach Foam Padding: Cut foam padding to fit the plywood. Use adhesive spray to attach the foam to the plywood.
Cover with Fabric: Lay fabric over the foam and plywood. Pull it tight and staple it to the back of the plywood.
Secure to Door: Use screws to attach the custom panel to the door. Make sure it’s firmly in place.
Clean Up: Dispose of any waste materials and store tools properly.
Essential Supplies and Equipment
- Plywood Sheets: These form the base of your door panels. Choose a thickness that suits your design.
- Foam Padding: Adds cushioning to the panels, making them more comfortable and stylish.
- Fabric or Vinyl: Covers the foam padding. Pick a durable material that matches your decor.
- Spray Adhesive: Helps attach the foam padding to the plywood.
- Staple Gun: Secures the fabric or vinyl to the plywood.
- Measuring Tape: Ensures accurate measurements for cutting materials.
- Utility Knife: Cuts foam padding and fabric to the right size.
- Scissors: Trims excess fabric or vinyl.
- Pencil: Marks measurements on plywood and fabric.
- Straightedge or Ruler: Helps draw straight lines for cutting.
- Sandpaper: Smooths the edges of the plywood.
- Screws and Screwdriver: Attaches the finished panels to the door frame.
- Drill: Makes holes for screws, ensuring a secure fit.
- Clamps: Holds materials in place while working.
- Safety Gear: Includes gloves and safety glasses to protect while cutting and assembling.
Required Skills and Time Commitment
Skill Level: Intermediate
Estimated Time Required: 4-6 hours
- Gather Materials: 30 minutes
- Measure and Cut Panels: 1-2 hours
- Sand and Prep Panels: 1 hour
- Attach Panels to Door: 1-2 hours
- Finishing Touches: 30 minutes
Detailed Steps to Follow
Gather Materials:
- Plywood or MDF board
- Measuring tape
- Pencil
- Circular saw or jigsaw
- Sandpaper
- Primer and paint or stain
- Paintbrush or roller
- Screws and screwdriver
- Wood glue
- Clamps
Measure the Door:
- Use the measuring tape to get the dimensions of the door where the panel will go.
- Write down the measurements.
Cut the Panel:
- Mark the measurements on the plywood or MDF board with a pencil.
- Use a circular saw or jigsaw to cut the board to size.
- Sand the edges to smooth them out.
Design the Panel:
- Decide on the design for the panel (e.g., raised, flat, or recessed).
- Draw the design on the board if needed.
Assemble the Panel:
- If your design includes multiple pieces, cut those pieces and arrange them on the main board.
- Apply wood glue to the edges and press the pieces together.
- Use clamps to hold the pieces in place until the glue dries.
Prime and Paint:
- Apply a coat of primer to the panel.
- Once the primer is dry, paint or stain the panel in your desired color.
- Let it dry completely.
Attach the Panel to the Door:
- Position the panel on the door.
- Use screws to secure the panel to the door. Make sure the screws are evenly spaced.
- If needed, fill screw holes with wood filler and touch up with paint.
Final Touches:
- Sand any rough edges or spots.
- Apply a final coat of paint or sealant if desired.
- Let everything dry completely before using the door.
Helpful Hints and Techniques
Measure Twice, Cut Once: Always double-check measurements before cutting materials. This saves time and prevents waste.
Use Quality Materials: Opt for high-quality plywood or MDF for the panel base. These materials are durable and easy to work with.
Pre-drill Holes: Pre-drilling holes for screws prevents wood from splitting. It also makes assembly smoother.
Sand Edges: Sand the edges of the panels to avoid splinters and ensure a smooth finish. This step is crucial for a professional look.
Paint or Stain Before Assembly: Painting or staining the panels before assembly makes the process easier and results in a cleaner finish.
Use Clamps: Clamps hold pieces together while glue dries. This ensures strong, secure joints.
Common Mistakes to Avoid:
- Skipping Primer: Always use a primer before painting. It helps the paint adhere better and last longer.
- Incorrect Measurements: Failing to measure accurately can lead to panels that don’t fit properly.
- Over-tightening Screws: Over-tightening can strip the wood or cause it to crack.
Alternatives for Materials or Methods:
- Instead of Plywood: Consider using MDF for a smoother surface.
- Instead of Screws: Use wood glue and dowels for a cleaner look without visible fasteners.
- Instead of Paint: Use wood veneer for a natural wood finish without the need for painting or staining.
Budgeting for Your Project
Plywood: $30 for a 4x8 sheet
Fabric: $20 for 2 yards
Foam padding: $15 for a roll
Spray adhesive: $10 per can
Staple gun: $15
Staples: $5 per pack
Utility knife: $10
Measuring tape: $5
Sandpaper: $5 for a pack
Paint or stain: $10 per can
Brushes: $5 for a set
Total: Around $130
Budget-friendly alternatives:
Plywood: Use MDF board, $20
Fabric: Use old sheets or curtains, free if you have them
Foam padding: Use old mattress foam, free if available
Spray adhesive: Use regular glue, $5
Staple gun: Borrow from a friend, free
Staples: No alternative, $5
Utility knife: Use scissors, free if you have them
Measuring tape: Use a ruler, free if you have one
Sandpaper: Use a sanding block, $3
Paint or stain: Use leftover paint, free if available
Brushes: Use old brushes, free if you have them
Total with alternatives: Around $40
Personalizing Your Door Panels
Materials: Instead of traditional wood, try plywood, MDF, or reclaimed wood for a rustic look. For a modern touch, use metal sheets or acrylic panels.
Colors: Paint your door panels in bold colors like navy blue, forest green, or even a bright red. For a more subtle look, use neutral tones like beige, gray, or white. You can also try staining the wood to highlight its natural grain.
Styles: Add molding or trim to create a classic, paneled look. For a farmhouse style, use shiplap or barn wood. If you prefer a sleek, contemporary design, go for flat panels with a high-gloss finish.
Textures: Incorporate fabric or upholstery for a soft, padded look. Use textured wallpaper or vinyl wraps to add patterns and designs. For an industrial feel, try corrugated metal or perforated steel.
Hardware: Swap out standard door handles for decorative knobs or handles in materials like brass, bronze, or ceramic. Add hinges and door knockers that match your chosen style.
Glass Inserts: Add frosted glass, stained glass, or etched glass inserts for a touch of elegance. Use clear glass for a more open, airy feel.
Patterns: Create geometric designs with wood strips or paint. Use stencils to add intricate patterns or decals for a quick update.
Lighting: Install LED strips around the edges for a modern, illuminated look. Use backlighting to highlight glass inserts or patterns.
Mix and Match: Combine different materials, colors, and styles to create a unique, personalized door panel. For example, pair wood with metal accents or painted sections with stained wood.
Eco-Friendly Practices
Reclaimed wood is an excellent choice. It adds character and reduces waste. Look for old pallets or barn wood. Sand them down for a smooth finish.
Bamboo is another eco-friendly option. It grows quickly and is very durable. Use bamboo panels for a sleek, modern look.
Cork is sustainable and provides good insulation. It’s also lightweight and easy to work with. Consider cork panels for a unique texture.
Recycled metal can add an industrial touch. Old metal sheets or even tin cans can be repurposed. Clean them thoroughly before use.
Natural paints and stains are better for the environment. Choose products with low or no VOCs (volatile organic compounds). They’re safer for you and the planet.
Fabric panels made from organic cotton or hemp can soften the look of a door. Stretch the fabric over a wooden frame for easy installation.
Upcycling old doors is a great way to save resources. Cut them down to size and add new details. This gives them a fresh, custom look.
Plant-based adhesives are a greener choice. They work just as well as traditional glues but are less harmful to the environment.
Solar-powered tools can make your project even more sustainable. They reduce reliance on non-renewable energy sources.
Local materials reduce the carbon footprint. Sourcing wood, metal, or fabric from nearby suppliers supports the local economy and cuts down on transportation emissions.
Your DIY Door Panels Are Ready
You've got the skills and knowledge to make custom door panels now. With some basic tools and a bit of patience, you can transform any door into a unique piece. Remember to measure accurately, cut precisely, and take your time with the finishing touches. Don't be afraid to experiment with different materials and designs. The more you practice, the better you'll get. Plus, you'll save money and have the satisfaction of knowing you did it yourself. So, grab your tools, get creative, and start making those custom door panels. Happy building!
What materials do I need to make custom door panels?
You'll need plywood, fabric, foam padding, adhesive spray, a staple gun, screws, and paint or stain if you want to finish the wood.
How do I measure for the door panels?
Measure the height and width of the door. Subtract about 1/4 inch from each side to ensure the panel fits snugly without being too tight.
What's the best way to attach fabric to the panel?
Use adhesive spray to stick the foam padding to the plywood. Then, stretch the fabric over the foam and secure it with a staple gun on the back side of the panel.
Can I paint or stain the wood before attaching the fabric?
Absolutely! Paint or stain the plywood first. Let it dry completely before moving on to the foam and fabric steps.
How do I install the finished panels onto the door?
Use screws to attach the panels to the door. Make sure to pre-drill holes in the plywood to avoid splitting the wood.
What kind of fabric works best for door panels?
Upholstery fabric is a great choice because it's durable and comes in many colors and patterns. Canvas or duck cloth also work well.
Can I add decorative elements to my door panels?
Sure thing! You can add trim, buttons, or even nailhead accents to give your panels a unique look. Just make sure everything is securely attached.