
Home>Home & Furniture>Doors & Windows>How to DIY Duct a Window Air Conditioner
Doors & Windows
How to DIY Duct a Window Air Conditioner
Published: August 13, 2024
Learn how to DIY duct a window air conditioner with our step-by-step guide. Improve efficiency and comfort in your home with these easy-to-follow instructions.
(Many of the links in this article redirect to a specific reviewed product. Your purchase of these products through affiliate links helps to generate commission for Twigandthistle.com, at no extra cost. Learn more)
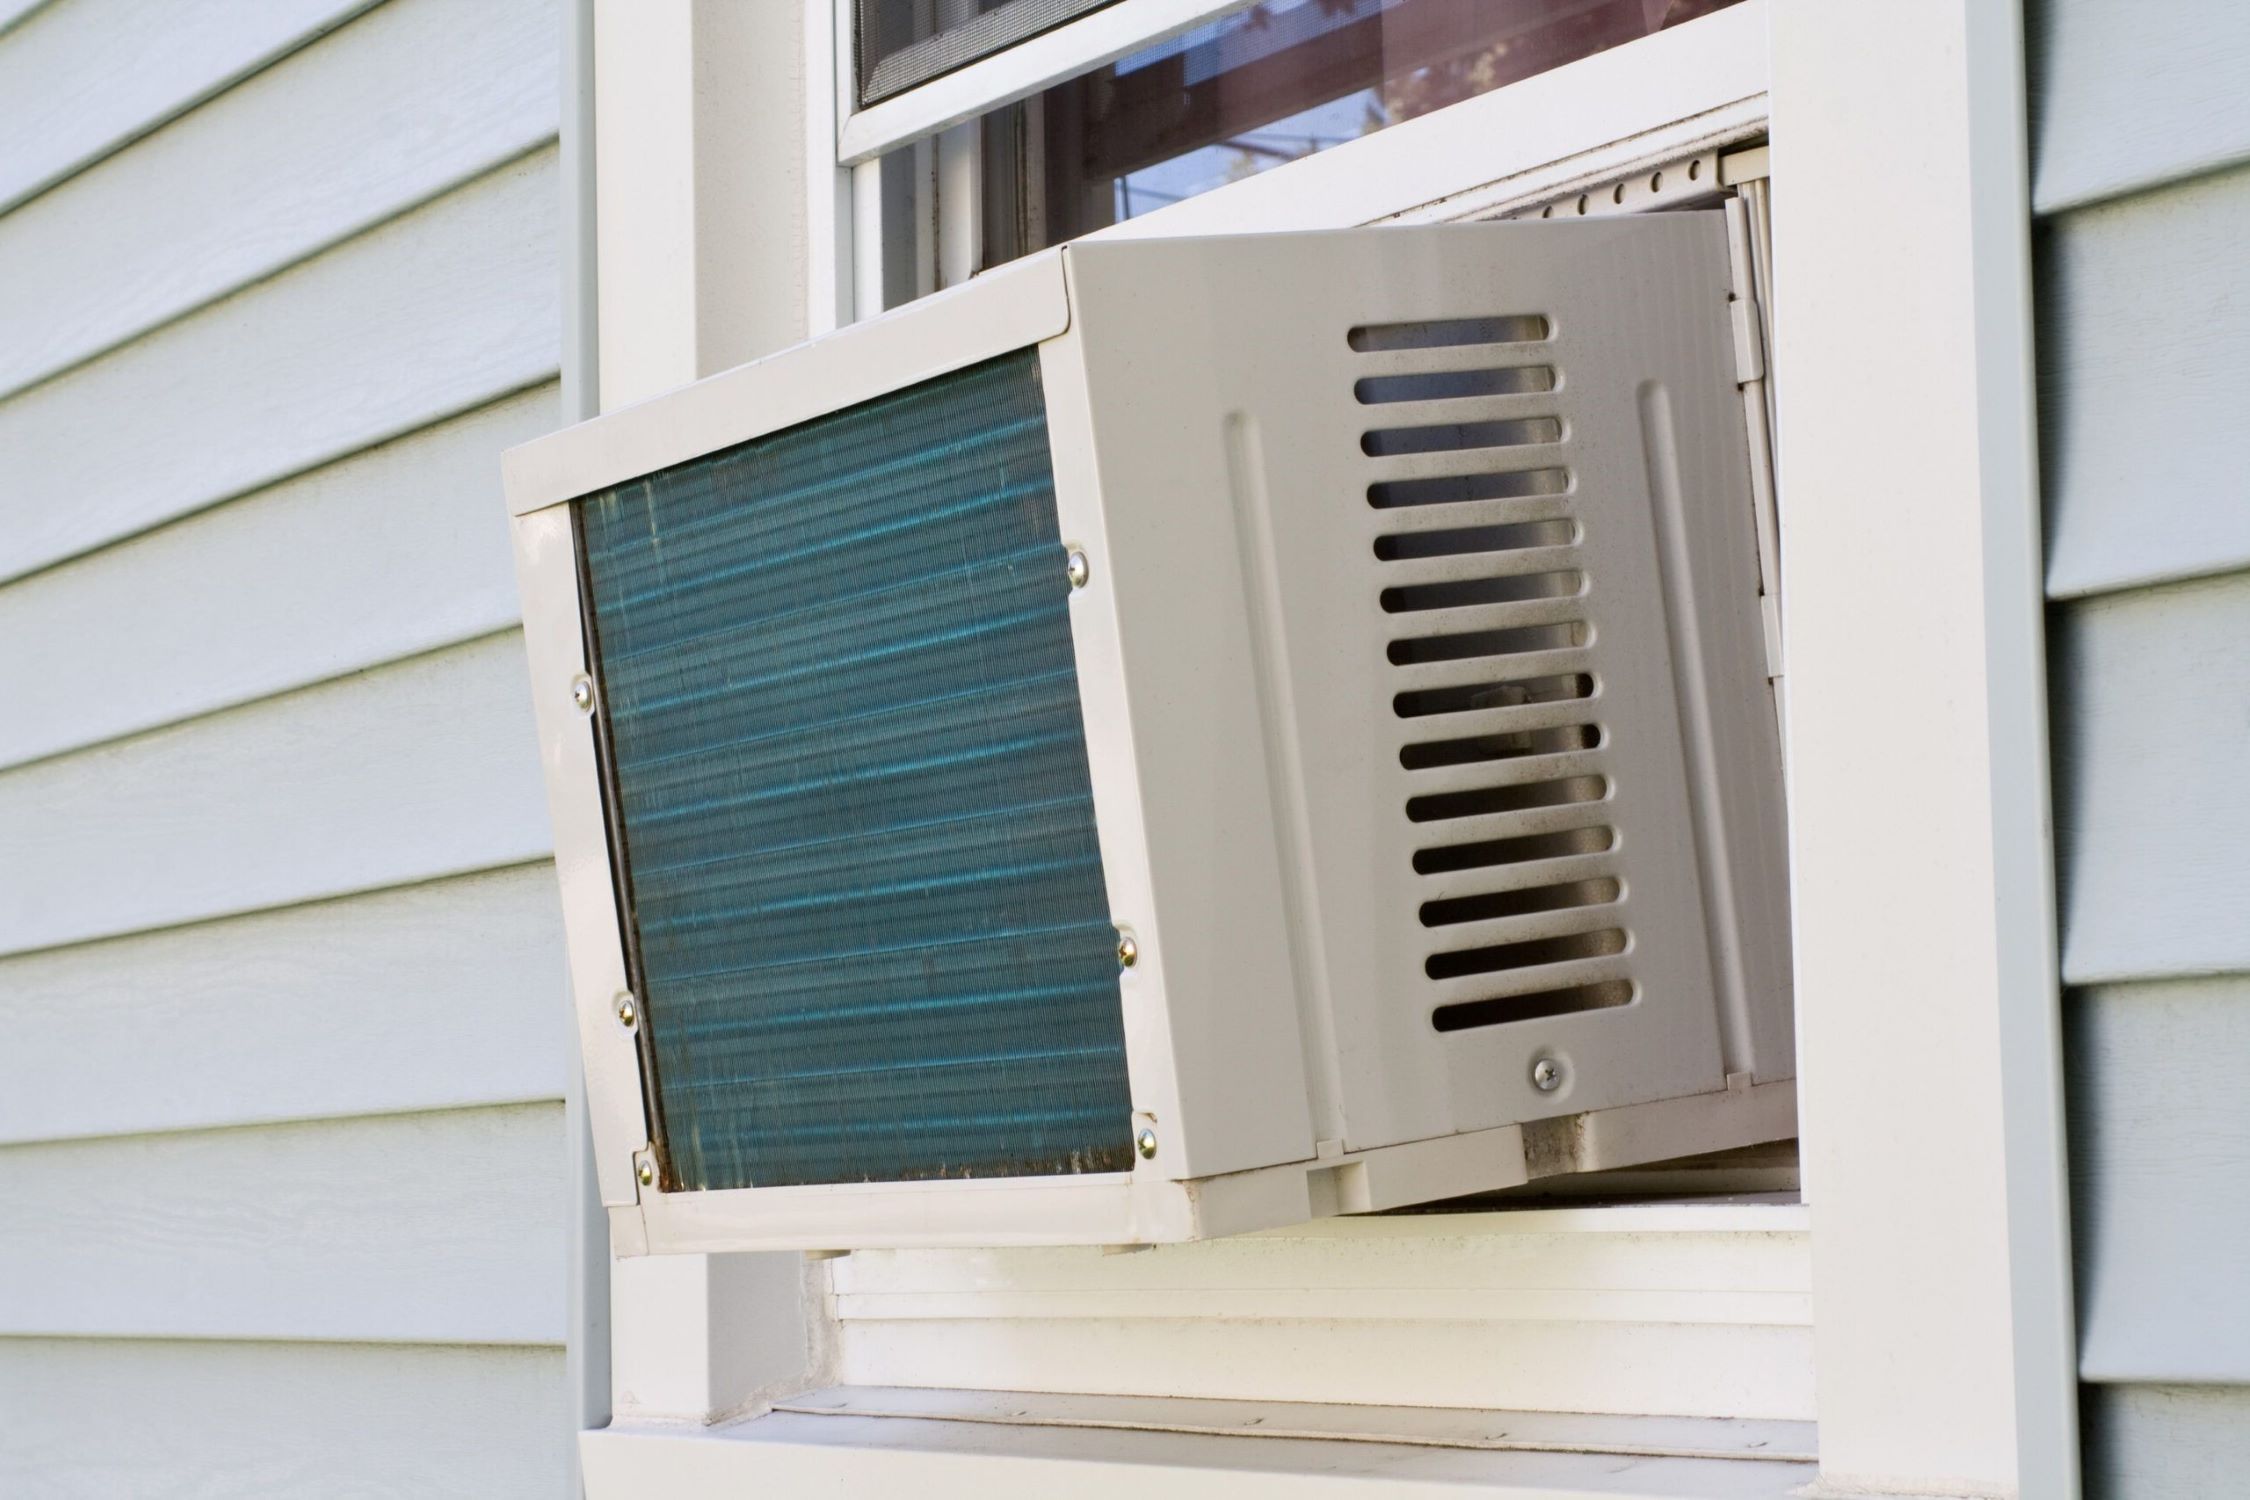
Tired of feeling hot air around your window air conditioner? Ducting it can help direct cool air where you need it. This quick guide will show you how to make a simple duct system for your window unit. No need for special tools or expert skills—just a few basic materials and some patience. Imagine a cooler, more comfortable home without extra expense. Ready to tackle this project and improve your space? Let's get started!
Getting Ready for the Project
Gather Tools and Materials: Collect a measuring tape, duct tape, screws, screwdriver, utility knife, insulation, and the ducting material.
Measure the Window and AC Unit: Measure the dimensions of the window and the air conditioner to ensure the ducting fits properly.
Clear the Workspace: Remove any obstacles around the window area. Ensure you have enough space to work comfortably.
Safety Gear: Wear gloves and safety glasses to protect your hands and eyes from sharp edges and debris.
Turn Off the AC Unit: Unplug the air conditioner to avoid any electrical hazards while working.
Cut the Ducting Material: Use a utility knife to cut the ducting material to the required length. Make sure the cuts are clean and straight.
Attach the Ducting: Secure the ducting to the air conditioner using screws and duct tape. Ensure there are no gaps for air to escape.
Insulate the Ducting: Wrap insulation around the ducting to prevent energy loss and improve efficiency.
Seal the Window: Use weather stripping or caulk to seal any gaps around the window to keep the cool air inside.
Test the Setup: Plug in the air conditioner and turn it on to check for any leaks or issues with the ducting. Adjust as needed.
Gather Your Materials and Tools
- Window Air Conditioner: The main unit that cools the room.
- Ducting Kit: Includes flexible ducting, connectors, and clamps to direct airflow.
- Measuring Tape: For accurate measurements of the window and ducting.
- Utility Knife: To cut ducting material to the required length.
- Screwdriver: For securing the air conditioner and ducting components.
- Foam Insulation Tape: Seals gaps around the air conditioner to prevent air leaks.
- Duct Tape: Secures ducting and seals any joints.
- Plywood or Plexiglass: Covers the open part of the window not occupied by the air conditioner.
- Drill: Makes holes for screws and mounting brackets.
- Screws and Brackets: Secure the air conditioner and ducting in place.
- Level: Ensures the air conditioner is installed evenly.
- Marker or Pencil: Marks measurements and cutting lines.
- Safety Glasses: Protects eyes while cutting and drilling.
- Gloves: Protects hands during installation.
Window Air Conditioner cools the room. Ducting Kit directs airflow. Measuring Tape ensures accurate measurements. Utility Knife cuts ducting material. Screwdriver secures components. Foam Insulation Tape seals gaps. Duct Tape secures and seals joints. Plywood or Plexiglass covers window gaps. Drill makes holes for mounting. Screws and Brackets secure everything. Level ensures even installation. Marker or Pencil marks lines. Safety Glasses protect eyes. Gloves protect hands.
Skill Level and Time Commitment
Skill Level: Intermediate
Time Required: 2-4 hours
Steps:
- Gather Materials: Duct tape, insulation, screws, brackets, and a ducting kit.
- Measure and Cut: Measure the window and cut the ducting to fit.
- Install Brackets: Attach brackets to secure the ducting.
- Seal Gaps: Use duct tape to seal any gaps.
- Test: Turn on the air conditioner to ensure proper airflow.
Follow These Steps
Gather Materials:
- Window air conditioner
- Ducting material (flexible or rigid)
- Duct tape
- Insulation
- Screws and screwdriver
- Measuring tape
- Utility knife
Measure the Window:
- Measure the dimensions of the window opening.
- Ensure the air conditioner fits snugly.
Install the Air Conditioner:
- Place the air conditioner in the window.
- Secure it using the provided brackets or screws.
- Ensure it is level.
Attach the Ducting:
- Measure the distance from the air conditioner to the desired vent location.
- Cut the ducting material to the measured length using a utility knife.
- Attach one end of the ducting to the air conditioner’s exhaust vent.
- Secure it with duct tape.
Route the Ducting:
- Route the ducting to the desired vent location.
- Ensure there are no sharp bends or kinks.
Secure the Ducting:
- Use screws and brackets to secure the ducting along its path.
- Ensure it is firmly attached to prevent sagging.
Install the Vent:
- Cut a hole in the wall or ceiling for the vent.
- Attach the other end of the ducting to the vent.
- Secure it with duct tape.
Insulate the Ducting:
- Wrap the ducting with insulation to prevent heat loss.
- Secure the insulation with duct tape.
Seal the Window:
- Use insulation or weather stripping to seal any gaps around the air conditioner.
- Ensure no air leaks.
Test the System:
- Turn on the air conditioner.
- Check for proper airflow through the ducting.
- Ensure there are no leaks.
Make Adjustments:
- Adjust the ducting or insulation if necessary.
- Ensure the system operates efficiently.
Helpful Tips and Tricks
Measure your window and air conditioner unit carefully. Accurate measurements ensure a snug fit and better insulation.
Use foam weather stripping around the edges of the unit. This helps seal gaps and prevents air leaks.
Cut plywood or plexiglass to fit the open sections of the window. This material can block outside air and keep the cool air inside.
Secure the unit with brackets or screws. This prevents it from moving or falling.
Seal gaps with caulk or expanding foam. This keeps insects and hot air out.
Check the tilt of the unit. It should tilt slightly outward to allow condensation to drain properly.
Clean the filter regularly. A clean filter improves efficiency and air quality.
Common mistakes to avoid:
Skipping measurements can lead to poor fitting and inefficiency.
Ignoring gaps around the unit can let hot air in and cool air out.
Not securing the unit properly can cause it to fall or move.
Alternatives:
Use heavy-duty plastic instead of plywood for a lighter option.
Try magnetic strips to seal gaps if you don't want to use caulk.
Consider a portable air conditioner if window installation seems too complex.
Estimating the Cost
Materials:
- Flexible Ducting: $20-$40
- Duct Tape: $5-$10
- Foam Insulation: $10-$15
- Plywood: $10-$20
- Screws and Nails: $5-$10
- Weather Stripping: $5-$10
Tools:
- Screwdriver: $10-$20
- Utility Knife: $5-$10
- Measuring Tape: $5-$10
- Drill: $30-$50
- Saw: $20-$40
Total Cost: $125-$235
Budget-Friendly Alternatives:
- Flexible Ducting: Use dryer vent hose ($10-$20)
- Plywood: Use cardboard (free if you have some)
- Drill: Borrow from a friend or rent ($10/day)
- Saw: Use a hand saw ($10-$15)
Different Ways to Customize
Alternative Materials: Instead of using standard ducting, consider insulated flexible ducting to reduce noise and improve energy efficiency. PVC pipes can also be used for a more rigid and durable option.
Colors: Paint the ducting to match your room's color scheme. Use spray paint for a smooth finish. Choose neutral colors like white, beige, or gray for a subtle look, or go bold with bright colors to make it a feature.
Styles: For a sleeker appearance, use flat ducting that can be painted or covered with wallpaper to blend with the wall. If you prefer a more industrial look, leave the ducting exposed and use metallic finishes.
Mounting Options: Instead of mounting the ducting directly to the wall, use decorative brackets or shelves to create a more integrated look. Hide the ducting behind furniture or within a false wall for a cleaner appearance.
Vent Covers: Customize the vent covers with decorative grilles or laser-cut designs. Choose materials like wood, metal, or plastic to match your room's decor.
Insulation: Add foam insulation around the ducting to improve energy efficiency and reduce noise. Use reflective insulation for better temperature control.
Sealing: Use weatherstripping or caulk to seal any gaps around the ducting and window frame. This will prevent air leaks and improve the system's efficiency.
Accessibility: Install removable panels or hinged covers for easy access to the ducting for maintenance and cleaning.
Eco-Friendly Tips
Reuse old cardboard boxes to create a duct. Cut and shape the cardboard to fit around the air conditioner and window frame. Seal gaps with eco-friendly duct tape made from natural rubber adhesive and cloth backing.
Insulate the duct using recycled denim insulation. This material is effective and made from old jeans, reducing waste. Secure the insulation with biodegradable zip ties or natural twine.
Repurpose an old shower curtain or plastic sheeting to cover the duct. This helps prevent air leaks and can be easily cleaned or replaced.
Use reclaimed wood or scrap lumber to build a frame for the duct. This provides stability and can be painted with non-toxic paint for a finished look.
Install weather stripping around the window to ensure a tight seal. Choose weather stripping made from recycled materials or natural rubber.
Consider using a solar-powered fan to improve airflow through the duct. This reduces electricity use and keeps the system eco-friendly.
Your DIY Project is Complete
You've done it! Your window air conditioner is now properly ducted, ensuring better efficiency and cooler air. By following these steps, you’ve saved money, learned new skills, and made your home more comfortable. Remember, the key to any DIY project is patience and attention to detail. If you ever face issues, don’t hesitate to revisit the steps or seek advice from DIY communities. Keep your tools handy, as you never know when a new project might pop up. Enjoy the cool breeze and the satisfaction of a job well done. Now, kick back and relax in your newly cooled space. Happy DIY-ing!
How do I measure the window for the air conditioner duct?
Measure the width and height of the window opening. Make sure to measure the inside edges where the duct will fit.
What materials do I need for ducting a window air conditioner?
You'll need duct tape, insulation, plywood or foam board, and a duct hose. A screwdriver and utility knife might come in handy too.
How do I secure the duct hose to the air conditioner?
Attach the duct hose to the air conditioner's exhaust port using duct tape or a hose clamp. Make sure it's tight to prevent any leaks.
How do I insulate the duct?
Wrap the duct hose with insulation to keep the cool air from escaping. Use duct tape to secure the insulation in place.
Can I use any type of duct hose?
It's best to use a flexible duct hose that's heat-resistant. Avoid using plastic hoses, as they can melt or tear easily.
How do I seal the window around the duct?
Use plywood or foam board to fill any gaps around the duct. Secure it with duct tape or screws to ensure a tight seal.
What if the duct hose is too long?
Trim the excess length with a utility knife. Make sure to leave enough hose to reach from the air conditioner to the window without stretching.