
Home>Home & Furniture>Doors & Windows>How to DIY Door Hinges
Doors & Windows
How to DIY Door Hinges
Published: September 11, 2024
Learn how to DIY door hinges with our step-by-step guide. From tools needed to installation tips, ensure your doors swing smoothly with our expert advice.
(Many of the links in this article redirect to a specific reviewed product. Your purchase of these products through affiliate links helps to generate commission for Twigandthistle.com, at no extra cost. Learn more)
Installing your own door hinges might sound tricky, but it’s quite doable with some patience and basic tools. Tackling this home improvement project yourself can save money and give your home a personal touch. Whether you’re fixing a squeaky door or installing a new one, knowing how to handle door hinges is essential. This guide will break down the steps in a simple way so even beginners can follow along. By the end, you'll have the confidence to install or replace door hinges on your own. Ready to get started? Let’s dive in!
Getting Ready for the Project
Gather Tools and Materials: Collect a screwdriver, drill, screws, new hinges, measuring tape, pencil, and safety goggles.
Safety First: Wear safety goggles to protect your eyes from dust and debris. Ensure the workspace is well-lit and free of clutter to avoid tripping.
Remove the Door: Use a screwdriver to remove the screws from the existing hinges. Have a friend help hold the door steady to prevent it from falling.
Prepare the Door and Frame: Clean the areas where the new hinges will be installed. Check for any damage or old paint that might need sanding.
Measure and Mark: Use a measuring tape to mark the exact spots for the new hinges on both the door and the frame. Ensure the marks are level and aligned.
Pre-Drill Holes: Use a drill to create pilot holes where the screws will go. This helps prevent the wood from splitting when you attach the hinges.
Attach Hinges to the Door: Align the hinges with the marks on the door. Use screws to secure them in place, ensuring they are tight and flush with the surface.
Attach Hinges to the Frame: Lift the door and align the hinges with the marks on the frame. Secure the hinges with screws, making sure the door swings smoothly.
Test the Door: Open and close the door several times to ensure it operates correctly. Adjust the screws if necessary for a perfect fit.
Gather Your Materials and Tools
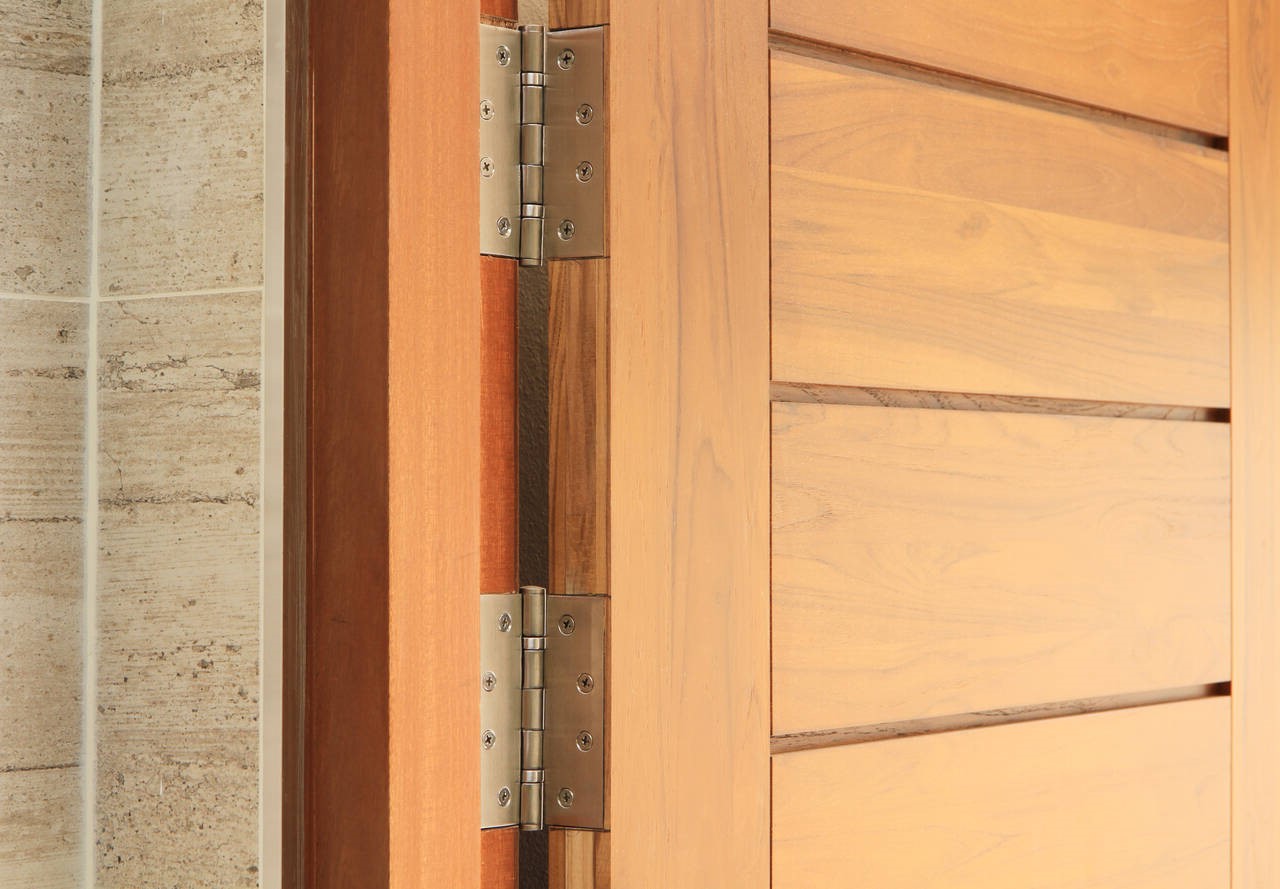
- Hinges: These metal pieces attach the door to the frame, allowing it to swing open and closed.
- Screws: Small metal fasteners used to secure the hinges to the door and frame.
- Screwdriver: A tool with a flat or cross-shaped tip used to drive screws into place.
- Drill: A power tool used to create holes for screws or to drive screws faster.
- Drill Bits: Attachments for the drill that create holes of various sizes.
- Measuring Tape: A flexible ruler used to measure the placement of hinges accurately.
- Pencil: Used to mark measurements and placement points on the door and frame.
- Chisel: A hand tool with a sharp edge used to carve out wood for hinge recesses.
- Hammer: A tool used to tap the chisel or adjust the door and frame.
- Level: A tool with a bubble in liquid to ensure the door hangs straight.
- Safety Glasses: Protective eyewear to shield your eyes from debris while drilling or chiseling.
Skill Level and Time Commitment
Skill Level: Intermediate
Time Required: 1-2 hours
- Remove Old Hinges: 10-15 minutes
- Align New Hinges: 15-20 minutes
- Mark Screw Holes: 5-10 minutes
- Drill Pilot Holes: 10-15 minutes
- Attach Hinges: 20-30 minutes
- Test Door Movement: 5-10 minutes
Follow These Steps
Gather Materials:
- Door hinges
- Screws
- Screwdriver
- Drill
- Measuring tape
- Pencil
- Chisel
- Hammer
Remove Old Hinges:
- Open the door.
- Use a screwdriver to remove screws from the old hinges.
- Carefully lift the door off the frame.
Mark Hinge Placement:
- Measure the door's height.
- Mark spots for hinges: one 5 inches from the top, one 10 inches from the bottom, and one centered between them.
Chisel Hinge Mortises:
- Place a hinge on the marked spot.
- Trace around the hinge with a pencil.
- Use a chisel and hammer to carve out a shallow recess for the hinge.
Attach Hinges to Door:
- Align the hinge with the chiseled recess.
- Drill pilot holes for screws.
- Screw the hinge into place.
Attach Hinges to Door Frame:
- Lift the door and align hinges with the frame.
- Mark screw holes on the frame.
- Drill pilot holes.
- Screw hinges into the frame.
Test the Door:
- Open and close the door to ensure it swings smoothly.
- Adjust screws if necessary for proper alignment.
Helpful Tips and Tricks
Gather your tools: You'll need a screwdriver, a hammer, a chisel, and a drill.
Mark the hinge placement: Use a pencil to mark where the hinges will go on the door and the frame. Make sure they align properly.
Pre-drill holes: This prevents the wood from splitting. Use a drill bit slightly smaller than the screws.
Use a chisel: Create a shallow recess for the hinge plates. This ensures the door closes flush with the frame.
Attach the hinges: Screw the hinges into the door first, then the frame. Make sure they are tight but not over-tightened.
Test the door: Open and close it several times to ensure it swings smoothly.
Common mistakes to avoid:
Misalignment: Ensure both hinges are perfectly aligned. Misaligned hinges cause the door to stick or not close properly.
Over-tightening screws: This can strip the screw holes, making the hinges loose.
Skipping the chisel step: Not creating a recess for the hinge plates can result in a door that doesn't close flush.
Alternatives for materials or methods:
Self-closing hinges: These can be a good option if you want the door to close automatically.
Hinge templates: These help ensure precise placement and alignment, especially useful for beginners.
Wood filler: If you make a mistake, wood filler can help fix any gouges or holes before re-drilling.
Estimating the Cost
Door Hinges: $10-$20 for a set of three hinges.
Screws: $5 for a pack of 50.
Screwdriver: $10 for a basic one.
Drill: $30-$50 for a basic model.
Drill Bits: $10 for a set.
Chisel: $10 for a basic one.
Hammer: $10 for a basic one.
Wood Filler: $5 for a small tub.
Sandpaper: $5 for a pack.
Total Cost: $95-$165.
Budget-Friendly Alternatives:
Door Hinges: $5 for a basic set.
Screws: $3 for a smaller pack.
Screwdriver: Borrow from a friend or use one you already have.
Drill: Rent one from a hardware store for $10.
Drill Bits: Borrow or buy a single bit for $2.
Chisel: Use a flathead screwdriver as a makeshift chisel.
Hammer: Borrow or use one you already have.
Wood Filler: Use a homemade mixture of sawdust and glue.
Sandpaper: Use a small piece or borrow.
Total Budget-Friendly Cost: $25-$30.
Different Ways to Customize
Materials: Instead of standard steel, try using brass for a more vintage look or stainless steel for a modern touch. Wooden hinges can add a rustic charm, especially for lightweight doors.
Colors: Paint hinges to match or contrast with the door. Use metallic spray paint for a sleek finish or matte black for a contemporary vibe. Bright colors can make hinges pop, adding a playful element.
Styles: Opt for decorative hinges with intricate designs for a classic feel. Invisible hinges create a seamless look, hiding the hardware completely. Piano hinges run the entire length of the door, providing extra support and a unique appearance.
Finishes: Choose from polished, brushed, or antique finishes to suit different aesthetics. Oil-rubbed bronze offers a timeless appeal, while chrome gives a clean, modern look.
Sizes: Vary hinge sizes based on door weight and style. Smaller hinges work well for cabinets or lightweight doors, while larger, heavy-duty hinges are ideal for main entrances.
Shapes: Experiment with butterfly hinges for a decorative touch or strap hinges for a barn door style. T-hinges can add a unique, industrial feel.
Installation: Try surface-mounted hinges for easy installation or mortise hinges for a more traditional, flush look. Pivot hinges can add a unique opening mechanism, perfect for modern interiors.
Eco-Friendly Tips
Reusing old door hinges can be a great start. If you have old hinges from another door, clean them up and give them a fresh coat of eco-friendly paint. This saves money and reduces waste.
For new hinges, look for ones made from recycled metal. These are often just as strong as new metal but better for the environment.
When installing, use a manual screwdriver instead of an electric drill. This saves energy and gives you more control.
If you need to replace screws, choose stainless steel or brass. Both materials are durable and can be recycled later.
Consider using wooden shims made from scrap wood instead of plastic ones. They help align the door and can be composted when no longer needed.
Finally, if you need to lubricate the hinges, opt for natural oils like olive oil or beeswax. These are less harmful to the environment than synthetic lubricants.
Your DIY Door Hinges are Ready
You've got the tools, the materials, and the know-how. Now, it's time to put those skills to use. Installing door hinges might seem tricky, but with a bit of patience and precision, you can get it done. Remember to measure twice, cut once, and always double-check your work. If something doesn't fit right, don't be afraid to make adjustments. Practice makes perfect, and each project will get easier. So, grab your screwdriver, line up those hinges, and get that door swinging smoothly. Happy DIY-ing!
How do I remove old door hinges?
Use a screwdriver or drill to unscrew the hinge screws. If they're stuck, try using a hammer and nail punch to tap them out.
What tools do I need to install new door hinges?
You'll need a screwdriver, drill, measuring tape, pencil, chisel, and hammer.
How do I align door hinges properly?
Measure and mark the spots on the door and frame where the hinges will go. Make sure they're evenly spaced and level.
Can I reuse old screws for new hinges?
It's better to use new screws that come with the hinges. Old screws might be worn out or stripped.
How do I fix a squeaky door hinge?
Apply some lubricant like WD-40 or household oil to the hinge pins. Move the door back and forth to spread it around.
What if my door doesn't close properly after installing new hinges?
Check if the hinges are aligned and flush with the door and frame. You might need to adjust or shim them.
How many hinges does a standard door need?
Most standard doors use three hinges: one near the top, one in the middle, and one near the bottom.