
Home>Home & Furniture>Doors & Windows>How to Create Temporary Window Insulation
Doors & Windows
How to Create Temporary Window Insulation
Published: August 14, 2024
Learn how to create temporary window insulation to keep your home warm and energy-efficient during the colder months with these easy and effective DIY methods.
(Many of the links in this article redirect to a specific reviewed product. Your purchase of these products through affiliate links helps to generate commission for Twigandthistle.com, at no extra cost. Learn more)
Winter chills can sneak through windows, making your home cold and uncomfortable. But don’t worry, you can create temporary window insulation to keep warm without breaking the bank. This easy DIY project helps block drafts and keeps the heat inside. No need for special skills or expensive materials; just a few household items will do the trick. Whether you're looking for a quick fix or a seasonal solution, these steps offer a practical way to improve comfort during the colder months. Let’s dive into how you can make your home cozy with some simple, temporary window insulation techniques.
Preparation Steps
Measure Windows: Use a tape measure to get the exact dimensions of each window you plan to insulate. Write down the measurements.
Gather Materials: Collect plastic window film, double-sided tape, scissors, a hairdryer, and a clean cloth.
Clean Windows: Wipe down window frames and glass with a clean cloth to remove dust and dirt. This helps the tape stick better.
Cut Film: Cut the plastic window film slightly larger than the window measurements. This ensures full coverage.
Apply Tape: Stick double-sided tape around the window frame. Press firmly to make sure it adheres well.
Attach Film: Carefully place the plastic film over the tape, starting from the top. Smooth it down to avoid wrinkles.
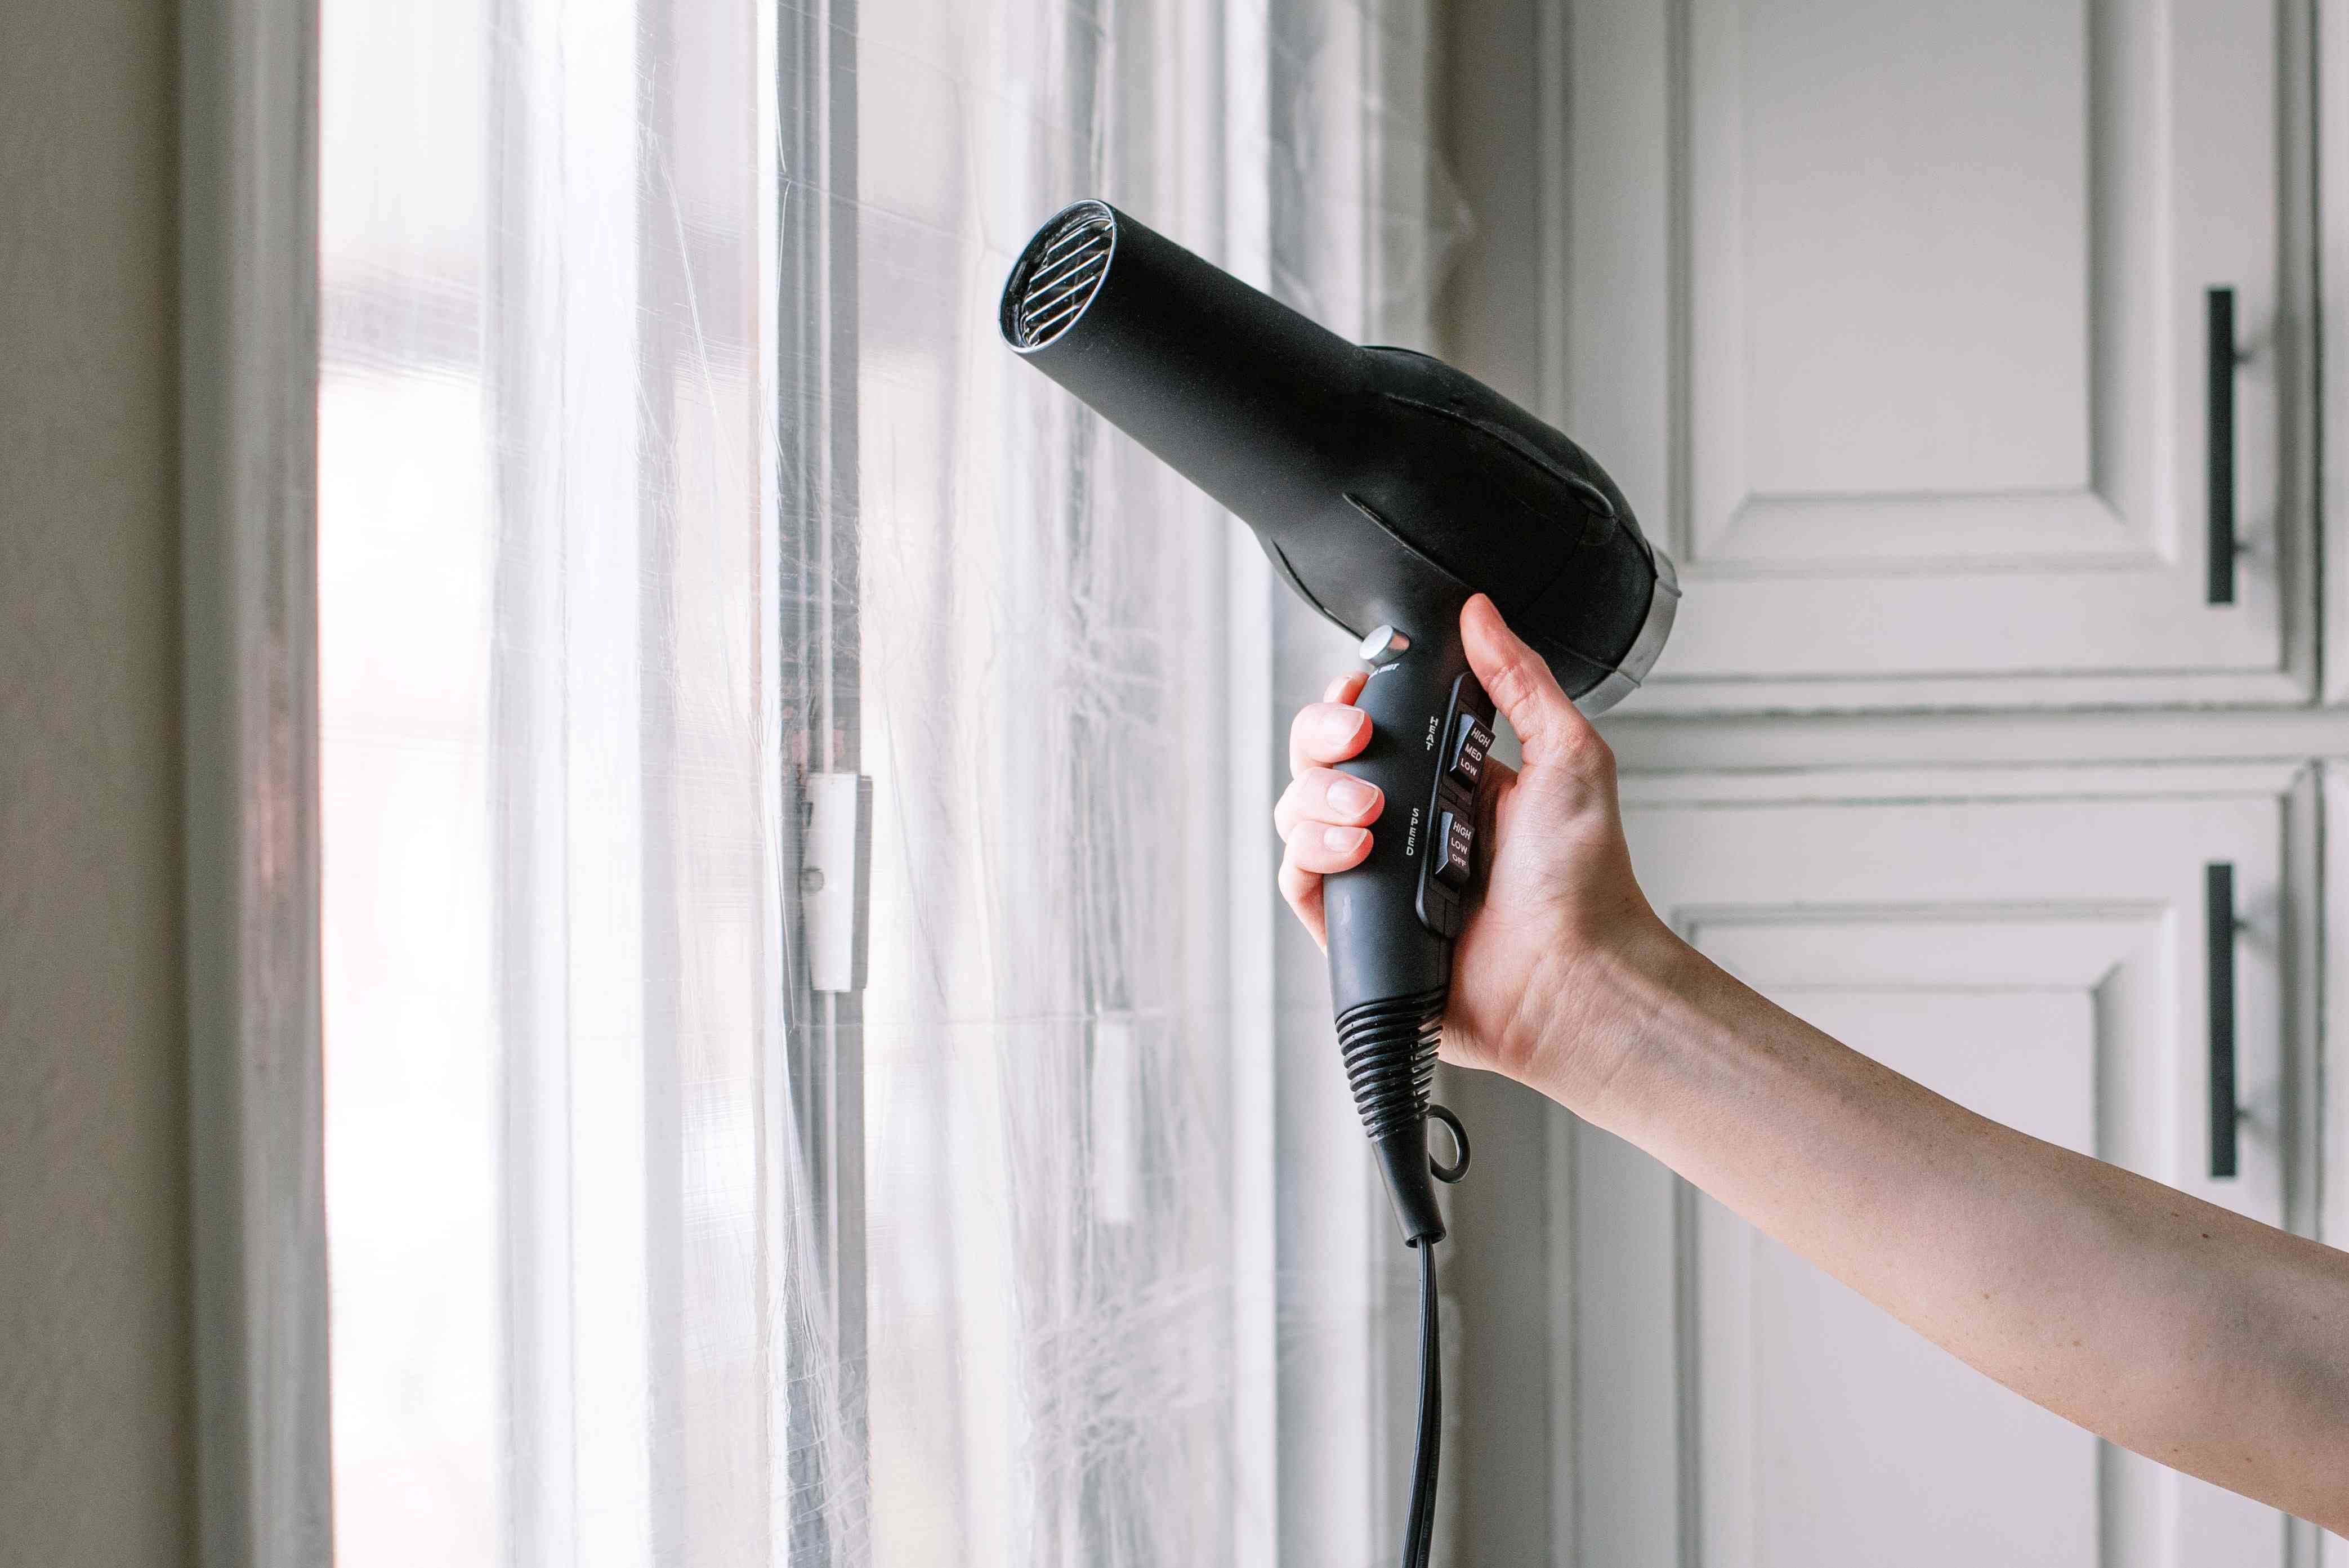
Seal Edges: Use a hairdryer to shrink the film, creating a tight seal. Move the hairdryer back and forth to avoid overheating one spot.
Check for Gaps: Inspect the edges for any gaps or loose spots. Press down or add more tape if needed.
Safety Tips:
- Use a Sturdy Ladder: If windows are high, use a stable ladder. Have someone hold it for extra safety.
- Avoid Overheating: When using the hairdryer, keep it moving to prevent damage to the film or window frame.
- Ventilation: Ensure the room is well-ventilated while working to avoid inhaling dust or fumes from cleaning products.
Materials and Tools Needed
- Plastic Window Film: A clear, thin plastic sheet that covers windows to reduce drafts.
- Double-Sided Tape: Sticky on both sides, used to attach the plastic film to the window frame.
- Scissors: For cutting the plastic film to the right size.
- Hair Dryer: Helps shrink the plastic film to make it tight and smooth.
- Measuring Tape: Measures the window dimensions to cut the plastic film accurately.
- Rubbing Alcohol: Cleans the window frame to ensure the tape sticks well.
- Soft Cloth: Used with rubbing alcohol to clean the window frame.
- Utility Knife: Trims excess plastic film after it’s applied.
These materials and tools help create a snug, temporary barrier against cold drafts, making your home warmer.
Skill Level and Time Required
Skill Level: Beginner
Time Required: 1-2 hours
Steps:
- Measure the window dimensions.
- Cut the plastic film to size.
- Apply double-sided tape around the window frame.
- Attach the plastic film to the tape.
- Use a hairdryer to shrink the film for a tight seal.
Materials Needed:
- Plastic film
- Double-sided tape
- Scissors
- Hairdryer
Step-by-Step Instructions
Gather Materials:
- Bubble wrap
- Spray bottle with water
- Scissors
- Measuring tape
Measure the Window:
- Use the measuring tape to find the height and width of the window.
Cut the Bubble Wrap:
- Cut the bubble wrap to match the window's dimensions.
Spray the Window:
- Fill the spray bottle with water.
- Lightly mist the window with water.
Apply the Bubble Wrap:
- Press the bubble wrap, bubble side facing the glass, onto the wet window.
- Smooth out any air bubbles.
Trim Excess:
- Use scissors to trim any extra bubble wrap around the edges.
Secure Edges (Optional):
- For extra hold, use clear tape around the edges of the bubble wrap.
Check for Gaps:
- Ensure there are no gaps where air can leak through.
Repeat for Other Windows:
- Follow the same steps for any additional windows needing insulation.
Helpful Tips and Tricks
Use bubble wrap for easy insulation. Spray water on the window, then press the bubble wrap against it. The water helps it stick.
Draft stoppers can block cold air from coming in. Place them at the bottom of windows.
Shrink film kits are great. Attach the film to the window frame, then use a hairdryer to shrink it tight.
Foam weatherstripping can seal gaps. Stick it around the window frame to keep drafts out.
Reflective insulation works well. Cut it to fit the window, then tape it in place. It reflects heat back into the room.
Avoid using duct tape directly on windows. It can leave sticky residue that's hard to clean.
Don't forget to measure your windows before buying materials. Wrong sizes can waste time and money.
Instead of shrink film, try clear shower curtains. Cut them to size and tape them to the window frame.
For a quick fix, use thick blankets or towels. Hang them over windows to block drafts.
Plastic sheeting can also work. Tape it tightly around the window frame to create an air barrier.
Avoid using nails or screws. They can damage window frames and make insulation less effective.
Make sure to clean windows before applying any insulation. Dirt can prevent materials from sticking properly.
Estimating the Cost
Plastic Window Film Kit: $15-$20. This kit includes plastic film and double-sided tape. It helps keep cold air out.
Bubble Wrap: $10 for a large roll. Cut to fit windows and attach with tape. It adds an extra layer of insulation.
Draft Stoppers: $10-$15 each. Place these at the bottom of windows to block drafts.
Weatherstripping Tape: $5-$10. Apply around window edges to seal gaps.
Scissors: $5. Needed to cut plastic film and bubble wrap.
Tape Measure: $5. Measure windows accurately.
Hair Dryer: $15-$20. Use to shrink plastic film for a tight seal.
Total Cost: $65-$85.
Budget-Friendly Alternatives:
- Use clear plastic bags instead of a window film kit. Cost: $5.
- Replace bubble wrap with old blankets or towels. Cost: Free if you already have them.
- Make draft stoppers using rolled-up towels. Cost: Free if you have extra towels.
- Use duct tape instead of weatherstripping tape. Cost: $3.
Budget-Friendly Total Cost: $13-$28.
Different Variations and Customizations
Plastic Film: Instead of using standard plastic wrap, try heat-shrink film. It provides a tighter seal and better insulation.
Bubble Wrap: Use large bubble wrap for extra insulation. It traps more air, which keeps the cold out better.
Foam Board: Cut pieces of foam board to fit your windows. Cover them with fabric to make them look nicer.
Draft Stoppers: Place draft stoppers at the bottom of your windows. They block cold air from sneaking in.
Weatherstripping: Apply self-adhesive weatherstripping around the window frame. It seals gaps and stops drafts.
Thermal Curtains: Hang thermal curtains for added insulation. They have a special lining that keeps heat in.
Reflective Film: Use reflective window film to bounce heat back into the room. It also reduces glare.
Magnets: Attach magnets to the window frame and the insulation material. This makes it easy to remove and reattach.
Velcro: Use Velcro strips to secure insulation. It’s simple to install and remove.
Colors and Patterns: Choose fabric or curtains in colors and patterns that match your room. This makes the insulation look like part of your decor.
Recycled Materials: Use recycled materials like old blankets or quilts. They provide good insulation and are eco-friendly.
Double-Sided Tape: Secure plastic film or bubble wrap with double-sided tape. It holds well and is easy to remove.
Layering: Combine different materials, like bubble wrap and thermal curtains, for extra insulation.
Custom Fit: Measure your windows carefully and cut materials to fit exactly. This ensures the best seal and insulation.
Temporary Adhesive: Use temporary adhesive spray to attach insulation. It holds well but can be removed without damage.
Eco-Friendly Tips
Bubble wrap can be a great insulator. Cut pieces to fit your windows, spray a bit of water on the glass, and press the bubble wrap against it. The bubbles trap air, providing insulation.
Old blankets or quilts can also work well. Hang them over windows using tension rods or hooks. They help keep the cold out and the warmth in.
Draft stoppers made from old socks or fabric scraps can block cold air from seeping in through window gaps. Fill them with rice or sand, then place them along window sills.
Plastic window film kits are another option. These kits usually come with double-sided tape and plastic film. Apply the tape around the window frame, then attach the film and use a hairdryer to shrink it tight.
Recycled cardboard can be cut to fit window frames. Cover the cardboard with aluminum foil to reflect heat back into the room. Secure it with tape or pushpins.
Bubble mailers from old packages can be reused. Cut them open and tape them to windows. The bubble layer provides insulation, similar to bubble wrap.
Heavy curtains made from old fabric or thrifted materials can also help. Sew or hang them over windows to block drafts and retain heat.
Reusable silicone sealant can fill gaps around windows. It’s easy to apply and remove, making it perfect for temporary insulation.
Reflective emergency blankets can be taped to windows. They reflect heat back into the room, keeping it warmer.
Old newspapers can be rolled up and placed along window sills to block drafts. They’re easy to remove and recycle afterward.
Keep Cozy with DIY Window Insulation
Temporary window insulation can make a big difference in keeping your home warm and energy-efficient. By using bubble wrap, plastic film, or thermal curtains, you can easily reduce drafts and heat loss. These methods are cost-effective, simple to install, and can be removed when no longer needed. Plus, they offer a quick solution for those chilly months without requiring major renovations. So, grab your materials and get started on making your space more comfortable. Your wallet and your toes will thank you!
How can I insulate my windows temporarily?
Use bubble wrap or plastic film. Cut it to fit the window, spray water on the glass, and press the bubble wrap against it. For plastic film, use double-sided tape to secure it around the window frame.
Will temporary insulation damage my windows?
No, temporary insulation like bubble wrap or plastic film won't harm your windows. They can be easily removed without leaving residue.
How effective is bubble wrap for window insulation?
Bubble wrap is surprisingly effective. It can reduce heat loss by up to 50%, keeping your room warmer and cutting down on heating costs.
Can I still see through the window with bubble wrap?
Yes, but the view will be blurry. Bubble wrap lets light in but distorts the view, so it's best for windows where a clear view isn't crucial.
How do I remove temporary window insulation?
Simply peel off the bubble wrap or plastic film. If there's any sticky residue from tape, use a bit of rubbing alcohol on a cloth to clean it off.
Is there a more eco-friendly option for temporary insulation?
Try using thick curtains or thermal blinds. They can be reused year after year and don't create waste like plastic film or bubble wrap.