
Home>Home & Furniture>Doors & Windows>DIY Louvered Door Makeover Guide
Doors & Windows
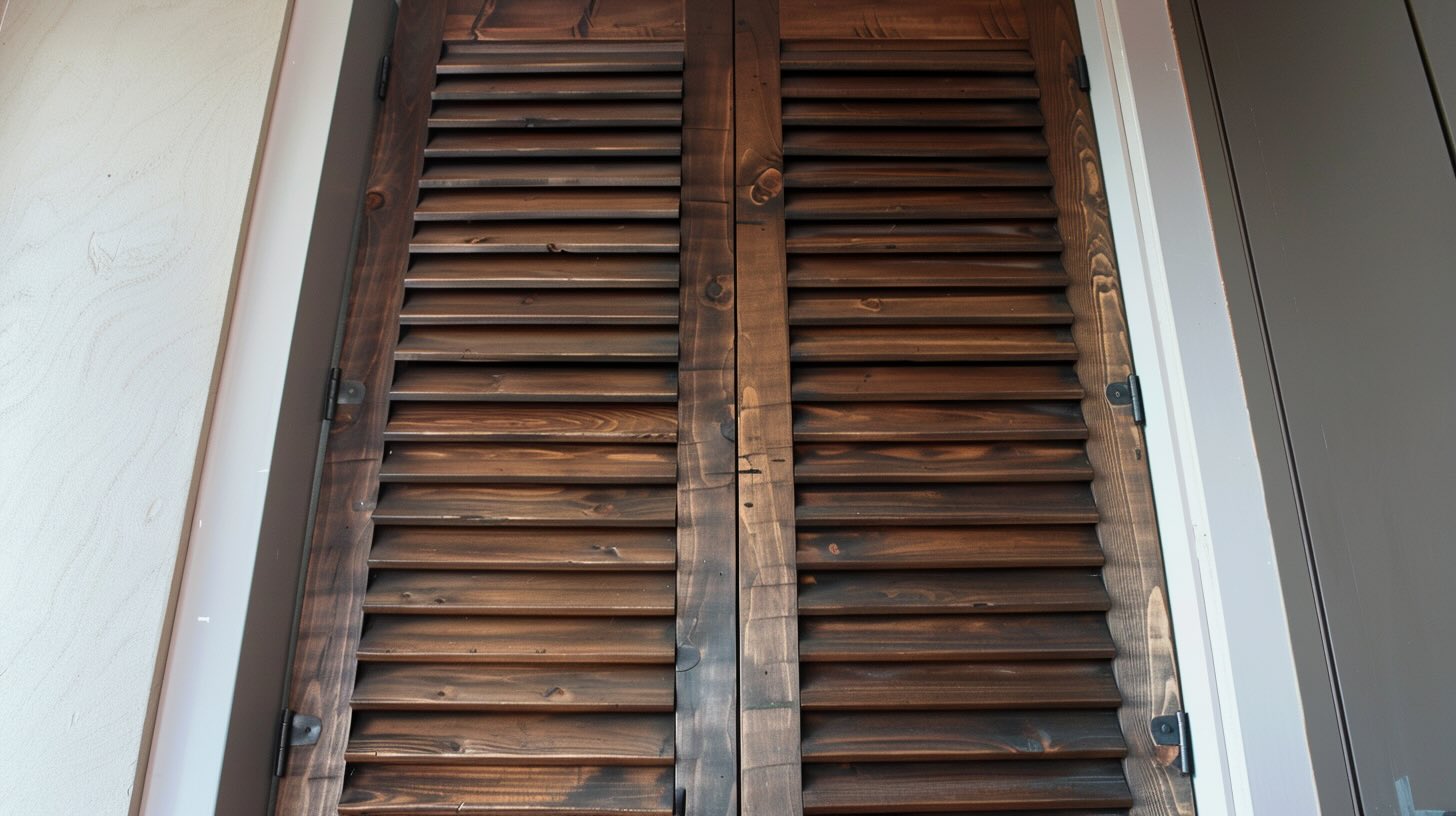
DIY Louvered Door Makeover Guide
Published: September 17, 2024
Transform your space with our DIY louvered door makeover guide! Step-by-step instructions, tips, and tools for a stunning and budget-friendly home upgrade.
(Many of the links in this article redirect to a specific reviewed product. Your purchase of these products through affiliate links helps to generate commission for Twigandthistle.com, at no extra cost. Learn more)
Tired of your old, boring louvered doors? You’re in the right place! Louvered doors, with their slatted design, can be tricky to paint or style. A simple makeover can transform them into stunning focal points in your home. With just a few tools and some creativity, you can breathe new life into those outdated doors without spending a fortune. This guide will walk you through straightforward steps to give them a fresh, modern look. Whether you’re a DIY novice or a seasoned pro, this project is perfect for adding charm and personality to your space. Ready to get started? Let’s go!
Getting Ready for Your Project
- Gather Materials: Get sandpaper, primer, paint, brushes, a screwdriver, and a drop cloth.
- Safety Gear: Wear safety goggles, a dust mask, and gloves.
- Workspace Setup: Choose a well-ventilated area. Lay down a drop cloth to protect the floor.
- Remove Door: Use a screwdriver to take the door off its hinges.
- Clean Surface: Wipe the door with a damp cloth to remove dust and dirt.
- Sand the Door: Smooth the surface using sandpaper. Focus on rough spots.
- Apply Primer: Use a brush to coat the door with primer. Let it dry completely.
- Paint: Apply paint evenly. Allow the first coat to dry before adding a second.
- Reattach Door: Once dry, use the screwdriver to put the door back on its hinges.
Gather Your Materials and Tools
Materials:
- Sandpaper: Smooths out rough surfaces and removes old paint or varnish.
- Primer: Prepares the door surface for painting, ensuring better paint adhesion.
- Paint: Adds color and protection to the door. Choose a type suitable for wood.
- Wood Filler: Fills in any holes, cracks, or imperfections in the door.
- Painter's Tape: Protects areas you don't want to paint.
- Drop Cloth: Protects the floor from paint spills and drips.
- Cleaning Solution: Removes dirt, grease, and grime from the door before painting.
Tools:
- Screwdriver: Removes the door from its hinges and any hardware.
- Paintbrushes: Applies paint to the door, especially in detailed areas.
- Paint Roller: Covers larger, flat surfaces quickly and evenly.
- Putty Knife: Applies wood filler smoothly into cracks and holes.
- Sanding Block: Holds sandpaper securely, making it easier to sand the door.
- Paint Tray: Holds paint for easy access while using a roller.
- Safety Gear: Includes gloves, goggles, and a mask to protect from dust and fumes.
These materials and tools will help transform your louvered door, giving it a fresh, updated look.
Assessing Skill Level and Time Commitment
Skill Level: Intermediate
Time Required: Approximately 4-6 hours
Preparation: 1 hour
- Remove the door from hinges.
- Clean the door thoroughly.
Sanding: 1-2 hours
- Sand the door to remove old paint or finish.
Painting or Staining: 1-2 hours
- Apply primer if needed.
- Paint or stain the door.
Drying Time: 1-2 hours
- Allow the paint or stain to dry completely.
Reinstallation: 30 minutes
- Reattach the door to its hinges.
Follow These Step-by-Step Instructions
Remove the Door:
- Unscrew the hinges using a screwdriver.
- Carefully lift the door off the frame.
Clean the Door:
- Wipe down the door with a damp cloth.
- Use a mild detergent if necessary to remove dirt and grime.
Sand the Door:
- Use medium-grit sandpaper to smooth the surface.
- Focus on any rough or uneven areas.
Prime the Door:
- Apply a coat of primer using a paintbrush or roller.
- Let it dry completely according to the primer's instructions.
Paint the Door:
- Choose a high-quality paint suitable for wood.
- Apply the first coat evenly, then let it dry.
- Apply a second coat if needed for full coverage.
Paint the Louvers:
- Use a small brush to reach between the slats.
- Ensure even coverage without drips.
Seal the Door:
- Apply a clear sealant to protect the paint.
- Let it dry thoroughly.
Reattach the Door:
- Align the door with the frame.
- Screw the hinges back into place securely.
Check for Smooth Operation:
- Open and close the door to ensure it moves smoothly.
- Make any necessary adjustments to the hinges.
Helpful Tips and Tricks
Clean the doors thoroughly before starting. Dust and grime can ruin your paint job. Use a mild detergent and water, then let them dry completely.
Remove the doors from their hinges. This makes painting easier and prevents drips. Lay them flat on a drop cloth.
Sand the louvers lightly. Use fine-grit sandpaper to smooth out any rough spots. This helps the paint adhere better.
Prime the doors with a good-quality primer. This step is crucial for a smooth finish. Use a brush for the louvers and a roller for flat areas.
Use a spray paint for a more even coat. Spray paint gets into the louvers better than a brush. Hold the can about 12 inches away and use light, even strokes.
Apply multiple thin coats of paint. Thick coats can cause drips and uneven coverage. Let each coat dry completely before adding another.
Seal the paint with a clear topcoat. This adds durability and makes cleaning easier. Use a brush or spray, depending on your preference.
Reattach the doors once everything is dry. Make sure the hinges are aligned properly to avoid any issues.
Common mistakes to avoid: Skipping the primer, using thick coats of paint, and not letting each coat dry fully. These can lead to a poor finish and peeling paint.
Alternatives: Instead of spray paint, you can use a paint sprayer for a professional finish. For a different look, consider staining the doors instead of painting. Use a wood conditioner before staining for even color.
Estimating the Cost
Materials:
- Sandpaper: $5
- Primer: $10
- Paint: $15
- Paintbrushes: $10
- Wood filler: $5
- New hardware (knobs/handles): $20
Tools:
- Screwdriver: $10
- Drop cloth: $5
- Painter's tape: $5
Total Cost: $85
Budget-Friendly Alternatives:
- Reuse old paintbrushes: Save $10
- Use leftover paint: Save $15
- Skip new hardware: Save $20
Total Cost with Alternatives: $40
Creative Variations and Customizations
Paint: Use bold colors like navy blue or emerald green for a modern look. For a rustic feel, try distressed finishes or chalk paint.
Stain: Apply a wood stain to enhance the natural grain. Choose dark walnut for a classic look or gray wash for a contemporary style.
Hardware: Swap out old knobs and hinges with sleek metal or vintage brass hardware. Decorative handles can add a unique touch.
Panels: Replace louvers with glass panels for a more open feel. Frosted glass offers privacy while still letting light through.
Fabric Inserts: Attach fabric panels behind the louvers for a soft, cozy look. Choose bold patterns or neutral tones to match your decor.
Trim: Add decorative trim or molding around the edges for an elegant touch. Crown molding can give a more polished appearance.
Decals: Use stick-on decals or stencils to create patterns or designs. Geometric shapes or floral motifs can add personality.
Mirrors: Attach mirror panels to the door for a functional and stylish update. This can also make a room feel larger.
Wallpaper: Cover the door with peel-and-stick wallpaper for a quick and easy transformation. Choose bold prints or subtle textures.
Shelving: Add small shelves to the door for extra storage. This works well for bathrooms or closets.
Lighting: Install LED strip lights around the door frame for a modern touch. Battery-operated options are easy to install.
Handles: Replace standard handles with rope pulls or leather straps for a unique look. Antique handles can add character.
Paint Patterns: Create stripes, chevrons, or ombre effects with paint. Use painters tape for clean lines.
Texture: Apply textured paint or wallpaper for added depth. Grasscloth or burlap can give a natural feel.
Sliding Mechanism: Convert the door to a barn door style with a sliding mechanism. This saves space and adds a rustic charm.
Eco-Friendly Tips for Your Makeover
Reusing old louvered doors can save money and reduce waste. Sanding them down instead of buying new ones keeps materials out of landfills. Use eco-friendly paint or stain made from natural ingredients. These products have fewer harmful chemicals and are better for the environment.
Recycled wood or bamboo are great choices for any repairs. Both are sustainable and durable. If you need new hardware, look for reclaimed or recycled metal options. They add character and reduce the demand for new resources.
For a fresh look, consider adding fabric panels made from organic cotton or hemp. These materials are biodegradable and have a smaller carbon footprint. Natural adhesives like plant-based glue can replace synthetic ones, which often contain toxic substances.
When cleaning, use homemade solutions like vinegar and water. They are effective and free from harsh chemicals. Finally, donate any leftover materials to local community centers or schools. This helps others with their projects and keeps useful items out of the trash.
Your Louvered Door Makeover Awaits
Transforming your louvered doors can be a fun and rewarding project. With some basic tools and a bit of creativity, you can give those doors a fresh, new look. Whether you choose to paint, stain, or even replace the louvers, the possibilities are endless. Remember to prep your surfaces well, take your time with each step, and don't be afraid to experiment with different finishes or colors. This project not only enhances the aesthetic of your space but also gives you a sense of accomplishment. So, gather your supplies, put on your DIY hat, and get started. Your revamped louvered doors will be the talk of the house. Happy DIY-ing!
How do I remove the louvered doors?
First, unscrew the hinges using a screwdriver. Make sure to support the door so it doesn't fall. Once all screws are out, carefully lift the door off the frame.
What tools will I need for this project?
You'll need a screwdriver, sandpaper, paint or stain, a paintbrush or roller, and possibly wood filler if there are any dents or scratches.
Can I paint louvered doors without removing them?
Yes, but it's easier to get an even coat if you remove them. If you choose to paint them in place, use painter's tape to protect surrounding areas.
How do I sand the louvers?
Use a sanding sponge or a piece of sandpaper wrapped around a small block. This helps you get into the narrow spaces between the slats.
Should I use a primer before painting?
Absolutely! Primer helps the paint adhere better and provides a smoother finish. Choose a primer suitable for the type of paint you're using.
How do I avoid drips when painting?
Apply thin, even coats of paint. Start with the edges and work your way to the center. Let each coat dry completely before adding another.
Can I replace the louvers with solid panels?
Yes, you can! Measure the openings, cut panels to fit, and secure them with wood glue or small nails. This gives a more modern look.