
Home>Home & Furniture>Doors & Windows>DIY Decor: Fairy Doors for Trees
Doors & Windows
DIY Decor: Fairy Doors for Trees
Published: September 13, 2024
Discover how to create enchanting fairy doors for trees with our DIY guide. Perfect for adding a magical touch to your garden and sparking imagination in kids and adults alike!
(Many of the links in this article redirect to a specific reviewed product. Your purchase of these products through affiliate links helps to generate commission for Twigandthistle.com, at no extra cost. Learn more)
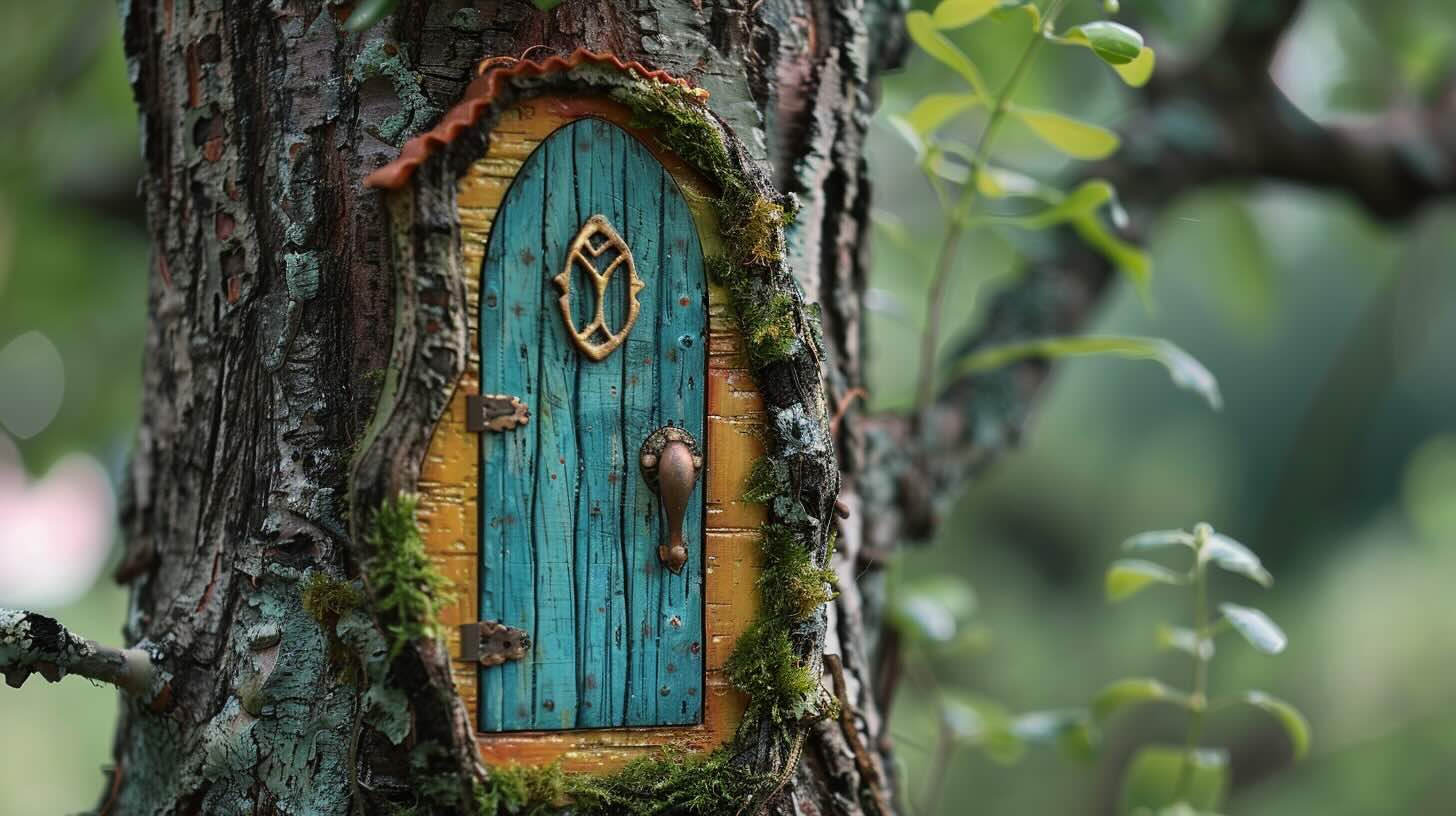
Ever noticed bare spots on trees in your yard? Fairy doors could be an enchanting solution! These mini doors can transform ordinary trees into magical portals, sparking imagination for kids and adults. Best of all, crafting these tiny doors is an easy DIY project that requires minimal materials and effort. Whether you want to add charm to your garden or give your outdoor space a unique touch, a fairy door might be just the thing you need. Let’s dive into the world of fairy doors and discover how to create your own magical entryway.
Getting Ready for Your Project
Gather Materials: Collect wood, paint, small hinges, screws, and decorative items like tiny doorknobs or pebbles.
Choose a Tree: Pick a tree with a flat surface at the base for easy attachment.
Measure and Cut: Measure the desired door size, then cut the wood accordingly.
Sand the Edges: Smooth the edges of the wood to avoid splinters.
Paint and Decorate: Paint the door and add any decorations. Let it dry completely.
Attach Hinges: Secure small hinges to one side of the door.
Pre-drill Holes: Drill small holes in the tree where the hinges will go to make screwing easier.
Screw in Place: Attach the door to the tree using screws.
Safety Gear: Wear gloves and safety glasses while cutting and drilling.
Clean Workspace: Keep your workspace tidy to avoid accidents.
What You Need to Get Started
- Wooden Planks: These form the base of your fairy door. Choose sturdy, weather-resistant wood.
- Pencil: For sketching the door design before cutting.
- Jigsaw: To cut out the door shape from the wooden plank.
- Sandpaper: Smooths the edges and surface of the door.
- Acrylic Paints: Adds color and personality to your fairy door. Use outdoor-safe paint.
- Paintbrushes: Different sizes help with detailed painting.
- Varnish: Protects the paint and wood from weather damage.
- Small Hinges: Allows the door to open and close. Choose rust-resistant ones.
- Screws: Secures the hinges to the door and tree.
- Screwdriver: For attaching the hinges and screws.
- Decorative Items: Miniature doorknobs, windows, or other embellishments to make the door magical.
- Hot Glue Gun: Attaches decorative items securely.
- Measuring Tape: Ensures accurate dimensions for the door and placement on the tree.
- Drill: Makes holes for screws if needed.
- Protective Gear: Safety glasses and gloves to protect while cutting and drilling.
How Much Time and Skill You Need
Skill Level: Beginner
Time Required: 1-2 hours
- Gather Materials: 10 minutes
- Design and Cut Door Shape: 20 minutes
- Paint and Decorate: 30 minutes
- Attach Hinges and Knob: 15 minutes
- Install on Tree: 15 minutes
Total Time: 1-2 hours
Follow These Steps
Gather Materials:
- Small piece of wood (for the door)
- Paint and brushes
- Craft knife or small saw
- Sandpaper
- Glue
- Decorative items (tiny doorknobs, hinges, etc.)
- Sealant (optional)
Cut the Door:
- Use the craft knife or saw to cut the wood into a door shape. It can be rectangular, arched, or any shape you like.
Sand the Edges:
- Smooth the edges of the door with sandpaper to avoid splinters and give it a finished look.
Paint the Door:
- Apply a base coat of paint to the door. Let it dry completely.
- Add details like windows, patterns, or designs. Use different colors to make it whimsical.
Add Decorations:
- Glue on tiny doorknobs, hinges, or other decorative items. Be creative!
Seal the Door (optional):
- Apply a sealant to protect the paint and decorations from weather. This step is optional but recommended for outdoor use.
Attach the Door to the Tree:
- Find a spot on the tree where the door will fit nicely.
- Use strong glue to attach the door to the tree. Hold it in place until the glue sets.
Final Touches:
- Add small stones, moss, or other natural elements around the door to make it look like part of the tree.
Helpful Hints for Success
Choose weather-resistant wood like cedar or redwood. These types last longer outdoors.
Seal the wood with a clear outdoor sealant. This helps protect against rain and sun.
Use a template for cutting the door shape. This ensures uniformity and saves time.
Decorate with waterproof paint. Acrylic paint works well, but make sure to seal it afterward.
Attach hinges and a doorknob for a realistic touch. Small dollhouse hardware works great.
Secure the door to the tree using outdoor adhesive or small nails. Make sure it’s stable but not damaging to the tree.
Add tiny accessories like a welcome mat or miniature plants. These add charm and character.
Common mistakes to avoid:
Skipping the sealant. Unsealed wood will rot quickly.
Using indoor paint. It will fade and peel outdoors.
Nailing too deeply into the tree. This can harm the tree.
Alternatives for materials or methods:
Instead of wood, use polymer clay. It’s moldable and durable.
For paint, consider using outdoor spray paint. It’s quick and even.
Instead of nails, try Velcro strips. They hold well and are tree-friendly.
For hinges, use strong glue. It’s simpler and less invasive.
How Much Will It Cost?
Wood: $10-$15 for a small piece of plywood or craft wood
Paint: $5-$10 for basic acrylic paint set
Brushes: $3-$5 for a set of small brushes
Sealer: $5-$10 for outdoor sealant
Hinges: $2-$5 for miniature hinges
Decorations: $5-$10 for small decorations like beads or buttons
Glue: $3-$5 for wood glue or hot glue
Total: $33-$60
Budget-friendly alternatives:
Wood: Use scrap wood or cardboard
Paint: Use leftover paint from other projects
Brushes: Use old brushes or sponges
Sealer: Skip if indoor use
Hinges: Use small pieces of fabric as hinges
Decorations: Use natural items like twigs or pebbles
Glue: Use white glue or tape
Different Ways to Personalize
Materials: Use wood for a rustic look, polymer clay for intricate designs, or resin for a smooth, modern finish. Recycled materials like old picture frames or scrap metal can add a unique touch.
Colors: Paint doors in bright, whimsical colors like pink, blue, or yellow for a fairy-tale vibe. For a more natural look, use earth tones like brown, green, or beige. Consider adding metallic accents with gold or silver paint.
Styles: Create a classic fairy door with arched tops and tiny windows. For a modern twist, design geometric shapes or minimalist patterns. Add fantasy elements like tiny mushrooms, vines, or miniature lanterns.
Decorations: Use tiny doorknobs made from beads or buttons. Add miniature wreaths or flower pots for a welcoming touch. Incorporate LED lights to make the door glow at night.
Themes: Design doors based on seasons—snowflakes for winter, flowers for spring. Create holiday-themed doors with pumpkins for Halloween or candy canes for Christmas. Make storybook-inspired doors from your favorite tales.
Textures: Add texture with embossed patterns using stencils or stamps. Use natural elements like bark, moss, or pebbles for a more organic feel. Try fabric or felt for a soft, cozy look.
Sizes: Vary the size of the doors to fit different trees or spaces. Make tiny doors for a subtle touch or larger doors for a bold statement. Create a series of doors in different sizes for a fairy village effect.
Personalization: Add initials or names to make each door unique. Include tiny mailboxes or welcome mats for added charm. Use family heirlooms or keepsakes to make the doors special.
Eco-Friendly Ideas
Reclaimed wood works great for fairy doors. Old pallets or leftover planks can be cut to size. Natural paints or stains made from plant-based ingredients keep it eco-friendly. Recycled hinges and knobs from old furniture add charm. Use fallen branches or twigs for decorative elements. Upcycled glass from broken bottles can create tiny windows. Natural adhesives like tree resin or eco-friendly glue ensure everything stays in place. Moss and leaves make perfect natural decorations. Biodegradable sealants protect your creation without harming the environment.
Bringing Magic to Your Garden
Creating fairy doors for trees is a fun, rewarding project. It adds a touch of whimsy to your garden, making it a magical place for kids and adults alike. With some basic materials and a bit of creativity, you can transform any tree into a fairy haven. Remember to use weather-resistant materials to ensure your doors last through the seasons. Don't be afraid to experiment with different designs and colors. The more personalized your fairy doors, the more charming they'll be. So, gather your supplies, let your imagination run wild, and start crafting. Your garden will soon be a delightful place where fairies might just come to visit. Happy crafting!
What materials do I need to make a fairy door for a tree?
You'll need wood, paint, glue, small hinges, and decorative items like buttons or beads. A small saw and sandpaper will also come in handy.
How do I attach the fairy door to the tree?
Use weatherproof glue or small nails to secure the door. Make sure the tree bark is clean and dry before attaching.
Can I make a fairy door without woodworking tools?
Absolutely! You can use craft sticks or pre-cut wooden shapes from a craft store. Just glue them together and paint.
What kind of paint should I use?
Use outdoor acrylic paint. It's durable and can withstand weather changes. Seal it with a clear waterproof sealant for extra protection.
How do I make the door look magical?
Add tiny decorations like moss, pebbles, or miniature flowers. You can also paint whimsical designs or add a small doorknob.
Can I involve my kids in this project?
Definitely! Kids can help with painting, decorating, and even designing the door. Just supervise when using tools or glue.
How long will the fairy door last outside?
With proper materials and sealing, your fairy door can last several years. Check it occasionally for wear and touch up as needed.