
Home>Home & Furniture>Doors & Windows>DIY Barn Door Blueprint Plans
Doors & Windows
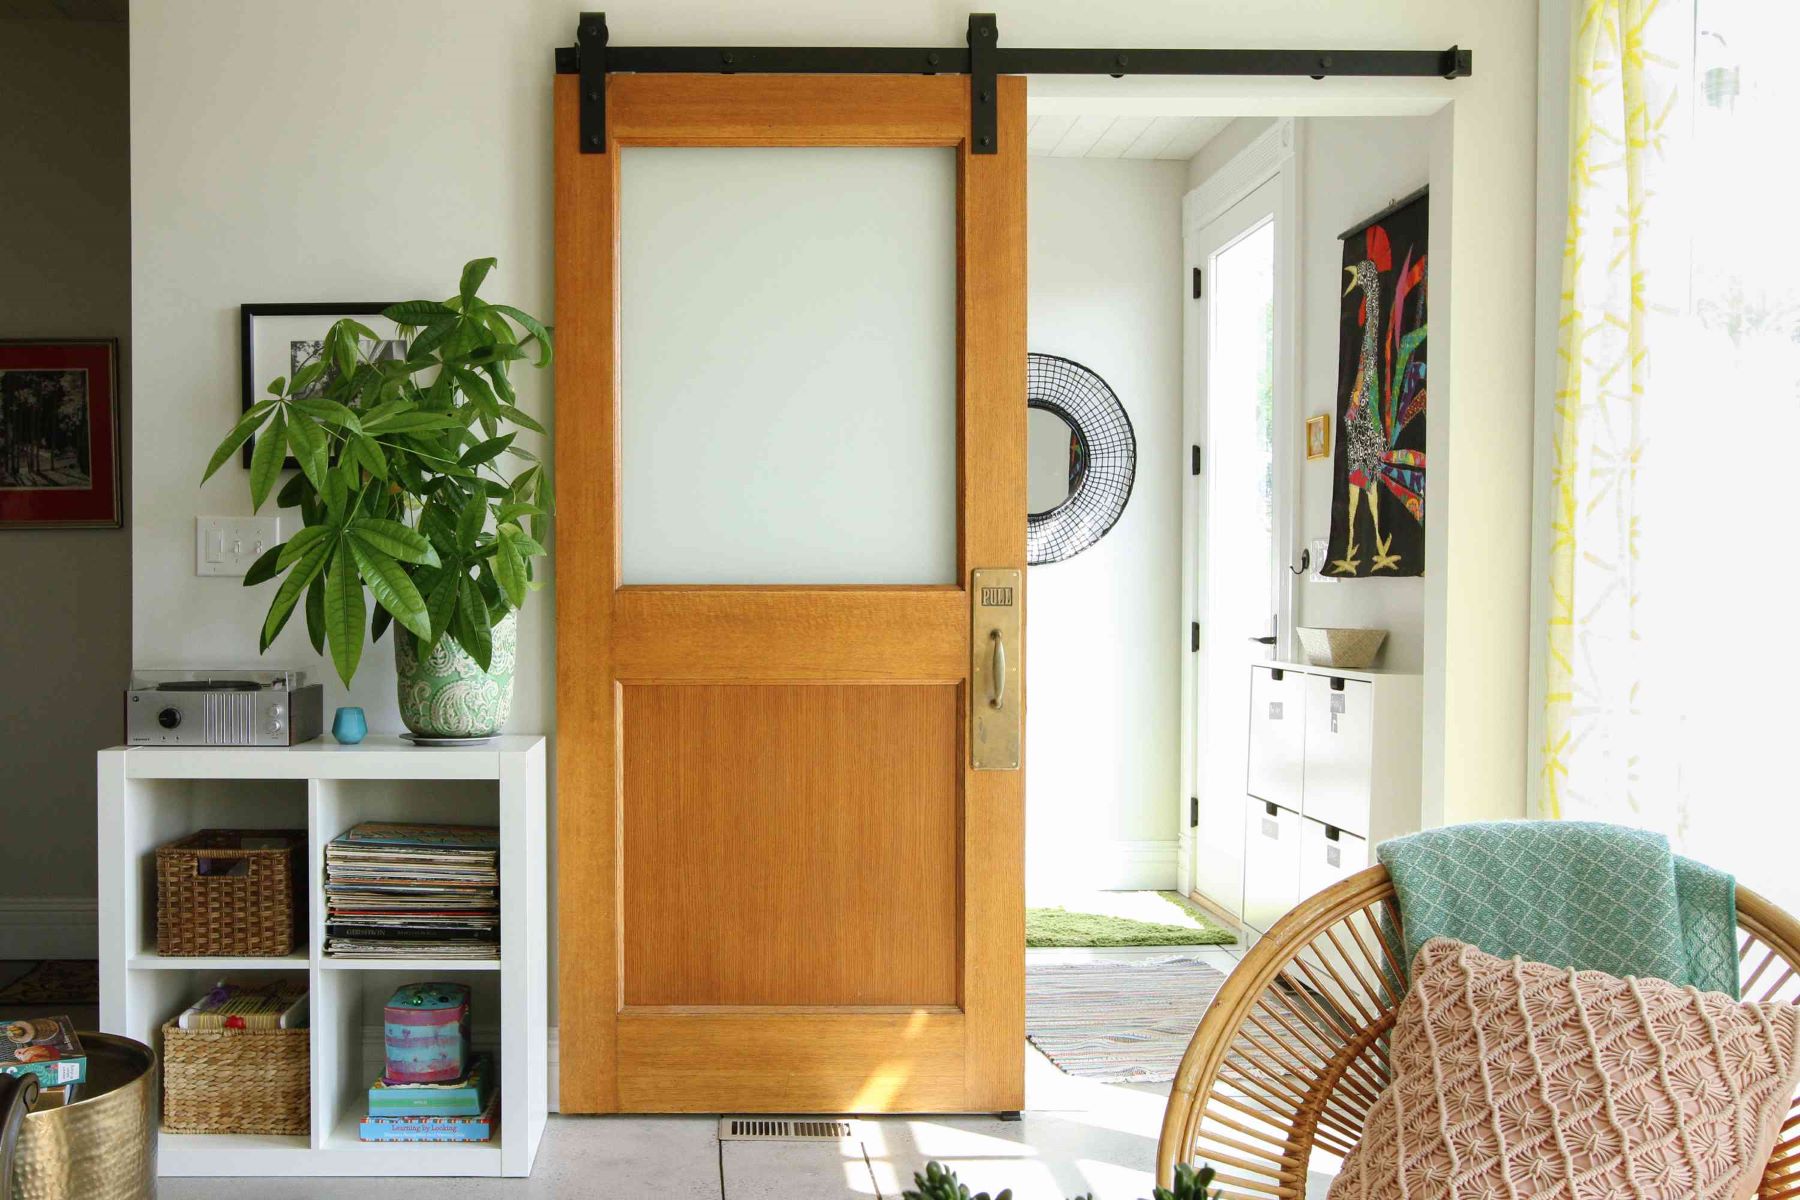
DIY Barn Door Blueprint Plans
Published: September 7, 2024
Discover step-by-step DIY barn door blueprint plans. Learn how to create stylish, functional barn doors with our comprehensive guide. Perfect for any home improvement enthusiast!
(Many of the links in this article redirect to a specific reviewed product. Your purchase of these products through affiliate links helps to generate commission for Twigandthistle.com, at no extra cost. Learn more)
Want to add a rustic touch to your home? A DIY barn door might be just what you need. These sliding doors save space and give any room a unique look. Plus, building one yourself can be a fun and rewarding project. Whether you're a seasoned DIYer or just starting out, crafting a barn door is totally doable. With the right tools and materials, you can create a beautiful piece that’s both functional and stylish. This guide will walk you through the process, offering tips and tricks along the way. Ready to get started? Let's dive in!
Getting Ready for Your Barn Door Project
Measure Your Space: Measure the doorway and wall space to ensure the barn door will fit properly. Note the height, width, and any obstructions like light switches or outlets.
Gather Materials: Collect all necessary materials such as wood planks, screws, a barn door hardware kit, a measuring tape, a level, a saw, and a drill.
Safety Gear: Wear safety goggles, gloves, and a dust mask to protect yourself from debris and dust.
Clear the Workspace: Remove any furniture or items near the doorway. Ensure you have enough space to work and move around freely.
Check Wall Structure: Ensure the wall can support the weight of the barn door. Use a stud finder to locate studs for secure mounting.
Prepare Tools: Lay out all tools and materials in an organized manner. This will save time and make the process smoother.
Read Instructions: Go through the barn door hardware kit instructions thoroughly. Familiarize yourself with each step before starting.
Mark Drill Points: Use a pencil to mark where you will drill holes for the hardware. Double-check measurements to avoid mistakes.
Pre-Drill Holes: Pre-drill holes for screws to prevent wood from splitting. This also makes it easier to install the hardware.
Test Fit: Before final installation, test fit the door to ensure everything aligns correctly. Make any necessary adjustments.
By following these steps, you can ensure a smooth and safe DIY barn door installation.
Essential Materials and Tools
Materials:
- Wood Panels: These form the main structure of the barn door. Choose sturdy wood like pine or oak.
- Barn Door Hardware Kit: Includes tracks, rollers, and brackets for hanging the door.
- Screws and Nails: Essential for assembling the door and attaching hardware.
- Wood Stain or Paint: Used to finish the door, giving it color and protection.
- Sandpaper: Smooths out rough edges on the wood.
- Wood Glue: Provides extra strength to joints and seams.
- Measuring Tape: Ensures accurate measurements for cutting and assembly.
- Level: Ensures the door hangs straight.
- Handles and Pulls: Adds functionality and style to the door.
Tools:
- Saw: Cuts wood panels to the desired size.
- Drill: Makes holes for screws and hardware.
- Hammer: Drives nails into the wood.
- Screwdriver: Tightens screws in the hardware kit.
- Paintbrush or Roller: Applies stain or paint to the wood.
- Clamps: Holds pieces of wood together while the glue dries.
- Pencil: Marks measurements on the wood.
- Square: Ensures right angles during assembly.
- Safety Gear: Includes gloves and goggles to protect hands and eyes.
Required Skills and Time Commitment
Skill Level: Intermediate
Time Required: 6-8 hours
- Measure and Cut Wood: 1-2 hours
- Assemble Door Frame: 1 hour
- Attach Planks: 1-2 hours
- Sand and Paint/Stain: 1-2 hours
- Install Hardware: 1 hour
Detailed Step-by-Step Guide
Measure the Doorway:
- Use a tape measure to get the height and width of the doorway.
- Add a few inches to each side for overlap.
Choose the Wood:
- Select sturdy wood like pine or oak.
- Ensure the wood is straight and free of knots.
Cut the Wood:
- Cut the wood planks to the desired height.
- Cut horizontal planks for the top, middle, and bottom.
Assemble the Door:
- Lay the vertical planks side by side.
- Attach horizontal planks across the top, middle, and bottom using wood screws.
Add Diagonal Braces:
- Cut two diagonal braces to fit between the horizontal planks.
- Attach them with screws for extra support.
Sand the Door:
- Use sandpaper to smooth all surfaces.
- Remove any splinters or rough edges.
Stain or Paint:
- Apply wood stain or paint in your chosen color.
- Let it dry completely before moving on.
Install the Hardware:
- Attach barn door rollers to the top of the door.
- Install the track above the doorway according to the manufacturer's instructions.
Hang the Door:
- Lift the door and place the rollers on the track.
- Ensure it slides smoothly.
Add Handles:
- Attach handles to the front and back of the door.
- Use screws to secure them firmly.
Test the Door:
- Slide the door back and forth.
- Make any necessary adjustments to ensure smooth operation.
Helpful Tips and Tricks
Measure twice, cut once. Double-check all measurements before cutting wood to avoid mistakes. Use a level to ensure the door hangs straight. Pre-drill holes for screws to prevent wood from splitting. Sand edges of the door for a smooth finish and to avoid splinters. Use a stud finder to locate wall studs for secure mounting. Install a floor guide to keep the door from swinging.
Common mistakes to avoid: Not measuring the door opening correctly can lead to a door that doesn't fit. Using the wrong type of wood can cause warping. Forgetting to account for the door's weight can result in weak hardware. Not leveling the track can make the door slide unevenly.
Alternatives for materials or methods: Instead of solid wood, consider plywood for a lighter door. Use pipe fittings for a rustic track system instead of buying a pre-made kit. For a unique look, try reclaimed wood or pallet wood. If you don't have a power saw, a hand saw can work with some extra effort.
Estimating the Cost
Wood: $50-$100, depending on type and quality. Pine is cheaper, oak costs more.
Barn Door Hardware Kit: $50-$100. Includes track, rollers, and handles.
Screws and Nails: $10. Essential for assembly.
Sandpaper: $5. Smooths wood surfaces.
Paint or Stain: $20-$30. Adds color and protection.
Brushes or Rollers: $10. Needed for applying paint or stain.
Measuring Tape: $5. Ensures accurate cuts and placement.
Saw: $30-$100. Hand saws are cheaper, power saws cost more.
Drill: $40-$100. Cordless drills are pricier.
Level: $10. Ensures door hangs straight.
Safety Gear: $15. Includes gloves and goggles.
Total Cost: $245-$470.
Budget-Friendly Alternatives:
- Use reclaimed wood: Often free or very cheap.
- Borrow or rent tools: Saves money on saws and drills.
- Skip paint or stain: Use natural wood finish.
- Buy a basic hardware kit: Cheaper but functional.
Creative Variations and Customizations
Materials: Instead of traditional wood, try reclaimed wood for a rustic look or plywood for a budget-friendly option. For a modern touch, consider metal or glass panels.
Colors: Paint the door in bold colors like navy blue or forest green for a statement piece. Use stains to highlight the natural wood grain or go for a whitewash finish for a farmhouse vibe.
Styles: Add decorative trim or molding to create a more intricate design. Use shiplap or beadboard for a coastal feel. For an industrial look, incorporate metal accents or hardware.
Hardware: Swap out standard handles for antique or vintage options. Use barn door rollers in different finishes like black, brass, or chrome to match your decor.
Patterns: Create a chevron or herringbone pattern with wood planks. Use stencils or decals to add unique designs or monograms.
Functionality: Add a mirror to one side for a dual-purpose door. Install a chalkboard or corkboard for a functional message center. Use double doors for a grand entrance or bypass doors for tight spaces.
Eco-Friendly Tips
Reclaimed wood makes a great choice for barn doors. It gives a rustic look and reduces waste. Check local salvage yards or old barns for materials. Recycled metal can be used for handles and tracks. Old pipes or scrap metal can be repurposed. Eco-friendly paint or stain, like those with low VOCs, helps keep the air clean. Natural oils like linseed or tung oil can seal the wood without harmful chemicals. Use bamboo for a lightweight, sustainable option. Upcycling old doors from thrift stores or demolition sites can save money and resources. Energy-efficient tools like hand tools or battery-powered options reduce electricity use. Natural fiber brushes and rollers can be composted after use. Solar-powered lights for the workspace can cut down on energy consumption.
Your Barn Door Awaits
You've got all the tools and know-how to build a barn door. Just remember, measure twice, cut once. Don't rush the sanding and staining steps; they make a huge difference in the final look. If you hit a snag, take a break and come back with fresh eyes. DIY projects can be challenging, but the satisfaction of seeing your handiwork is worth it. Plus, you'll have a unique piece that adds character to your space. So, gather your materials, roll up your sleeves, and get started. Your new barn door is just a few steps away. Happy building!
How do I measure for a barn door?
Measure the width and height of the doorway. Add a few inches to the width so the door covers the opening completely. For height, measure from the floor to the top of the door frame.
What materials do I need?
You’ll need wood planks, screws, a barn door track kit, sandpaper, paint or stain, and a drill. Don’t forget a measuring tape and level.
Can I install a barn door by myself?
Absolutely! With the right tools and a bit of patience, you can install a barn door solo. Just make sure to follow the instructions carefully.
How do I ensure the door slides smoothly?
Make sure the track is level and securely attached. Also, check that the rollers are properly aligned and lubricated.
What kind of wood should I use?
Pine, oak, and cedar are popular choices. Pine is budget-friendly, oak is durable, and cedar is great for a rustic look.
How do I finish the wood?
Sand the wood to smooth out any rough spots. Then, apply paint or stain based on your preference. Finish with a sealant to protect the wood.
Can I customize the design?
Totally! You can add decorative hardware, patterns, or even windows to make your barn door unique.