
Home>Home & Furniture>Bedroom>Create Your Own Miniature Bedroom with These DIY Projects
Bedroom
Create Your Own Miniature Bedroom with These DIY Projects
Published: July 9, 2024
Discover how to create your own miniature bedroom with these fun and easy DIY projects. Perfect for hobbyists and crafters looking to add a personal touch to their mini spaces!
(Many of the links in this article redirect to a specific reviewed product. Your purchase of these products through affiliate links helps to generate commission for Twigandthistle.com, at no extra cost. Learn more)
Creating your own miniature bedroom can be a fun and rewarding project. It allows you to bring tiny dream spaces to life with just a few supplies and some creativity. Whether you're an experienced DIY enthusiast or just starting out, these projects are simple enough for anyone to tackle. From crafting a tiny bed to designing miniature wall art, there's something for everyone. Plus, working on small-scale items can be a great way to practice skills that apply to larger projects. Get ready to dive into the world of miniatures and let your imagination run wild!
Getting Ready for Your Miniature Bedroom Project
Gather Materials: Collect all necessary supplies like cardboard, glue, paint, fabric, scissors, and small decorative items.
Plan Your Design: Sketch a layout of your miniature bedroom. Decide where each piece of furniture will go.
Set Up Workspace: Choose a clean, flat surface with good lighting. Keep all tools and materials within reach.
Safety First: Wear safety goggles when cutting materials. Use a cutting mat to protect your surface.
Measure and Cut: Measure twice, cut once. Use a ruler and pencil to mark precise lines on cardboard.
Assemble Furniture: Start with basic shapes for beds, tables, and chairs. Glue pieces together and let them dry completely.
Paint and Decorate: Paint furniture and walls. Add fabric for bedding and curtains. Let everything dry before assembling.
Final Touches: Add small decorations like lamps, books, or rugs. Use tweezers for tiny items.
Clean Up: Dispose of scraps and clean your workspace. Store leftover materials for future projects.
What You Need: Materials and Tools
- Cardboard: Used for creating walls, floors, and furniture bases. Easy to cut and shape.
- Craft Knife: Essential for cutting cardboard and other materials precisely.
- Ruler: Ensures straight lines and accurate measurements.
- Glue: Holds pieces together. Use hot glue for quick drying or craft glue for more delicate work.
- Paint: Adds color to walls, floors, and furniture. Acrylic paint works best.
- Paintbrushes: Needed for applying paint. Different sizes help with detailed work.
- Fabric Scraps: Used for making miniature bedspreads, curtains, and rugs.
- Scissors: Cuts fabric and paper. Smaller scissors help with detailed cutting.
- Beads and Buttons: Serve as knobs, handles, and decorative elements.
- Popsicle Sticks: Great for making furniture like beds, tables, and chairs.
- Sandpaper: Smooths rough edges on cardboard and wooden pieces.
- Markers and Pens: Add details like patterns, textures, and small designs.
- Miniature Accessories: Items like tiny pillows, picture frames, and lamps add realism.
- Tape: Holds pieces temporarily while glue dries. Double-sided tape can attach lightweight items.
- Cutting Mat: Protects your work surface when using a craft knife.
Skill Level and Time Commitment
Skill Level: Intermediate
Time Required: 8-10 hours
Steps:
- Planning and Design: 1-2 hours
- Gathering Materials: 1 hour
- Constructing Furniture: 3-4 hours
- Painting and Decorating: 2-3 hours
How to Build Your Miniature Bedroom: Step-by-Step Guide
Gather Materials:
- Cardboard
- Craft paper
- Glue
- Scissors
- Paint
- Small fabric pieces
- Popsicle sticks
- Miniature furniture (optional)
Create the Room Structure:
- Cut cardboard into four walls and a floor.
- Glue walls together to form a box.
- Attach the floor piece to the bottom.
Decorate the Walls:
- Cover walls with craft paper or paint them.
- Add windows by cutting out small rectangles and covering them with clear plastic.
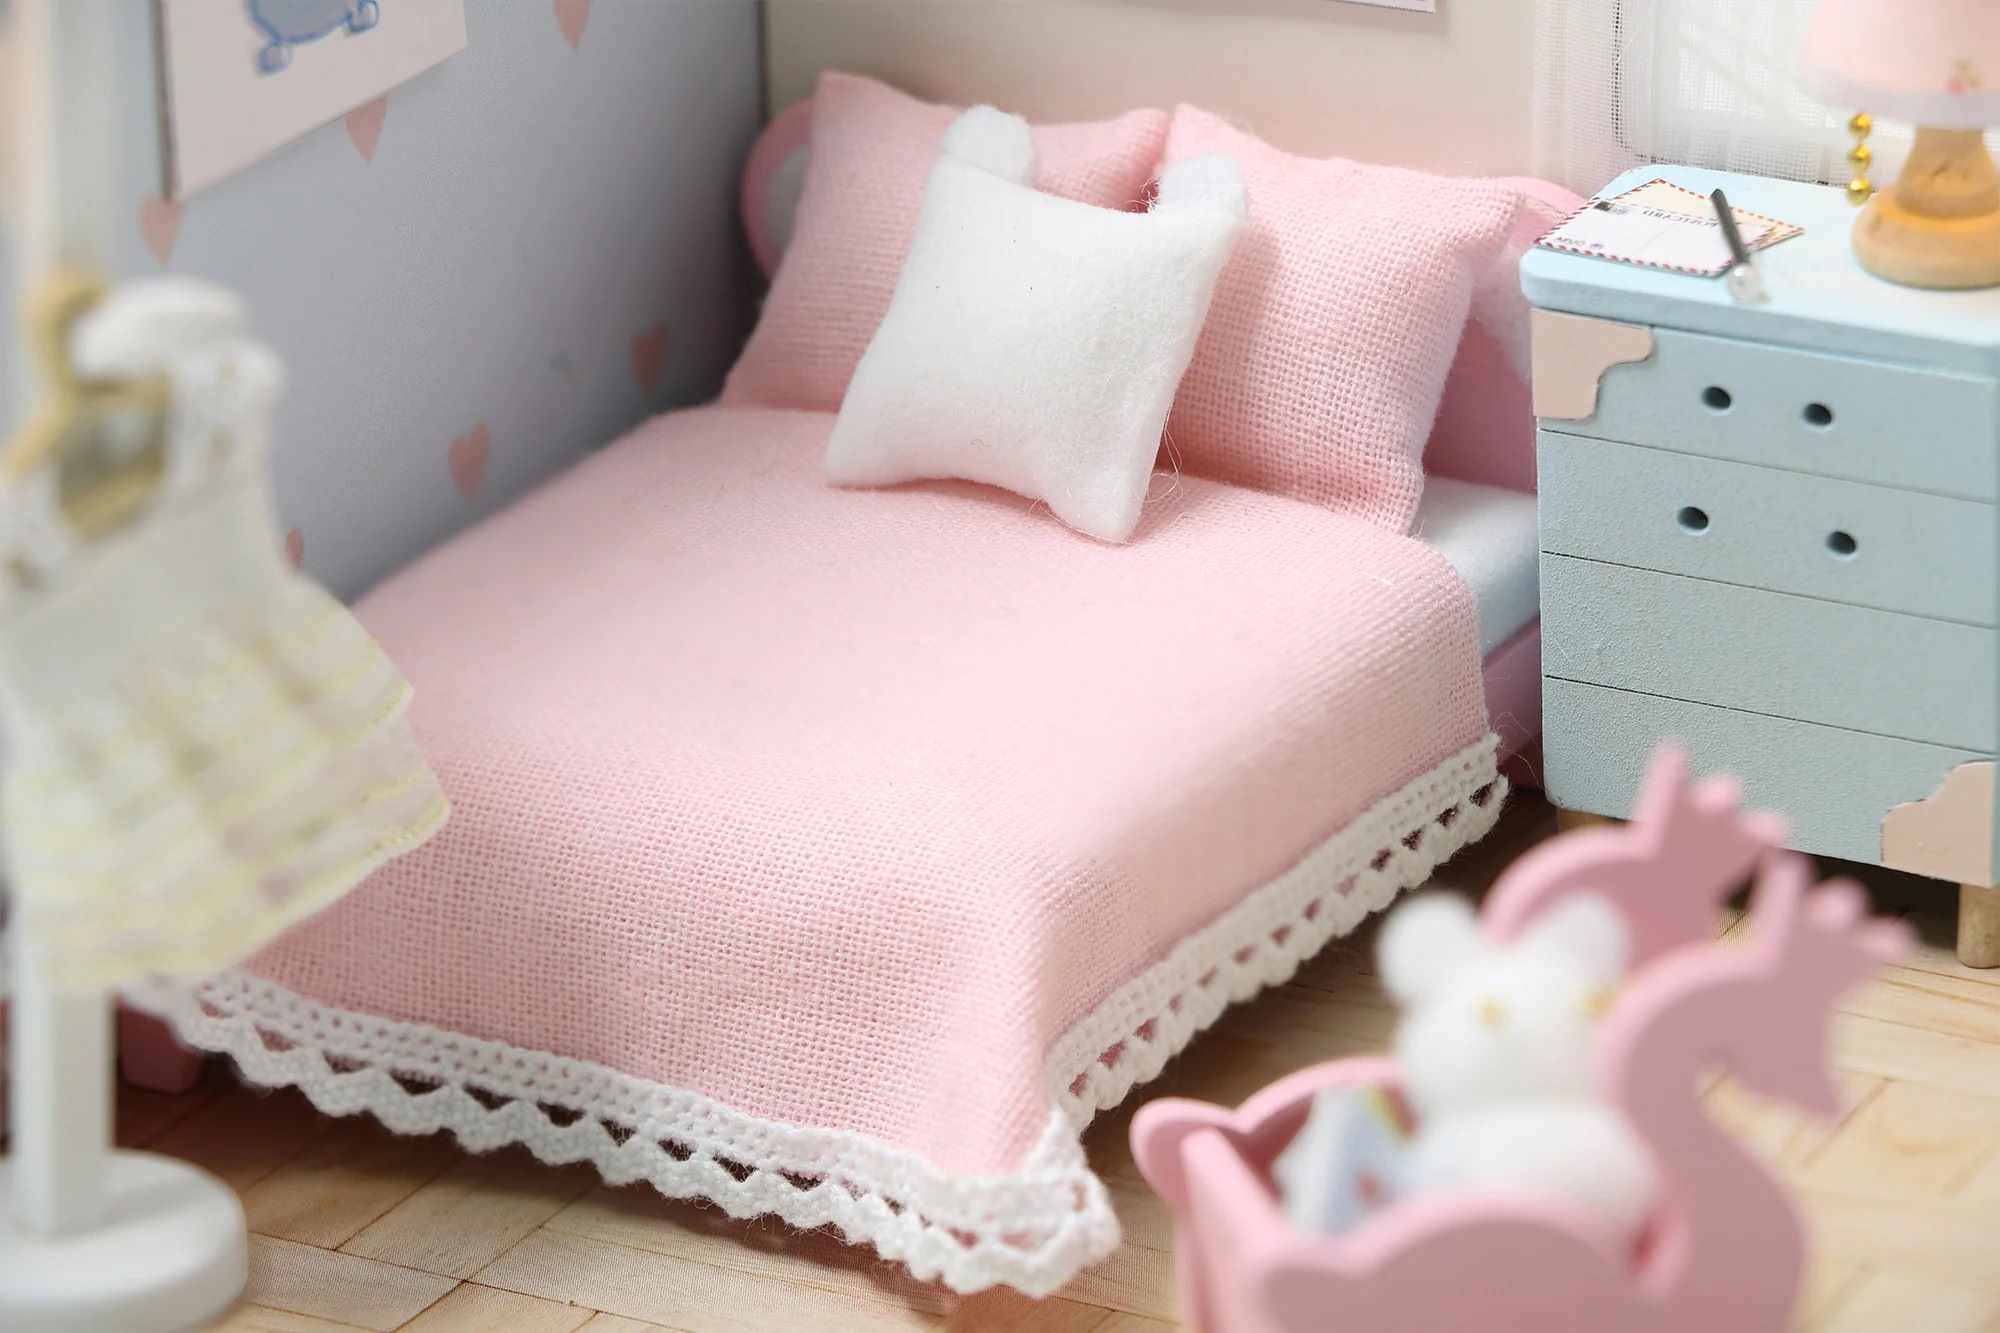
Make the Bed:
- Cut a rectangle from cardboard for the bed base.
- Glue small fabric pieces to create a mattress and pillows.
- Use popsicle sticks to make a bed frame and headboard.
Build a Nightstand:
- Cut small pieces of cardboard for the top, bottom, and sides.
- Glue pieces together to form a box shape.
- Paint or cover with craft paper.
Create a Rug:
- Cut a small piece of fabric into a rectangle or circle.
- Place it on the floor of the miniature room.
Add Details:
- Use small beads or buttons as lamps or decorations.
- Arrange miniature furniture if available.
- Add tiny books or toys for extra detail.
Final Touches:
- Paint any remaining cardboard edges.
- Ensure all pieces are securely glued.
- Let everything dry completely before handling.
Helpful Tips and Tricks
Use a ruler to measure everything precisely. Small errors can make a big difference in miniatures. Hot glue guns work well for quick assembly but can be messy. Tacky glue is better for detailed work. Paint small parts before assembling to avoid smudges. Use toothpicks for applying glue in tight spots. Sand edges of cut pieces for a smooth finish.
Common mistakes to avoid: Skipping measurements leads to misaligned parts. Using too much glue can cause warping. Not allowing paint to dry fully results in smudges. Ignoring scale consistency makes the room look unrealistic.
Alternatives: Instead of buying tiny furniture, make your own using cardboard or balsa wood. Use fabric scraps for bedding and curtains. Craft foam can substitute for wood in some cases. Recycled materials like bottle caps or buttons can become unique decor items.
Estimating the Cost of Your Miniature Bedroom
Materials:
- Foam Board: $10
- Craft Sticks: $5
- Fabric Scraps: $5
- Paint: $8
- Glue: $3
- Miniature Furniture Kits: $20
- Decorative Paper: $5
Tools:
- Scissors: $5
- Craft Knife: $7
- Ruler: $2
- Paintbrushes: $5
Total Cost: $75
Budget-Friendly Alternatives:
- Cardboard instead of foam board: Free (recycled)
- Old Magazines for decorative paper: Free
- Homemade Glue (flour and water): Free
- Repurpose Old Fabric from clothes: Free
Total Cost with Alternatives: $45
Different Ways to Customize Your Miniature Bedroom
Alternative Materials: Use cardboard instead of wood for furniture. Try fabric scraps for bedding and curtains. Clay can make tiny accessories like lamps or vases.
Colors: Paint walls in pastel shades for a soft look. Go bold with bright colors like red or blue. Use metallic paints for a modern touch.
Styles: Create a vintage look with floral patterns and lace. Go modern with sleek lines and minimal decor. Try a rustic style using wood textures and earthy tones.
Furniture: Make a loft bed to save space. Add a desk for a study area. Build a wardrobe with tiny hangers.
Accessories: Add tiny books for a cozy feel. Make a mini rug from felt. Use beads as drawer knobs.
Eco-Friendly Tips for Your DIY Projects
Recycled cardboard can be used for walls and furniture. Old fabric scraps make great bedding and curtains. Wine corks can be turned into tiny stools or tables. Bottle caps work well as miniature plates or bowls. Popsicle sticks are perfect for crafting bed frames or shelves. Reclaimed wood adds a rustic touch to floors or furniture. Egg cartons can be cut and painted to create textured walls or decorative elements. Plastic containers from food packaging can be repurposed into storage bins or planters. Magazine clippings can serve as wallpaper or artwork. Natural materials like twigs, leaves, and stones add an earthy feel to the room.
Your Cozy Mini Bedroom Awaits
You've got all the tools and tips to create a miniature bedroom that reflects your style. From crafting tiny furniture to adding those personal touches, every step brings you closer to a unique, cozy space. Remember, patience and creativity are your best friends in this project. Don't stress over perfection; it's the charm of handmade items that makes them special.
As you finish each piece, you'll see your vision come to life. Whether it's a tiny bed, a miniature lamp, or a cute little rug, each item adds character to your mini bedroom. So, gather your materials, roll up your sleeves, and dive into the fun world of DIY. Your cozy, personalized miniature bedroom is just a few steps away. Enjoy the process and take pride in your creation!
How do I start making a miniature bedroom?
Begin by gathering materials like cardboard, glue, paint, and fabric. Sketch a design to plan the layout. Cut out the walls and floor from cardboard, then assemble and decorate them.
What scale should I use for my miniature bedroom?
The most common scale is 1:12, meaning 1 inch in the miniature equals 12 inches in real life. This scale makes it easier to find or make furniture and accessories.
How can I make miniature furniture?
Use craft sticks, matchboxes, and fabric scraps. For a bed, glue together craft sticks for the frame and use fabric for the mattress and pillows. Paint and decorate to match your room's style.
What tools will I need?
Basic tools include scissors, glue, paintbrushes, and a ruler. For more detailed work, you might need a craft knife and tweezers.
How do I make miniature bedding?
Cut small pieces of fabric for sheets and blankets. Sew or glue the edges to prevent fraying. Use cotton balls or foam for pillows and mattresses, covering them with fabric.
Can I add lighting to my miniature bedroom?
Yes, you can use LED lights or fairy lights. Battery-operated lights are easy to install. Hide the wires behind the walls or floor for a clean look.
Where can I find inspiration for my miniature bedroom?
Look at magazines, Pinterest, and home decor websites. Real-life bedrooms can provide great ideas for color schemes, furniture styles, and layouts.