
Home>Create & Decorate>DIY & Crafts>How To Build A Mirror Frame
DIY & Crafts
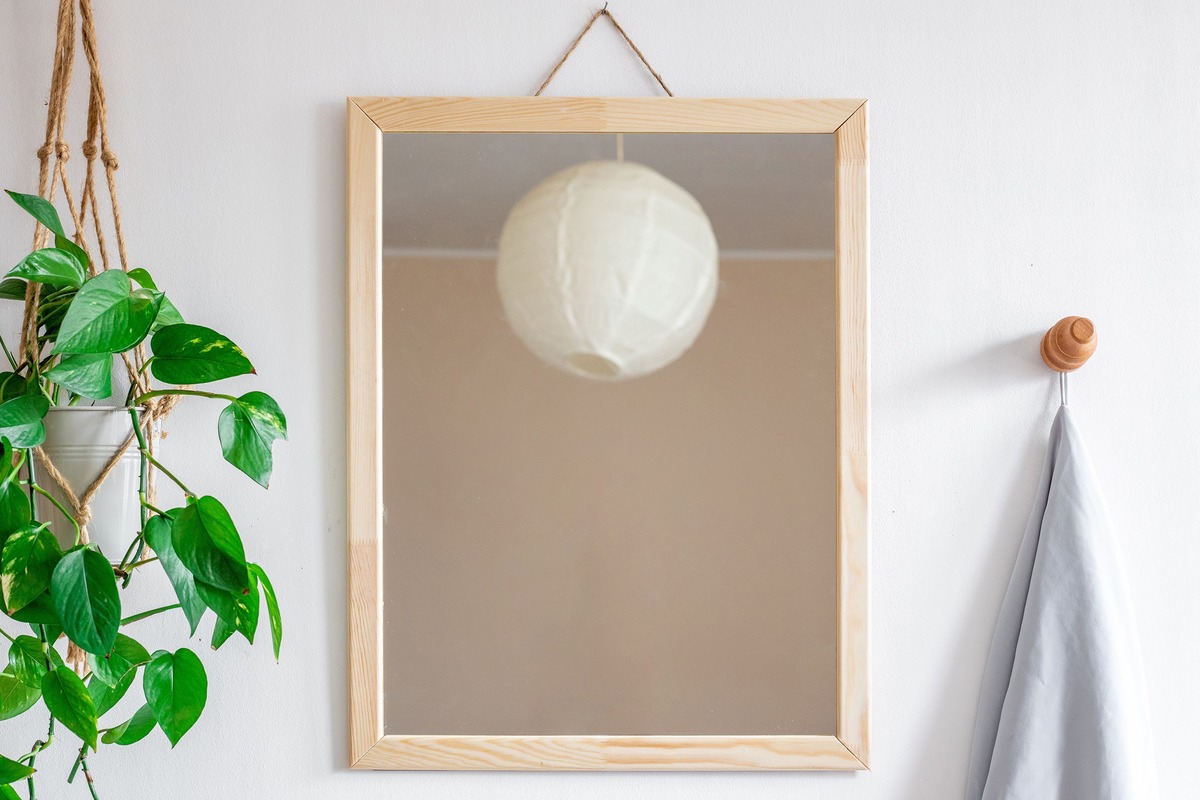
How To Build A Mirror Frame
Published: June 8, 2024

Senior Editor in Create & Decorate, Kathryn combines traditional craftsmanship with contemporary trends. Her background in textile design and commitment to sustainable crafts inspire both content and community.
Learn how to create a stunning DIY mirror frame with our step-by-step guide. Get creative with our easy DIY & Crafts project today!
(Many of the links in this article redirect to a specific reviewed product. Your purchase of these products through affiliate links helps to generate commission for Twigandthistle.com, at no extra cost. Learn more)
Introduction
Are you looking to add a touch of elegance and style to your living space? Building a mirror frame can be a fantastic way to enhance the aesthetic appeal of your home. Not only does it provide a decorative element, but it also allows you to customize the frame to match your existing decor. In this guide, we will walk you through the step-by-step process of creating a beautiful mirror frame that will become a focal point in any room. Let's dive in and get started on this exciting DIY project!
Choosing the Right Materials
When it comes to building a mirror frame, selecting the right materials is crucial to the success of your project. Here are some key materials you will need to gather before getting started:
- Wood: Choose a high-quality wood that complements your decor. Popular options include oak, pine, or maple.
- Mirror: Select a mirror that fits the dimensions you desire for your frame. Ensure that it is thick enough to be secured within the frame.
- Wood Glue: Opt for a strong wood glue that will provide a secure bond between the frame pieces.
- Clamps: Having clamps on hand will help hold the frame together during the assembly process.
- Sandpaper: Invest in sandpaper to smooth out any rough edges and create a polished finish.
- Decorative Elements: If you want to add embellishments to your frame, consider purchasing decorative elements such as trim, molding, or embellishments.
By choosing high-quality materials, you can ensure that your mirror frame will not only look stunning but also stand the test of time.
Measuring and Cutting the Frame
Before you start cutting the wood for your mirror frame, it's essential to take precise measurements to ensure a perfect fit. Here's a step-by-step guide to help you through the process:
-
Measure the Mirror: Begin by measuring the dimensions of your mirror. This will determine the overall size of your frame. Be sure to account for any desired overlap of the frame onto the mirror's surface.
-
Select the Wood: Once you have the measurements, choose the wood for your frame. Using a tape measure, mark the lengths and widths of the frame pieces on the wood, ensuring accuracy.
-
Cutting the Wood: Use a saw to carefully cut the wood according to the measurements. It's crucial to maintain straight and precise cuts to achieve a professional-looking frame.
-
Mitered Corners: If you prefer mitered corners for a seamless look, use a miter saw to cut the ends of the frame pieces at a 45-degree angle. This will allow the pieces to fit together neatly at the corners.
-
Dry Fit the Frame: Once all the pieces are cut, perform a dry fit by assembling the frame without glue. This will help you ensure that the pieces fit together accurately and make any necessary adjustments before moving on to the assembly stage.
By taking the time to measure accurately and make precise cuts, you'll set the foundation for a beautifully crafted mirror frame that will enhance the aesthetic appeal of your space.
Assembling the Frame
With all the frame pieces cut to the correct dimensions, it's time to assemble the mirror frame. Follow these steps to ensure a seamless and sturdy construction:
-
Apply Wood Glue: Begin by applying a generous amount of wood glue to the mitered edges of the frame pieces. Ensure that the glue is evenly distributed to create a strong bond.
-
Joining the Corners: Carefully join the corners of the frame together, ensuring that the mitered edges align perfectly. Use clamps to hold the pieces in place while the glue sets. This will help maintain the frame's square shape.
-
Securing the Joints: Once the corners are aligned, use a brad nailer or finishing nails to secure the joints further. This will provide additional strength and stability to the frame.
-
Check for Alignment: After securing the joints, double-check the frame for alignment and squareness. Make any necessary adjustments before the glue dries completely.
-
Allowing the Glue to Set: Leave the frame undisturbed for the recommended time as per the wood glue instructions. This will ensure that the joints fully bond and the frame holds together securely.
-
Removing Excess Glue: Once the glue has set, carefully remove any excess glue using a damp cloth or a chisel. This will prevent any unwanted residue from affecting the frame's finish.
By following these steps, you can assemble a sturdy and well-constructed mirror frame that will provide the perfect showcase for your chosen mirror.
Adding Decorative Elements
Once the frame is assembled, you have the option to elevate its visual appeal by incorporating decorative elements. This step allows you to infuse your personal style and creativity into the mirror frame. Here are some creative ideas to consider:
-
Embellishments: Add intricate embellishments such as appliques, rosettes, or decorative resin moldings to enhance the frame's aesthetic appeal. These embellishments can be easily attached using wood glue and finishing nails, creating a stunning focal point for the mirror.
-
Molding and Trim: Incorporating decorative molding and trim can elevate the overall look of the frame. Choose from a variety of molding styles, such as crown molding, chair rail molding, or picture frame molding, to add depth and visual interest to the frame.
-
Paint or Stain: Consider painting or staining the frame to complement your existing decor. A fresh coat of paint can transform the frame's appearance, while a rich stain can accentuate the natural beauty of the wood. Be sure to apply a primer before painting to ensure a smooth and durable finish.
-
Gilding: For a touch of luxury, gilding the frame with gold leaf or metallic paint can create a stunning, opulent effect. This technique adds a touch of elegance and sophistication to the frame, making it a standout piece in any room.
-
Inlay Designs: If you're feeling particularly artistic, consider incorporating inlay designs using contrasting wood or decorative materials. This intricate detailing can add a unique and personalized touch to the frame, showcasing your craftsmanship and attention to detail.
By incorporating these decorative elements, you can transform a simple mirror frame into a striking and personalized piece of decor that reflects your individual style and enhances the ambiance of your living space.
Finishing Touches
After adding decorative elements, the final step in building a mirror frame is applying the finishing touches to ensure a polished and professional appearance. Here's how to complete the project with finesse:
-
Sanding and Smoothing: Use fine-grit sandpaper to smooth out any rough edges or imperfections on the frame. This step is crucial for achieving a seamless and refined finish. Pay special attention to the corners and edges to ensure a uniform texture.
-
Applying a Finish: Whether you opt for paint, stain, or a clear varnish, applying a finish will protect the wood and enhance its visual appeal. A high-quality finish not only adds a layer of protection but also brings out the natural beauty of the wood grain. Apply the finish evenly, following the manufacturer's instructions for the best results.
-
Sealing the Back: Once the frame is complete, seal the back to protect the mirror from moisture and dust. Use a durable backing material such as hardboard or plywood, and secure it in place using a strong adhesive or small nails. This will ensure the mirror remains in pristine condition for years to come.
-
Mounting the Mirror: Carefully place the mirror into the frame, ensuring a snug and secure fit. Use mirror clips or a specialized mirror adhesive to hold the mirror in place within the frame. Double-check the alignment and make any necessary adjustments before securing the mirror.
-
Hanging Hardware: Attach hanging hardware to the back of the frame, making it ready for display. Choose hardware that can support the weight of the mirror and frame, and ensure it is securely fastened to the frame. This will allow for easy and safe installation on your wall.
-
Final Inspection: Before displaying your newly constructed mirror frame, conduct a final inspection. Check for any remaining imperfections, ensure the mirror is securely in place, and wipe down the frame to remove any dust or debris. This last step will guarantee a flawless presentation.
By paying attention to these finishing touches, you can elevate your mirror frame from a DIY project to a stunning piece of functional art that adds charm and sophistication to your home.
Conclusion
In conclusion, building a mirror frame is a rewarding DIY project that allows you to showcase your creativity and craftsmanship while enhancing the aesthetic appeal of your living space. By carefully selecting high-quality materials, taking precise measurements, and incorporating decorative elements, you can create a custom mirror frame that adds a touch of elegance to any room. The step-by-step process of measuring, cutting, assembling, and adding finishing touches ensures that your mirror frame is not only visually appealing but also sturdy and durable. Whether you choose to paint, stain, or embellish the frame, the final result will be a stunning piece of decor that reflects your personal style and attention to detail. With the right tools, materials, and a dash of creativity, you can transform a simple mirror into a captivating focal point that elevates the ambiance of your home.