
Home>Create & Decorate>DIY & Crafts>DIY Storage Units: Building The Perfect Storage Solution
DIY & Crafts
DIY Storage Units: Building The Perfect Storage Solution
Published: June 9, 2024

Senior Editor in Create & Decorate, Kathryn combines traditional craftsmanship with contemporary trends. Her background in textile design and commitment to sustainable crafts inspire both content and community.
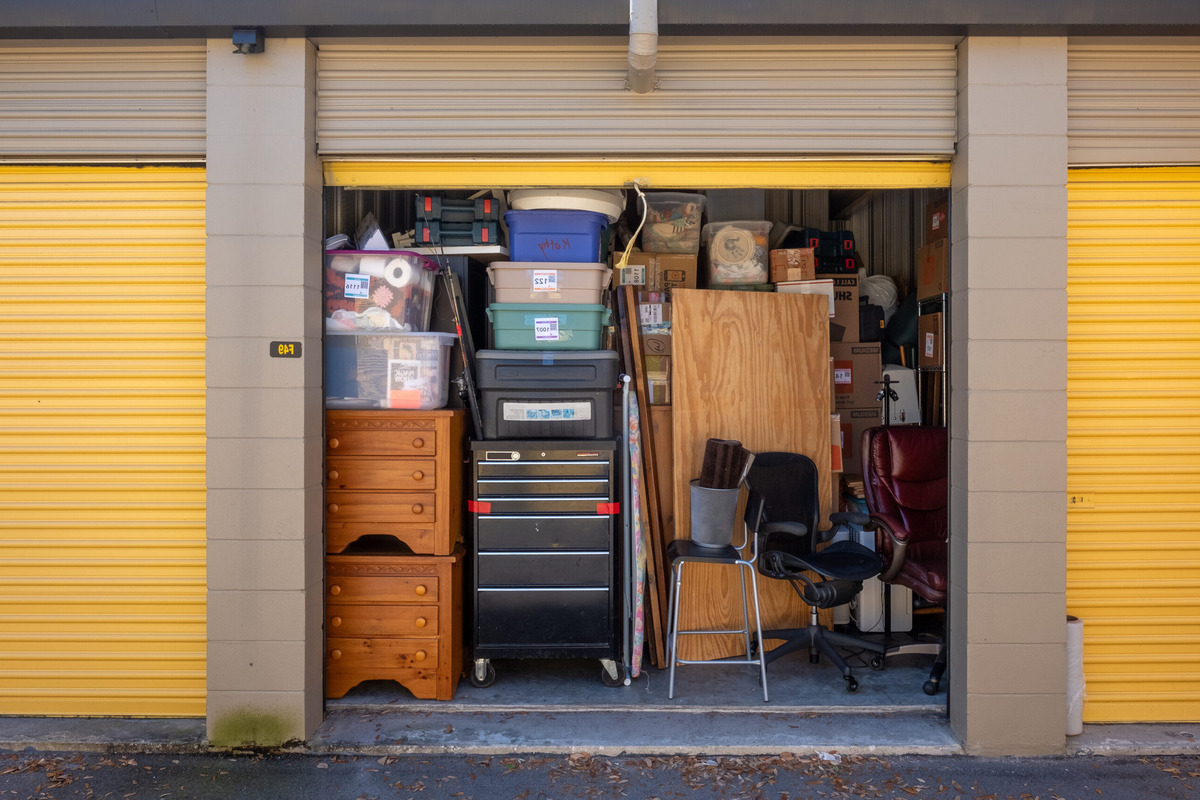
Discover how to create custom DIY storage units for your home with our easy-to-follow guides and crafty tips. Perfect for DIY & Crafts enthusiasts!
(Many of the links in this article redirect to a specific reviewed product. Your purchase of these products through affiliate links helps to generate commission for Twigandthistle.com, at no extra cost. Learn more)
Introduction
Are you tired of clutter and disorganization in your home? Do you find yourself constantly searching for a place to store your belongings? If so, it may be time to consider building your own DIY storage unit. Creating a custom storage solution can not only help you declutter your space but also add a personal touch to your home. In this article, we will guide you through the process of building the perfect storage solution for your needs. Whether you're looking to organize your garage, bedroom, or living room, we've got you covered with expert tips and advice. Let's dive in and get started on creating a storage unit that meets your unique requirements.
Assessing Your Storage Needs
Before you embark on building your DIY storage unit, it's crucial to assess your storage needs. Take a look around your home and identify the areas that require organization and storage solutions. Consider the types of items you need to store, such as tools, clothing, toys, or household supplies. Assess the available space in each area to determine the dimensions and design of the storage unit. Additionally, think about accessibility and convenience – do you need open shelves for frequently used items, or enclosed cabinets for less frequently accessed belongings? By carefully evaluating your storage requirements, you can tailor your DIY project to perfectly suit your needs.
- Make a list of the items you need to store in each area of your home.
- Measure the available space to determine the dimensions of your storage unit.
- Consider the accessibility and frequency of use for each type of item.
- Evaluate the existing storage solutions and identify areas for improvement.
- Take stock of any specific features or customizations you may require for your storage unit.
Choosing the Right Materials
When it comes to building a DIY storage unit, selecting the right materials is essential for ensuring durability, functionality, and visual appeal. Here are some key considerations to keep in mind when choosing materials for your project:
- Wood: If you’re aiming for a classic and timeless look, wood is an excellent choice for constructing your storage unit. Opt for sturdy and warp-resistant wood such as plywood or MDF (medium-density fiberboard) for the main structure. You can also use hardwood for a more upscale finish.
- Metal: For a more industrial or modern aesthetic, consider incorporating metal elements into your storage unit. Metal shelves, brackets, or frames can add a sleek and contemporary touch to the overall design.
- Plastic: When building storage units for damp or high-moisture areas such as the garage or basement, plastic storage bins or containers can be a practical choice. Look for durable, heavy-duty plastic that can withstand the demands of storage.
- Wire Shelving: Wire shelving units are versatile and ideal for areas where ventilation and visibility are important, such as pantry storage or laundry rooms. They are lightweight, easy to install, and allow air to circulate around stored items.
- Hardware and Fasteners: Selecting the right hardware and fasteners is crucial for the structural integrity of your storage unit. Choose high-quality screws, brackets, and connectors that are suitable for the chosen materials and can support the weight of the items to be stored.
By carefully considering the properties and characteristics of different materials, you can ensure that your DIY storage unit not only meets your functional needs but also aligns with your design preferences.
Designing Your DIY Storage Unit
Designing your DIY storage unit is where creativity meets functionality. It's the stage where you bring your vision to life and tailor the unit to perfectly fit your space and storage needs. Here are some essential steps to consider when designing your storage unit:
1. Sketch Your Design
Start by sketching out your design on paper or using a digital design tool. Consider the overall dimensions, shelving configurations, and any specific features you want to incorporate. This initial visual representation will serve as a blueprint for your project.
2. Consider Customization
Think about any customizations that can enhance the functionality and aesthetics of your storage unit. This could include adjustable shelves, built-in compartments for specific items, or decorative elements that complement your home decor.
3. Optimize Space
Maximize the use of vertical space to create efficient storage. Incorporate tall shelving units or overhead storage to make the most of limited floor space. Additionally, consider utilizing corners and alcoves with custom-built shelving to minimize wasted space.
4. Balance Open and Closed Storage
Find the right balance between open and closed storage based on the items you plan to store. Open shelves provide easy access to frequently used items, while closed cabinets can conceal clutter and maintain a tidy appearance.
5. Ensure Accessibility
Factor in accessibility when designing your storage unit. Place frequently used items within easy reach and consider incorporating pull-out drawers, rotating shelves, or sliding doors for convenient access to stored items.
6. Harmonize with Your Decor
Consider the overall aesthetic of your home and aim to harmonize the design of your storage unit with the existing decor. Whether you prefer a rustic, modern, or minimalist style, choose materials and finishes that complement your interior design scheme.
7. Test the Design
Before proceeding with construction, create a mock-up or use painter's tape to outline the dimensions of your storage unit on the wall or floor. This will allow you to visualize the scale and proportions of the unit within the space and make any necessary adjustments to the design.
By carefully considering these design aspects, you can create a DIY storage unit that not only fulfills your practical storage needs but also enhances the overall look and functionality of your living space.
Building and Assembling Your Storage Unit
Now that you have a well-thought-out design for your DIY storage unit, it's time to roll up your sleeves and start the construction process. Building and assembling your storage unit requires careful attention to detail and precision to ensure a sturdy and functional end result. Here's a step-by-step guide to help you bring your storage unit to life:
-
Gather Your Tools and Materials: Before you begin, gather all the necessary tools and materials based on your design and chosen construction methods. This may include a saw, drill, screws, nails, wood glue, measuring tape, level, and safety equipment.
-
Prepare the Workspace: Clear the area where you plan to build and assemble your storage unit. Ensure that the space is well-lit, ventilated, and free from any obstructions. If you're working indoors, consider using a drop cloth to protect the floor from any potential damage.
-
Cut the Materials to Size: Following your design specifications, carefully measure and cut the wood, metal, or other materials to the required dimensions. Use a saw or appropriate cutting tools to achieve precise and clean cuts.
-
Assemble the Frame: If your storage unit involves a frame or structural components, begin by assembling these elements. Use the appropriate fasteners and techniques to securely join the pieces together, ensuring that the frame is level and square.
-
Attach Shelves and Dividers: Once the frame is in place, proceed to attach the shelves, dividers, or any internal components according to your design. Ensure that these elements are securely fixed and level to provide a stable and functional storage surface.
-
Secure the Unit in Place: If your storage unit is freestanding, ensure that it is securely anchored to the wall or floor to prevent tipping or instability. Use appropriate anchoring hardware and follow safety guidelines to secure the unit in place.
-
Finishing Touches: Sand any rough edges, apply paint or finish as desired, and add any decorative elements or hardware to complete the look of your storage unit.
-
Test for Stability and Functionality: Once the assembly is complete, test the stability and functionality of your storage unit. Load the shelves with typical items to ensure that they can support the intended weight and function as planned.
By following these steps and paying attention to detail during the construction process, you can create a sturdy, well-built DIY storage unit that meets your storage needs and enhances the organization of your home.
Adding Custom Features
When it comes to creating a truly personalized DIY storage unit, adding custom features can elevate the functionality and aesthetic appeal of the final product. Customizations allow you to tailor the storage unit to your specific needs and preferences, making it a perfect fit for your home. Here are some creative custom features to consider incorporating into your DIY storage unit:
-
Integrated Lighting: Incorporating lighting into your storage unit can enhance visibility and create a visually appealing display. Consider installing LED strip lights or puck lights to illuminate the contents of the shelves or cabinets. This is particularly useful for storage units in dimly lit areas such as closets or garages.
-
Built-in Charging Station: For storage units in common areas or home offices, integrating a charging station can be a convenient addition. Install power outlets or USB ports within the unit to keep electronic devices charged and organized.
-
Fold-Down Work Surface: If your storage unit is intended for a workshop or crafting area, consider adding a fold-down work surface. This feature provides a dedicated space for projects and can be easily folded away when not in use, maximizing the functionality of the unit.
-
Customized Dividers and Compartments: Tailor the internal organization of your storage unit by incorporating custom dividers and compartments. This allows you to create specific sections for different types of items, optimizing the storage space and keeping everything neatly organized.
-
Decorative Backing or Wallpaper: Add a pop of personality to your storage unit by applying decorative backing or wallpaper to the rear panels. This simple customization can complement your home decor and transform the storage unit into a stylish focal point.
-
Hidden Storage Solutions: Integrate hidden storage compartments or secret drawers within the unit for stashing away valuable items or creating a discreet storage area. This adds an element of intrigue and maximizes the use of space.
-
Sliding Barn Doors or Panels: For a rustic or farmhouse-inspired look, consider incorporating sliding barn doors or panels into your storage unit. This not only adds a charming aesthetic but also saves space compared to traditional swinging doors.
-
Personalized Labels and Signage: Enhance the organization of your storage unit by adding personalized labels or signage to clearly identify the contents of each section. This makes it easy to locate items and maintain a tidy storage space.
By incorporating these custom features, you can transform your DIY storage unit into a functional, stylish, and personalized storage solution that perfectly aligns with your lifestyle and home environment.
Tips for Organizing and Maintaining Your Storage Unit
Organizing and maintaining your storage unit is essential for maximizing its efficiency and ensuring long-term functionality. Here are some valuable tips to help you keep your DIY storage unit well-organized and in top condition:
-
Categorize Items: Sort and categorize the items you plan to store in your unit. Group similar items together, such as tools, seasonal clothing, sports equipment, or household supplies. This makes it easier to locate specific items when needed.
-
Utilize Storage Containers: Invest in high-quality storage containers, bins, baskets, and organizers to keep smaller items neatly contained. Clear containers allow for easy visibility of the contents, while labeled bins help you quickly identify what's inside.
-
Implement a Labeling System: Use a consistent labeling system to mark the contents of each storage container or section of your unit. This simple step can prevent confusion and streamline the process of finding and returning items to their designated spots.
-
Maintain Accessibility: Arrange frequently used items within easy reach and ensure that pathways to the storage unit remain clear. Consider using adjustable shelving or pull-out drawers to optimize accessibility and minimize reaching or bending.
-
Regular Maintenance: Schedule regular maintenance sessions to declutter and reorganize the contents of your storage unit. Take the opportunity to assess the effectiveness of your storage solutions and make adjustments as needed.
-
Rotate Seasonal Items: If your storage unit houses seasonal items such as holiday decorations or winter gear, consider rotating these items based on the time of year. This helps keep the unit organized and ensures that relevant items are readily available.
-
Preventative Measures: Take proactive measures to protect the contents of your storage unit. Use moisture-absorbing products in damp areas, implement pest control strategies, and store delicate items in protective packaging to prevent damage.
-
Regular Cleaning: Periodically clean the interior and exterior of your storage unit to remove dust, debris, and any potential hazards. This not only maintains a tidy appearance but also prolongs the lifespan of the unit and its contents.
-
Safety and Security: If your storage unit contains potentially hazardous items or valuable possessions, ensure that they are stored securely and out of reach of children or pets. Consider installing locks or safety latches for added security.
-
Documentation and Inventory: Keep a detailed inventory of the items stored in your unit, especially for long-term or off-site storage. This helps you track the contents and facilitates quick retrieval when needed.
By implementing these tips, you can establish an organized and well-maintained storage unit that effectively meets your storage needs while preserving the condition of your belongings.
Conclusion
In conclusion, building a DIY storage unit offers a rewarding opportunity to create a customized and functional storage solution tailored to your specific needs. By carefully assessing your storage requirements, choosing the right materials, and designing a well-thought-out storage unit, you can transform cluttered spaces into organized and visually appealing areas. Incorporating custom features and following best practices for organizing and maintaining your storage unit ensures long-term efficiency and usability. Whether you're aiming to declutter a garage, streamline a closet, or optimize a living space, the process of building a DIY storage unit empowers you to take control of your home organization while adding a personal touch to your living environment. With the guidance provided in this article, you're well-equipped to embark on your DIY storage unit project and enjoy the benefits of a well-organized and stylish home.