Home>Create & Decorate>DIY & Crafts>Revamping Your Wedding: DIY Home Improvement Tips For Snippet Ink Invitations
DIY & Crafts
Revamping Your Wedding: DIY Home Improvement Tips For Snippet Ink Invitations
Published: February 15, 2024

Content Creator specializing in woodworking and interior transformations. Caegan's guides motivate readers to undertake their own projects, while his custom furniture adds a personal touch.
Revamp your wedding with DIY home improvement tips for Snippet Ink invitations. Get creative with our DIY & Crafts ideas to make your wedding truly unique.
(Many of the links in this article redirect to a specific reviewed product. Your purchase of these products through affiliate links helps to generate commission for Twigandthistle.com, at no extra cost. Learn more)
Introduction
Planning a wedding is an exciting journey filled with countless decisions, and one of the first steps in setting the tone for your special day is choosing the perfect invitations. Your wedding invitations are the first glimpse your guests will have of the celebration to come, making them a crucial element in conveying the style and theme of your event. While there are countless pre-made options available, opting for a do-it-yourself (DIY) approach can add a personal touch and make your invitations truly unique.
Creating your own wedding invitations allows you to infuse your personality and creativity into every detail, ensuring that they reflect your vision for the big day. Whether you're aiming for a rustic, bohemian, modern, or traditional aesthetic, DIY invitations offer endless possibilities for customization. From selecting the paper and embellishments to designing the layout and wording, every aspect can be tailored to suit your preferences, making the process both fulfilling and meaningful.
In this comprehensive guide, we'll explore various DIY home improvement tips for crafting stunning wedding invitations. From choosing the right materials to adding personal touches and achieving a professional finish, you'll discover valuable insights and step-by-step instructions to help you embark on this creative endeavor with confidence. Whether you're a seasoned crafter or new to the world of DIY, this guide will equip you with the knowledge and inspiration needed to revamp your wedding with beautifully crafted invitations that set the stage for an unforgettable celebration.
Read more: DIY Rustic Basement Ideas
Choosing the Right Invitations
Selecting the right invitations for your wedding is a pivotal decision that sets the tone for the entire event. When choosing DIY invitations, there are several factors to consider to ensure they align with your vision and style.
First and foremost, consider the theme and aesthetic of your wedding. Whether it's a rustic outdoor affair, an elegant ballroom celebration, or a whimsical garden party, your invitations should reflect the overall vibe of the event. For a rustic theme, consider natural materials like kraft paper and twine, while a formal event may call for classic cardstock and elegant fonts.
Next, think about the level of customization you desire. DIY invitations offer the flexibility to personalize every aspect, from the paper type and color to the embellishments and printing techniques. If you're keen on adding intricate details like embossing or custom wax seals, choosing invitations that accommodate these features is essential.
Additionally, consider the practical aspects of the invitations, such as size, weight, and mailing requirements. Ensure that the chosen materials and design elements align with postal regulations to avoid any unexpected postage costs or delivery issues.
Furthermore, think about the quantity needed. DIY invitations often involve a hands-on approach, so consider the time and effort required to produce the desired quantity. It's essential to strike a balance between creating invitations that are meaningful and unique while also being manageable within your time frame.
Lastly, factor in your budget. DIY invitations can be cost-effective, but it's important to outline a budget and explore options that align with it. From paper and printing costs to additional embellishments, having a clear budget in mind will guide your choices and prevent overspending.
By carefully considering these aspects, you can confidently select invitations that not only capture the essence of your wedding but also align with your DIY capabilities and resources. With the right invitations in hand, you'll be ready to embark on the creative journey of crafting personalized and memorable wedding invitations.
DIY Invitation Design Ideas
When it comes to DIY wedding invitations, the design possibilities are as vast as your imagination. Whether you're drawn to minimalist elegance, whimsical charm, or rustic allure, there are numerous design ideas to explore. Here are some creative concepts to inspire your DIY invitation design process:
-
Minimalist Chic: Embrace the beauty of simplicity by opting for clean lines, minimal embellishments, and a focus on typography. Consider using a sleek, monochromatic color scheme with subtle accents to exude understated elegance.
-
Botanical Romance: Infuse your invitations with the enchanting allure of nature by incorporating botanical motifs and delicate floral illustrations. Think soft pastel hues, intricate leaf patterns, and ethereal touches that evoke a sense of romance and whimsy.
-
Vintage Glamour: Transport your guests to a bygone era with vintage-inspired invitations that exude old-world charm. Explore ornate fonts, intricate borders, and sepia tones to capture the essence of vintage glamour and sophistication.
-
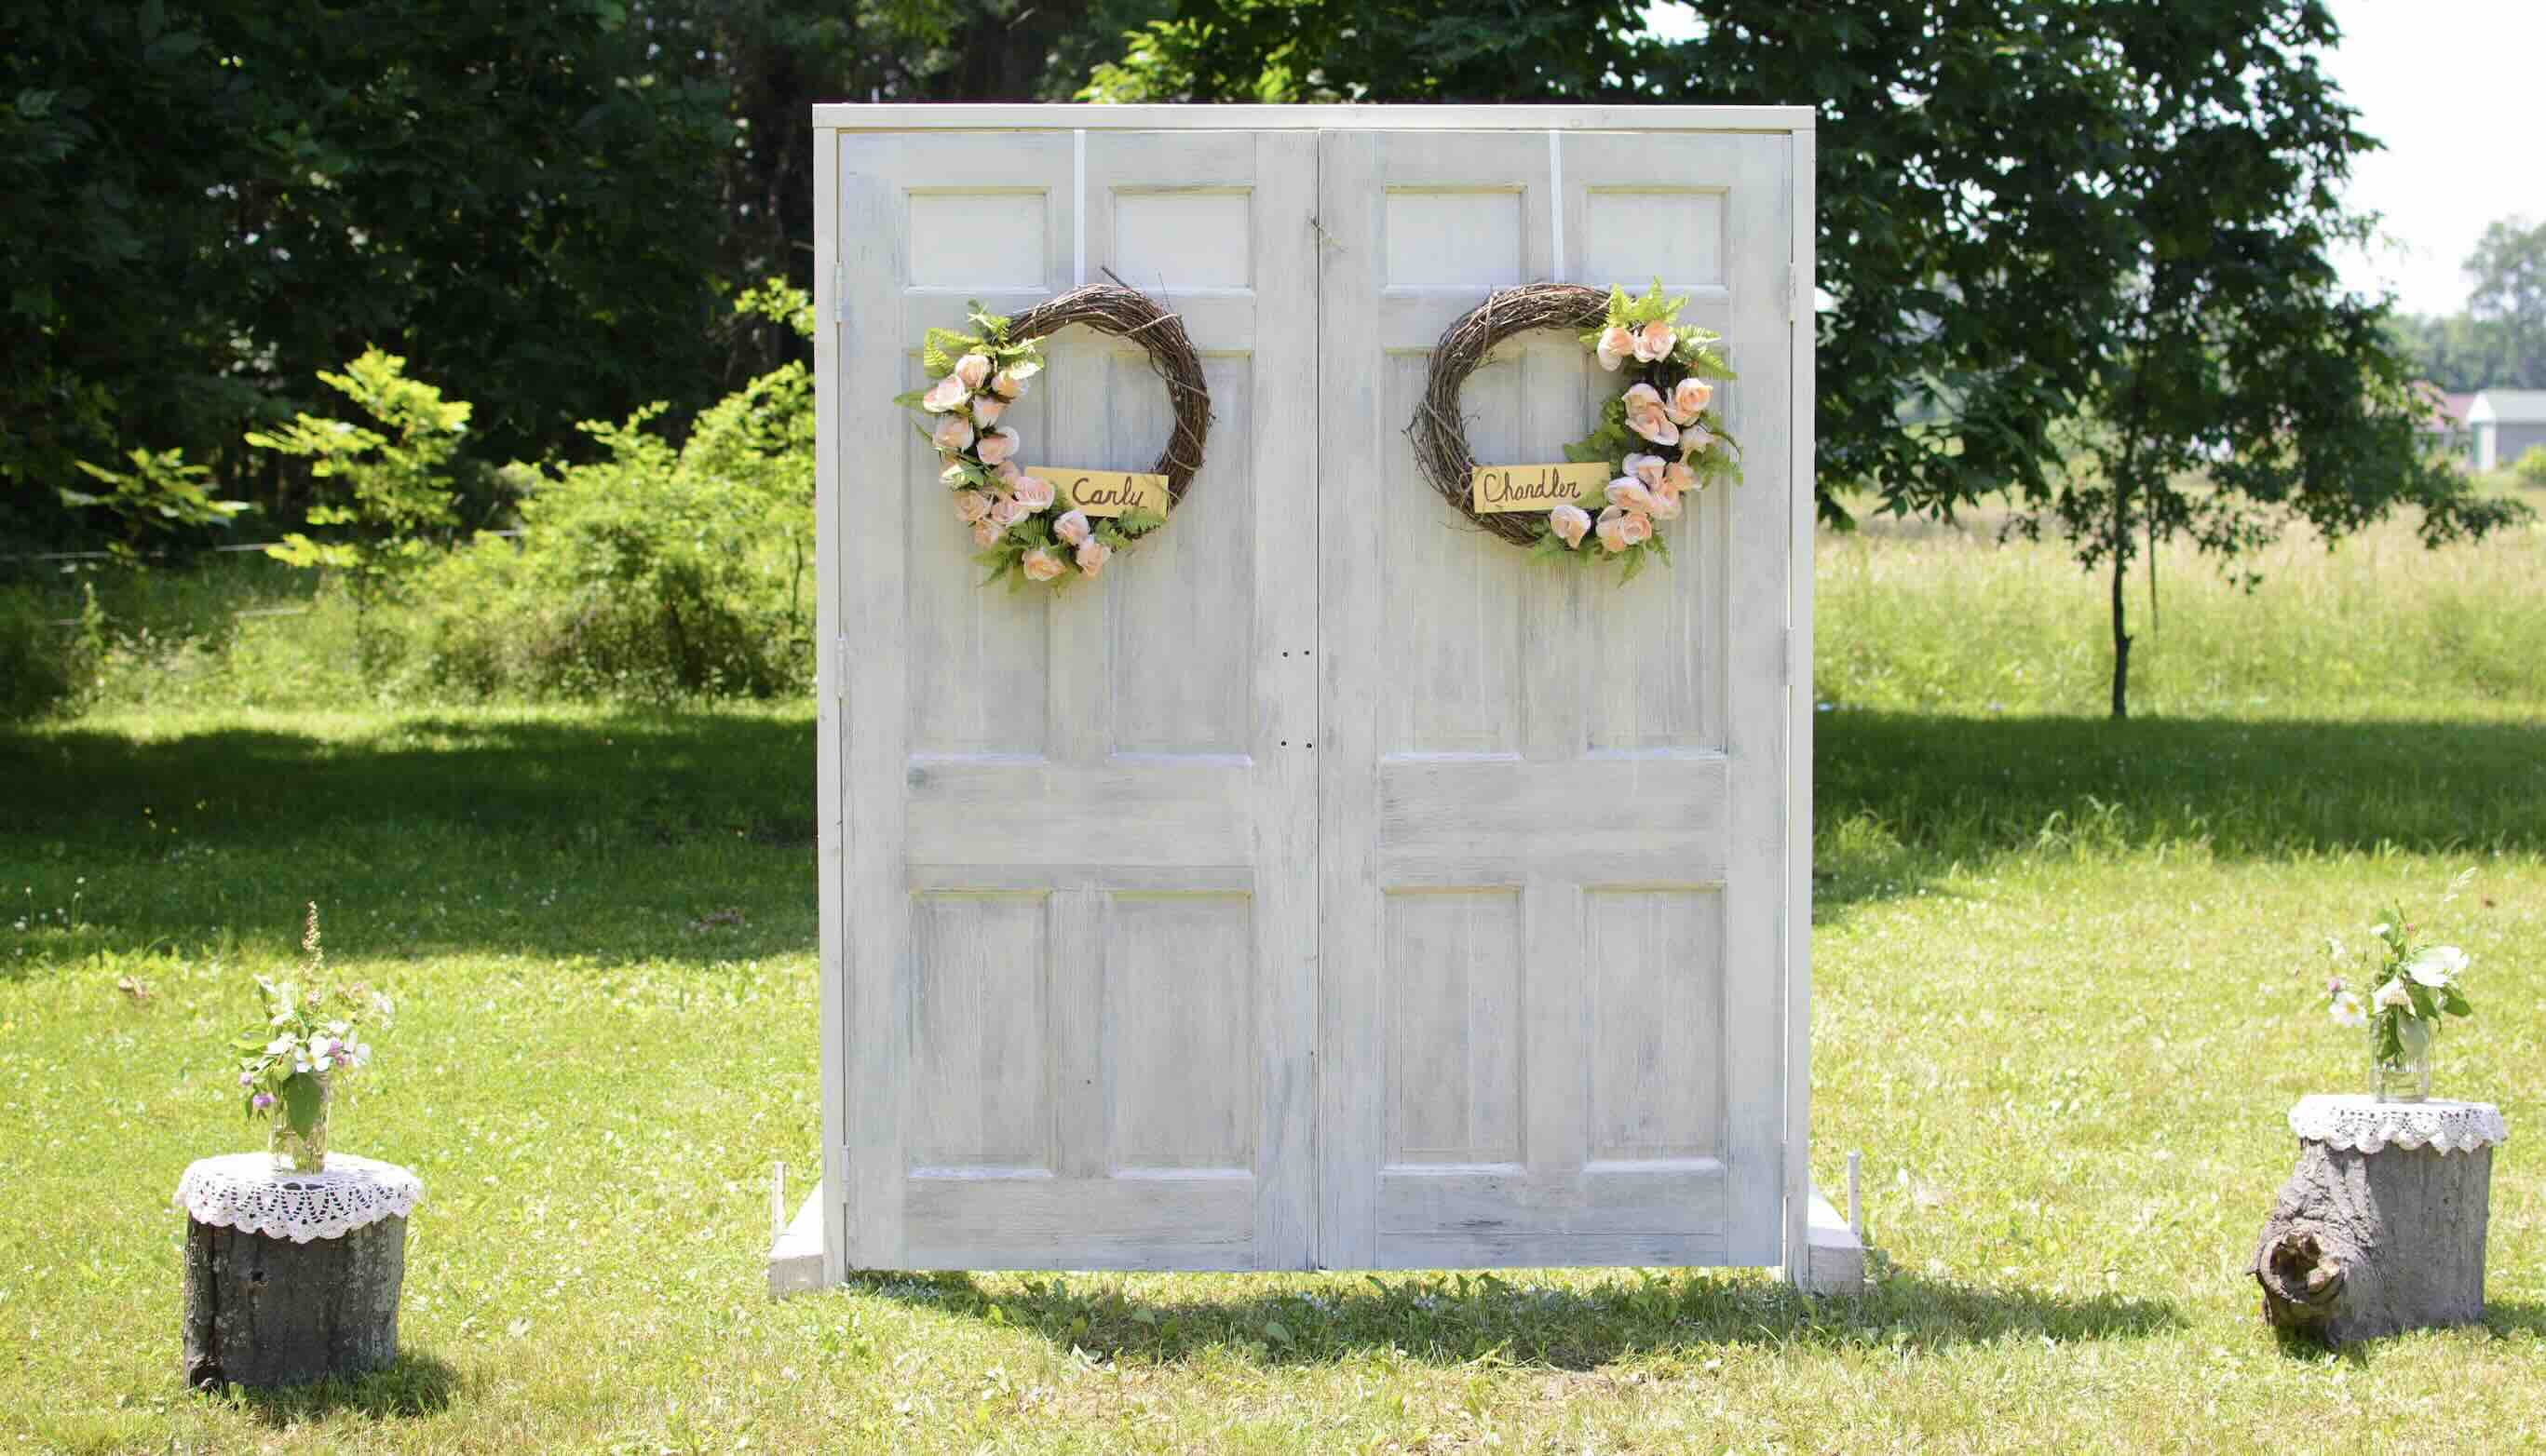
Rustic Simplicity: Embrace the warmth and authenticity of a rustic theme by incorporating natural textures, earthy tones, and organic elements. Consider using kraft paper, twine, and wooden accents to create invitations that embody a cozy, down-to-earth charm.
-
Modern Artistry: Embrace contemporary design elements and bold contrasts to create invitations that exude modern artistry. Experiment with geometric patterns, vibrant color palettes, and unconventional layouts to make a striking visual statement.
-
Whimsical Wonderland: Let your creativity run wild with whimsical and playful designs that evoke a sense of wonder and delight. Think imaginative illustrations, quirky motifs, and unexpected details that invite guests to embark on a whimsical journey.
-
Elegant Monograms: Personalize your invitations with elegant monograms that reflect your initials or a custom emblem that holds sentimental significance. Incorporate the monogram into the design as a focal point, adding a touch of sophistication and personalization.
-
Destination-Inspired: If your wedding is set in a picturesque location, draw inspiration from the destination's unique elements to infuse your invitations with a sense of wanderlust. Whether it's a beachside affair or a mountain retreat, incorporate subtle nods to the locale through imagery and color palettes.
By exploring these design ideas and infusing them with your personal style, you can embark on a creative journey that culminates in beautifully crafted DIY wedding invitations that reflect the essence of your special day. Each design concept offers a unique opportunity to express your vision and set the stage for a memorable celebration.
Materials and Tools Needed
Embarking on a DIY wedding invitation project requires a thoughtful selection of materials and tools to bring your creative vision to life. Here's a comprehensive list of essential items you'll need to craft stunning invitations:
Materials:
-
Quality Paper: Choose high-quality cardstock or specialty paper that complements your design. Opt for varying weights and textures to add dimension and visual interest to your invitations.
-
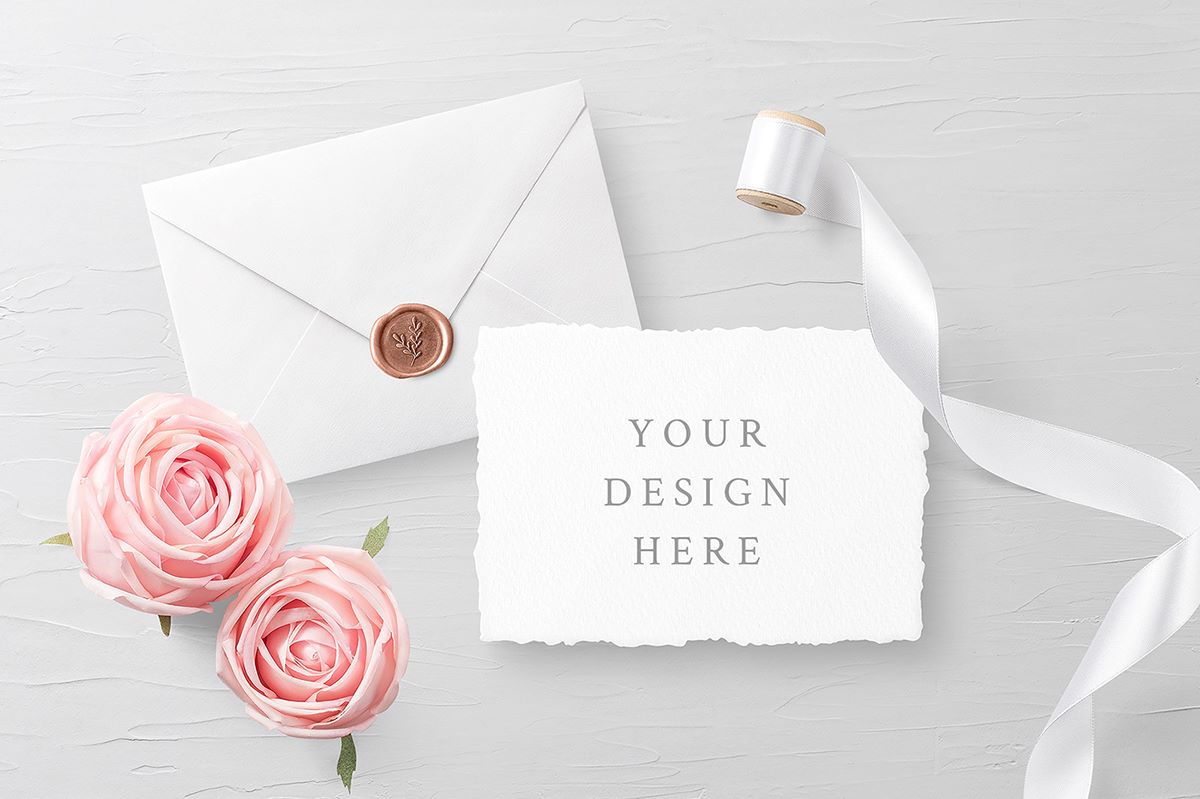
Envelopes: Select envelopes that not only accommodate your invitation size but also align with your chosen design aesthetic. Consider colors and finishes that complement your overall theme.
-
Embellishments: Explore a range of embellishments such as ribbons, lace, dried flowers, or wax seals to add a touch of elegance and personality to your invitations.
-
Adhesives: Ensure you have a reliable adhesive such as double-sided tape, glue dots, or a glue gun to securely attach embellishments and layers of paper.
-
Printing Materials: If opting for a printed design, ensure you have access to a quality printer, ink, and appropriate printing paper. Consider professional printing services for intricate designs or specialized techniques.
-
Cutting Tools: Invest in precision cutting tools such as a paper trimmer, craft knife, or decorative edge scissors to achieve clean and precise cuts for your invitations.
-
Decorative Elements: Whether it's glitter, sequins, or metallic foiling, incorporating decorative elements can elevate the visual appeal of your invitations.
-
Prototyping Materials: Have extra paper for prototyping and testing different design elements before finalizing the invitations.
Tools:
-
Scoring Board: A scoring board and bone folder are essential for creating crisp and professional-looking folds in your invitations.
-
Ruler and Cutting Mat: These tools are indispensable for measuring, marking, and cutting paper with precision.
-
Embossing Heat Tool: If incorporating embossing techniques, an embossing heat tool is crucial for achieving beautifully raised and glossy effects.
-
Calligraphy Pens or Markers: If opting for handwritten elements, ensure you have high-quality calligraphy pens or markers for elegant and consistent lettering.
-
Computer and Design Software: For digital design and printing, access to a computer and design software such as Adobe Photoshop or Illustrator is essential.
-
Workspace Essentials: Prepare a well-lit and organized workspace with ample table space, good ventilation, and comfortable seating to facilitate the creative process.
By gathering these materials and tools, you'll be equipped to embark on the DIY journey of creating exquisite wedding invitations that reflect your unique style and vision. Each item plays a crucial role in ensuring that your invitations are not only visually captivating but also crafted with precision and care.
Step-by-Step Instructions
-
Design Planning: Begin by sketching out your invitation design on paper or using digital design software. Consider the layout, typography, and placement of decorative elements. This initial planning phase will serve as a roadmap for the rest of the process.
-
Select Paper and Trim: Choose the appropriate paper for your invitations, considering weight, texture, and color. Once selected, trim the paper to the desired size using a paper trimmer or craft knife, ensuring precise and uniform dimensions for each invitation.
-
Print or Handwrite: If incorporating printed elements, use a high-quality printer to transfer your design onto the paper. Alternatively, if opting for handwritten details, employ elegant calligraphy pens or markers to inscribe the necessary text with care and precision.
-
Embellish and Assemble: Add embellishments such as ribbons, lace, or decorative elements to enhance the visual appeal of your invitations. Secure these embellishments using reliable adhesives, ensuring they are affixed neatly and securely. Assemble the various components of the invitation, such as layered inserts or vellum overlays, with attention to detail.
-
Create Folds and Creases: Utilize a scoring board and bone folder to create clean and professional folds in the invitations, ensuring that each crease is precise and well-defined. This step is crucial for achieving a polished and refined look.
-
Address and Stamp Envelopes: Once the invitations are assembled, carefully address each envelope with the recipient's details using elegant calligraphy or printed labels. Affix the necessary postage and any additional decorative elements to the envelopes.
-
Quality Check: Conduct a thorough quality check of each invitation, ensuring that all components are securely attached, the text is legible, and the overall presentation meets your standards. This step is essential for ensuring a professional and polished finish.
-
Prototyping and Revisions: Before proceeding with the full production of your invitations, create a few prototypes to assess the overall look and feel. Make any necessary revisions based on the prototypes, ensuring that the final invitations align with your vision.
By following these step-by-step instructions, you'll be able to navigate the DIY process of creating personalized wedding invitations with confidence and precision. Each stage plays a crucial role in bringing your design to life and ensuring that the final result is a reflection of your unique style and attention to detail.
Adding Personal Touches
Adding personal touches to your DIY wedding invitations is a meaningful way to infuse your unique story and personality into every detail. By incorporating elements that hold sentimental value and reflect your journey as a couple, you can create invitations that resonate deeply with both you and your guests. Here are several impactful ways to add personal touches to your wedding invitations:
-
Custom Illustrations: Consider commissioning custom illustrations that depict significant moments in your relationship, such as the place where you first met, your favorite travel destinations, or memorable milestones. These illustrations can be incorporated into the design of the invitations, adding a heartfelt and visually captivating element.
-
Handwritten Notes: Infuse warmth and intimacy into your invitations by including handwritten notes or personalized messages to your guests. Whether it's a heartfelt message expressing your gratitude for their presence or a snippet of poetry that holds special meaning, handwritten elements add a personal and authentic touch.
-
Family Heirlooms: Incorporate family heirlooms or mementos into the invitations, such as a small piece of lace from a relative's wedding gown, a vintage brooch, or a snippet of fabric with sentimental significance. These cherished items not only add a touch of heritage but also symbolize the continuity of love and tradition.
-
Custom Wax Seals: Create custom wax seals featuring your initials, a meaningful symbol, or a motif that holds significance to both of you. Applying these wax seals to the envelopes or invitation sleeves adds an elegant and personalized finishing touch.
-
Photographic Memories: Integrate photographs that encapsulate pivotal moments in your relationship, such as engagement photos or snapshots from memorable adventures. These photographs can be artfully incorporated into the invitation design, serving as a visual testament to your love story.
-
Specialty Stamps: Explore the option of using custom postage stamps that feature images or designs that resonate with your relationship. Whether it's a shared hobby, a beloved pet, or a scenic location, custom stamps add a delightful and personalized touch to the invitation ensemble.
-
Cultural Elements: If you and your partner come from diverse cultural backgrounds, consider infusing elements from both cultures into the invitations. This can include motifs, patterns, or symbols that hold significance in your respective heritages, creating a harmonious blend of traditions.
By infusing these personal touches into your DIY wedding invitations, you can create a heartfelt and visually captivating representation of your love story. Each element serves as a testament to your journey as a couple, inviting your guests to share in the beauty and significance of your special day.
Tips for a Professional Finish
Achieving a professional finish is essential to ensure that your DIY wedding invitations exude elegance and sophistication. Attention to detail and precision in execution are key factors that contribute to a polished and refined outcome. Here are valuable tips to elevate your invitations to a professional standard:
-
Precision in Assembly: Pay meticulous attention to the assembly of your invitations, ensuring that each component is aligned with precision. Consistent margins, even spacing, and straight edges contribute to a polished presentation.
-
Quality Printing: If incorporating printed elements, opt for professional printing services or high-quality printing equipment to ensure crisp and clear imagery and text. Select the appropriate paper stock for printing to achieve optimal results.
-
Crisp Folds and Creases: Utilize a scoring board and bone folder to create sharp and well-defined folds in your invitations. Clean and precise creases add a professional touch, elevating the overall presentation.
-
Attention to Typography: Whether using printed or handwritten text, ensure that the typography is consistent and legible. Pay attention to font selection, sizing, and alignment to create a cohesive and polished look.
-
Professional Finishing Techniques: Consider incorporating professional finishing techniques such as embossing, foiling, or die-cutting to add a touch of luxury and refinement to your invitations. These techniques elevate the visual appeal and tactile experience of the invitations.
-
Quality Control: Conduct a thorough quality check of each invitation, examining for any imperfections, smudges, or inconsistencies. Address any issues promptly to maintain a high standard of quality.
-
Invest in Professional Tools: Utilize high-quality cutting tools, adhesives, and design software to ensure precision and efficiency in the crafting process. Professional-grade tools contribute to a seamless and professional finish.
-
Consistent Theme and Aesthetic: Ensure that all design elements, color schemes, and embellishments align cohesively with your chosen theme and aesthetic. Consistency in design creates a harmonious and professional presentation.
-
Professional Packaging: Consider elegant packaging for your invitations, such as custom envelopes, vellum wraps, or ribbon closures. Thoughtful presentation adds to the overall impression of professionalism.
-
Seek Feedback: Before finalizing your invitations, seek feedback from trusted friends or family members. External perspectives can provide valuable insights and help identify areas for improvement.
By implementing these tips, you can elevate your DIY wedding invitations to a professional standard, ensuring that they reflect the beauty and significance of your special day with impeccable craftsmanship and attention to detail.
Read more: DIY Small RV Kitchen Ideas
Conclusion
Crafting DIY wedding invitations is a labor of love that allows you to infuse your unique style, personality, and love story into every detail. As you embark on this creative journey, the process of selecting the right materials, designing the invitations, and adding personal touches becomes a meaningful expression of your commitment to each other and the celebration of your union.
By choosing to revamp your wedding with DIY invitations, you have the opportunity to create a tangible representation of your love and the vision you hold for your special day. The personalization and attention to detail that DIY invitations offer set the stage for an unforgettable celebration, inviting your guests to share in the beauty and significance of your love story.
As you reflect on the design ideas, materials, tools, and step-by-step instructions outlined in this guide, remember that the essence of DIY lies in the joy of creating something truly unique and meaningful. Whether you opt for a minimalist chic design, infuse botanical romance, or embrace vintage glamour, your invitations will serve as a reflection of your individuality and the love you share.
The personal touches you incorporate, whether through custom illustrations, handwritten notes, or family heirlooms, will resonate deeply with your guests, creating a sense of intimacy and connection. Each element added with care and intentionality contributes to the narrative of your love story, inviting your guests to join you in celebrating this momentous occasion.
As you strive for a professional finish, remember that the journey of crafting DIY invitations is as significant as the end result. The attention to detail, precision in assembly, and commitment to quality reflect your dedication to creating a memorable and elegant experience for your guests.
In conclusion, the process of revamping your wedding with DIY invitations is a testament to the depth of your love and the significance of your union. Embrace this creative endeavor with joy and enthusiasm, knowing that the invitations you craft will not only set the tone for your special day but also serve as cherished mementos of the love and commitment you share. With each invitation, you extend a heartfelt invitation to your guests to join you in celebrating the beginning of your new chapter together.